如何在不破壞依賴關係的情況下將 Debian 12 遷移到 Testing 版本

將 Debian 12 Bookworm 系統移轉到 Debian Testing,減少依賴項的意外情況。了解支援的 Bookworm 到 Trixie 遷移路徑、APT 檢查、模擬和復原保障措施。
A WireGuard point-to-site VPN on Debian 12 (Bookworm) is a practical way to let laptops, phones, or remote workstations reach a server or route traffic through it. One important clarification comes first: WireGuard does not have a special “server mode.” Every participant is a peer. In a point-to-site design, one Debian host simply acts as the stable, publicly reachable hub and each remote device gets its own key pair and tunnel address.
This guide uses Debian’s packaged WireGuard tools, wg-quick, IPv4 forwarding, and nftables. It assumes the Debian server has root or sudo access and that UDP port 51820 can reach it. If the server is behind a home or office router, you must forward that UDP port to the Debian host. If the ISP uses carrier-grade NAT (CGNAT), ordinary router port forwarding may not be enough; confirm that you actually have a reachable public address before troubleshooting WireGuard itself.
The example VPN uses 10.8.0.0/24. The server is 10.8.0.1, and the first client is 10.8.0.2. The client can be configured as either a full-tunnel VPN, where IPv4 Internet traffic exits through the Debian server, or a split tunnel, where only selected private networks use WireGuard.
Debian’s own WireGuard documentation confirms that WireGuard is available through the distribution packages, while the official WireGuard quick-start documents key generation, wg-quick, and the optional persistent keepalive behavior. See the Debian WireGuard documentation, the official WireGuard Quick Start, and Debian’s wg-quick manual page.
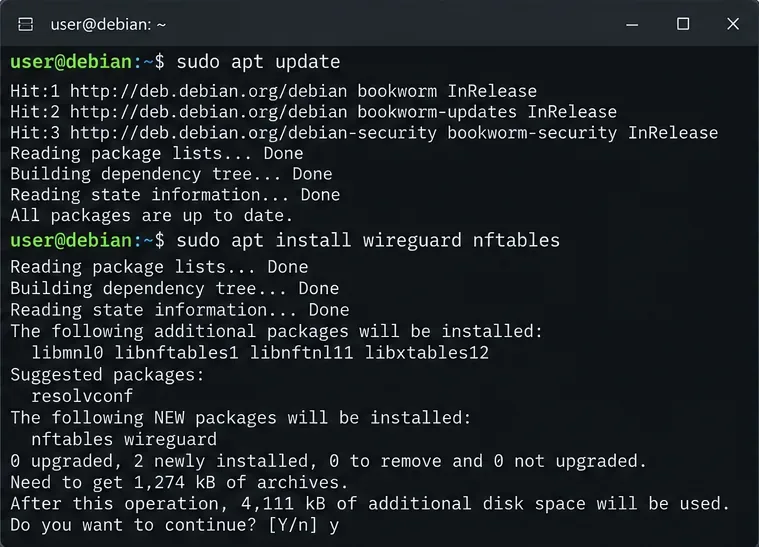
Update package metadata, then install WireGuard and nftables:
sudo apt update
sudo apt install wireguard nftables
A common misconception is that Debian 12 needs an out-of-tree WireGuard kernel module. It does not. WireGuard has been in the Linux kernel for years; Debian’s packages provide the userspace management tools you need. Action: use Debian packages instead of downloading an unverified installation script.
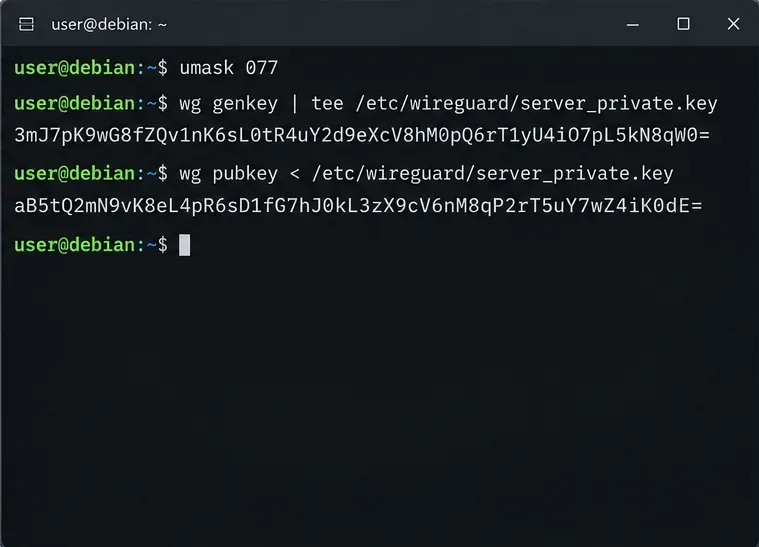
Create the key files with restrictive permissions:
sudo -i
install -d -m 700 /etc/wireguard
umask 077
wg genkey | tee /etc/wireguard/server_private.key | wg pubkey > /etc/wireguard/server_public.key
chmod 600 /etc/wireguard/server_private.key
cat /etc/wireguard/server_public.key
The private key must remain private. The public key is what you copy into client configurations. Ideally, generate each client’s private key on that client rather than on the server. That way the server never needs to possess client private keys.
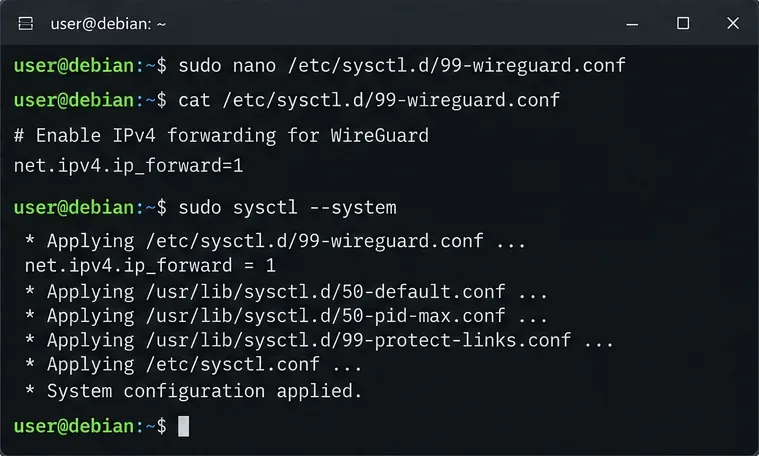
VPN隧道可能成功建立,但路由流量仍然失敗。原因是Linux IP轉送是獨立於WireGuard本身的核心設定。建立一個持久的sysctl檔案:
echo 'net.ipv4.ip_forward=1' | sudo tee /etc/sysctl.d/99-wireguard.conf
sudo sysctl --system
sysctl net.ipv4.ip_forward最後一條命令應該會報告結果net.ipv4.ip_forward = 1。 Debian 核心文件將其描述ip_forward為啟用 IPv4 封包轉送的開關。操作:明確驗證此值,而不是假設隧道介面會自動啟用路由。請參閱Debian ip(7) 手冊和sysctl.conf 文件。
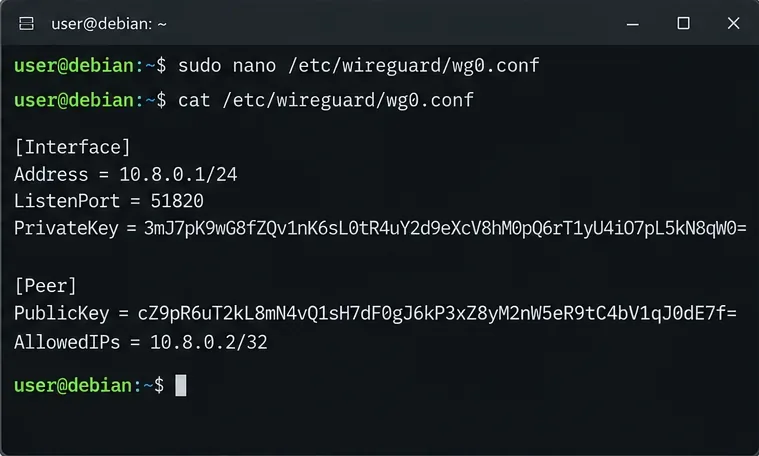
讀取伺服器私鑰,然後建立/etc/wireguard/wg0.conf:
[Interface]
Address = 10.8.0.1/24
ListenPort = 51820
PrivateKey = SERVER_PRIVATE_KEY

[Peer]
PublicKey = CLIENT_PUBLIC_KEY
AllowedIPs = 10.8.0.2/32
然後保護文件:
sudo chmod 600 /etc/wireguard/wg0.confAllowedIPs人們常常誤解它只是一個防火牆式的允許清單。它還控制路由。在伺服器端,將位址指派10.8.0.2/32給此對等體,就告訴 WireGuard,傳送往該隧道位址的封包屬於此用戶端。為每個客戶端分配一個唯一的位址和一個單獨的[Peer]位址區塊。
SaveConfig = true另一個有用的選擇是,如果您打算手動管理此文件,則可以省略此選項。使用此選項SaveConfig,wg-quick可以在關機時將即時狀態寫回配置,這可能會覆蓋手動編輯的內容。操作:除非您明確希望儲存即時狀態,否則請保持檔案聲明式。
如果全隧道用戶端需要透過 Debian 伺服器存取互聯網,最簡單的方案是 IPv4 位址偽裝。首先確定伺服器的出站介面:
ip route get 1.1.1.1尋找後面的接口dev,例如eth0,ens3或enp1s0。不要假設它總是eth0。
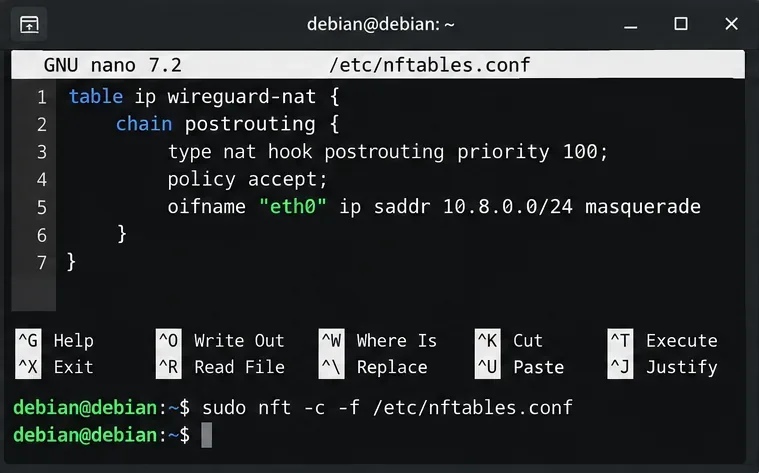
如果您已經維護了/etc/nftables.confNAT 表,請將其合併到您現有的規則集中,而不是取代該檔案:
table ip wireguard-nat {
    chain postrouting {
        type nat hook postrouting priority 100; policy accept;
        oifname "eth0" ip saddr 10.8.0.0/24 masquerade
    }
}請替換eth0為實際的出站介面。加載前請進行驗證:
sudo nft -c -f /etc/nftables.conf
sudo systemctl enable --now nftables
sudo nft list ruleset
WireGuard 本身並不會強制要求使用 NAT。如果目標 LAN 已有返回伺服器的路由10.8.0.0/24,則無需進行位址偽裝即可實現路由存取。 NAT 的主要作用在於,當您希望遠端用戶端使用伺服器現有的 Internet 路由,且您無法控制其他位置的回傳路由。建議:對於簡單的 Internet 出口場景,請使用位址偽裝;如果您控制網路並希望保留來源位址,則建議使用明確路由。
這取決於已安裝的防火牆。如果您的 nftables 輸入策略較為嚴格,請允許入站 UDP 流量51820。如果您的轉送鏈預設設定了丟棄策略,請新增規則以允許流量到達wg0目標位址,並允許已建立的回傳流量。雲端 VPS 提供者可能還擁有單獨的安全群組或提供者防火牆,這些安全群組或防火牆必須允許 UDP 流量51820。
不要盲目地將全新的預設防火牆規則集貼到遠端 SSH 伺服器上,這可能會導致您無法存取伺服器。正確做法:檢查sudo nft list ruleset並整合 WireGuard 到您現有的防火牆。
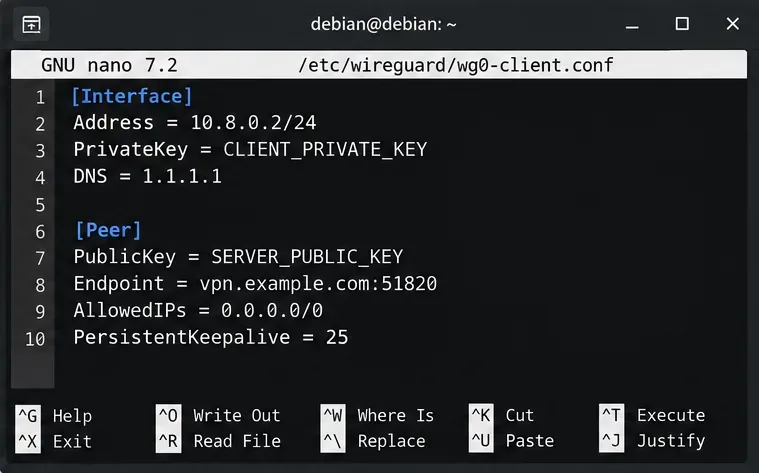
在客戶端,使用 WireGuard 應用程式產生自己的金鑰對wg genkey。完整的 IPv4 隧道設定檔如下所示:
[Interface]
Address = 10.8.0.2/24
PrivateKey = CLIENT_PRIVATE_KEY
DNS = 1.1.1.1

[Peer]
PublicKey = SERVER_PUBLIC_KEY
Endpoint = vpn.example.com:51820
AllowedIPs = 0.0.0.0/0
PersistentKeepalive = 25替換vpn.example.com為伺服器的公共 DNS 名稱或公用 IP 位址。此DNS行是可選的,客戶端實現的支援情況各不相同。對於分割隧道,請AllowedIPs僅變更為需要通過 VPN 的網絡,例如10.8.0.0/24加上一個私有 LAN,例如192.168.50.0/24。
PersistentKeepalive = 25這也是可選的。 WireGuard 官方文件建議,當 NAT 或有狀態防火牆後的對等方需要在空閒期間保持其映射關係時,25 秒是一個合理的值。這不是性能設置,也不是每個客戶端都必須設置的。操作:主要用於漫遊用戶端或經過 NAT 的用戶端,否則這些用戶端在空閒一段時間後將無法存取。
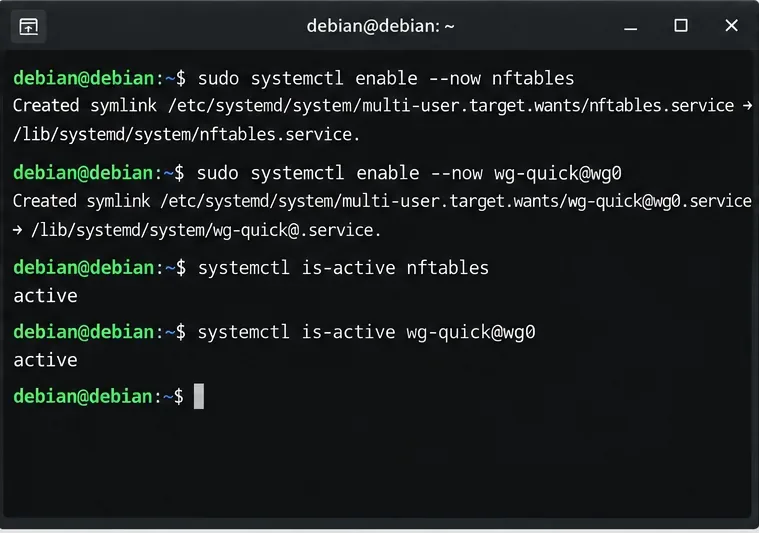
首先啟動 nftables,然後啟用 WireGuard 介面:
sudo systemctl enable --now nftables
sudo systemctl enable --now wg-quick@wg0
systemctl is-active nftables
systemctl is-active wg-quick@wg0wg-quick@wg0讀取/etc/wireguard/wg0.conf。wg-quick手冊確認,這種命名約定是儲存在下的配置的常用快捷方式/etc/wireguard。操作:除非您的網路管理員設計更複雜,否則請使用該服務而不是自訂啟動腳本。
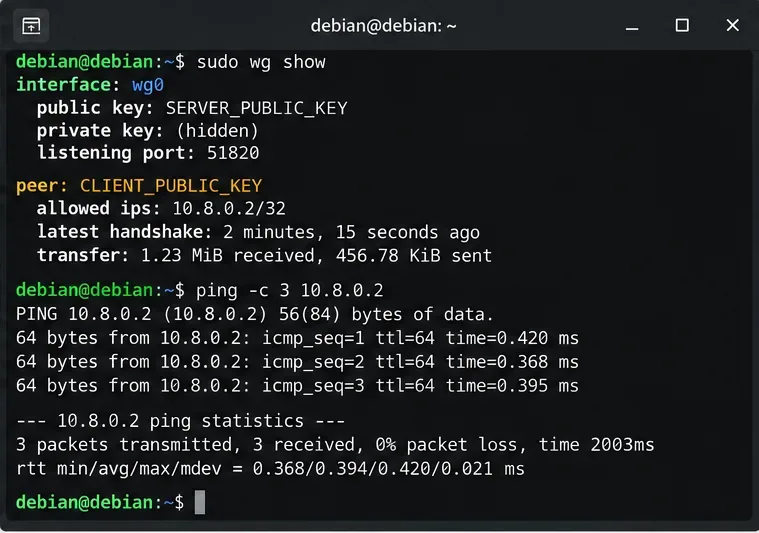
連接客戶端,然後檢查伺服器:
sudo wg show
ip address show wg0
ping -c 3 10.8.0.2
正常的對等節點通常會在流量通過隧道後顯示最近的握手記錄和非零傳輸計數器。如果您設定了完整隧道,請使用可信任的 IP 位址檢查服務檢查用戶端的公用 IPv4 位址;該位址應與 Debian 伺服器的出口位址相符。
| 症狀 | 可能原因 | 下一步行動建議 |
|---|---|---|
| 不握手 | 金鑰錯誤、端點錯誤、UDP連接埠錯誤、上游防火牆錯誤、路由器連接埠轉送錯誤或CGNAT錯誤 | 確認 UDP 51820 到達 Debian 主機,並重新檢查兩個公鑰。 |
| 握手成功,但無法上網 | IPv4 轉送、轉送防火牆規則或 NAT 缺失 | 檢查sysctl net.ipv4.ip_forward、nft list ruleset和出站介面名稱。 |
| 可以存取 10.8.0.1,但無法存取私有區域網路 | 客戶端缺少 LAN 路由,或 LAN 缺少返迴路由。 | 將 LAN 子網路新增至客戶端AllowedIPs,並適當地設定路由或 NAT。 |
| 有些網站停滯不前 | 可能存在路徑 MTU 問題 | 在強制設定 MTU 之前,請先使用較小的資料包進行測試。系統wg-quick可以自動選擇 MTU,因此不要因為其他指南中建議設定 1420 就進行設定。 |
| IPv4 使用 VPN,但 IPv6 不使用。 | 此個人資料僅路由0.0.0.0/0 | 也可以透過 WireGuard 設定 IPv6,或者如果需要避免 IPv6 洩漏,則可以故意停用/封鎖用戶端 IPv6。 |
當目標是保護不受信任的 Wi-Fi 網路上的流量,或將網路流量離開 Debian 伺服器時,請使用完整隧道。當您只需要遠端存取伺服器、家庭網路、實驗室或內部應用程序,並且希望正常的網路流量保持在本地時,請使用分離隧道。選擇哪種方式主要取決於客戶端AllowedIPs。
對於小型點對點部署,上述配置足以建立一個可維護的基線:每個用戶端一個對等區塊、唯一的隧道位址、Debian 管理的服務以及用於實際所需路由行為的 nftables。對於大型部署,即使 WireGuard 協定本身很簡單,金鑰分發、對等節點生命週期、DNS、日誌記錄和組態管理也會成為維運方面需要考慮的問題。
wg-quick@wg0活躍且wg0擁有10.8.0.1/24。51820,該端口可透過任何上游防火牆或路由器存取。/32伺服器上的唯一條目。net.ipv4.ip_forward1當需要路由存取時,情況就相同了。wg show顯示客戶端發送流量後最近的握手訊息。AllowedIPs與預期的全隧道或分離式隧道設計相符。這些步驟針對 Debian 12 以及 Debian 提供的標準 WireGuard 工具集。網路拓撲、上游 NAT、雲端防火牆、私人 LAN 路由和 IPv6 策略都與特定環境相關,因此無法僅從 WireGuard 設定推斷這些因素。請分別驗證每個因素,而不是將所有連線問題視為 WireGuard 故障。
將 Debian 12 Bookworm 系統移轉到 Debian Testing,減少依賴項的意外情況。了解支援的 Bookworm 到 Trixie 遷移路徑、APT 檢查、模擬和復原保障措施。
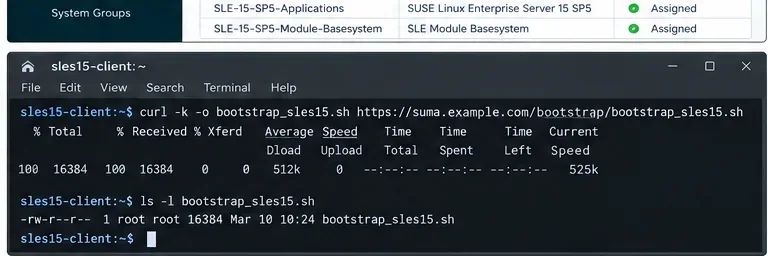
使用同步通道、引導儲存庫、啟動金鑰和經過驗證的 Salt 引導工作流程,無需 Internet 存取即可將 SLES 15 註冊到 SUSE Manager。
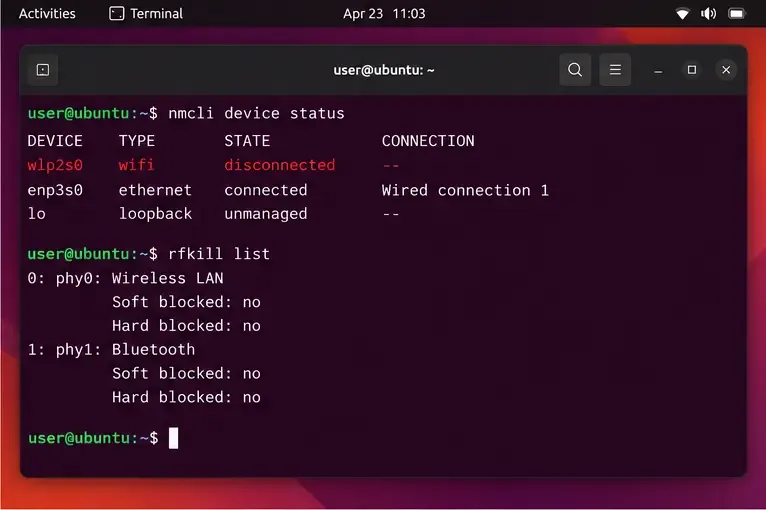
解決 Ubuntu 24.04 掛起後 Wi-Fi 斷開的問題:更新、檢查無線電區塊和 NetworkManager、測試省電模式、檢查日誌並驗證修復。
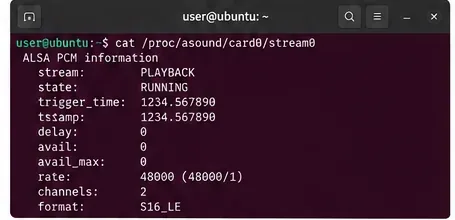
透過診斷 ALSA 設備並安全地調整 WirePlumber 緩衝區、取樣率和直接 ALSA 設置,修復 Ubuntu 24.04 中的劈啪聲、嗡嗡聲和失真聲音。
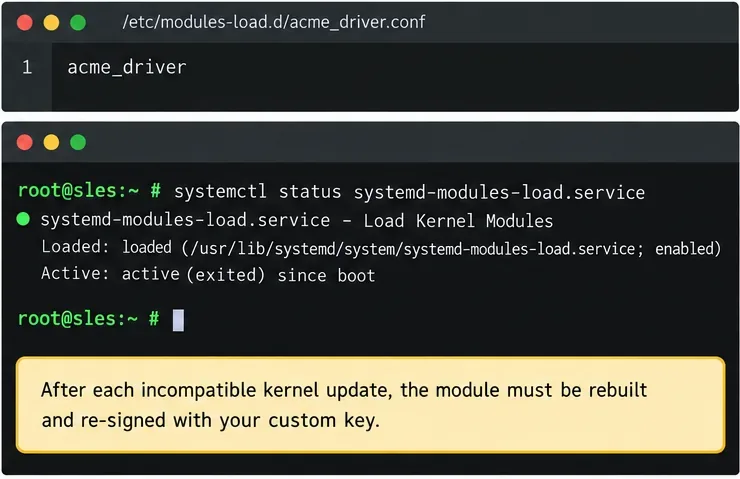
學習如何對自訂 SLES 15 核心模組進行簽名,將其憑證註冊到 MOK,在安全啟動下載入它,驗證結果,以及處理核心更新。
在 SLES 15 上設定 KVM,配置 libvirt 網路和存儲,建立虛擬機,啟用自動啟動,並在主機重新啟動後驗證可靠啟動。
Configure a WireGuard point-to-site VPN on Debian 12 with wg-quick, IPv4 forwarding, nftables NAT, client profiles, systemd startup, and verification.
在生產推廣之前,根據目前的 DISA STIG 對 SLES 15 進行審核,審查 OpenSCAP 的調查結果,測試補救措施,並記錄例外情況。
了解如何在 SUSE Linux Enterprise Server 上設定 SAP HANA 全域和語句記憶體限制,將 HANA 限制與 SUSE MemoryLow 進行比較,並安全地驗證每個變更。
了解 Gooroom OS 瀏覽器隔離的工作原理,準備受信任且被封鎖的 URL 策略,協調 GPMS 配置,並驗證您的建置中的設定。