Conecte/controle computadores pela rede com o KontrolPack
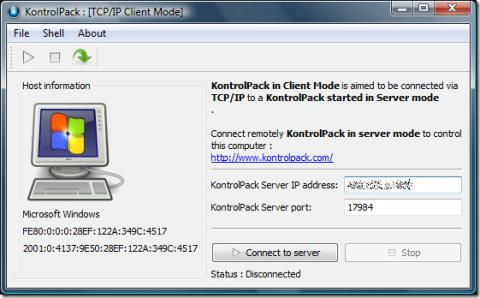
Controle computadores em sua rede com facilidade usando o KontrolPack. Conecte e gerencie computadores com diferentes sistemas operacionais sem esforço.
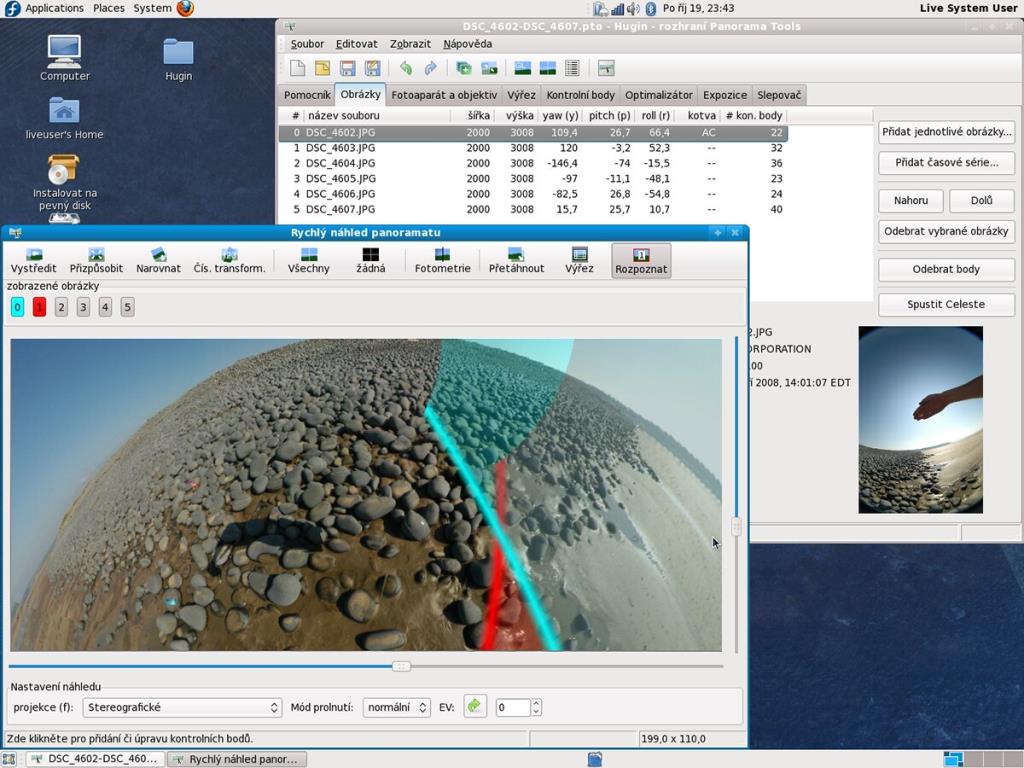
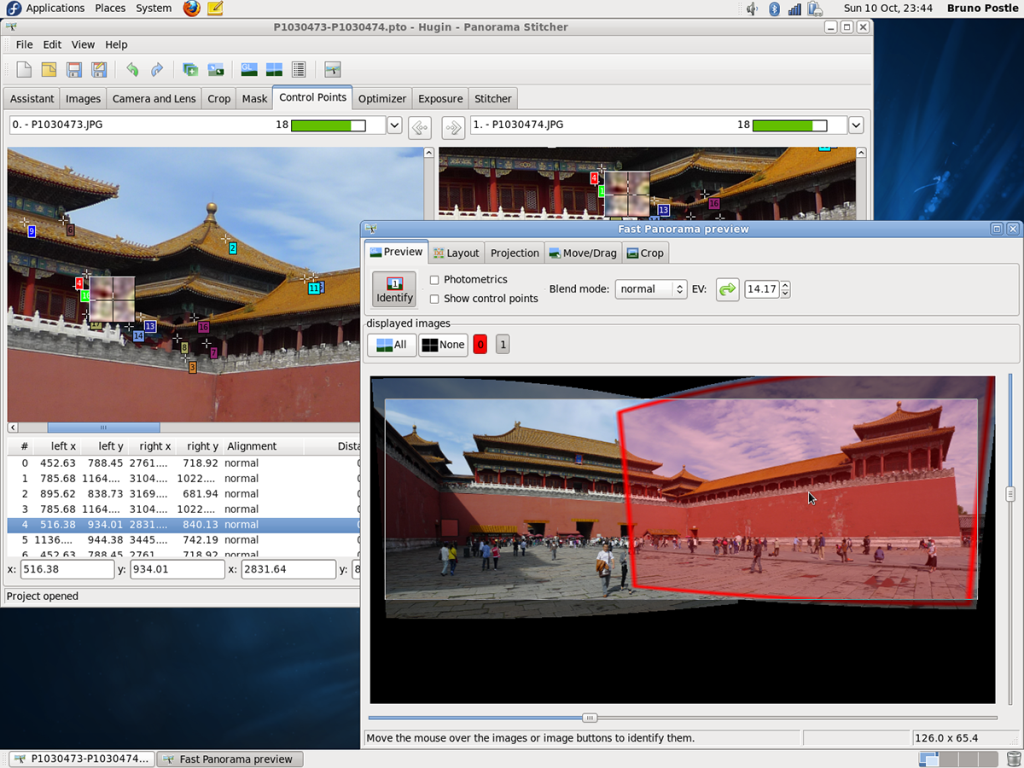
Hugin é uma ferramenta de edição de imagem de código aberto para Linux, Mac OS, Windows e BSD. Ele permite aos usuários juntar fotografias e criar panoramas digitalmente. Neste guia, mostraremos como instalar o Hugin no Linux.
Instruções de instalação do Ubuntu
The Hugin application is available for Ubuntu Linux users to use Ubuntu 18.04 LTS or newer. To get the Hugin application up and running on your Linux system, you’ll need to open up a terminal window on the Linux desktop.
Not sure how to open up a terminal window? Press Ctrl + Alt + T on the keyboard. Or, search for “Terminal” in the app menu and launch it that way. Once the terminal window is open, you must enable the “Universe” software repository.
To enable the Ubuntu Universe software repository, execute the add-apt-repository command down below. Ubuntu Universe is required to access the Hugin app.
sudo add-apt-repository universe
After adding the new repository, run the apt update command to refresh the Ubuntu software sources. Then, run the apt install command to load up the latest release of Hugin on your computer.
sudo apt update
sudo apt install hugin
When you enter the apt install command above, Ubuntu will ask for a password. Using the keyboard, enter your user account password and press Enter. Press Y to confirm you wish to install Hugin on Ubuntu.
Debian installation instructions
Debian 9.10, 11, and Sid have the Hugin application available for users via the “Main” software repository. To get it working on your system, you’ll have to launch a terminal window.
Não tem certeza sobre como abrir um terminal no Debian? Pressione Ctrl + Alt + T no teclado. Alternativamente, pesquise “Terminal” no menu de aplicativos e inicie-o. Execute o comando apt-get install assim que a janela do terminal for aberta e instale o pacote “hugin”.
sudo apt-get install hugin
Após inserir o comando acima, o Debian pedirá uma senha. Usando o teclado, digite a senha da conta do usuário. Em seguida, pressione a tecla Enter para enviar a senha. Por fim, pressione Y no teclado para confirmar que deseja instalar o Hugin.
Instruções de instalação do Arch Linux
The Hugin app is available on Arch Linux through the “Community” software repository. To get this app working on your Arch Linux system, do the following.
First, you must launch a terminal window on the Linux desktop. You can launch a terminal window by pressing Ctrl + Alt + T on the keyboard. Or, search for “Terminal” in the app menu and start it that way.
Once the terminal window is open, enter the pacman -S command and install the “hugin” package.
sudo pacman -S hugin
When you enter the command above, Arch Linux will ask you for your password. Using the keyboard, write in your password. Press the Enter key to confirm your choice.
Fedora installation instructions

Fedora Linux users can install the Hugin application directly through the primary Fedora repositories included with the operating system. However, Hugin is only available for Fedora 35, 34, 33, and Rawhide, so keep that in mind.
To get the latest version of Hugin working on your Fedora system, start opening up a terminal window on the desktop. You can launch a terminal window on the desktop by pressing Ctrl + Alt + T on the keyboard or by launching it via the application menu.
With the terminal window open and ready to use, run the dnf install command and set up the “hugin” package on your computer.
sudo dnf install hugin
After running the command above, Fedora will ask you for your password. Using the keyboard, enter your user account password. Then, press the Enter key. Upon confirming your password, Fedora will ask you to press Y to continue. Do so to install Hugin on your computer.
OpenSUSE installation instructions
If you’re running OpenSUSE with the latest OpenSUSE OSS software repository enabled, you’ll be able to get Hugin working with no problems. To start the installation, launch a terminal window.
To open up a terminal window on the OpenSUSE desktop, press Ctrl + Alt + T on the keyboard. Alternatively, search for “Terminal” in the app menu and launch it. Then, use the zypper install command to set up the “hugin” package on your system.
sudo zypper install hugin
When you run the zypper command above, OpenSUSE will ask for your password. Using the keyboard, input your user account password. Press the Enter key to submit the password. Then, press the Y button to confirm you wish to install Hugin.
Flatpak installation instructions
Hugin is available as a Flatpak on Flathub. So, if you’re using a Linux distribution that supports Flatpak, you’ll be able to get the app working quite quickly. To start the process, open up a terminal window.
Não consegue descobrir como lançar um terminal? Pressione Ctrl + Alt + T no teclado. Ou inicie o aplicativo a partir do menu de aplicativos. Quando a janela do terminal estiver aberta, siga nosso guia detalhado sobre como habilitar o tempo de execução Flatpak . Em seguida, digite os dois comandos abaixo para configurar o Hugin.
flatpak remote-add --if-not-existing flathub https://flathub.org/repo/flathub.flatpakrepo flatpak install flathub net.sourceforge.Hugin
Controle computadores em sua rede com facilidade usando o KontrolPack. Conecte e gerencie computadores com diferentes sistemas operacionais sem esforço.
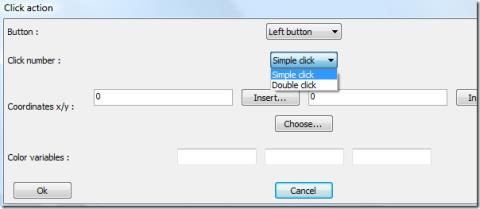
Você quer executar algumas tarefas repetidas automaticamente? Em vez de ter que clicar em um botão várias vezes manualmente, não seria melhor se um aplicativo
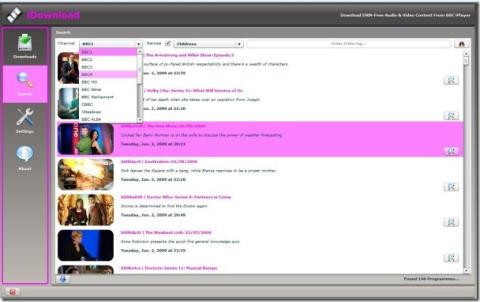
O iDownloade é uma ferramenta multiplataforma que permite ao usuário baixar conteúdo sem DRM do serviço iPlayer da BBC. Ele pode baixar vídeos no formato .mov
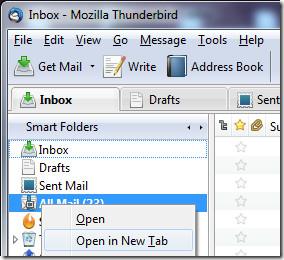
Temos abordado os recursos do Outlook 2010 em muitos detalhes, mas como ele não será lançado antes de junho de 2010, é hora de dar uma olhada no Thunderbird 3.
De vez em quando, todo mundo precisa de uma pausa. Se você está procurando um jogo interessante, experimente o Flight Gear. É um jogo multiplataforma de código aberto e gratuito.
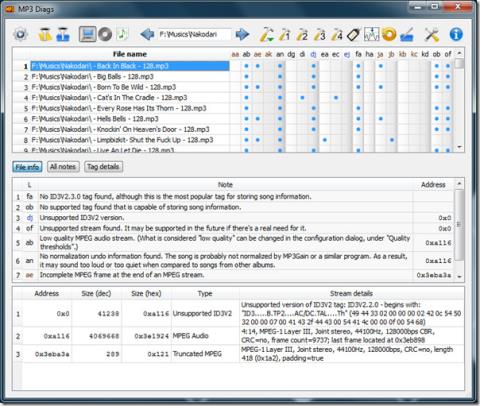
O MP3 Diags é a ferramenta definitiva para corrigir problemas na sua coleção de áudio musical. Ele pode marcar corretamente seus arquivos MP3, adicionar capas de álbuns ausentes e corrigir VBR.
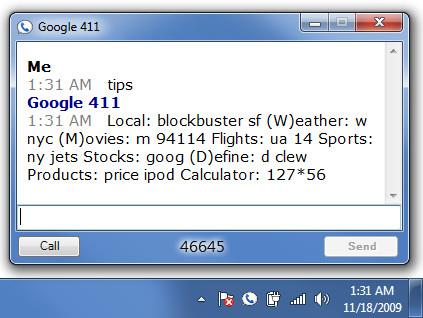
Assim como o Google Wave, o Google Voice gerou um burburinho em todo o mundo. O Google pretende mudar a forma como nos comunicamos e, como está se tornando
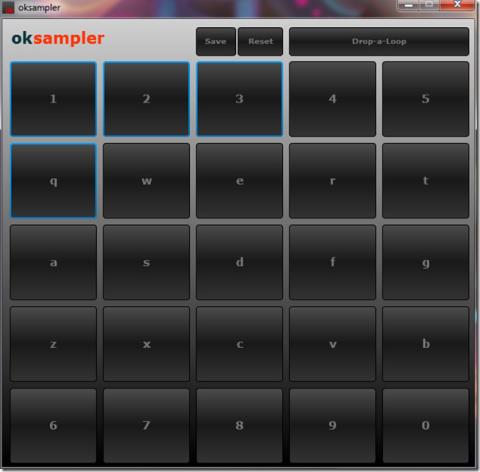
O que é Sampling? Segundo a Wikipédia, “É o ato de pegar uma parte, ou amostra, de uma gravação sonora e reutilizá-la como um instrumento ou
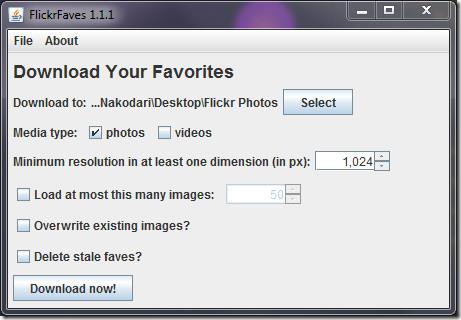
Existem muitas ferramentas que permitem aos usuários do Flickr baixar suas fotos em alta qualidade, mas existe alguma maneira de baixar os Favoritos do Flickr? Recentemente, viemos
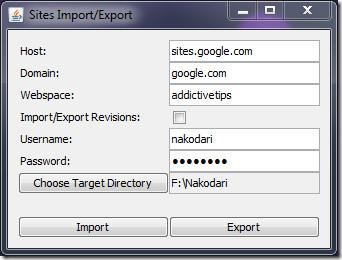
O Google Sites é um serviço do Google que permite ao usuário hospedar um site no servidor do Google. Mas há um problema: não há uma opção integrada para fazer backup.
![Baixe o FlightGear Flight Simulator gratuitamente [Divirta-se] Baixe o FlightGear Flight Simulator gratuitamente [Divirta-se]](https://tips.webtech360.com/resources8/r252/image-7634-0829093738400.jpg)
