Home
» MEDIA STREAMING
»
Raspberry Pi Plex Server: How to Install Plex and Stream Your Media
Raspberry Pi Plex Server: How to Install Plex and Stream Your Media
You can install Plex Media Server on a Raspberry Pi by setting up 64-bit Raspberry Pi OS, adding Plex’s official signed APT repository, and installing the plexmediaserver package. Then open Plex in a browser, add your media folders, and play them on another device. A Raspberry Pi 4 or 5 makes a practical low-power server for files that your playback devices can handle directly.
What you need
Raspberry Pi: A Pi 4 or Pi 5 is recommended. Older models have less processing headroom.
Operating system: A current 64-bit Raspberry Pi OS installation, preferably Lite for a headless server.
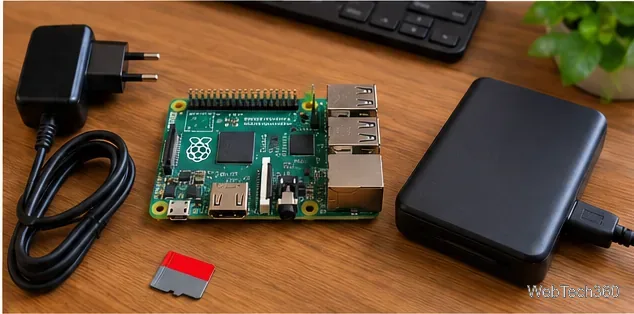
Boot storage and power: A reliable microSD card or supported SSD and the correct power supply for your Pi.
Media storage: A USB SSD, hard drive, or reliably mounted network share containing media you own or are authorized to use.
Network and account: Ethernet if possible, or stable Wi-Fi, plus a Plex account for server setup.
The Pi is best suited to Direct Play, where the player supports the video's format and the server does not have to convert it. Transcoding demanding video, especially multiple 4K streams, is not a realistic expectation for this setup. See Plex’s ARM server limitations for more about ARM-based media servers.
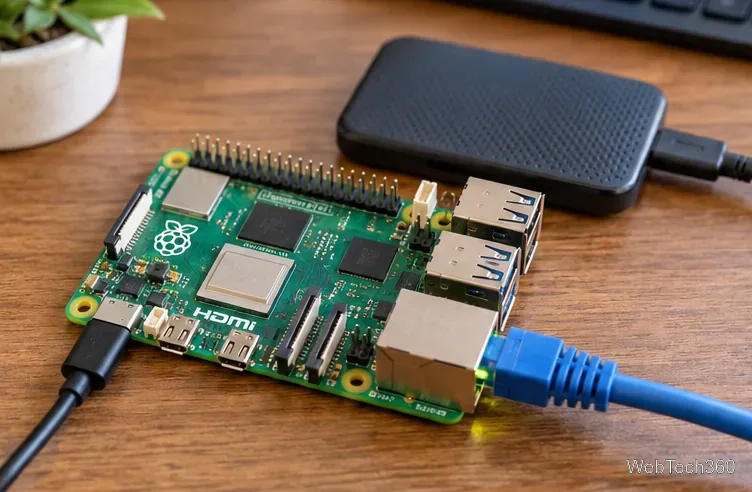
Connect reliable power, networking, and storage before starting the installation.
Install Plex on a Raspberry Pi
1. Install Raspberry Pi OS
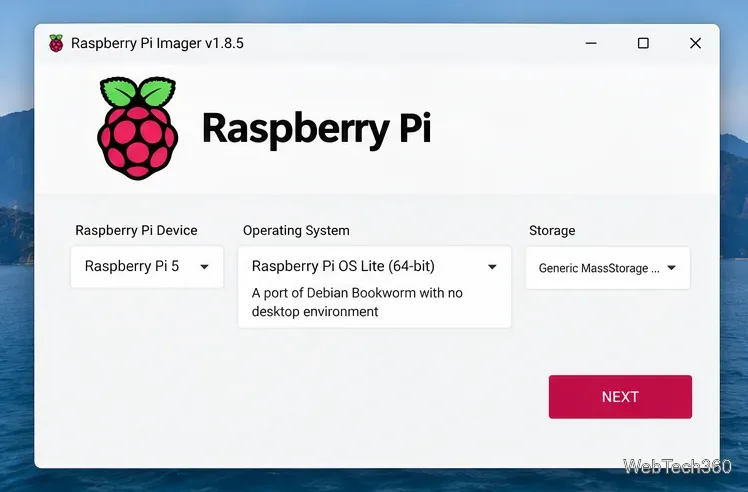
Download Raspberry Pi Imager and use it to select your Raspberry Pi model, a compatible Raspberry Pi OS Lite (64-bit) image, and the boot device. In Imager’s customization options, set a username, networking, and SSH access if you want to run the Pi without a monitor. Writing the image erases the chosen device, so double-check your selection. Raspberry Pi’s setup documentation covers first boot and SSH.
Select your Pi, a compatible 64-bit operating system, and the correct boot drive in Raspberry Pi Imager.
2. Update Raspberry Pi OS
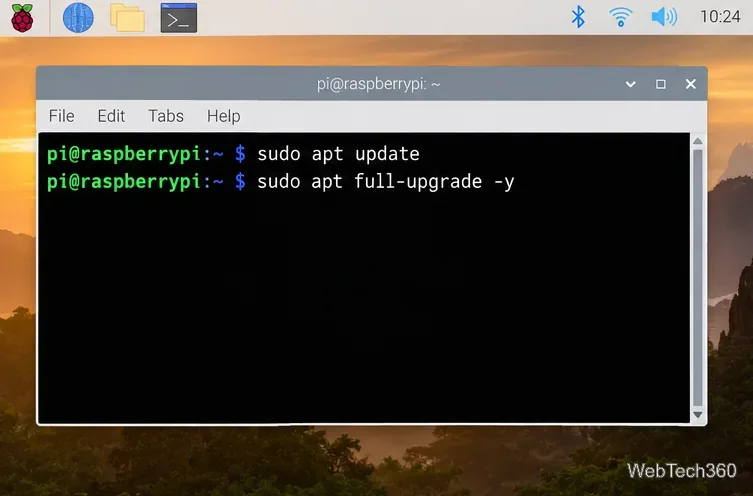
Boot the Pi, connect to it locally or through SSH, and enter:
Reconnect after the reboot. Check the architecture with dpkg --print-architecture; this guide assumes it reports arm64. If you use an older 32-bit installation, choose a Plex package compatible with that architecture rather than assuming these instructions apply unchanged.
Update Raspberry Pi OS before adding the Plex package repository.
3. Add Plex’s official APT repository
Install the signing utilities, create a keyring directory, and add Plex’s current repository:
These commands use the repository and signing key in Plex’s official Linux repository instructions. Do not follow older instructions that use the discontinued dev2day Jessie repository or apt-key. If this machine previously had a Plex APT source, remove the obsolete Plex-specific source entry first to avoid duplicate or conflicting entries.
Look for active (running) in the service status. Plex normally runs under its own plex account. Keep that account rather than changing the service to your personal login: configure media-folder permissions instead.
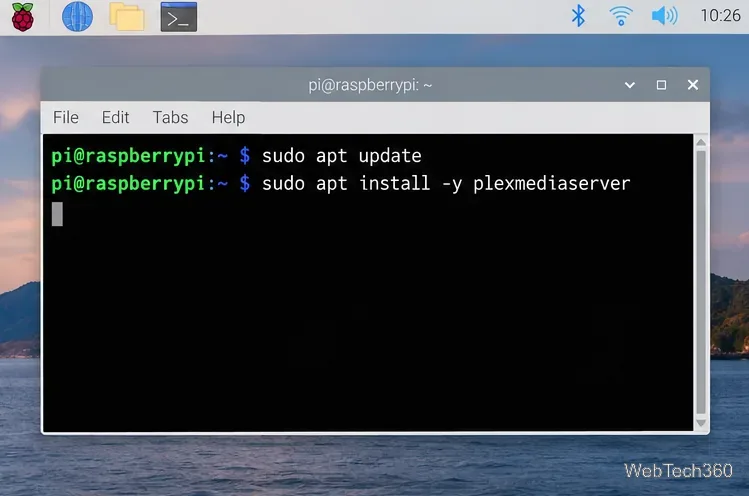
After configuring the signed Plex APT repository, install the plexmediaserver package.
5. Connect your media drive
Attach a USB drive and run lsblk -f to identify its filesystem and mount location. If necessary, mount it at a stable path such as /mnt/plexmedia and configure a persistent UUID-based mount so it returns after restarting the Pi. Never guess a drive identifier, especially before modifying partitions or /etc/fstab.
Make sure the plex account can traverse directories and read the files. For a library mounted at the example path, test with:
sudo -u plex ls /mnt/plexmedia
If access is denied, adjust ownership, group permissions, or mount options for that filesystem. Do not use blanket chmod 777; Plex explains the proper approach in its Linux permissions guide.
An external SSD or hard drive can hold your media library independently of the boot card.
6. Open Plex Web App and claim your server
On the Pi itself, open http://127.0.0.1:32400/web. On another computer, you can use http://PI_IP:32400/web after initial setup. If the first-run wizard does not recognize the server as local, make an SSH tunnel from your computer:
ssh -L 8888:localhost:32400 YOUR_USER@PI_IP
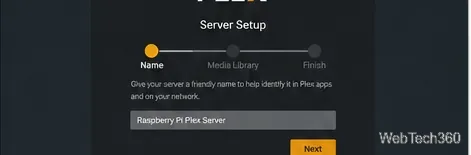
Then visit http://localhost:8888/web, sign in to Plex, and follow the server setup prompts. Replace YOUR_USER and PI_IP with your actual details. This follows Plex’s browser setup instructions.
Use Plex Web App to sign in and name the server during initial setup.
7. Add your movies, shows, and music
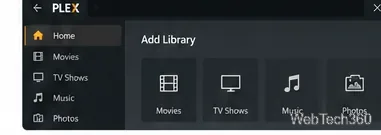
In Plex Web App, open Settings, select the correct server, then go to Manage > Libraries > Add Library. Choose Movies, TV Shows, Music, or Photos; name the library; and browse to the folder on the Pi. Repeat for other media types. Plex will scan the folders and organize recognized files. Plex’s library setup guide explains the available library types and settings.
Create separate libraries for each type of content and point them to the correct folders.
8. Connect a player and test streaming
Install a Plex player on a phone, smart TV, streaming device, or computer, and sign in with the appropriate Plex account. On the same home network, select your Raspberry Pi server and try a file that can play directly. If playback stutters, check network stability, the source file's format, and whether Plex is attempting to transcode.
Connect a Plex player on your home network and test playback before enabling remote access.
Optional: Stream while away from home
To access your server outside the home, open Settings > Server > Remote Access. Plex can attempt automatic router configuration; if that fails, configure a router rule forwarding an appropriate external TCP port to the Pi’s internal TCP port 32400. Give the Pi a stable LAN address and follow Plex’s Remote Access documentation instead of exposing unrelated ports. Double NAT or carrier-grade NAT may prevent a direct connection.
Important: Plex introduced paid requirements for remote playback of personal video on affected apps starting April 29, 2025. Depending on the account and client, this may require Plex Pass or Remote Watch Pass; local streaming does not have the same requirement. Remote music through Plexamp and photos through Plex Photos have separate allowances. Check Plex’s remote playback requirements before relying on remote video access. A VPN is not required for local Plex playback and can cause connection detection problems.
Quick troubleshooting
Web page will not open: Check systemctl status plexmediaserver, confirm the Pi's IP address, and ensure local TCP 32400 is reachable.
Library appears empty: Confirm that the drive is mounted and sudo -u plex ls /your/media/path can list the folder, then scan the library again.
Video buffers or will not play: Prefer a compatible Direct Play format, use wired Ethernet when possible, and avoid unnecessary video transcoding.
Remote Access fails: Check the router rule and double NAT, and consult Plex’s Remote Access documentation. Avoid forwarding Plex's discovery ports to the internet.
Once local playback works reliably, leave the Pi powered on, keep Raspberry Pi OS and Plex updated, and back up the media and server settings that matter to you.