Imagine this: You're excited to upgrade to Windows 11, but halfway through the installation, a frustrating GPT disk error pops up, halting everything. 😩 Don't worry—I've been there, and you're not alone. This common issue often stems from mismatched disk partitioning schemes, where your drive is set to MBR instead of the required GPT for UEFI boot mode. The good news? It's fixable with a few straightforward steps. In this concise guide, we'll walk you through how to fix GPT disk error during Windows 11 installation, using the latest methods to ensure a seamless setup. Let's dive in and turn that frustration into a smooth upgrade!
Why Does the GPT Disk Error Occur During Windows 11 Installation?
Before we jump into fixes, understanding the root cause empowers you to avoid it next time. Windows 11 demands UEFI firmware with a GPT (GUID Partition Table) disk layout for security features like Secure Boot and TPM 2.0. If your drive uses the older MBR (Master Boot Record) format, the installer throws a GPT disk error, refusing to proceed.
Common triggers include:
- 👉 Legacy BIOS mode instead of UEFI.
- 👉 Pre-existing MBR partitions on your drive.
- 👉 Incompatible hardware or outdated BIOS settings.
- 👉 Corrupted installation media.
Stick with us—these insights will make the fixes click into place, saving you hours of trial and error.
Step-by-Step Solutions to Fix GPT Disk Error
We'll start with the simplest methods and escalate to more advanced ones. Grab your installation USB, and let's get your PC booting into Windows 11 without a hitch. Pro tip: Back up your data first to avoid any mishaps. 💾
1. Switch to UEFI Boot Mode in BIOS/UEFI Settings
The quickest win? Ensure your system is in UEFI mode, not Legacy/CSM. Here's how:
- Restart your PC and enter BIOS (usually by pressing Del, F2, or F10 during boot—check your motherboard manual).
- Navigate to the Boot tab.
- Disable "CSM Support" or "Legacy Boot" and enable "UEFI Boot Mode."
- Set your installation media as the first boot device.
- Save and exit (F10 + Enter).
Now, retry the installation. If the GPT disk error persists, move to the next step. This tweak alone resolves the issue for many users, breathing new life into your setup. 🎉
2. Convert MBR to GPT Using Diskpart in Windows Setup
During the Windows 11 installation, you can convert your disk on the fly without extra tools. This method is safe if you're doing a clean install.
- Boot from your Windows 11 USB and proceed to the "Where do you want to install Windows?" screen.
- Press Shift + F10 to open Command Prompt.
- Type the following commands one by one (press Enter after each):
diskpartlist disk (Identify your target disk by size—usually Disk 0.)select disk 0 (Replace 0 with your disk number.)clean (This wipes the disk—data loss warning!)convert gptexit
- Close Command Prompt and refresh the drive list in the installer. Select the unallocated space to create new partitions.
Voila! Your disk is now GPT-ready. This fix GPT disk error technique is Microsoft-recommended and works flawlessly on the latest builds. If you're nervous about data loss, we've got backups in mind later.
3. Use Third-Party Tools for Non-Destructive Conversion
If you want to preserve data, skip the clean command and use free tools like EaseUS Partition Master or MiniTool Partition Wizard (download from their official sites before starting). These allow MBR to GPT conversion without wiping your drive.
- Boot into a live environment (e.g., from a Linux USB) or use the tool in Windows if accessible.
- Select your disk, choose "Convert MBR to GPT," and follow the wizard.
- Reboot and attempt Windows 11 installation again.
These tools are user-friendly and handle complex partitions effortlessly, giving you peace of mind. 😊
4. Verify and Repair Installation Media
Sometimes, the error isn't the disk—it's faulty media. Create a fresh Windows 11 USB using the Media Creation Tool from Microsoft's site.
- Download the tool on another PC.
- Select "Create installation media for another PC" and choose USB flash drive.
- Ensure it's at least 8GB and formatted as FAT32.
For added reliability, use Rufus to make the USB bootable in UEFI mode. This step often uncovers hidden corruption causing the GPT disk error.
5. Advanced Fix: Check for Hardware Issues
If software tweaks fail, it might be hardware. Run CHKDSK from Command Prompt:
chkdsk /f /r C: (Replace C: with your drive.)
Update your motherboard BIOS from the manufacturer's site for the latest UEFI support. In rare cases, test with a different drive to rule out failures.
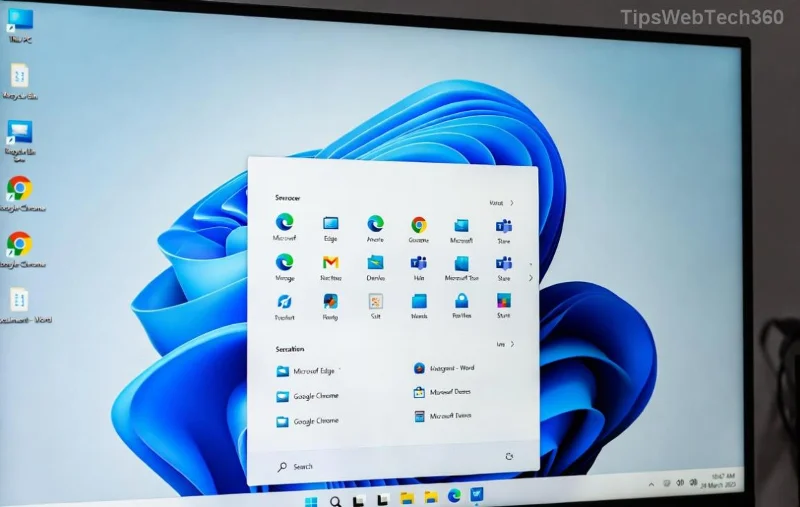
![Successful Windows 11 installation screen after resolving GPT disk error]()
Quick Comparison of Fix Methods
To help you choose, here's a handy table summarizing the options:
| Method |
Difficulty |
Data Safe? |
Time Required |
Best For |
| UEFI Boot Switch |
Easy ⭐ |
Yes |
5-10 mins |
BIOS mismatches |
| Diskpart Conversion |
Medium |
No (clean install) |
10-15 mins |
Clean setups |
| Third-Party Tools |
Easy |
Yes |
15-20 mins |
Data preservation |
| Media Repair |
Easy |
N/A |
20-30 mins |
Corrupted USBs |
| Hardware Check |
Hard |
Yes |
30+ mins |
Persistent errors |
Troubleshooting Tips to Avoid Future GPT Errors
Prevention is better than cure! After fixing, enable BitLocker for disk health monitoring and keep your BIOS updated. If you're on an older PC, check Microsoft's Windows 11 specs page to confirm compatibility.
For dual-boot setups, use tools like EasyBCD to manage partitions safely. These habits will keep your system error-free and running like a dream. 🚀
Final Thoughts: Conquer the GPT Disk Error Today!
There you have it—a complete roadmap to fix GPT disk error during Windows 11 installation. By following these steps, you'll bypass the roadblock and enjoy the sleek interface, enhanced security, and performance boosts of Windows 11. If one method doesn't work, the next likely will—persistence pays off! Got questions or a unique twist to your setup? Drop a comment below; we're in this together. Your successful install is just a few clicks away. 👏