Imagine powering on your Windows 11 PC, only to watch it cycle endlessly through the Automatic Repair screen. "Preparing Automatic Repair," "Diagnosing your PC," and then... back to square one. It's a maddening loop that traps thousands of users, but don't worry – you're not alone, and it's fixable. In this guide, we'll tackle the troubleshooting Windows 11 Automatic Repair loop with the latest 2026 methods, keeping things simple, actionable, and frustration-free. By the end, you'll have your system back up and running like new. Let's dive in and reclaim your productivity! 😊
What Causes the Windows 11 Automatic Repair Loop?
Before we fix it, understanding the culprit helps. The Automatic Repair loop often stems from corrupted system files, faulty hardware, or botched updates. Recent Windows 11 patches in 2026 have addressed some vulnerabilities, but issues like disk errors or driver conflicts can still trigger this nightmare. Think of it as your PC's built-in medic going haywire – it's trying to help but getting stuck.
Common triggers include:
- 🛠️ Corrupted boot files: From sudden shutdowns or malware.
- ⚡ Hardware glitches: Failing hard drives or RAM.
- 🔄 Failed updates: Even the newest 2026 builds can hiccup.
- 📁 Software conflicts: Third-party apps interfering with startup.
Spotting these early can prevent bigger headaches. Now, let's roll up our sleeves and troubleshoot.
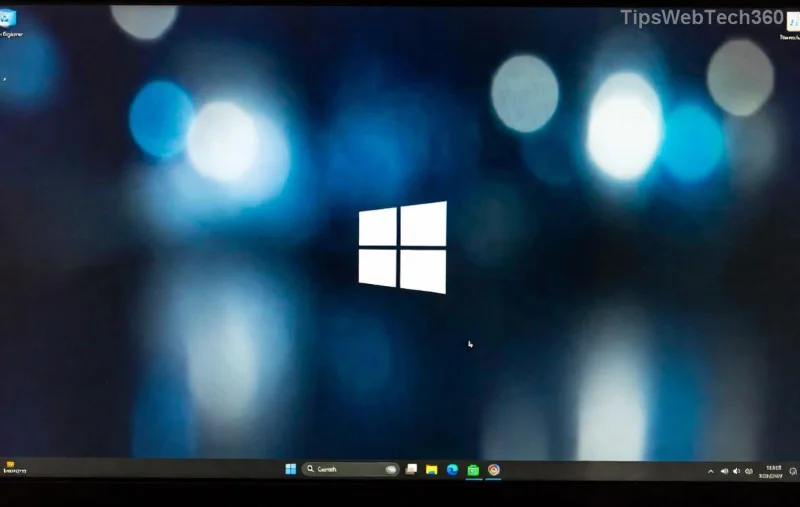
Step 1: Boot into Safe Mode to Break the Loop
Your first line of defense? Getting into Safe Mode, where Windows loads minimally to isolate issues. This often bypasses the Automatic Repair cycle.
Here's how:
- Force restart your PC three times during the loop (power off mid-boot). This triggers the recovery menu.
- Select Troubleshoot > Advanced options > Startup Settings > Restart.
- After reboot, press 4 or 5 for Safe Mode.
Once in, run a quick scan: Open Command Prompt as admin and type sfc /scannow. Hit Enter – it'll repair corrupted files. If that doesn't cut it, proceed to the next steps. Feeling empowered already? Great, because we're just getting started.
Step 2: Use Built-in Repair Tools for Deeper Fixes
If Safe Mode works but the loop returns on normal boot, leverage Windows' arsenal of tools. These are updated in the latest 2026 versions for better reliability.
| Tool |
Purpose |
How to Access |
| Startup Repair |
Fixes boot issues automatically |
Recovery menu > Troubleshoot > Advanced > Startup Repair |
| CHKDSK |
Scans and repairs disk errors |
Command Prompt: chkdsk C: /f /r |
| DISM |
Restores system image health |
Command Prompt: DISM /Online /Cleanup-Image /RestoreHealth |
Pro tip: Run these from the recovery environment if you can't boot normally. For CHKDSK, it might take time – grab a coffee while it works its magic. These tools have saved countless PCs from the troubleshooting Windows 11 Automatic Repair loop abyss.
![Command Prompt running CHKDSK for Windows 11 repair]()
Step 3: Reset or Reinstall Windows 11 Without Losing Data
Still looping? Time for a reset. Windows 11's 2026 features make this painless, preserving your files where possible.
From the recovery menu:
- Go to Troubleshoot > Reset this PC.
- Choose Keep my files for a clean slate without data loss.
- Follow prompts – it'll reinstall fresh while keeping essentials.
If you're tech-savvy, create a bootable USB with the Media Creation Tool from Microsoft's site. Boot from it to run repairs externally. Remember, back up important data first if you can access an external drive in Safe Mode. This step often resolves stubborn Automatic Repair issues tied to deep system corruption.
For official guidance, check Microsoft's support page on resolving startup problems.
Advanced Troubleshooting: Hardware Checks and Driver Updates
Sometimes, the loop isn't software – it's hardware. In 2026, Windows 11's diagnostics are sharper, but manual checks help.
- 👆 Run Memory Diagnostic: Search in recovery options and test RAM.
- 🔧 Update drivers: In Safe Mode, use Device Manager to scan for issues.
- 💾 Test your drive: Tools like CrystalDiskInfo (free download) can flag failing HDDs/SSDs.
If hardware's the villain, consider professional help. But most cases? Software tweaks do the trick. Pat yourself on the back – you've navigated the tough stuff!
![Windows 11 recovery menu options for troubleshooting Automatic Repair loop]()
Prevention Tips: Keep the Loop at Bay in 2026
Fixed it? Awesome! Now, prevent a sequel. Enable automatic updates for the latest 2026 security patches, use reliable antivirus, and avoid abrupt shutdowns. Regularly back up with OneDrive or external drives – it's your safety net.
Bonus: Schedule monthly sfc /scannow runs to catch issues early. Your PC will thank you with smooth performance.
Final Thoughts: You've Got This!
Congrats on making it through this troubleshooting Windows 11 Automatic Repair loop guide! Whether it's a quick Safe Mode fix or a full reset, these steps, powered by the newest 2026 tools, should have you back online. If problems persist, community forums like Reddit's r/Windows11 are goldmines for user tips. Stay calm, follow along, and remember: tech glitches are temporary. What's your next project now that your PC's rescued? Share in the comments – let's keep the conversation going! 🚀