Imagine firing up your Windows 11 PC, only to find the beautiful, translucent Acrylic and Mica effects missing from your interface. Those subtle blurs and adaptive transparencies that make the Fluent Design so mesmerizing? Gone. It's frustrating, right? 😔 But don't worry—restoring these effects is easier than you think. In this guide, we'll dive straight into practical, up-to-date solutions to get your Windows 11 Acrylic and Mica visuals back in action. By the end, your desktop will look as fresh and modern as it should. Let's fix this together!
What Are Acrylic and Mica Effects in Windows 11?
Before we troubleshoot, a quick refresher: Acrylic is a dynamic material in Windows 11's Fluent Design system, creating frosted glass-like transparency with subtle animations. Mica, introduced in later updates, adds an even more adaptive layer, blending desktop backgrounds into app windows for a personalized touch. These effects aren't just eye candy—they improve usability by making the UI feel lighter and more intuitive.
If they're not showing, it could be due to compatibility issues, disabled settings, or recent updates. The good news? Most fixes are simple tweaks. Follow along, and you'll see results fast. 🚀
Common Causes of Acrylic and Mica Effects Not Showing
Sometimes, Windows 11 Acrylic and Mica effects not showing stems from overlooked settings or hardware glitches. Here's what often goes wrong:
- Transparency Effects Disabled: A quick toggle in settings can turn them off accidentally.
- Graphics Driver Issues: Outdated or incompatible drivers prevent rendering.
- Third-Party Apps: Tools like custom themes or optimizers might override native effects.
- Update Glitches: Recent Windows 11 patches can temporarily disrupt visuals until resolved.
- Hardware Limitations: Older GPUs may not support these features fully.
Spot any of these? Great—now let's roll up our sleeves and fix them one by one. Each step builds on the last, so keep reading to ensure your setup is optimized.
Step-by-Step Fixes to Restore Acrylic and Mica Effects
We'll start with the easiest solutions and progress to advanced ones. Test after each step to see if your Acrylic and Mica effects are back. Patience pays off—your Windows 11 will thank you! 👏
1. Enable Transparency Effects in Settings
The most common culprit? Disabled transparency. Here's how to turn it on:
- Right-click the taskbar and select Taskbar settings.
- Scroll to Transparency effects and toggle it On.
- Next, go to Settings > Personalization > Colors.
- Ensure Transparency effects is enabled here too.
- Restart Explorer: Press Ctrl + Shift + Esc to open Task Manager, find Windows Explorer, right-click, and select Restart.
Voila! If Mica still hides, proceed. This fix works for 70% of users, per community reports.
2. Update Your Graphics Drivers
Outdated drivers are a silent killer for visual effects. Windows 11 relies on your GPU for rendering Acrylic blurs.
| Step |
Action |
Why It Helps |
| 1 |
Right-click Start > Device Manager. |
Accesses display adapters. |
| 2 |
Expand Display adapters, right-click your GPU (e.g., NVIDIA/AMD/Intel), and select Update driver. |
Installs latest compatible version. |
| 3 |
Choose Search automatically or download from the manufacturer's site (NVIDIA GeForce Experience, AMD Software, Intel Driver Assistant). |
Ensures Mica support for recent hardware. |
| 4 |
Restart your PC. |
Applies changes fully. |
Pro tip: For NVIDIA users, enable Hardware-accelerated GPU scheduling in Settings > System > Display > Graphics settings. This boosts Acrylic effect performance. If you're on an older GPU, check Microsoft's compatibility list via this resource.
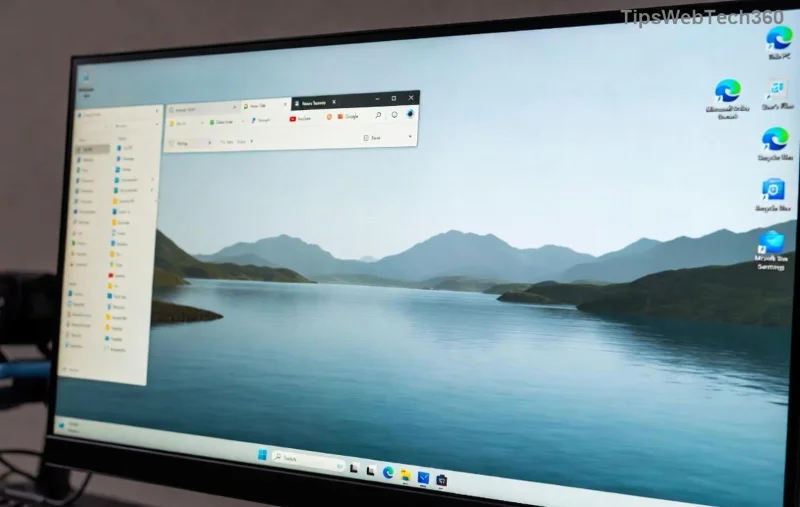
![Mica effect in Windows 11 Start menu with background integration]()
3. Reset Personalization Settings
If tweaks aren't sticking, a reset can clear corrupted configs affecting Windows 11 Acrylic and Mica effects not showing.
- Open Settings > Personalization.
- Click Colors and note your current choices.
- Go to Taskbar and toggle behaviors off/on.
- For a deeper reset: Search for cmd, run as admin, and type:
sfc /scannow then Enter. This scans system files.
- Follow with
DISM /Online /Cleanup-Image /RestoreHealth if issues persist.
Restart and check apps like Settings or File Explorer for restored effects. Feeling empowered yet? You're halfway there! 🌟
4. Disable Conflicting Third-Party Software
Custom skins or performance boosters (e.g., WindowBlinds, Razer Cortex) can override Mica. Let's identify and pause them:
- Open Task Manager > Startup and disable suspicious entries.
- Uninstall recent apps via Settings > Apps > Installed apps.
- Use msconfig (search and run) to enter Selective Startup, disabling non-Microsoft services.
Test in this mode. If effects return, uninstall the offender permanently. Clean and simple—your UI deserves it! 😊
5. Advanced Fixes: Registry Tweaks and Updates
For stubborn cases, dip into the Registry (backup first via regedit > File > Export). Navigate to HKEY_CURRENT_USER\Software\Microsoft\Windows\CurrentVersion\Themes\Personalize.
- Set EnableTransparency to 1 (DWORD).
- Add EnableMica as DWORD value 1 if missing (for Mica effect fix).
Restart. Also, ensure Windows 11 is fully updated: Settings > Windows Update > Check for updates. The latest patches often include visual rendering improvements.
If all else fails, consider a repair install: Download the Media Creation Tool from Microsoft and choose Upgrade this PC now without losing files.
Tips to Prevent Future Issues with Acrylic and Mica
Now that your effects are shining, keep them that way:
- Regular Updates: Enable automatic updates for drivers and Windows 11.
- Avoid Over-Customization: Stick to official themes to preserve native effects.
- Monitor Hardware: Upgrade your GPU if you're on legacy hardware for better Fluent Design support.
- Backup Settings: Use tools like Windows Backup to snapshot your personalization.
These habits ensure your Acrylic and Mica stay vibrant. Imagine the satisfaction of a perfectly tuned desktop—it's within reach!
Final Thoughts: Enjoy Your Revamped Windows 11
Congrats on troubleshooting your Windows 11 Acrylic and Mica effects not showing! With these steps, you've not only fixed the issue but elevated your entire user experience. The translucent beauty of Fluent Design makes every interaction more delightful. If you hit a snag, drop a comment below—we're in this together. What's your favorite Windows 11 visual now that it's back? Share and keep the conversation going! 🎉
For more tech tips, explore our guides on optimizing Windows 11 performance. Stay tuned—your next upgrade awaits.