Imagine juggling work emails, personal projects, and entertainment without the chaos of a cluttered screen. That's the magic of Windows 11 virtual desktops—a built-in feature that lets you create multiple, isolated workspaces on a single computer. If you're new to this or struggling to get the most out of it, you're in the right place. This guide will walk you through how to use Windows 11 virtual desktops correctly, step by step, so you can streamline your day and feel that satisfying rush of efficiency. Let's dive in and transform your computing experience! 🌟
What Are Windows 11 Virtual Desktops and Why Should You Care?
Windows 11 virtual desktops allow you to set up separate desktop environments, each with its own set of open apps, windows, and wallpapers. Think of them as multiple screens stacked virtually—one for work, one for browsing, and another for creative tasks. Introduced as a core feature in Windows 11, this tool has evolved to support seamless switching, custom naming, and even background personalization, making it easier than ever to stay organized.
Why bother? In our multitasking world, a single desktop can quickly become overwhelming. Virtual desktops help reduce distractions, improve focus, and enhance productivity. Studies from productivity experts show that organized workspaces can cut down task-switching time by up to 40%, leaving you more energized and less stressed. Ready to unlock this? Let's start with the basics.
Setting Up Your First Virtual Desktop: A Quick Start Guide
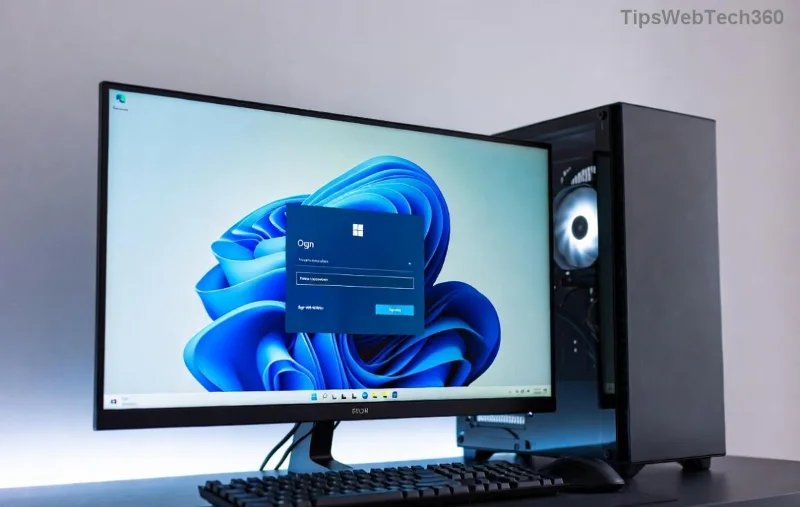
Getting started with how to use Windows 11 virtual desktops is straightforward—no downloads or complex setups required. Windows 11 comes with this feature ready to go. Follow these steps to create your first one:
- Access the Task View: Press the Windows key + Tab on your keyboard, or click the Task View button on your taskbar (it looks like two overlapping rectangles). This opens a panoramic view of all your desktops.
- Create a New Desktop: At the top of the Task View, click the New Desktop button (a plus icon). Voilà! You've got a blank slate.
- Switch Between Desktops: Use Windows key + Ctrl + Left/Right Arrow to hop between them effortlessly, or stick to Task View for a visual overview.
Pro tip: If you're on a touchscreen device, swipe from the left edge with three fingers to enter Task View. It's intuitive and feels like second nature after a few tries. Now that you've got the foundation, let's customize it to fit your workflow.
Customizing Virtual Desktops for Maximum Efficiency
To truly master Windows 11 virtual desktops, personalization is key. Windows 11 lets you rename and theme your desktops, turning them into tailored zones that spark joy in your daily routine.
- Renaming Desktops: In Task View, hover over a desktop thumbnail and click its name (default is "Desktop 2"). Type something meaningful like "Work Focus" or "Creative Hub." This makes switching feel purposeful and keeps you motivated.
- Setting Unique Wallpapers: Right-click on your desktop, select Personalize > Background, and choose different images for each. For example, a serene landscape for relaxation or a motivational quote for productivity. It visually separates your worlds and boosts your mood instantly! 😊
- Moving Apps Between Desktops: Drag an app's window in Task View to another desktop thumbnail. Or, right-click the app in Task View and select Move to > [Desktop Name]. This ensures your email stays on "Work" while your music player chills on "Personal."
Feeling empowered? These tweaks aren't just cosmetic—they help compartmentalize your life, reducing mental clutter. Imagine ending your workday by switching to a "Relax" desktop with zero work apps in sight. Pure bliss!
Advanced Tips: How to Use Virtual Desktops Like a Power User
Once you're comfortable with the basics, level up your game with these Windows 11 virtual desktops pro tips. We'll focus on keyboard shortcuts and smart management to save you time and frustration.
| Action |
Keyboard Shortcut |
Benefit |
| Create New Desktop |
Windows + Ctrl + D |
Instantly adds a fresh workspace without mouse hassle. |
| Close Current Desktop |
Windows + Ctrl + F4 |
Quickly tidy up unused spaces. |
| Switch to Specific Desktop |
Windows + Ctrl + [Number] |
Jump to Desktop 1-9 directly—perfect for numbered workflows. |
| Show Task View |
Windows + Tab |
Overview of all desktops for easy navigation. |
One common pitfall? Apps reopening on the wrong desktop after a restart. To fix this, use Windows 11's Snap Layouts (hover over the maximize button) to arrange windows precisely before switching. For persistent apps like browsers, pin them to specific desktops via Task View's right-click menu.
Integrate with other Windows 11 features for even more power. Pair virtual desktops with Focus Assist (search for it in Settings) to block notifications on your "Deep Work" desktop. Or, use Widgets to keep essential info visible without cluttering your main view. These combinations make your setup feel custom-built for success.
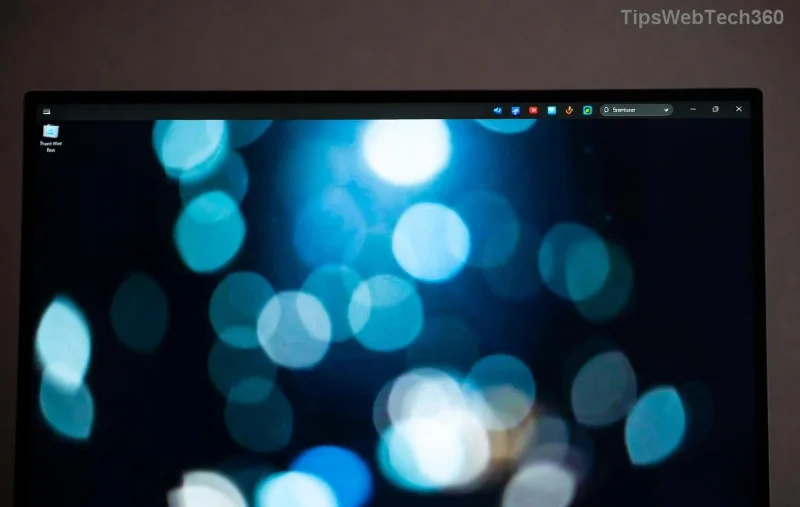
![Customized Windows 11 virtual desktop with apps and wallpaper]()
Troubleshooting Common Issues with Virtual Desktops
Even the best features have hiccups. If how to use Windows 11 virtual desktops correctly hits a snag, here's how to smooth things out:
- Desktops Not Switching? Ensure your keyboard shortcuts aren't conflicting with other apps. Restart Explorer via Task Manager (Ctrl + Shift + Esc > Processes > Windows Explorer > Restart). 👍
- Apps Appearing on All Desktops? This is often due to the "Show this window on all desktops" option. Right-click the app's title bar, go to Show this window on all desktops, and toggle it off.
- Limited to Few Desktops? Windows 11 supports unlimited desktops, but performance might lag on low-RAM systems. Close unused apps and update your drivers for optimal speed.
For the latest tweaks, check Microsoft's official support page: Microsoft Virtual Desktops Guide. It's a goldmine for updates.
Real-World Applications: Transform Your Daily Routine
Let's make this practical. For remote workers, dedicate one desktop to video calls (with Teams or Zoom pinned) and another for documents. Students can separate study sessions from social media. Gamers? Keep your play area isolated to dive in without desktop distractions.
One user shared how switching to virtual desktops cut their screen clutter by half, reclaiming hours weekly. You could be next—experiment today and feel the productivity surge. As you read on, think about your own setup: What desktops would make your life easier?
Final Thoughts: Elevate Your Windows 11 Experience Today
Mastering Windows 11 virtual desktops isn't just about organization—it's about reclaiming control and enjoying a smoother, more joyful computing life. From quick setups to advanced customizations, you've got the tools to make it yours. Start small: Create two desktops right now and move one app. Notice the difference? That's the power of doing it correctly.
Stick around and explore more Windows 11 tips in our productivity series—you won't want to miss how these features can supercharge your entire workflow. What's your first virtual desktop going to be for? Share in the comments! 🚀