Imagine launching your favorite apps, files, or websites with a single click right from your desktop—no more digging through menus or search bars. If you're diving into Windows 11, setting up desktop shortcuts pro is a game-changer for streamlining your workflow. This guide will walk you through how to setup Windows 11 desktop shortcuts pro, from basics to advanced customizations, ensuring you feel empowered and excited about your optimized setup. Whether you're a busy professional or a tech enthusiast, these steps will save you time and reduce frustration.
Why Bother with Desktop Shortcuts in Windows 11?
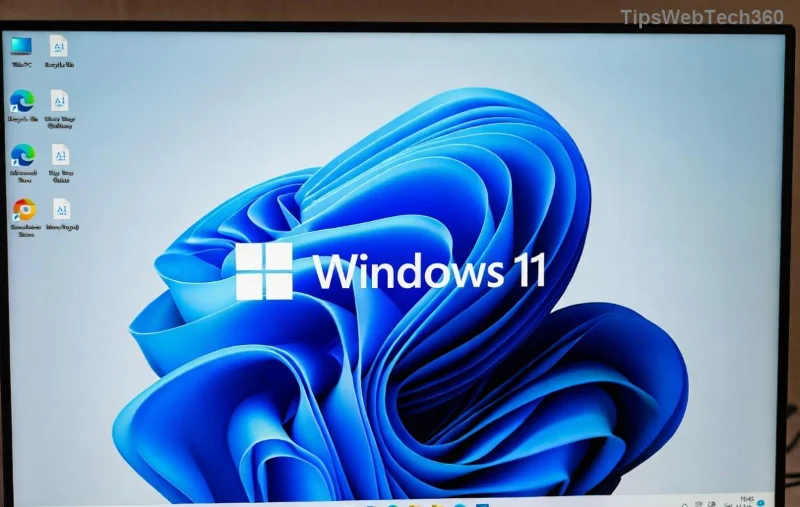
Desktop shortcuts aren't just relics from older Windows versions; in the latest Windows 11 updates, they've evolved into powerful tools for quick access. Think of them as your personal launchpad—customizable icons that open apps, folders, or even specific documents instantly. Pro users love them for boosting productivity, especially with Windows 11's Snap Layouts and multitasking features. Plus, they're lightweight and don't clutter your taskbar. Ready to transform your desktop? Let's dive in! 😊
Step-by-Step: How to Setup Basic Windows 11 Desktop Shortcuts
Setting up desktop shortcuts in Windows 11 is straightforward, but we'll focus on pro techniques to make them shine. Follow these steps to create your first shortcut—it's easier than you think!
- 👆 Locate Your Target: Right-click on your desktop (the empty space). From the context menu, select New > Shortcut. This opens the shortcut wizard.
- Enter the Path: In the dialog box, type the location of what you want to shortcut. For an app, browse to its .exe file (e.g., C:\Program Files\Microsoft Edge\Application\msedge.exe). For a website, use a URL like https://www.example.com. Hit Next.
- Name It Smartly: Give your shortcut a clear name, like "Quick Email" for Outlook. Click Finish, and voilà—your icon appears on the desktop!
- Customize the Icon (Pro Tip): Right-click the new shortcut, select Properties, then Change Icon. Browse for a cool icon from system files (like shell32.dll) or download free ones. This adds that personal flair to your Windows 11 desktop shortcuts pro setup.
That's it for basics! Test it by double-clicking—your app or site should launch instantly. Feeling the efficiency boost already? Keep reading for pro-level enhancements that take your setup to the next level.
Advanced Pro Techniques for Windows 11 Desktop Shortcuts
Now that you've nailed the fundamentals, let's elevate your game with pro customizations. These tips leverage the newest Windows 11 features for shortcuts that do more than just open things—they can run commands, pin dynamically, and integrate with your workflow.
- Keyboard Shortcuts Integration: In the shortcut's Properties, go to the Shortcut tab and assign a key combo (e.g., Ctrl+Alt+Q). This turns your desktop icon into a hotkey powerhouse, perfect for Windows 11 power users.
- Folder and File Shortcuts with Arguments: For pros, add command-line arguments. Right-click a shortcut > Properties > Target field. Example: For Chrome with a specific profile, append --profile-directory="Profile 1". This is gold for developers or multitaskers.
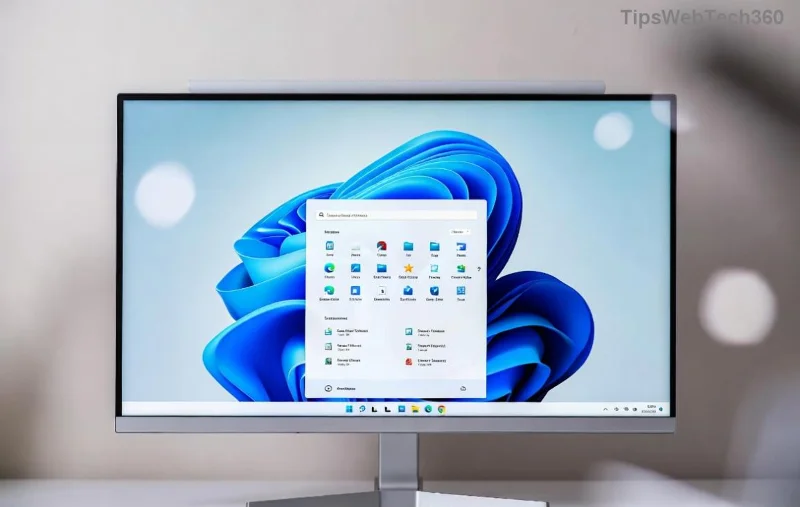
- Pinned Shortcuts to Taskbar or Start: Drag your desktop shortcut to the taskbar for one-click access, or right-click to pin to Start Menu. In Windows 11, this syncs seamlessly with Widgets for a unified experience.
- Creating Shortcuts to Settings: Love tweaking? Make a shortcut to specific Windows 11 settings. Use the path: ms-settings:display for display options. Enter this in the shortcut wizard—pro move for quick configs!
Pro tip: Organize your shortcuts into themed folders on the desktop. Right-click > New > Folder, then drag shortcuts inside. Rename folders like "Work Tools" or "Media Hub" for a clutter-free vibe. Your desktop will look sleek and professional.
![Customized Windows 11 shortcut properties dialog]()
Organizing and Managing Your Windows 11 Desktop Shortcuts Pro
A great setup is nothing without maintenance. Here's how to keep your desktop shortcuts pro tidy and efficient in Windows 11.
| Task |
Steps |
Pro Benefit |
| Sort Shortcuts |
Right-click desktop > Sort by > Name or Size |
Quick visual organization for daily use |
| Delete Unused |
Right-click > Delete; empty Recycle Bin |
Frees up space and reduces visual noise |
| Backup Shortcuts |
Copy .lnk files to a cloud folder (e.g., OneDrive) |
Easy restore if you switch PCs |
| Group with Subfolders |
Create folders and nest shortcuts |
Scalable for 50+ shortcuts without chaos |
This table is your quick-reference cheat sheet. Use it to maintain a setup that grows with you—imagine never losing track of your most-used tools again! 🚀
Troubleshooting Common Issues with Windows 11 Desktop Shortcuts
Even pros hit snags. If a shortcut won't open, check the Target path for typos—Windows 11 is picky about permissions. For broken links after updates, recreate them or use the Resolve Shortcut option in Properties. If icons go generic, refresh via F5 or restart Explorer (Task Manager > Restart explorer.exe). Stuck? Microsoft’s official support has you covered: Learn more from Microsoft.
These fixes keep your Windows 11 desktop shortcuts pro running smoothly, so you stay in the productivity zone.
Bonus Pro Hacks to Supercharge Your Setup
Want to go beyond? Try third-party tools like AutoHotkey for scripted shortcuts that automate tasks (download from their official site). Or, integrate with Windows 11's Copilot for AI-assisted shortcut creation—ask it to generate paths! These hacks make your desktop feel futuristic and tailored just for you.
As you implement these steps, you'll notice how how to setup Windows 11 desktop shortcuts pro isn't just technical—it's liberating. Your workflow will hum with efficiency, leaving more time for what you love. Experiment, tweak, and share your custom setups in the comments below. What's your go-to shortcut? Let's keep the conversation going! 👏