Imagine watching your favorite movie, joining a lively video call, or listening to a podcast without missing a single word—thanks to the innovative Windows 11 Live Captions feature. This built-in accessibility tool transforms audio into real-time text captions right on your screen, making content more inclusive and enjoyable for everyone. Whether you're hard of hearing, learning a new language, or just want to follow along in noisy environments, Live Captions is a game-changer. In this guide, we'll walk you through everything you need to know about how to use Windows 11 Live Captions feature, from setup to advanced tips, so you can start benefiting immediately.
What is Windows 11 Live Captions and Why Should You Use It?
The Windows 11 Live Captions feature uses advanced AI to generate accurate, real-time subtitles for any system audio, including videos, calls, and live streams. Introduced as part of Windows 11's accessibility suite, it supports multiple languages and works offline once downloaded, ensuring privacy and reliability. No more straining to hear dialogue in a bustling café or struggling with accents during international meetings—Live Captions has you covered.
Why embrace it? It's empowering. Users report feeling more connected and confident, especially in professional settings. Plus, it's free and integrated, requiring no extra apps. Ready to dive in? Let's get started with the essentials.
System Requirements for Windows 11 Live Captions
Before enabling Live Captions, ensure your device meets these basics:
- Operating System: Windows 11 (version 22H2 or later for full features).
- Hardware: A compatible microphone (built-in works fine) and at least 4GB RAM for smooth performance.
- Internet: Initial download for language models; offline use afterward.
- Processor: 8th Gen Intel or equivalent for optimal AI processing.
If your setup qualifies, you're good to go! For the latest compatibility checks, visit Microsoft's official support page: Microsoft Support.
Step-by-Step Guide: How to Enable and Use Windows 11 Live Captions
Setting up Windows 11 Live Captions is straightforward—think of it as flipping a switch to unlock clearer communication. Follow these steps, and you'll be captioning in minutes.
Step 1: Access Accessibility Settings
👆 Start by pressing Windows key + I to open Settings. Navigate to Accessibility > Captions. Here, you'll find the Live Captions toggle. Flip it on, and Windows will prompt you to download necessary language packs (about 1-2 GB, depending on your choice).
Step 2: Download Language Models
Once in the Captions menu, select your preferred language under Live Captions. Hit "Download" for the speech recognition model. This one-time step ensures offline functionality. Pro tip: English (US) is the default, but options like Spanish, French, and more are available for global users.
Step 3: Customize Your Captions
Tailor Live Captions to your style. Adjust:
| Option |
Description |
Why It Matters |
| Caption Style |
Choose font, size, color, and background (e.g., dark mode for low light). |
Makes text readable in any lighting—customize for eye comfort. |
| Transparency |
Set opacity from 0% (opaque) to 100% (transparent). |
Overlays without blocking your view, perfect for videos. |
| Position |
Top, bottom, or floating on screen. |
Adapts to your multitasking setup. |
These tweaks ensure Live Captions feels personal and unobtrusive.
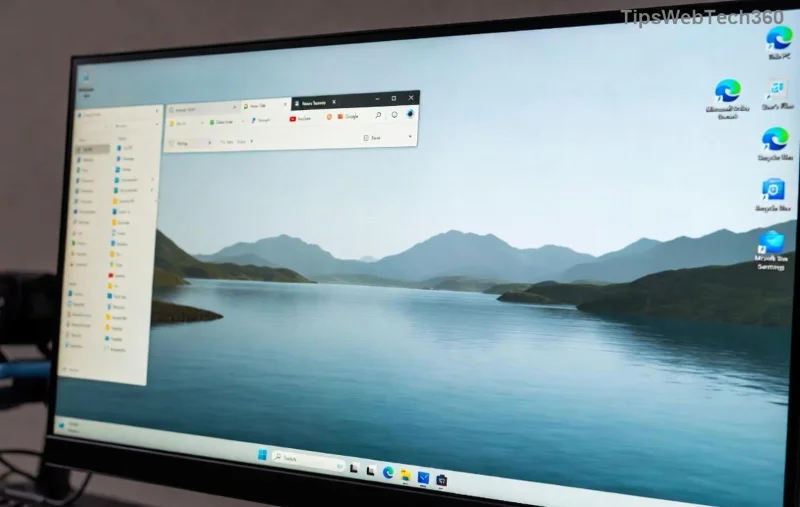
![Customizing Live Captions Style in Windows 11]()
Step 4: Activate Live Captions During Use
Now, the fun part! Press Windows key + Ctrl + L to launch Live Captions instantly. It captures audio from any app—YouTube, Zoom, or even your microphone for live speech. Watch as text appears in real-time, with speaker attribution for multi-person scenarios.
For video calls, it shines: Join a Teams meeting, hit the shortcut, and follow every word effortlessly. In media players, it syncs perfectly with dialogue, reducing the need for external subtitles.
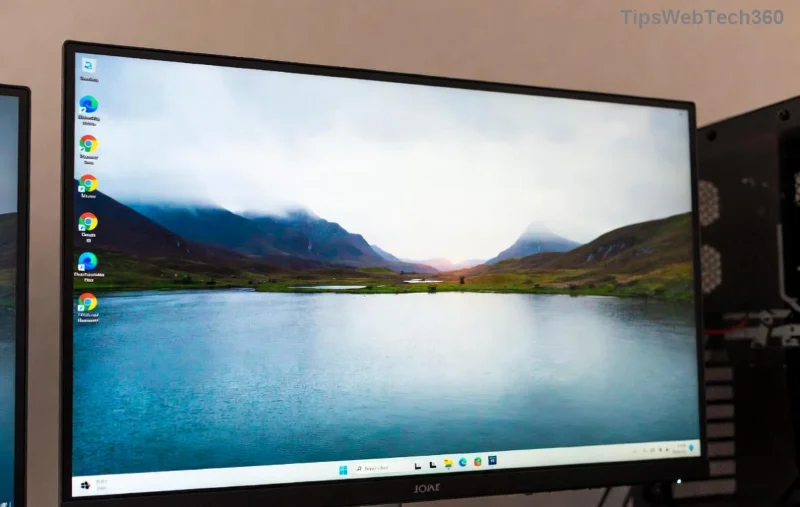
![Live Captions Active on Windows 11 Screen]()
Step 5: Troubleshooting Common Issues
Encounter glitches? Here's a quick fix table:
| Issue |
Solution |
| Captions not appearing |
Ensure audio is playing and language model is downloaded. Restart the app. |
| Inaccurate text |
Check microphone permissions and reduce background noise. Update Windows via Settings > Update & Security. |
| Performance lag |
Close unnecessary apps; Live Captions uses CPU for AI processing. |
If problems persist, Microsoft's troubleshooter at Microsoft Help is your best friend.
Advanced Tips to Maximize Windows 11 Live Captions
To elevate your experience, go beyond basics. Integrate Live Captions with Narrator for voice-to-text reading, or use it in browser-based content by enabling system audio capture. For educators, it's a star ⭐ in classrooms—students can read along during lectures.
Privacy-focused? All processing happens locally, so your audio stays on-device. Experiment with custom shortcuts via PowerToys (free from Microsoft) to launch Live Captions even faster.
Feeling inspired? Pair it with Windows 11's other tools like Voice Typing for full accessibility bliss. What's your first use case—work calls or movie nights?
Real-World Applications and User Stories
From remote workers to avid gamers, Windows 11 Live Captions transforms lives. One user shared: "It made my virtual family gatherings inclusive—everyone could follow the jokes!" In professional realms, it boosts productivity during webinars, ensuring no key insights slip by.
For multilingual setups, switch languages mid-session for seamless global chats. And for entertainment, it deciphers song lyrics or foreign films on the fly.
Conclusion: Embrace the Future of Accessible Computing
Mastering how to use Windows 11 Live Captions feature opens doors to clearer, more engaging interactions. It's not just a tool—it's a bridge to better understanding. Set it up today, customize to your needs, and watch how it enhances your digital world. Have questions or tips? Dive deeper into Microsoft's resources and share your experiences below. Your journey to effortless captioning starts now!