Ever missed key details in a Microsoft Teams meeting? Whether it's brainstorming sessions, client calls, or team updates, recording a Microsoft Teams meeting lets you revisit insights anytime. This guide walks you through every step—from setup to sharing—so you can focus on what matters. Ready to become a Teams recording pro? Let's dive in! 🚀
✅ Prerequisites Before You Start Recording a Teams Meeting
Ensure smooth sailing with these quick checks:
- Permissions: Organizers and co-organizers can always record. Participants need explicit permission from the organizer or admin policy.
- License: Requires a Microsoft 365 subscription (e.g., E3, E5, Business Premium).
- Storage: Recordings save to OneDrive (private meetings) or SharePoint (channel meetings).
- Notify participants: A banner alerts everyone when recording starts—transparency builds trust! 😊
| Role | Can Record? | Storage Location |
|---|---|---|
| Organizer/Co-organizer | ✅ Yes | OneDrive/SharePoint |
| Participant (with permission) | ✅ Yes | Organizer's OneDrive |
| Participant (no permission) | ❌ No | N/A |
Pro tip: Admins control policies via the Teams admin center. Now, let's record! 👆
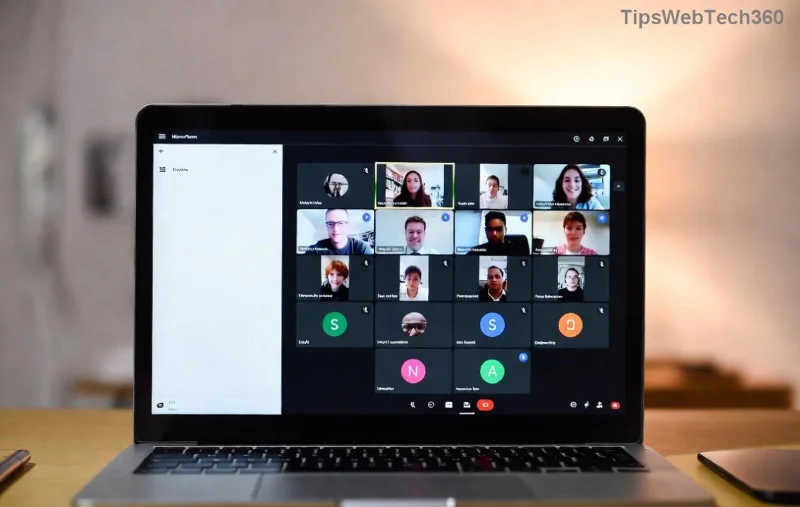
Step-by-Step: How to Record a Microsoft Teams Meeting on Desktop (Windows/Mac)
Desktop app offers the smoothest experience. Follow these for private or channel meetings:
- Join or Start the Meeting: Open Teams, go to Calendar > New Meeting or join via chat/channel. Wait for participants to join.
- Access Recording: Click More actions (three dots ⋯) in the meeting toolbar.
- Start Recording: Select Record and transcribe > Start recording. Everyone sees a red banner!
- Monitor Progress: Pause/resume via the same menu. Use reactions or chat freely.
- Stop Recording: Click More actions > Record and transcribe > Stop recording. Processing takes 1-2x meeting length.
Awesome job! Recording auto-saves. Next up: participants' turn. 📹
Record Teams Meeting as a Participant
No organizer role? Request permission first:
- Ask organizer to grant access mid-meeting or via meeting options.
- Once approved, follow desktop steps above—your recording still goes to the organizer's OneDrive.
Bonus: Use Live captions for real-time transcripts during recording. Keeps everyone engaged! ⭐

Mobile Mastery: How to Record Microsoft Teams Meeting on iOS/Android
On the go? Teams app handles it:
- Join meeting via Teams mobile app.
- Tap More (⋯) > Start recording.
- Confirm—banner notifies all.
- Stop via More > Stop recording.
Note: Mobile recordings process similarly but check storage space. Seamless for hybrid teams! 📱
Web Browser: Quick Teams Recording Without App
No download needed:
- Join via teams.microsoft.com.
- Click More options > Record and transcribe > Start recording.
- Steps mirror desktop—ideal for guests.

Where to Find and Share Your Recorded Teams Meeting
Post-processing magic:
- Private Meetings: Organizer's OneDrive > Recordings folder. Share via link.
- Channel Meetings: Files tab in channel or SharePoint.
- Access Recordings: Teams Chat/Channel > Files > Recording name > Open in Stream.
- Edit/Share: Trim in Microsoft Stream, add captions, or download MP4.
Link expires? Extend via OneDrive settings. Share securely with view-only access! 👏
For official details, check Microsoft Teams Support.
🚨 Common Issues & Fixes for Microsoft Teams Recording
| Issue | Fix |
|---|---|
| "Recording unavailable" | Check license/policy. Ask admin. |
| No audio/video | Test mic/camera pre-meeting. Update Teams. |
| Recording won't stop | Leave meeting—auto-stops. |
Pro Tips to Elevate Your Teams Meeting Recordings
- ✅ Enable transcription: Auto-generates searchable captions.
- ⭐ Combine with whiteboard or screen share for richer replays.
- 😉 Delete sensitive recordings from OneDrive after use.
- Boost engagement: Announce recording upfront for better participation.
Mastered it? Your next meeting is recording-ready! What's your favorite Teams feature? Drop thoughts below. For more guides, stay tuned. 🎉


