Home
» INTERNET
»
How to Clean a Breville Toaster Oven: A Practical Step-by-Step Guide
How to Clean a Breville Toaster Oven: A Practical Step-by-Step Guide
A Breville toaster oven is easiest to clean when crumbs and grease are removed before they turn into a baked-on layer. The safest general approach is simple: turn the oven off, unplug it, let every part cool completely, remove loose accessories, and clean with soft materials and mild products. Breville’s current cleaning guidance for models such as the Smart Oven Air Fryer Pro also warns against standard oven cleaner, abrasive pads, and immersing the oven body, cord, or plug in water.
Because Breville sells several countertop-oven families, small details can vary by model. The method below follows instructions that are consistent across Breville Smart Oven manuals and cleaning tutorials, while calling out areas where checking your specific manual matters. For a primary-source reference, see Breville’s Smart Oven Air Fryer Pro instruction book and Breville’s Smart Oven Pro support page.
Quick cleaning reference
Part
Best routine
Avoid
Crumb tray
Empty after use; wipe with a soft damp sponge; soak in warm soapy water for baked-on grease
Metal scouring pads and abrasive cleaners
Interior walls
Soft damp sponge or cloth; mild non-abrasive cleaner applied to the sponge, not directly to the oven
Standard oven cleaner and aggressive scrubbing
Quartz heating elements
Only when fully cool, gently wipe lengthwise with a soft damp cloth or sponge if needed
Cleaning agents, hard pressure, scraping, or bending
Racks and pans
Hand-wash in warm soapy water with a soft sponge or soft plastic pad
Abrasive tools; dishwasher use unless your exact model manual specifically allows it
Glass door
Soft damp sponge with mild detergent or glass cleaner
Metal pads and abrasive cleanser
Exterior and display
Soft damp cloth; put cleaner on the cloth rather than spraying the appliance
Flooding seams, vents, controls, or the LCD
What you need
Two or three soft microfiber cloths or non-abrasive sponges
Mild dish soap or another non-abrasive liquid cleanser
Warm water
Optional glass cleaner for the glass door
A sink or basin for removable trays and racks
A dry towel for accessories
You usually do not need a heavy-duty degreaser. Strong oven cleaner can damage the interior metal surface on models covered by Breville’s current instructions, so it is better to use time, warm soapy water, and repeated gentle passes than a more aggressive chemical.
How to clean a Breville toaster oven
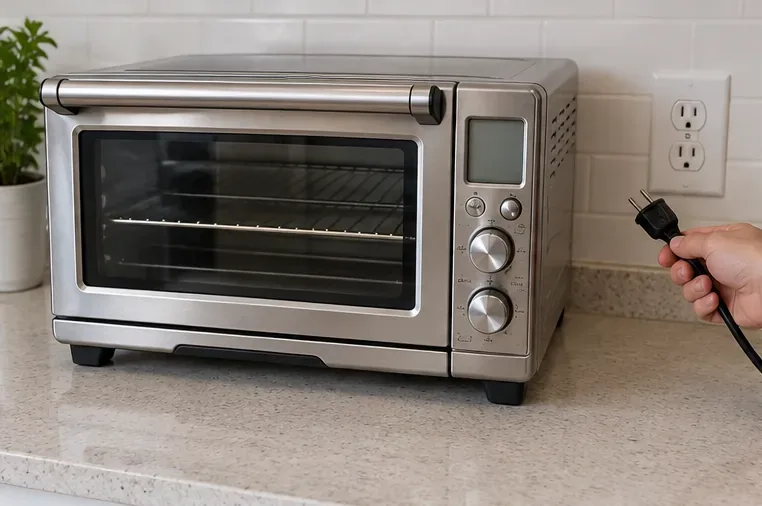
1. Turn it off, unplug it, and let it cool completely
Press the oven’s stop or cancel control so it is off, unplug the power cord, and wait until the oven, door, racks, pans, and heating elements are fully cool. Do not start cleaning a warm quartz element just because the walls feel cool. Breville specifically instructs users to unplug before cleaning and allow the appliance and accessories to cool completely.
Start with the oven switched off, unplugged, and completely cool before touching the interior or accessories.
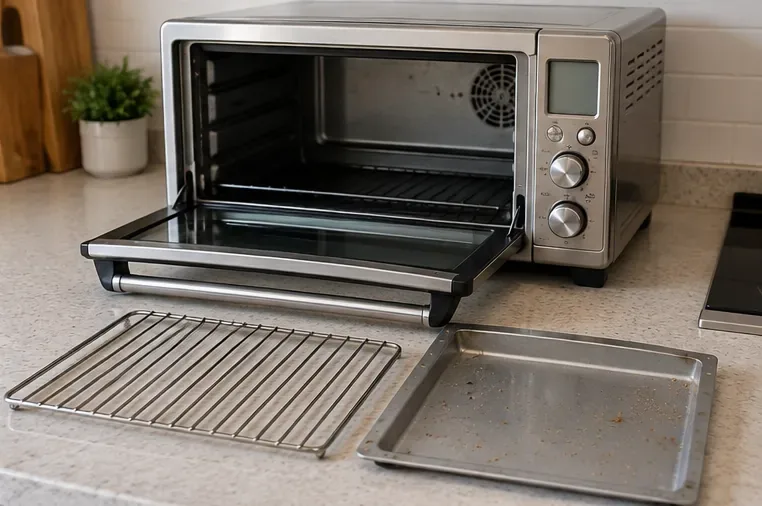
2. Remove the crumb tray and removable accessories
Open the door and take out the wire rack, baking or roasting pan, broiling rack, pizza pan, and air-fry basket if your model includes them. Slide out the crumb tray separately. Removing these parts gives you clear access to the interior and prevents loose crumbs from being pushed into corners while you wipe.
Take out the removable rack, pans, baskets, and crumb tray so the oven cavity can be cleaned without obstructions.
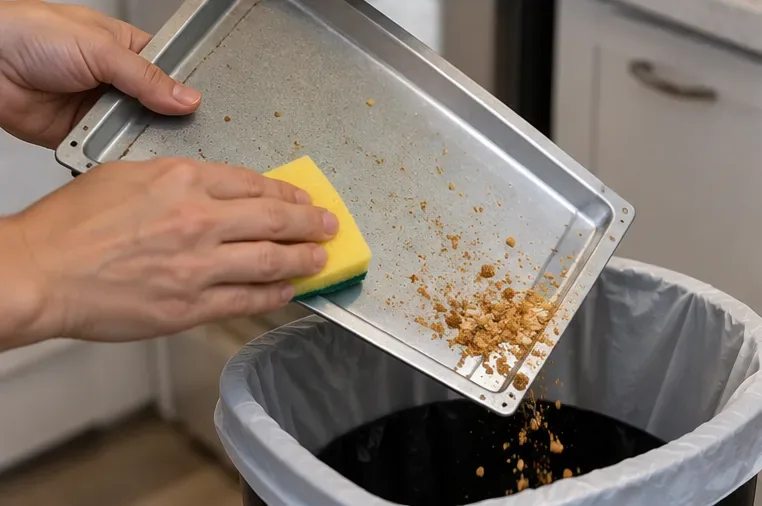
3. Empty and wipe the crumb tray
Discard loose crumbs first. Then wipe the tray with a soft damp sponge. If marks remain, Breville allows a non-abrasive liquid cleanser on applicable models, but the cleaner should go on the sponge rather than being poured or sprayed directly onto the tray. Dry the tray thoroughly before it goes back into the oven.
Remove loose crumbs before wet cleaning; this makes the tray faster to wash and keeps debris out of the sink.
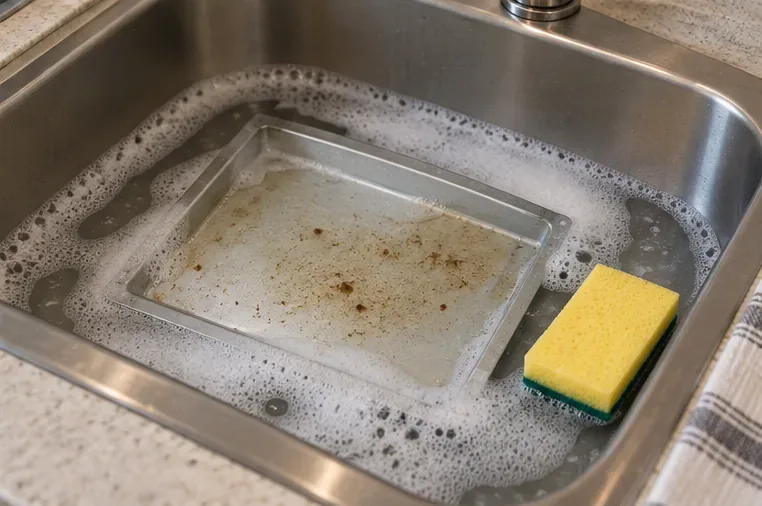
4. Soak baked-on grease instead of scraping it
If the crumb tray has sticky brown grease, soak it in warm soapy water, then wash with a soft sponge or soft plastic scouring pad. This is the approach Breville gives for baked-on grease in the Smart Oven Air Fryer Pro manual. It is safer for the finish than attacking the residue with a knife, steel wool, or other metal tool.
Warm soapy water can loosen baked-on grease so you can remove it with gentle pressure rather than scraping.
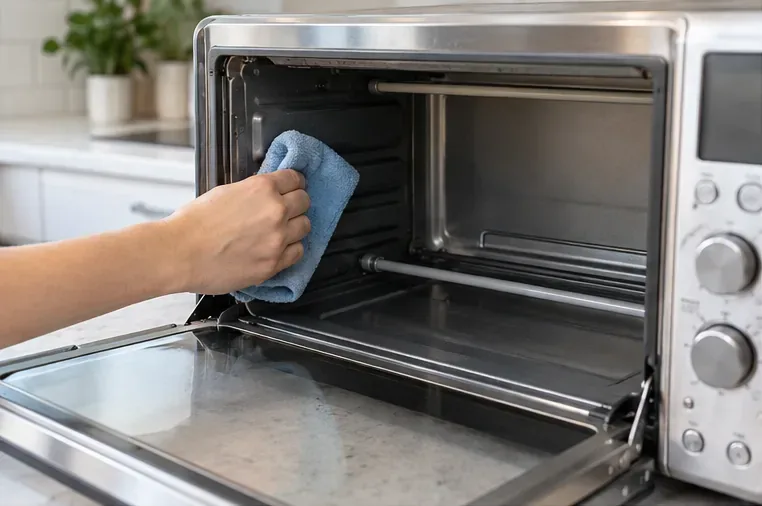
5. Wipe the interior walls gently
Use a soft damp sponge or microfiber cloth on the nonstick interior walls. For stains, use a mild spray solution or non-abrasive liquid cleanser only if appropriate for your model, and apply it to the cloth or sponge instead of spraying the oven cavity. Keep excess water away from vents, seams, fan openings, sockets, and electrical areas.
Do not use standard oven cleaner inside the Smart Oven Air Fryer Pro. Breville states that it can deteriorate the metal surface. The manufacturer also advises avoiding the quartz heating elements while cleaning the surrounding walls. Breville’s Smart Oven Air Fryer interior-cleaning guide likewise recommends a soft cloth or sponge with mild detergent.
Wipe the interior with a soft, damp material and keep liquid away from electrical openings and control areas.
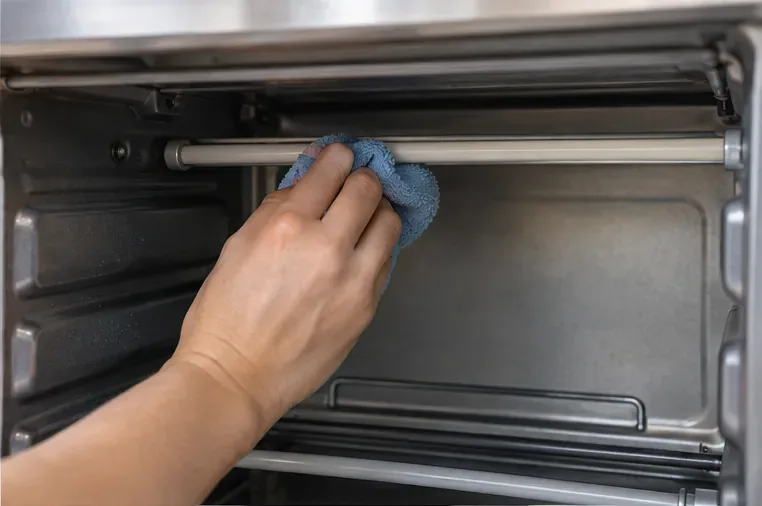
6. Clean quartz heating elements only with extreme care
If a cooled heating element has visible residue that needs attention, Breville’s manuals say to use extreme caution: gently rub a soft damp cloth or sponge along the length of the element. Do not use cleanser or cleaning agent on the element. Do not press hard, twist it, scrape it, or try to remove it for routine cleaning.
This is one area where “more cleaning” can be worse than less. If the element looks cracked, loose, unusually discolored, or damaged, stop using the oven and consult Breville support rather than trying to polish or repair it yourself.
If a quartz element truly needs wiping, use only a soft damp cloth on the fully cooled element and move gently along its length.
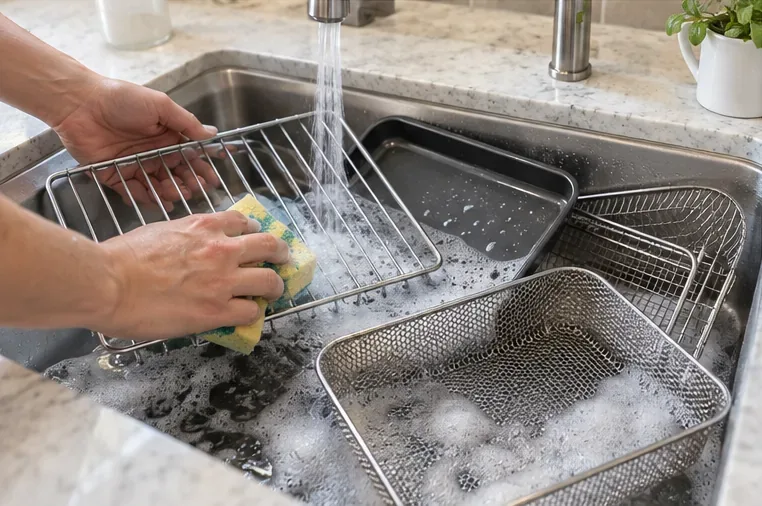
7. Hand-wash racks, pans, and air-fry baskets
Wash removable accessories in warm soapy water using a soft sponge or soft plastic scouring pad, then rinse and dry thoroughly. Breville’s current Smart Oven Air Fryer Pro accessory-cleaning guide recommends hand-washing with a soft sponge and dish soap to maximize accessory life.
Do not assume every rack or pan is dishwasher-safe just because it is metal. Breville manuals for several Smart Oven models recommend against dishwasher cleaning to extend accessory life. If you own a different or newer model, check its instruction book before putting any included part in the dishwasher.
Hand-wash removable racks, pans, and baskets with mild dish soap and a soft sponge, then rinse and dry them well.
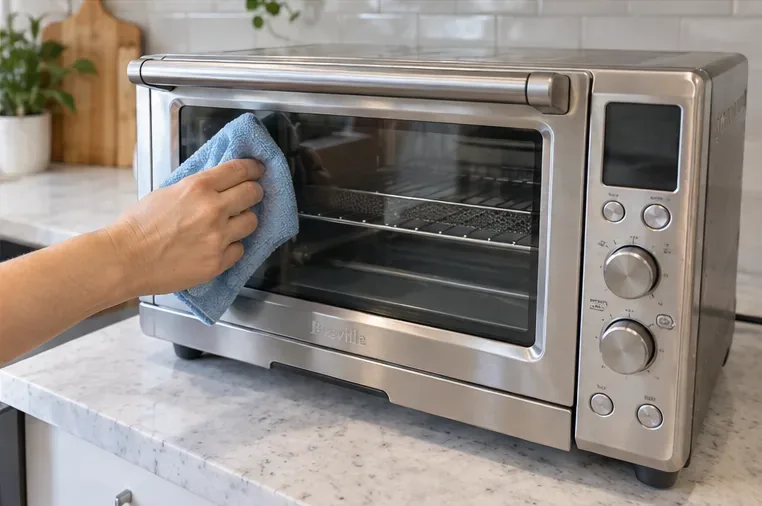
8. Clean the glass and exterior, dry everything, and reassemble
For the glass door, use mild detergent or glass cleaner with a soft damp sponge or cloth. Avoid abrasive cleanser and metal scouring pads because they can scratch the surface. Wipe the stainless exterior with a soft damp cloth. If your oven has an LCD, apply any cleaner to the cloth rather than directly to the screen.
Let every cleaned surface dry thoroughly. Reinsert the dry crumb tray and accessories only after the oven cavity is dry. Breville instructs users to reinstall the crumb tray before plugging the oven back in and turning it on.
Finish with the glass and exterior, then let the appliance and accessories dry fully before plugging the oven back in.
What should you never use?
Standard oven cleaner inside the oven: Breville warns against it for the Smart Oven Air Fryer Pro because it can deteriorate the metal surface.
Steel wool or metal scouring pads: they can scratch surfaces, and Breville safety instructions warn that pieces can break off and contact electrical parts.
Cleanser on quartz elements: use only a soft damp cloth or sponge when the element is fully cool.
Large amounts of water: never immerse the oven body, cord, or plug.
Knives or metal scrapers: they can damage coatings and accessory finishes.
Direct spray onto controls, LCD, or interior surfaces: put the cleaning product on the cloth or sponge first.
How often should you clean it?
There is no single schedule that fits every household, because toast crumbs, pizza cheese, oily air-fried foods, and occasional baking create very different amounts of residue. A practical routine is to empty the crumb tray after cooking sessions that leave crumbs, wipe fresh splatters once the oven is cool, and do a fuller interior-and-accessory cleaning when you can see grease film or baked residue.
Do not wait for smoke or a burnt smell to become your cleaning reminder. Accumulated crumbs and grease are harder to remove later, and regular crumb-tray cleaning is specifically called out in Breville’s Smart Oven Air Fryer Pro instructions.
Troubleshooting stubborn messes
Grease will not come off the crumb tray
Give warm soapy water more time to work, then repeat with a soft sponge or soft plastic pad. Several gentle cycles are preferable to one aggressive scraping session.
The interior still has brown discoloration
Some discoloration can remain even after removable soil is gone. The goal is a clean, residue-free cooking surface, not necessarily a factory-new color. Avoid escalating to harsher chemicals unless your exact Breville manual explicitly allows them.
There is residue on a heating element
First confirm the element is completely cool and the oven is unplugged. Use only a soft damp cloth or sponge and very light pressure along the element. If residue cannot be removed without force, or the element appears damaged, stop and contact the manufacturer instead of scraping.
Final checklist before using the oven again
The oven body was never immersed or flooded with water.
No abrasive cleaner, steel wool, or metal scraper was used.
No cleaning agent was applied to the quartz heating elements.
The crumb tray, racks, pans, and baskets are clean and fully dry.
The oven cavity, door, controls, and exterior are dry.
The crumb tray has been reinserted correctly.
Nothing blocks the door, rack guides, vents, fan opening, or heating elements.
Check the manual for your exact Breville model
The cleaning principles above are broadly consistent across Breville Smart Oven products, but accessory materials and care instructions can change by model. Before using a dishwasher, a specialty cleaner, or an unusual cleaning method, confirm the instruction book for the model number printed on your appliance. Breville’s official product-support pages provide manuals and cleaning tutorials, including the Smart Oven Air Fryer Pro support page and the Smart Oven Air Fryer support page.