Home
» INTERNET
»
How to Clean a Memory Foam Mattress Topper Without Damaging the Foam
How to Clean a Memory Foam Mattress Topper Without Damaging the Foam
A memory foam mattress topper can make an aging or overly firm bed feel much more comfortable, but cleaning the topper is not the same as washing sheets. The foam can absorb liquid, dry slowly, and lose its shape if it is handled too aggressively. For a first-time cleaner, the safest mindset is simple: use the least moisture needed, work on small areas, and let the topper dry completely before it goes back under the bedding.
There is one important limitation before you begin: memory foam toppers do not all have the same construction. Some have removable, washable covers; others have covers that the manufacturer says not to remove. Casper, for example, says its foam topper core should not go in a washer or dryer and should be spot-cleaned, while Tempur-Pedic says certain topper covers are removable and washable. That is why the care label for your exact product outranks any general cleaning guide. You can compare these manufacturer instructions at Casper's mattress topper care page and Tempur-Pedic's topper-cover guidance.
What You Need to Know Before You Start
Spot cleaning means treating only the dirty or stained area with a small amount of cleaning solution instead of soaking or laundering the entire foam piece. This is the default method for many memory foam toppers because the foam is porous and can hold water deep inside.
Plan to clean the topper when you can leave it uncovered for as long as drying requires. Do not start a wet-cleaning job shortly before bedtime. If the topper is only dusty, you may be able to stop after vacuuming. If it has a small spill or stain, use a damp cloth and mild cleaner only on that area. If it is deeply saturated, smells musty after drying, or has visible mold, ordinary spot cleaning may not be enough.
Gather a simple cleaning kit
A vacuum with a clean upholstery attachment
Two or three clean white or colorfast towels or microfiber cloths
A small bowl of cool or lukewarm water
A small amount of mild liquid detergent or mild soap
A dry towel for pressing out moisture
A fan for airflow if the room is not well ventilated
Optional baking soda for dry deodorizing, but only if the care instructions do not prohibit it
Avoid starting with bleach, strong solvents, a steam cleaner, or a bucket of water. More cleaning power is not necessarily better for foam. Saatva's current graphite memory foam topper care instructions, for example, specify spot cleaning with a mild cleaning solution rather than full washing. See the manufacturer's materials and care instructions.
How to Clean a Memory Foam Mattress Topper Step by Step
1. Read the care label before touching the foam with water
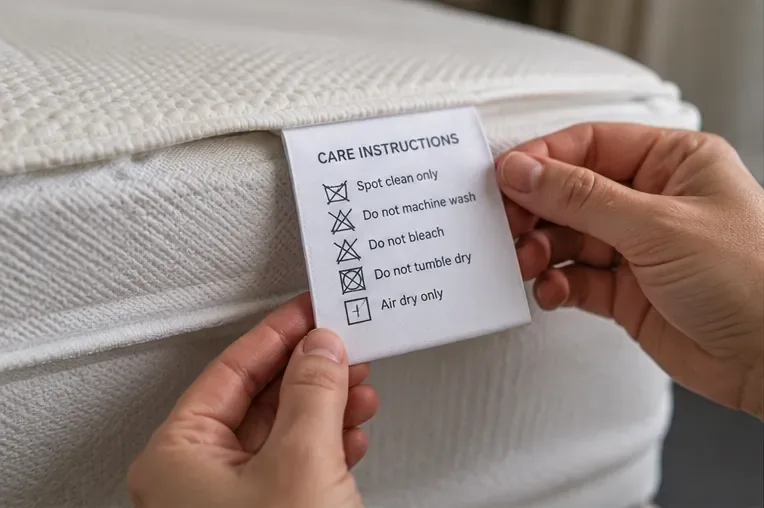
Find the sewn-in tag, product manual, order page, or manufacturer support page. Look specifically for instructions about the foam core and the cover because they may be different. A removable fabric cover might be machine washable even when the foam underneath is strictly spot-clean only. If the instructions say the cover must stay on, do not unzip or peel it away just because another brand allows that.
Start with the topper's own care label so you know whether the cover can be removed and which cleaning methods are allowed.
2. Remove and wash the cover only if the manufacturer allows it
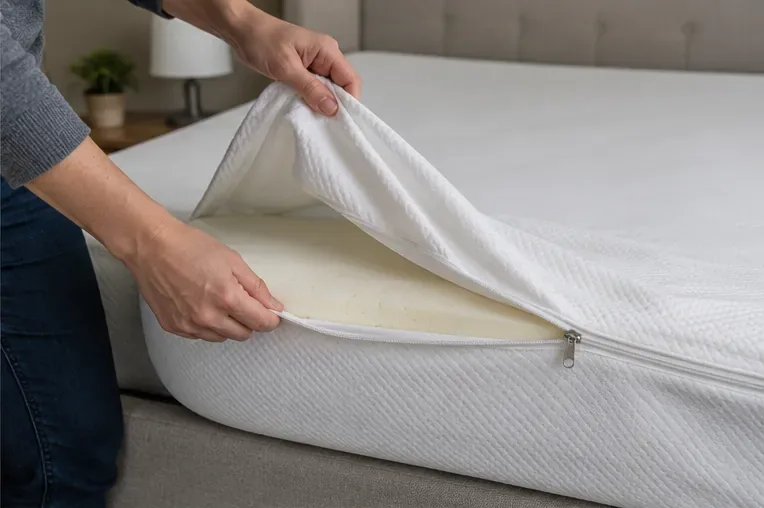
If your topper has a removable washable cover, take it off carefully without pulling or folding the foam sharply. Follow the label for water temperature, detergent, and drying method. Tempur-Pedic says removable topper covers can be washed in cold water with little to no detergent and dried flat or on low heat, but that does not automatically apply to other brands. If your cover is not removable, leave it in place and spot-clean according to its own instructions.
A removable cover should come off only when the product instructions specifically say it is designed to be removed and washed.
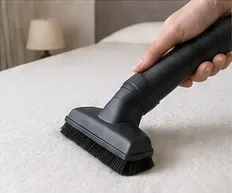
3. Vacuum loose dust, hair, and crumbs
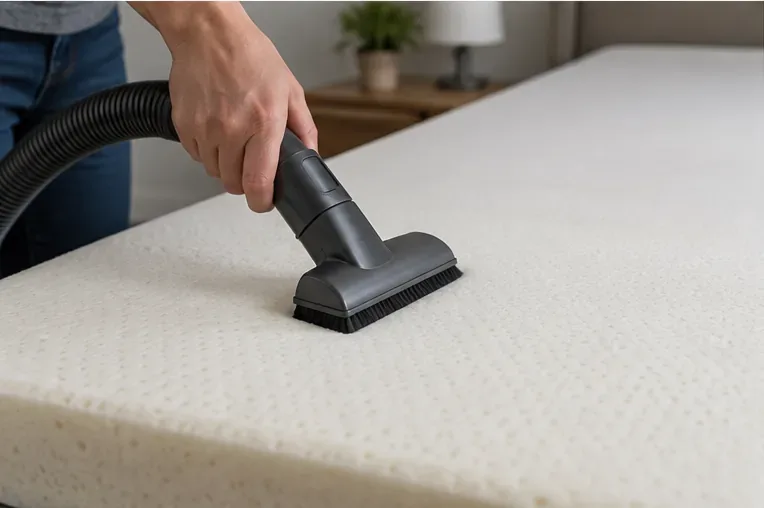
Lay the topper flat on a clean surface and use the upholstery attachment with gentle suction. Move slowly across the surface rather than pressing the nozzle deeply into the foam. Vacuuming first matters because adding moisture to loose dust can turn it into grime that is harder to lift. If the topper is clean enough after this step, you do not need to wet-clean it just for the sake of doing a deeper process.
Vacuum the dry topper gently to remove loose debris before any spot-cleaning solution is introduced.
4. Blot a fresh spill instead of rubbing it
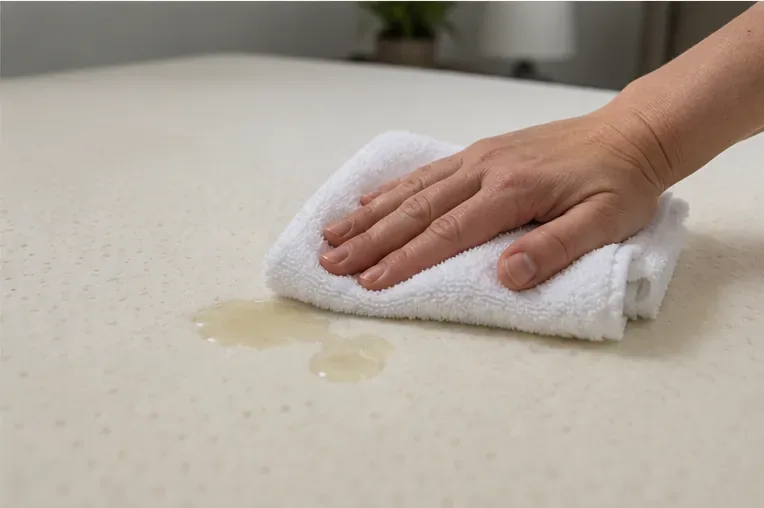
For a recent spill, act before mixing any cleaner. Put a clean absorbent towel over the wet area and press straight down. Lift, move to a dry part of the towel, and repeat. Rubbing can spread the liquid across a larger area and work it farther into the cover or foam. Tempur-Pedic similarly advises blotting excess liquid rather than rubbing and emphasizes keeping the foam from becoming saturated. See its spill-cleaning guidance.
Press an absorbent towel onto a fresh spill to lift liquid; avoid scrubbing the wet area sideways.
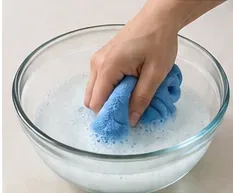
5. Mix a very mild spot-cleaning solution
Add a small amount of mild detergent or mild soap to a bowl of cool or lukewarm water. You want a weak solution, not heavy suds. Dip a clean cloth into the mixture and wring it out thoroughly. The cloth should be damp, not dripping. This step is where beginners most often use too much water; remember that the goal is to transfer a little cleaning solution to the surface, not to rinse the foam like a sponge.
Prepare a dilute mild-soap solution and wring the cloth well so only a small amount of moisture reaches the topper.
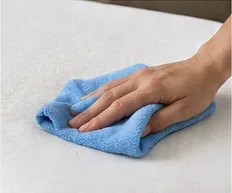
6. Spot-clean the stain with light pressure
Blot the dirty area with the damp cloth, working from the edge toward the center so you do not enlarge the stain. Use repeated light passes instead of one aggressive scrub. If soap residue remains, switch to a second cloth dampened with plain water and blot again. Then press with a dry towel to remove as much moisture as possible. Do not pour water directly onto the topper.
Use light blotting on the stained area, then follow with a barely damp clean cloth if you need to remove soap residue.
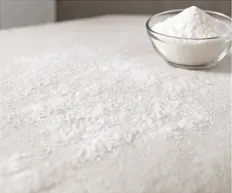
7. Deodorize dry foam only when the care instructions allow it
If the topper is dry but has a stale odor, an optional dry method is to apply a light layer of baking soda, let it sit, and vacuum it away. Casper's manufacturer guide for mattress toppers describes baking soda as one possible deodorizing step. Treat this as optional rather than mandatory: if your product label tells you to use only a specific cleaner, follow the label instead. Baking soda is for odor control and surface freshness; it is not a substitute for correcting persistent moisture or mold.
For a dry topper, a light baking-soda treatment can be an optional deodorizing step when the manufacturer's care guidance permits it.
8. Vacuum away dry residue and air-dry the topper completely
After any dry deodorizing treatment, vacuum away the powder. Then leave the topper uncovered in a well-ventilated room until every cleaned area is completely dry. A fan can move air across the surface and speed evaporation without adding heat. Keep the topper away from direct high heat; Casper instructs users to air-dry foam away from direct sunlight or heat. Do not put sheets, a protector, or a mattress pad back on while the foam still feels cool or damp to the touch.
Vacuum away dry residue, then leave the topper uncovered with good airflow until the cleaned areas are completely dry.
What If the Topper Has a Tough Stain?
Start with the same mild method before escalating. Repeated gentle blotting is safer than saturating the area with a stronger mixture. If the stain came from a product with dyes, oils, cosmetics, or another chemical, check the topper manufacturer's support information before trying a specialized stain remover. Test any permitted cleaner on a small, inconspicuous area first and stop if the foam changes texture, color, or shape.
For a spill that soaked deeply into the topper, the problem becomes drying rather than just surface appearance. Press with dry towels and increase airflow. Do not assume the surface being dry means the center is dry. Thick memory foam can retain moisture below the surface, so give it enough time and keep it uncovered.
When Cleaning Is Not the Right Fix
Visible mold, a persistent musty odor after thorough drying, or contamination from dirty floodwater calls for more caution. Memory foam is a porous material. The U.S. Environmental Protection Agency notes that mold can grow into the empty spaces of porous materials and that some moldy absorbent materials may need to be discarded because complete cleaning can be difficult or impossible. The EPA's current guidance is available at What are the basic mold cleanup steps?. If you are dealing with extensive mold, contaminated water, or a valuable specialty topper, professional guidance may be more appropriate than repeated DIY wet cleaning.
Common Mistakes That Can Damage Memory Foam
Putting the foam core in a washing machine: many manufacturers explicitly prohibit this. Casper's foam-care instructions say not to place the foam in a washer or dryer.
Soaking the topper: excess water can remain trapped inside porous foam and dramatically lengthen drying time.
Using high heat: do not use a hot dryer, hair dryer, space heater, or steam cleaner unless your exact manufacturer says the material can tolerate it.
Scrubbing aggressively: forceful rubbing can spread stains and stress the foam surface.
Assuming the cover and foam have the same rules: a washable cover does not mean the foam insert is washable.
Making the bed too soon: trapping residual moisture under sheets or a protector works against the goal of complete drying.
A Simple Cleaning Decision Guide
What you see
Best first action
What to avoid
Dust, hair, crumbs
Vacuum gently with an upholstery attachment
Adding water unnecessarily
Fresh small spill
Blot immediately with absorbent towels
Rubbing or pouring cleaner onto the foam
Small dried stain
Spot-clean with a wrung-out cloth and mild solution
Soaking the entire topper
Stale odor on otherwise dry foam
Air it out; optionally use a permitted dry deodorizing method
Masking a moisture problem with fragrance
Visible mold or deep water saturation
Check manufacturer and EPA guidance; consider replacement or professional help
Repeatedly wetting porous foam and assuming surface cleaning is enough
How to Keep the Topper Cleaner Next Time
Once the topper is fully dry, cover it with the clean removable cover if it has one, then use a mattress protector or mattress pad above it if that setup is compatible with your bed. Wash sheets and washable protective layers on their own schedule so everyday sweat and spills are less likely to reach the foam. When something does spill, remove the bedding and blot the topper promptly instead of waiting for the liquid to spread.
For routine maintenance, you do not need to invent a rigid monthly deep-cleaning schedule. Vacuum when you notice dust or debris, spot-clean when stains occur, and follow the product's own maintenance instructions. The most useful habit is prevention: keep liquids from soaking into the foam and make sure any cleaned area dries fully.
Final Check Before You Put the Bed Back Together
Run your hand over the cleaned area and compare it with an untouched section. It should feel dry, not cool-damp or tacky. Check for remaining soap residue, visible discoloration, and any odor that suggests moisture is still trapped inside. If everything is dry and the foam has returned to its normal feel and shape, replace the approved cover, protector, and sheets.
The beginner-friendly rule is to stay conservative: check the label, remove dry debris first, use minimal moisture, blot rather than scrub, and air-dry completely. Those steps align with the care guidance published by major foam-bedding manufacturers while leaving room for the instructions that apply to your specific topper.