Home
» INTERNET
»
How to Clean a Printer Cartridge Safely: A Beginner’s Guide for Inkjet and Laser Printers
How to Clean a Printer Cartridge Safely: A Beginner’s Guide for Inkjet and Laser Printers
If your printer is producing streaks, missing colors, faint text, or a cartridge-recognition error, cleaning may help—but the safest method depends on the cartridge and printer design. For most beginners, the right order is simple: identify whether you have an inkjet or laser printer, try the printer’s built-in maintenance routine first, and manually clean electrical contacts only when your model’s instructions allow it.
That distinction matters because a “printer cartridge” can mean very different parts. An inkjet cartridge contains liquid ink and may include or feed a printhead. A laser toner cartridge contains dry toner powder and works with a drum or imaging system. The same cleaning method should not be used on both.
Before You Start: Know What You Are Cleaning
Part
What it does
Typical cleaning approach
Inkjet cartridge
Stores liquid ink; some cartridges also include print nozzles.
Use built-in printhead cleaning first. Clean electrical contacts manually only if the manufacturer permits it.
Printhead
Contains tiny nozzles that place ink on the paper.
Usually cleaned through the printer’s maintenance menu or utility rather than by wiping the nozzles.
Toner cartridge
Stores dry toner for a laser printer.
Do not wash it. Follow model-specific maintenance for the toner, drum, corona wire, or transfer components.
For example, Epson recommends checking the nozzle pattern before cleaning and notes that printhead cleaning consumes ink. Canon likewise directs users to its built-in printhead-cleaning routine and, on models that use FINE cartridges, explicitly warns against rinsing or wiping the cartridge. HP provides manual electrical-contact cleaning procedures for some models. These differences are why your printer manual should always take priority over a generic cleaning tip.
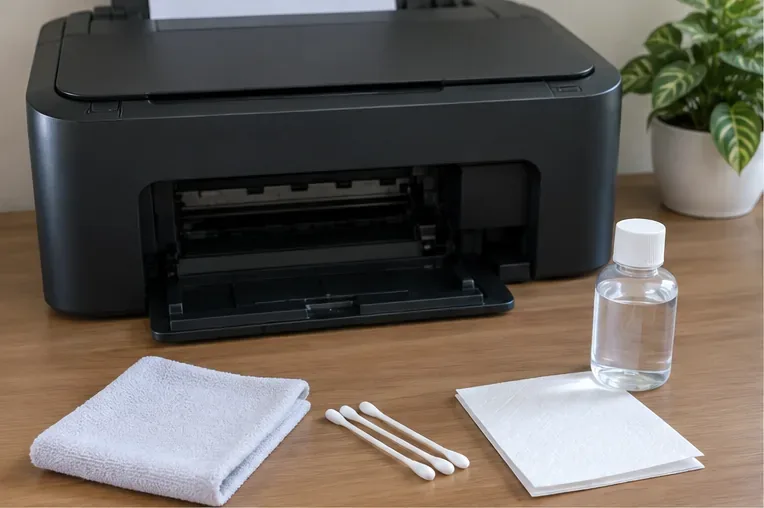
What You Need
A clean, well-lit work surface
A soft, lint-free cloth
Distilled water only if your manufacturer’s instructions call for it
A clean paper towel or disposable sheet to protect the surface
Cotton swabs only if your printer’s support instructions specifically allow them
Your printer’s exact model number and its official maintenance instructions
Avoid household cleaners, abrasive cloths, and improvised solvents. Alcohol is not a universal cartridge cleaner; some manufacturer instructions specifically warn against using it on sensitive printhead components.
Prepare a clean work area before opening the printer. Keep only the supplies allowed by your model’s maintenance instructions within reach.
How to Clean an Inkjet Printer Cartridge
Step 1: Confirm the symptom and try automatic cleaning first
Before removing anything, print a nozzle check or print-quality test if your printer offers one. Missing lines, horizontal white streaks, or absent colors often point to clogged printhead nozzles rather than dirty cartridge contacts.
Step 2: Open the printer and remove the cartridge correctly
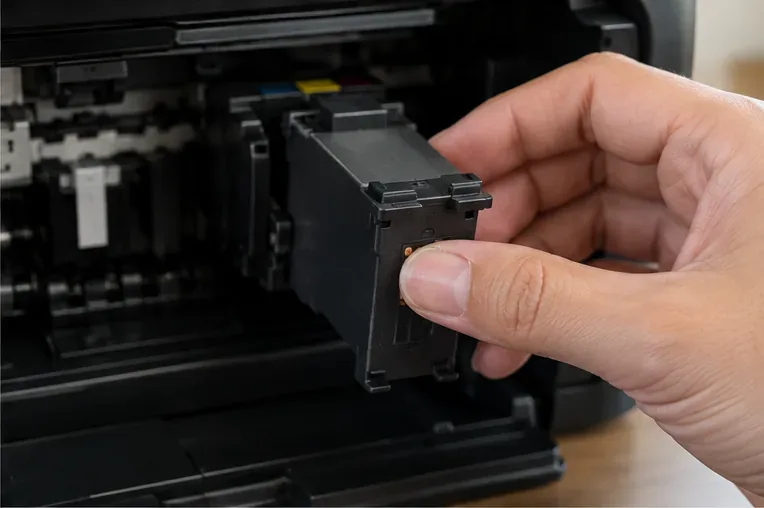
Use the printer’s normal cartridge-replacement procedure. Wait for the carriage—the moving holder that carries the ink cartridges—to stop before reaching inside. Handle the cartridge by its plastic body or sides. Do not put your fingers on the copper-colored contacts or the nozzle area.
Remove the cartridge using the normal replacement procedure and hold only the plastic body. Avoid touching the electrical contacts and nozzle area.
Step 3: Identify the electrical contacts and the nozzle area
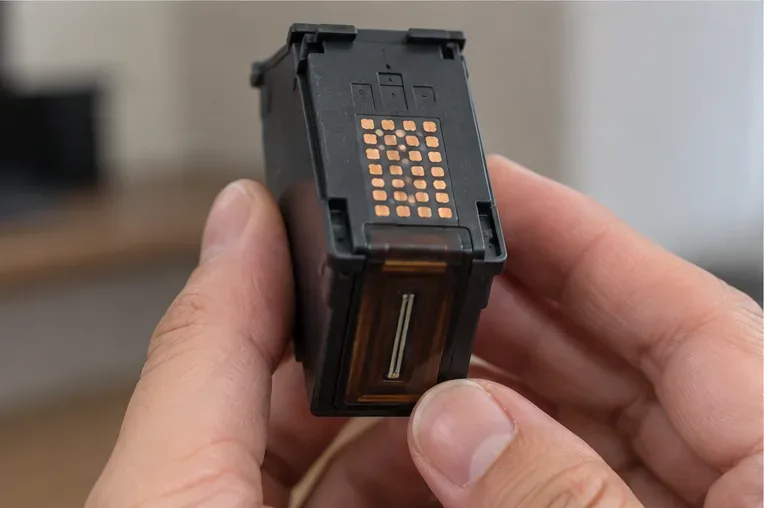
Electrical contacts are the small metallic pads that allow the printer and cartridge to communicate. The nozzle area is where ink exits the printhead. They are not the same thing, and confusing them is one of the easiest ways to damage a cartridge.
Look for lint, dried ink, obvious residue, or a damaged contact. If the cartridge is leaking, cracked, badly corroded, or physically damaged, replacement is usually more appropriate than cleaning.
Identify the contact pads before cleaning. The lower nozzle area is a separate, delicate component and should not be rubbed unless the manufacturer explicitly instructs you to do so.
Step 4: Lightly dampen the cloth if the manual permits wet cleaning
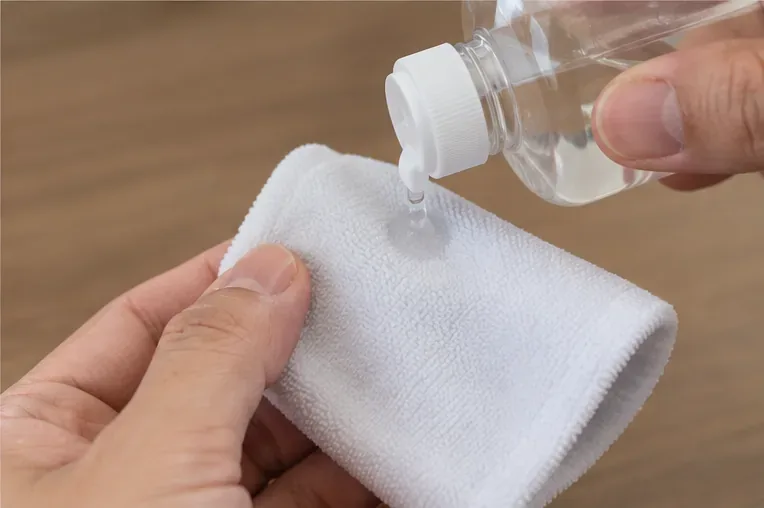
For models that permit manual contact cleaning, use only a small amount of the specified liquid. HP’s current cartridge troubleshooting guidance for some inkjet models instructs users to lightly dampen a lint-free cloth with distilled water before wiping copper-colored electrical contacts. The cloth should be damp, not dripping.
Use only a lightly dampened lint-free cloth when your printer manufacturer permits wet contact cleaning. Excess liquid can migrate into areas that should remain dry.
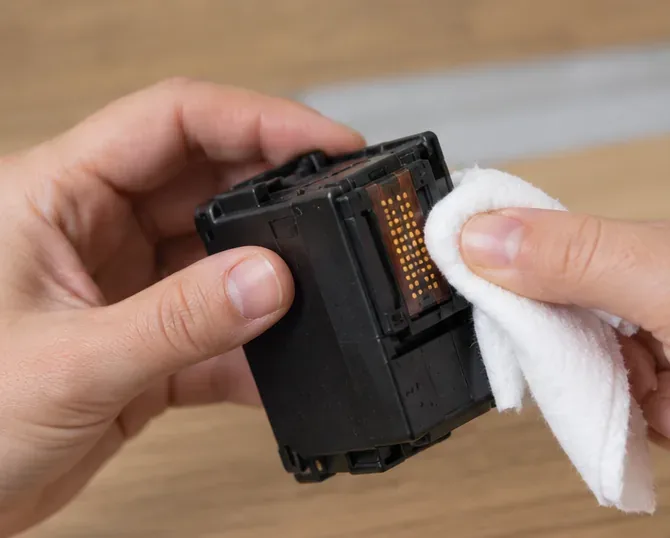
Step 5: Wipe only the electrical contacts
Gently wipe the contact pads with a clean section of the cloth. Do not scrub aggressively, and do not drag the cloth across the print nozzles. If the contact surface is missing, deeply scratched, or damaged, cleaning will not restore it.
If your model allows manual contact cleaning, wipe the electrical contacts gently with a lint-free cloth and keep the cloth away from the nozzle area.
Step 6: Clean the matching contacts inside the carriage only when supported
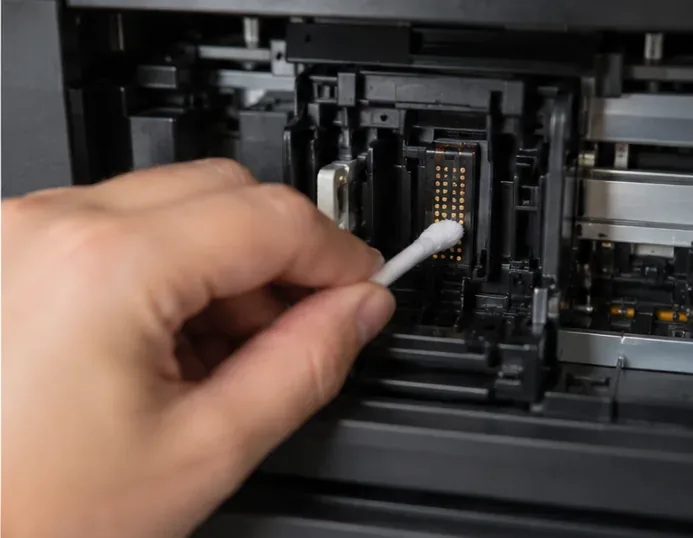
If your manufacturer’s instructions include this step, use a clean lint-free swab or cloth to remove residue from the matching electrical contacts inside the cartridge carriage. Do not force the carriage, bend spring contacts, or reach into unrelated mechanisms.
This is not a universal step. If your manual does not describe cleaning the carriage contacts, stop after cleaning the cartridge contact area or use the manufacturer’s support process instead.
Some printers allow the matching carriage contacts to be cleaned. Follow the exact model instructions and avoid bending or scraping the contact pins.
Step 7: Let the contacts dry completely
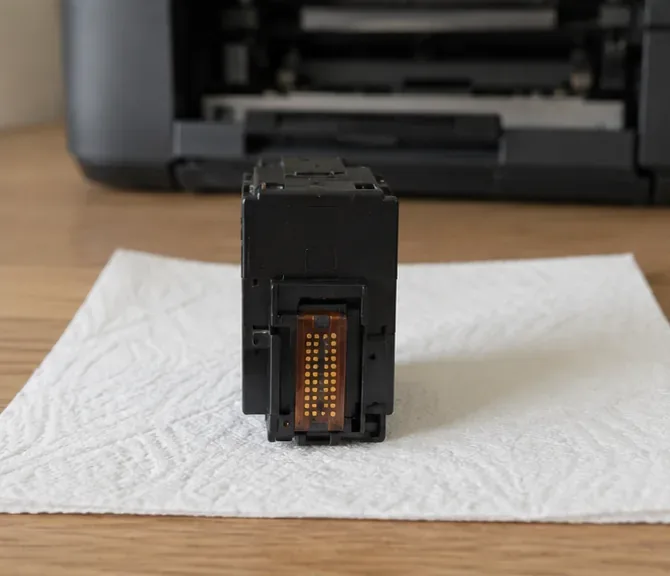
Place the cartridge on a clean protected surface in the orientation recommended for your model and allow the cleaned contacts to dry before reinstalling it. Do not use a hair dryer, heat gun, compressed-air blast, or direct heat to speed the process.
Drying time varies by procedure. HP’s cartridge-contact guidance cited above tells users to wait 10 minutes in one supported workflow. Treat that as a model-specific example rather than a universal timing rule; use the waiting period stated for your printer.
Allow cleaned contacts to dry before reinstalling the cartridge. Keep the cartridge on a clean surface and minimize unnecessary handling.
Step 8: Reinstall, test, and stop if the problem persists
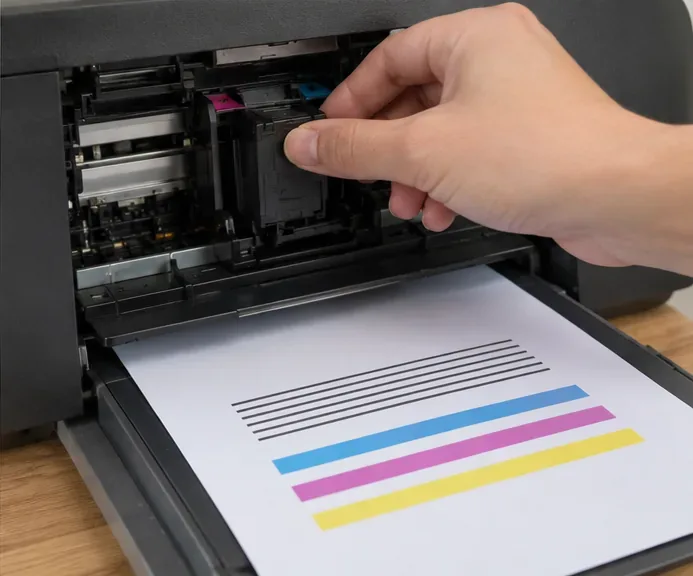
Reinstall the cartridge in its correct slot until it is fully seated, close the access door, and print another nozzle check or print-quality page. If the problem was a recognition error, confirm that the printer now detects the cartridge. If the problem was poor print quality, compare the new test page with the original.
If output improves but is still incomplete, use the next maintenance level recommended for your printer. Do not run cleaning cycles repeatedly without a reason: deeper cleaning can consume substantially more ink. If there is no improvement after the manufacturer’s recommended sequence, the cartridge, printhead, or another printer component may need replacement or service.
Reinstall the cartridge and verify the result with a nozzle check or print-quality test. Crisp lines and complete color bars indicate that the printer is producing a consistent test pattern.
What If the Ink Nozzles Are Clogged?
Do not assume that a clogged nozzle should be wiped by hand. Many modern inkjet printers are designed to clean the printhead through an internal maintenance routine. Canon’s TR4500-series maintenance procedure specifically says not to rinse or wipe the FINE cartridge. Epson similarly directs users to nozzle checks and printer-controlled head cleaning.
If normal cleaning does not restore the nozzle pattern, follow your model’s next prescribed step, such as a deep cleaning or power cleaning. These stronger routines use more ink and should not be treated as a first response. If the official procedure eventually says to replace the cartridge or seek service, continued manual cleaning is unlikely to be the safest option.
How Is Cleaning a Toner Cartridge Different?
A laser printer does not use liquid ink nozzles. Its toner cartridge contains fine dry powder, and the print system may include a separate or integrated drum. Do not apply the wet-cleaning procedure above to a toner cartridge.
For some Brother laser printers, a vertical line or “Drum!” message can call for cleaning the corona wire, a thin charged wire in the drum assembly. Brother instructs users to remove the toner-and-drum assembly and slide the built-in cleaning tab back and forth, then return the tab to its home position. See the Brother corona-wire cleaning procedure for a model-specific example.
Laser-printer maintenance varies widely, so identify whether the toner cartridge and drum are one unit or separate components before cleaning anything. Avoid touching the photosensitive drum surface unless the manufacturer specifically instructs you to do so.
Common Mistakes to Avoid
Wiping every visible metal or ink-covered surface. Clean only the part named in the official procedure.
Using tap water or a household cleaner by default. Mineral residue and incompatible chemicals can create new problems.
Using alcohol because it evaporates quickly. Some printhead guidance warns against alcohol on sensitive components.
Touching nozzles or contacts with bare fingers. Skin oils and physical pressure can interfere with operation.
Running many cleaning cycles in a row. Cleaning consumes ink; stronger cycles consume more.
Using inkjet instructions on a laser toner cartridge. Toner systems require different maintenance procedures.
Forcing a cartridge into place. A correctly matched cartridge should follow the model’s normal insertion path and locking method.
When Should You Replace the Cartridge Instead?
Cleaning is worth trying when the cartridge is recognized intermittently, the contacts show light residue, or print quality suggests a clog that responds to the printer’s maintenance cycle. Replacement is more sensible when the cartridge is empty, cracked, leaking, has visibly damaged electrical contacts, remains unrecognized after the approved cleaning procedure, or the manufacturer’s troubleshooting sequence ends with a replacement recommendation.
If a new or known-good cartridge produces the same defect, the cartridge may not be the root cause. The printhead, carriage, drum, fuser, transfer system, or printer electronics may need further diagnosis depending on the printer type.
Beginner’s Quick Checklist
Confirm whether the printer is inkjet or laser.
Find the official instructions for the exact model.
Run a nozzle check or diagnostic page before cleaning.
Use built-in printhead cleaning before manual inkjet cleaning.
Handle cartridges by the plastic body.
Do not wipe ink nozzles unless the manufacturer explicitly says to do so.
Use distilled water only when the official procedure permits it.
Let cleaned contacts dry before reinstalling.
Print a test page after each maintenance stage.
Stop and replace or service the part if the approved procedure does not solve the problem.