Home
» INTERNET
»
How to Disinfect a Hairbrush Safely: A Beginner-Friendly Guide
How to Disinfect a Hairbrush Safely: A Beginner-Friendly Guide
A hairbrush can collect loose hair, scalp oil, dead skin, styling-product residue, and dust. The important first step is not to reach immediately for a strong disinfectant. Clean the brush first. The U.S. Centers for Disease Control and Prevention (CDC) distinguishes cleaning from disinfecting: cleaning physically removes dirt and many germs with soap, water, and scrubbing, while disinfecting uses a chemical product to kill remaining germs. In most homes, routine cleaning is usually enough unless someone is sick, someone in the household is at higher risk of illness, or there is a specific contamination concern.
This guide uses a washable plastic paddle brush as the main example, then explains how the method changes for cushioned, wooden, natural-bristle, and other delicate brushes. If your brush has care instructions from its manufacturer, those instructions take priority over a generic method.
What You Need to Know Before You Start
Two terms matter here. Cleaning removes buildup and many germs. Disinfecting is a separate step that uses an antimicrobial product intended to kill germs on a compatible surface. The CDC recommends cleaning before disinfecting because dirt and organic residue can reduce how well a disinfectant works. You can review the CDC's current household guidance at When and How to Clean and Disinfect Your Home.
For a normal personal hairbrush that has not been exposed to illness or lice, removing trapped hair and washing away residue may be all you need. Disinfection becomes more relevant when the brush has been shared, used by someone who is sick, or exposed to a situation where reinfestation or transmission is a concern.
Check the brush material before getting it wet
Brush type
Best starting approach
Main caution
Solid plastic or metal, fully washable
Warm water, mild soap, gentle scrubbing
Use disinfectant only if its label allows that surface
Cushioned or pneumatic brush
Clean the bristles and surface without flooding the interior
Water can enter an air hole or cushion
Wooden handle/base
Minimal moisture and manufacturer-approved cleaning
Long soaking can swell, warp, or damage wood
Natural boar bristles
Gentle, low-moisture cleaning
Strong chemicals or prolonged soaking may damage bristles
Brush with removable parts
Clean parts separately if the manufacturer allows it
Remember the correct reassembly and drying method
That distinction is not theoretical. Tangle Teezer's official care guidance says to remove loose hair, scrub between the teeth and base with warm water and mild soap, rinse, and let the brush dry naturally. Denman notes that some air-cushioned brushes need care to keep liquid out of the air hole. Mason Pearson also uses its own cleaning process to protect its pneumatic cushion. See the manufacturers' current instructions at Tangle Teezer FAQs, Denman brush cleaning guidance, and Mason Pearson Hairbrush Cleaner guidance.
What to Prepare
A tail comb, tweezers, or another blunt tool for lifting trapped hair
Mild liquid soap or shampoo
Warm water
A clean toothbrush or small soft cleaning brush
A clean towel
If disinfection is actually needed: an EPA-registered surface disinfectant whose label permits use on the brush's material
Optional gloves if the disinfectant label recommends them
Do not mix disinfectants with each other. The CDC specifically warns against mixing bleach or other disinfectants with additional cleaners because dangerous vapors can be released.
How to Clean and Disinfect a Hairbrush in 4 Steps
Step 1: Remove all trapped hair and visible debris
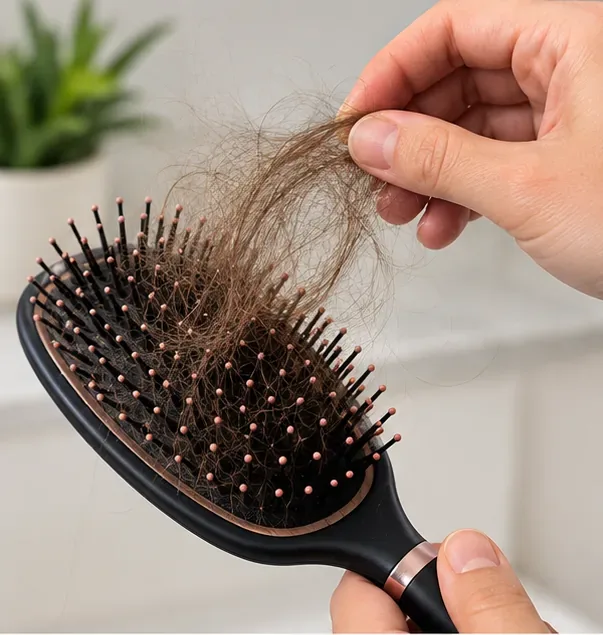
Work on a dry brush first. Lift hair away from the base and slide it up over the bristles. A tail comb, tweezers, or the handle end of a cleaning tool can help with tightly wrapped strands. Do not pull so hard that you bend pins or tear a cushion.
Start dry: remove trapped hair before washing so soap and water can reach the bristle base and brush surface.
This is more important than it may look. Hair wrapped around the base can trap sebum and styling residue, and that layer is exactly what you want to remove before any disinfecting product is applied.
Step 2: Wash the brush with a material-safe method
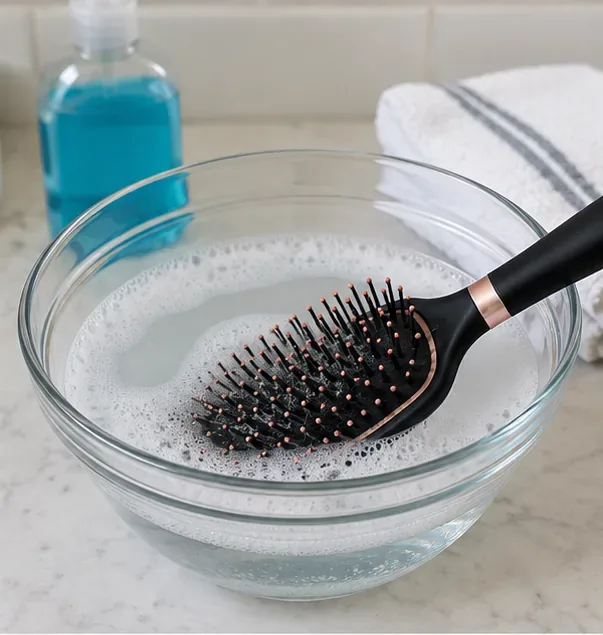
For a fully washable solid-plastic brush, use warm water and a small amount of mild soap. You can wash the working end in a bowl or under running water. Avoid very hot water unless you are intentionally following the separate head-lice procedure described later.
A fully washable brush can be cleaned with warm, soapy water; do not immerse wood, natural-bristle, or cushioned brushes unless their manufacturer says immersion is safe.
If your brush has a wooden body, rubber cushion, glued parts, natural bristles, electronics, or an air hole, do not automatically submerge it. Instead, use a damp soapy cloth or a soft brush on the dirty areas and follow the manufacturer's instructions.
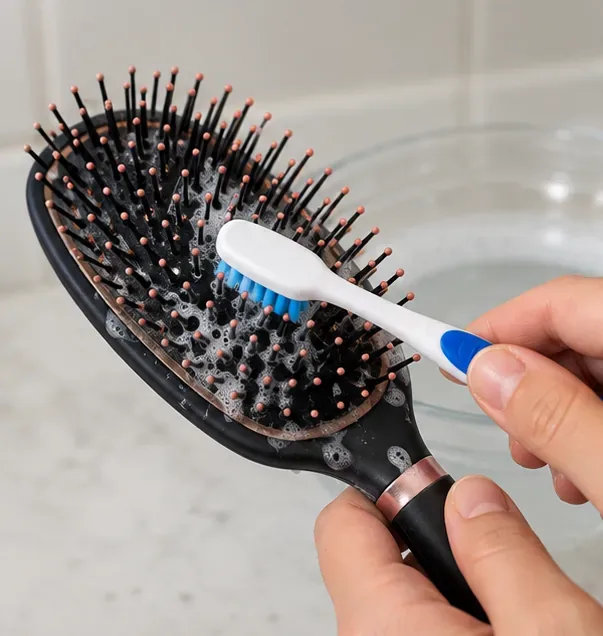
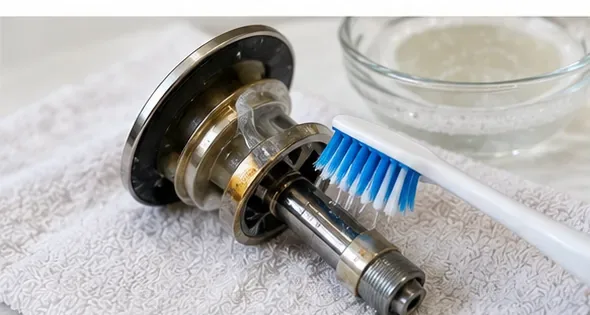
Next, scrub gently between the bristles and around the base, where product residue tends to accumulate. A clean toothbrush works well because its small head can reach narrow spaces.
Use a soft cleaning brush to loosen residue around the bristle base rather than relying on soaking alone.
Step 3: Disinfect only when there is a reason to
If the brush only needed routine maintenance, you can usually skip this step. The CDC says regular cleaning alone removes most harmful viruses or bacteria from household surfaces, while disinfection is more appropriate when someone is sick or at higher risk.
If disinfection is needed and the brush has a compatible hard, nonporous surface, choose an EPA-registered disinfectant that is labeled for that surface and use site. The term contact time means the amount of time the treated surface must remain visibly wet for the product to work as tested. Do not guess this time. Read the label and follow it exactly, including whether the item must be rinsed afterward. EPA explains these requirements in Selected EPA-Registered Disinfectants.
A common mistake is to assume that plain rubbing alcohol, vinegar, essential oils, or a homemade mixture is automatically equivalent to a registered hard-surface disinfectant. That is not a safe general rule. Product effectiveness depends on concentration, target organism, surface type, and contact time. Use a product with directions that match what you are trying to disinfect.
Step 4: Rinse if required and dry completely
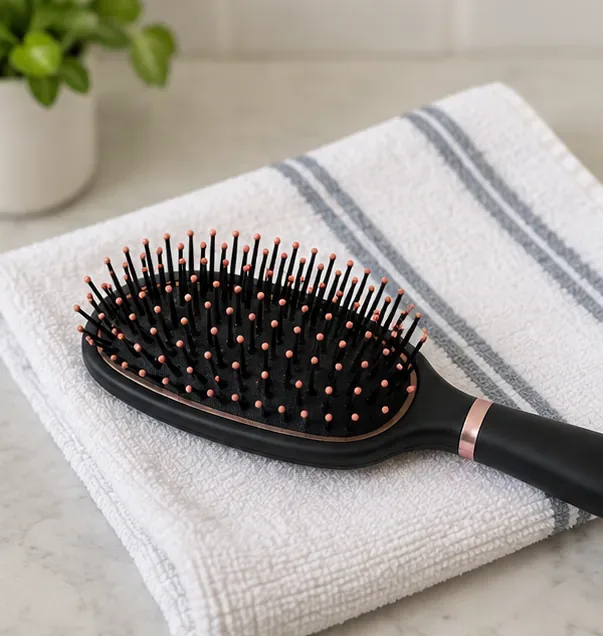
After washing, rinse away soap residue. If you used a disinfectant, follow its label on whether rinsing is required. Shake off excess water and place the brush on a clean towel in the orientation recommended by the manufacturer. Allow it to air-dry completely before using or storing it.
Let the cleaned brush dry completely on a clean towel before it goes back into regular use or storage.
Do not put a damp brush into a closed drawer or cosmetic bag. Trapped moisture is unnecessary and can be especially problematic for cushioned designs and wooden components.
What If the Hairbrush Was Exposed to Head Lice?
This is one situation where there is a specific public-health instruction. The CDC says combs and brushes used by a person with head lice should be soaked in hot water at at least 130°F (54°C) for 5–10 minutes. The CDC also notes that head lice do not survive long once they fall off a person and cannot feed, so extensive whole-house decontamination is not necessary. See the current guidance at CDC: Treatment of Head Lice.
Material compatibility still matters. A solid heat-tolerant comb or brush may handle that procedure, while a glued, wooden, natural-bristle, or cushioned brush may not. If the manufacturer's instructions rule out that temperature or immersion, do not damage the brush trying to improvise. For an inexpensive brush, replacement can be the simpler option. For a specialty brush, contact the manufacturer for a compatible decontamination method.
Do not use household foggers or fumigant sprays for head lice. CDC specifically advises against them because they are unnecessary and can be toxic if inhaled or absorbed through the skin.
How Often Should You Clean a Hairbrush?
There is no universal CDC schedule for personal hairbrushes. A practical approach is to remove shed hair frequently and wash the brush whenever you see oily residue, styling-product buildup, lint, or visible dirt. People who use heavy styling products may need to clean more often than people who use little or none.
Manufacturer guidance varies. Tangle Teezer recommends removing hair after use and cleaning periodically when residue builds up. Mason Pearson recommends regular dry cleaning and a more thorough scheduled clean for its own brush construction. The takeaway is simple: base frequency on visible buildup, how often you use the brush, and the care instructions for that specific model.
Common Mistakes to Avoid
Disinfecting before cleaning. Dirt and product residue can interfere with disinfectant performance.
Soaking every brush. Wood, rubber cushions, adhesives, natural bristles, and air holes may not tolerate immersion.
Using stronger chemicals “just to be safe.” Stronger is not automatically more effective and may damage the brush or create an exposure hazard.
Ignoring contact time. Wiping a disinfectant off immediately can defeat the purpose if the label requires the surface to stay wet longer.
Mixing cleaners or disinfectants. Some combinations can release dangerous gases.
Putting the brush away damp. Allow it to dry fully first.
Using a disinfectant on a surface not listed on its label. Surface compatibility and directions matter.
A Simple Decision Rule
If the brush is yours, no one is sick, and it is simply oily or dusty, focus on removing hair and washing it correctly. If there is an illness-related reason to disinfect, clean first, then use an EPA-registered product that is appropriate for the brush's hard, nonporous surfaces and follow the label exactly. If head lice are the concern, use the CDC's 130°F-for-5–10-minutes method only when the brush can safely tolerate it.
The safest technique is therefore not one universal chemical recipe. It is a sequence: identify the brush material, remove debris, wash appropriately, disinfect only when needed, and dry completely. That keeps the process effective without sacrificing the brush in the name of over-cleaning.