Home
» INTERNET
»
How to Season Cast Iron Grill Grates: Choose the Right Method for Your Grate
How to Season Cast Iron Grill Grates: Choose the Right Method for Your Grate
Seasoning cast iron grill grates is not one universal procedure, because “cast iron grate” can mean three different surfaces: bare cast iron, factory-seasoned cast iron, or cast iron covered with porcelain enamel. The first choice is therefore not which oil to use. It is whether your grates should be seasoned at all.
Current manufacturer guidance checked in September 2026 still reflects that split. Weber says its porcelain-enameled cast-iron grates do not need seasoning because the enamel is the protective surface. Napoleon’s current Rogue manual, by contrast, gives a seasoning procedure for its cast-iron cooking grids: clean and dry them, apply a thin coat of oil, heat at 350–400°F, and repeat with a second coat. Lodge describes the underlying chemistry as polymerization, in which heated oil changes into a hardened layer bonded to cast iron.
First decide what kind of grate you have
Grate type
Should you season it?
What matters most
Bare cast iron
Usually yes
Keep it dry, use very thin oil coats, and renew the protective layer when rust or bare gray metal appears.
Factory-seasoned cast iron
Often not before first use
Follow the maker’s instructions. Some products arrive ready to cook on and only need normal cleaning, drying, and light oil maintenance.
Porcelain-enameled cast iron
Usually no
Protect the enamel instead of trying to build seasoning over it. Avoid aggressive scraping that can damage the coating.
Start by removing loose food, grease, and flaky rust so the oil can contact the iron instead of sealing debris underneath.
What seasoning is actually doing
Seasoning is not simply leaving grease on the metal. Lodge’s seasoning guide explains that oil polymerizes when heated, changing from a liquid film into a hardened surface bonded to cast iron. On bare grill grates, that layer helps reduce direct exposure to moisture and creates a smoother cooking surface over time.
The tradeoff is that seasoning is only durable when the preparation is good. Oil over food residue produces a dirty, uneven coating. Oil over damp iron traps moisture where rust can start. A thick oil layer is faster to apply but more likely to stay sticky. Several thin coats take longer but tend to cure more evenly.
How to season bare cast iron grill grates
The following process is appropriate for bare cast iron when your grill manufacturer permits seasoning. If your manual gives different temperatures, timing, oil choices, or cleaning instructions, follow the manual instead.
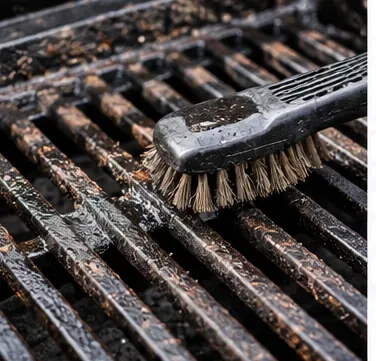
1. Clean off food, grease, and loose rust
Brush the grates to remove cooked-on debris. If they are heavily dirty, wash them with warm soapy water and a soft cloth or appropriate brush. Napoleon specifically instructs washing its cast-iron grids with warm soapy water before seasoning.
If you see surface rust, remove the loose rust before oiling. Napoleon allows a scouring pad or brass brush for rust on its cast-iron grids. Do not automatically apply that advice to porcelain-enamel grates, where abrasive treatment can damage the coating.
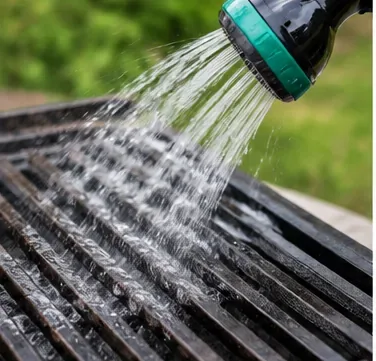
After washing, rinse away cleaner and loosened debris, then dry the grates completely before oiling.
2. Rinse and dry completely
Rinse away soap and loosened debris, then dry the grates thoroughly. This step has a bigger effect on the result than it may seem: bare iron starts rusting when moisture sits on the surface, and oil does not form a clean layer over trapped water.
If the weather is humid, placing the grates back in a warm grill for a few minutes can help evaporate remaining moisture before oiling. The goal is dry metal, not a specific color.
A thin, even film is the goal. Heavy oil can turn gummy instead of forming a hard seasoning layer.
3. Apply a very thin coat of oil
Choose an oil your grill maker accepts. Napoleon lists grapeseed, sunflower, soybean, extra-virgin olive, and canola oils, and says that when those are unavailable you should choose an oil or fat with a high smoke point. It also warns against salted fats such as butter or margarine. See the Napoleon Rogue owner’s manual.
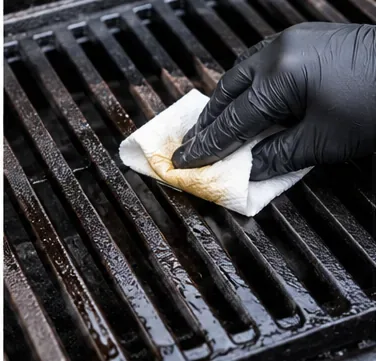
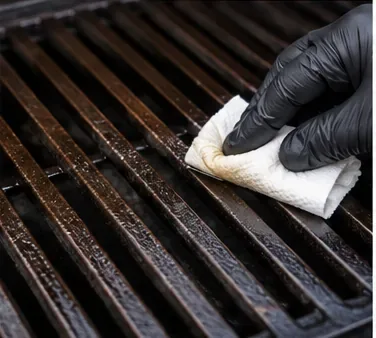
Wipe the oil over all exposed cast-iron surfaces, including the sides and underside if your grate design makes them accessible. Then wipe again with a clean towel so the surface looks barely coated rather than wet. “More oil” does not mean “more protection” in one pass.
Heat converts the oil film into a bonded seasoning layer; use your grill maker’s temperature and timing when available.
4. Heat the grates according to the manufacturer’s range
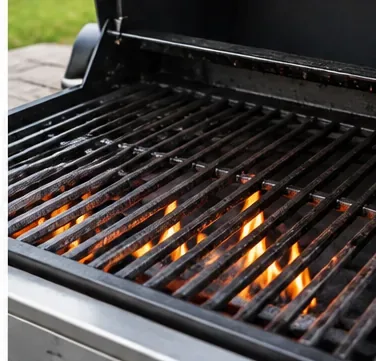
Napoleon’s current procedure calls for reinstalling the grids, heating the grill to 350–400°F, and heating the first oil coat for 30 minutes. That is a useful manufacturer-backed reference, but it is not a universal temperature for every grate. Some pre-seasoned cast-iron cookware instructions use higher oven temperatures, while an enameled grate may not need this treatment at all.
Keep the grill outdoors and operate it normally with the lid and ventilation arranged as the manufacturer specifies. Seasoning produces smoke; that is not a reason to move a fuel-burning grill indoors.
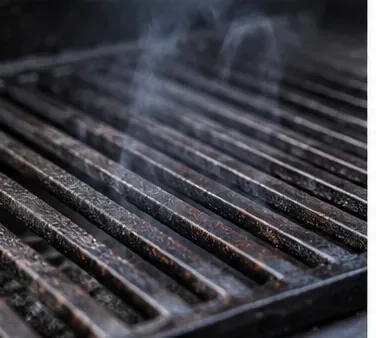
Some smoke is expected as the oil heats, but excessive smoke can signal too much oil or more heat than the manufacturer recommends.
5. Let the first coat set, then assess it
After the first heat cycle, the surface should look darker and drier. A greasy or tacky finish usually means the oil film was too thick or did not fully cure. Do not solve that by adding even more oil. Let the grates cool enough to handle safely, wipe away excess if needed, and continue with a thinner coat.
A little smoke during the heating stage is normal. Heavy, continuous smoke is a signal to check the amount of oil and the grill temperature.
A second thin coat can improve coverage on bare iron; several thin layers are preferable to one thick layer.
6. Add a second thin coat if your grate calls for it
Napoleon’s process applies a second even coat and heats it for another 30 minutes. The advantage of two thin coats is better coverage; the disadvantage is time. For a newly stripped or rust-cleaned bare grate, the extra cycle is usually worthwhile. For an already well-seasoned grate that only needs touch-up, a manufacturer may call for less work.
Avoid chasing a glossy black appearance in a single session. Seasoning develops through repeated thin layers and normal cooking.
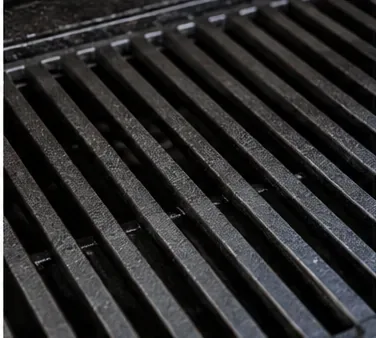
Finished bare cast iron should look evenly dark and dry rather than wet, sticky, or patchy.
7. Cool and inspect the finish
Once the grill is off and the grates are cool, inspect them under good light. A good result is even, dark, and dry to the touch. Patchy gray areas indicate exposed iron and may benefit from another thin coat. Sticky areas point to excess oil rather than insufficient oil.
Small differences in color are not necessarily a problem. Function matters more than cosmetics: the grate should be protected from rust, free of loose residue, and ready for food contact.
8. Maintain the seasoning through normal use
After cooking, clean off food residue without stripping the surface unnecessarily. Dry bare cast iron promptly. A whisper-thin wipe of oil after cleaning can help protect the grate during storage, especially in humid conditions or if the grill sits unused for long periods.
Napoleon recommends repeating its full seasoning routine every three to four uses for the specific cast-iron grids covered by its manual. That interval should not be treated as a universal rule for every brand. If your grate stays dark, dry, and rust-free, your own manufacturer’s maintenance schedule should take priority.
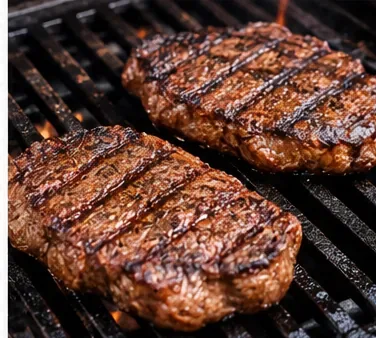
Once the grates are seasoned and stable, normal cooking helps maintain the surface when cleaning and storage are handled carefully.
Which oil should you choose?
Oil choice
Practical advantage
Tradeoff
Good fit for
Canola oil
Widely available, neutral, inexpensive
Easy to overapply because it spreads quickly
Routine home seasoning
Grapeseed oil
Thin, neutral film and commonly recommended for high-heat cooking
Usually costs more than canola
People who want easy, even wiping
Sunflower or soybean oil
Neutral oils that Napoleon lists for its grids
Availability and price vary by market
Following Napoleon-style guidance
Butter or margarine
Convenient in many kitchens
Napoleon specifically advises against salted fats for seasoning
Not recommended for this purpose
The oil brand matters less than using a manufacturer-acceptable oil in a very thin coat. If your grill’s manual names a particular oil or product, that recommendation should override a generic list.
What if your grates are porcelain-enameled?
Do not assume visible cast iron means bare iron. Many modern grill grates are cast iron under a porcelain-enamel coating. Weber explicitly says its porcelain-enameled cast-iron grates do not need seasoning. Its current care instructions instead emphasize preheating and brushing the grates, with a dedicated grate cleaner and scrubber pads for heavy grease after the grill has cooled.
The tradeoff is straightforward: porcelain enamel gives you cast iron’s heat retention with less rust-prevention work, but the coating itself becomes the surface you need to protect. If the enamel is chipped and iron is exposed, do not treat the entire grate as though the coating no longer exists; check the manufacturer’s replacement or repair guidance.
Factory-seasoned cast iron is another category
Some cast-iron products arrive with seasoning already baked on. Lodge’s cast-iron product guide says its seasoned cast iron is ready to use from the foundry and does not need at-home seasoning before first use. That does not automatically tell you how a removable grill grate from another company should be handled, but it illustrates why product-specific instructions matter.
If the packaging says “pre-seasoned” or “factory-seasoned,” start with the manufacturer’s cleaning and maintenance directions instead of stripping the surface and rebuilding it from scratch.
When to reseason instead of just cleaning
Reseason bare iron when you see light surface rust, exposed gray metal, or a dry patch where seasoning has worn away.
Clean rather than reseason when the surface is dark and intact but has food residue or grease buildup.
Stop and verify the grate type if you see a smooth or glassy coating, because it may be porcelain enamel.
Consider replacement if an enameled grate has extensive flaking, deep corrosion, or structural damage.
Common mistakes that reduce seasoning quality
Using too much oil: Thick oil can stay tacky and collect dirt. Wipe the grate almost dry before heating.
Oiling damp iron: Dry first. Seasoning works best on clean, dry metal.
Seasoning enamel because it “looks like cast iron”: Verify the material. Weber’s porcelain-enameled cast iron is not meant to be seasoned.
Treating one brand’s schedule as universal: Napoleon’s 350–400°F, 30-minute-per-coat routine is specific, useful guidance, but your grill may call for something else.
Trying to fix rust with oil alone: Remove loose rust first, then reseason bare iron. Oil over corrosion does not restore a sound surface.
A simple decision rule
If the grate is bare cast iron, clean it, dry it, apply a nearly invisible oil film, and heat it according to the grill maker’s instructions; repeat thin coats when the surface needs rebuilding. If it is porcelain-enameled cast iron, skip seasoning and follow the coating-care instructions. If it is factory-seasoned, preserve the existing finish unless the manufacturer tells you to rebuild it.
That material-first approach takes a few minutes of checking up front, but it avoids the two most common problems: creating a sticky layer on bare iron by using too much oil, and unnecessarily seasoning a coated grate that was designed not to need it.