Add a Date and Time Stamp to Photos on Your Android Phone
Learn how to add a visible date and time to new or existing Android photos with your camera's watermark setting or Google Photos Markup.
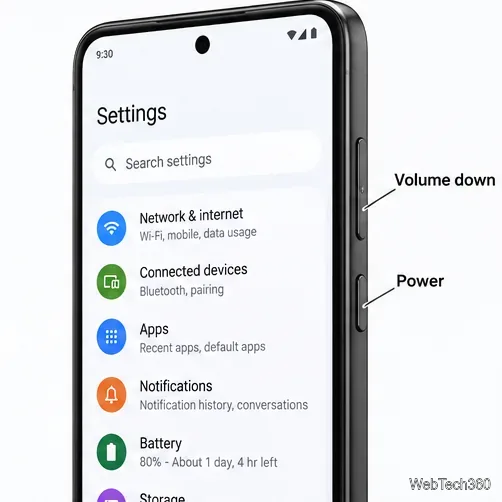
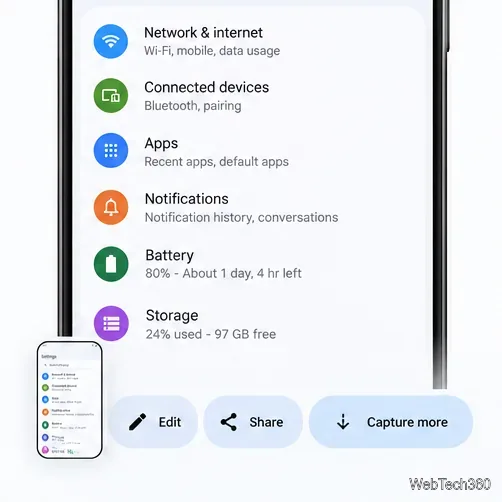
To take a screenshot on most Android devices, press Power and Volume down at the same time, then release them. The image saves automatically. For a longer page, take a screenshot and look for Capture more or your manufacturer's scrolling capture button.
The same button combination works on many Android tablets. Button positions, gestures, and menus vary by model and software version; the illustrations below show example layouts.
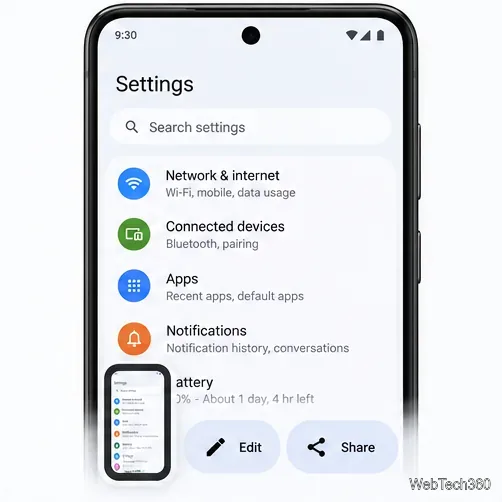
A preview or capture notification confirms success. Tap the preview to review the image, or use the editing and sharing controls that appear. You do not need to open the preview to save a standard screenshot.
If the shortcut does not work, some phones offer Screenshot in the menu that appears when you hold Power. Availability varies; see Google's Android screenshot instructions.
Google's Capture more workflow requires Android 12 or later and a supported scrollable screen.
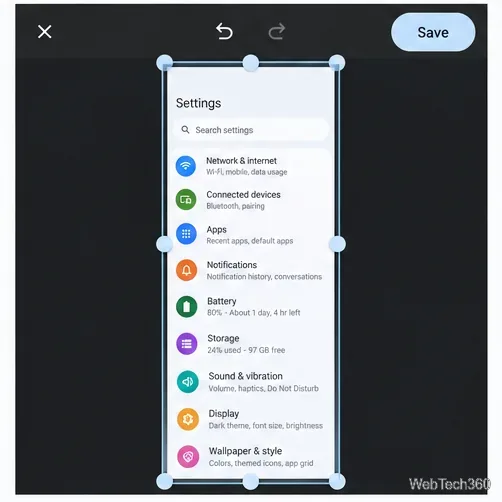
Move the crop boundaries to include the content you need, then tap Save.
If the option is missing, that screen may not support scrolling capture. For webpages, try this system method rather than relying on a Chrome-specific Long Screenshot menu.
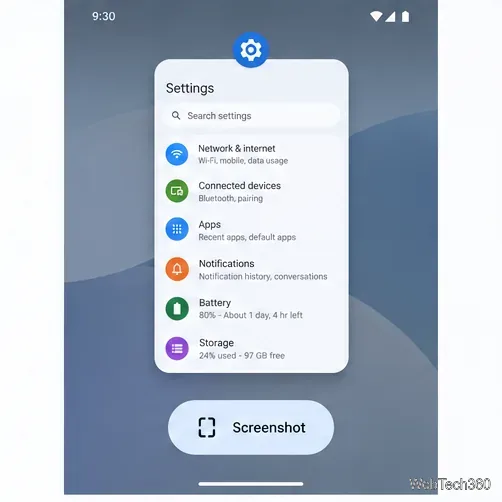
This captures the selected app. Google documents both navigation options in its Pixel screenshot guide.
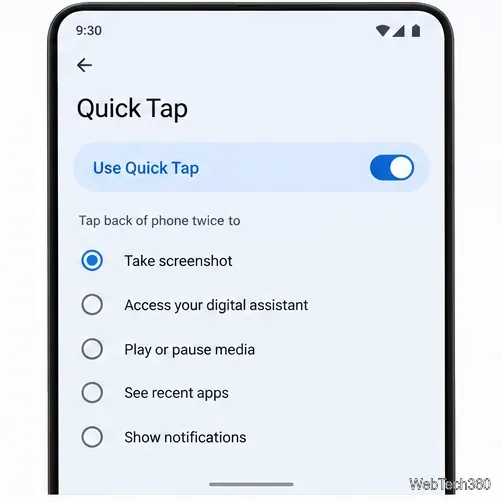
On supported Pixel 4a (5G) and later phones, open Settings > System > Gestures > Quick Tap. Enable Use Quick Tap, select Take screenshot, and double-tap the back of the phone. The regular Pixel 4a is not included in Google's stated compatibility range. See Google's Quick Tap instructions.
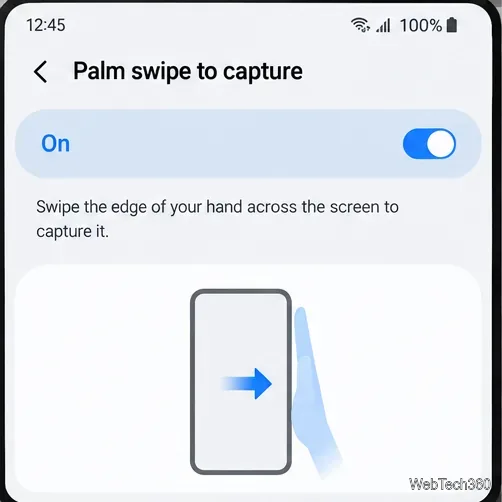
Alongside the button shortcut, compatible Galaxy devices offer these methods in Samsung's screenshot guide.
Search Settings for Palm swipe to capture and enable it if available. Swipe the edge of your hand across the display. The setting is under Advanced features on supported devices; some versions place it inside Motions and gestures.
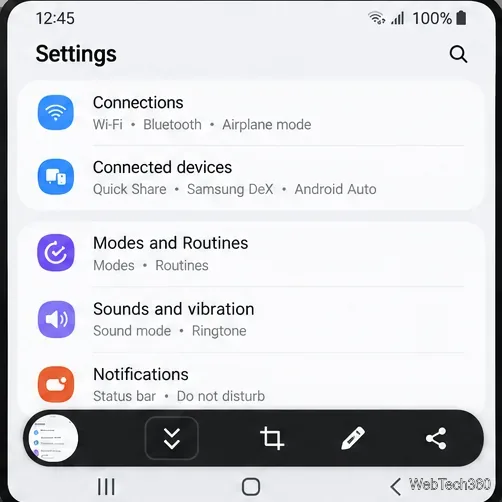
After taking a screenshot of a scrollable page, tap the toolbar's Scroll capture icon, shown as two downward arrows, to include more content.
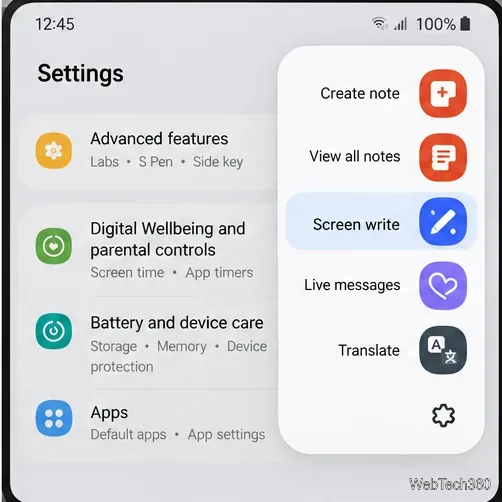
S Pen button actions differ by model; holding the pen button for three seconds is not a universal screenshot shortcut.
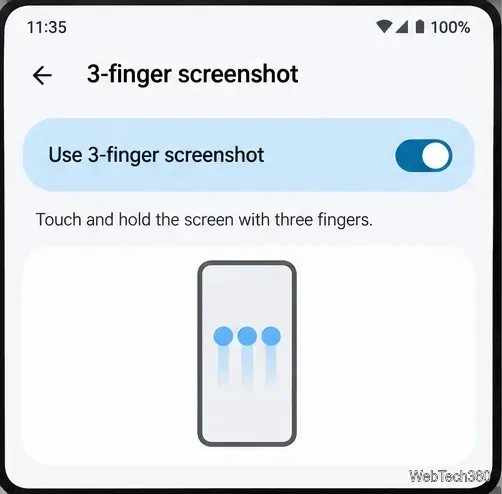
On supported Motorola phones, enable Three finger screenshot in the gesture settings. Depending on the model, look under Settings > System > Gestures or the Moto app's Gestures/Moto Actions section. Then touch and hold the screen with three fingers. Motorola's screenshot instructions describe the gesture; its gesture settings guide shows another supported menu layout.
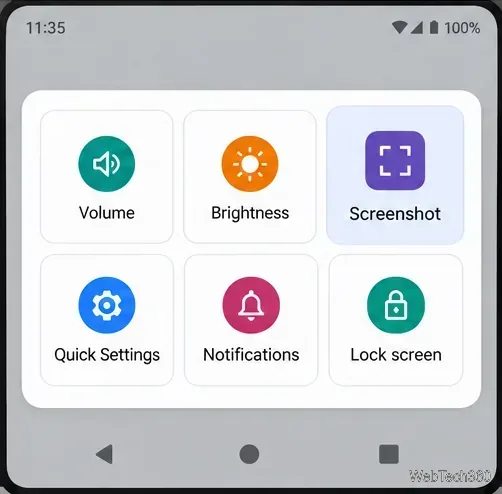
Where Google's Accessibility Menu is available:
For voice capture, activate your configured assistant and say “Take a screenshot.” Google documents this for Gemini's Device assistance. To use that device action, set the Google app as your default digital assistant. Supported Galaxy devices can also use Bixby.
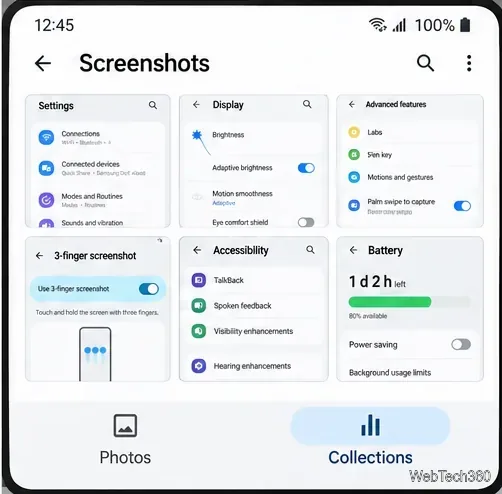
In Google Photos, open Collections > On this device > Screenshots. On Samsung, open Gallery > Albums > Screenshots. Open an image and choose Edit or Share. Crop out private information before sending it.
Learn how to add a visible date and time to new or existing Android photos with your camera's watermark setting or Google Photos Markup.
Learn how to screenshot on Android with button shortcuts, scrolling captures, and Pixel, Samsung, and Motorola gestures, plus where to find and share images.
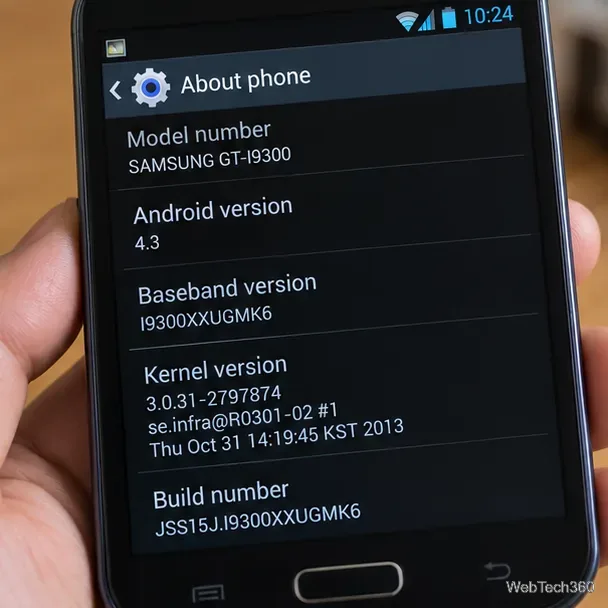
Learn how Framaroot rooted compatible older Android phones, what to check before installing its APK, and why it rarely works on newer devices.
See how the classic Search Now app used a floating search button for on-device and web searches, why its Play Store listing is gone, and what works today.
Learn how to turn Facebook profile picture login on or off, remove saved sign-ins on iPhone or Android, and find the current Saved login settings.
Learn how to identify plants, products, books, and other objects in photos with Google Lens on Android, iPhone, or a computer—and improve uncertain matches.
Remove your Pokémon GO avatar’s hat, gloves, and backpack using the Style menu. Follow the steps and fix missing no-item options without spending PokéCoins.
Understand what firmware and ROM mean on Android, how stock and custom ROMs differ, what flashing changes, and which risks to check before installing an image.
Learn what you need to install CyanogenMod 7.1 RC1 on the Motorola CLIQ XT, back up the MB501, flash the matching ZIPs, and avoid unverified files.
See what Android 2.3 Gingerbread keyboard language packs supported, how to verify a compatible ZIP, back up your phone, and avoid unsafe recovery flashes.