Add a Date and Time Stamp to Photos on Your Android Phone

Learn how to add a visible date and time to new or existing Android photos with your camera's watermark setting or Google Photos Markup.
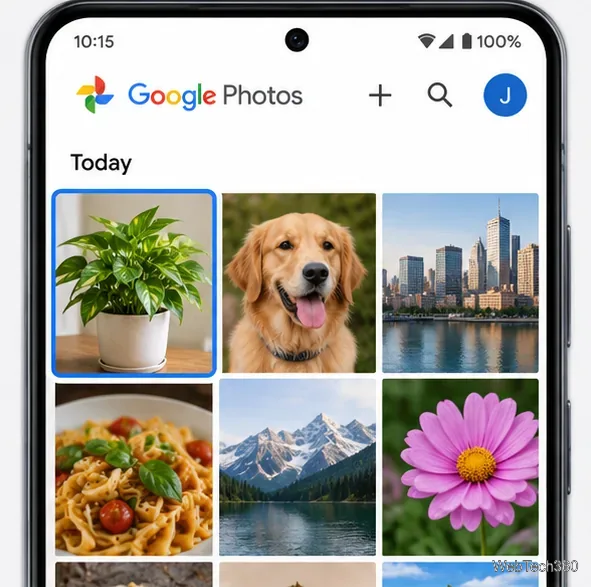
To identify an object in a photo with Google Lens, open the image in Google Photos, tap More, and choose Google Lens. Lens searches for visual matches and may show information about a plant, animal, product, book, landmark, or text in the picture. You can use an existing photo rather than taking a new one.
The steps are similar on Android and iPhone. Google currently documents the Lens command under the photo's More menu, although buttons may appear in slightly different places depending on the app version and device.
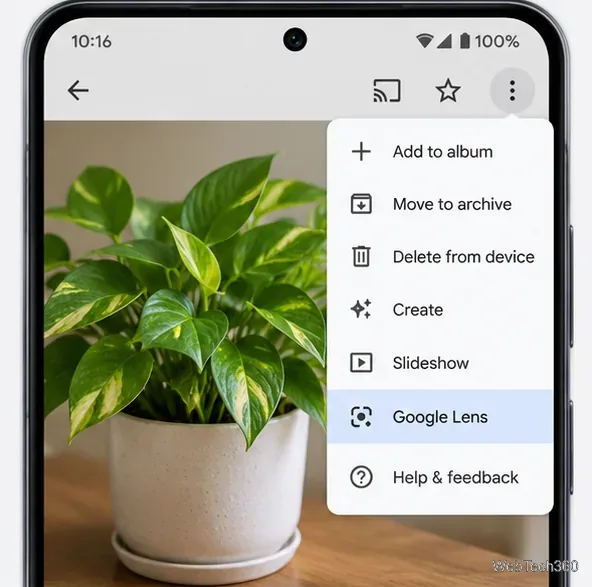
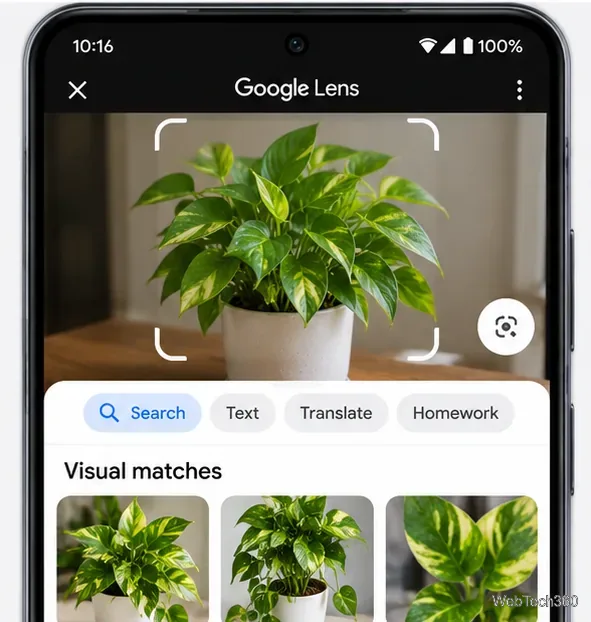
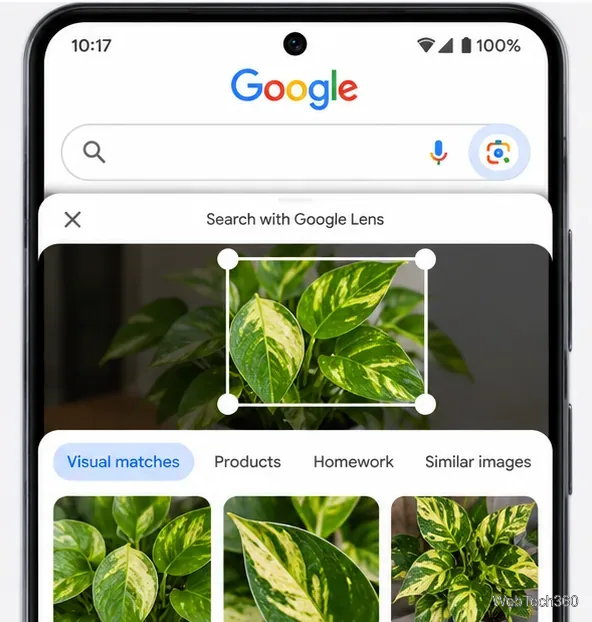
Google's official instructions cover this workflow separately for Android and iPhone and iPad.
On Android: Open the Google app or Chrome, tap the Lens icon in the search bar, and select a saved picture or screenshot. You can also point the camera at an object to search it directly. After choosing the image, adjust the selection to focus on a particular item. See Google's Android image-search instructions.
On iPhone: Open the Google app, tap the Lens icon, and select a picture from your photo library. Google's instructions also describe ways to begin an image search in Chrome or Safari. If you cannot see your images, check the Google app's photo access in iPhone Settings. The iPhone and iPad guide explains these options.
You do not need to transfer a picture to your phone. On a computer, visit Google Search, click the camera-shaped Search by image icon, choose Upload a file, and select your picture. The results can include websites featuring the same object or visually similar images.
If the photo is already displayed on a website in Chrome, right-click it and choose Search with Google Lens. Google's desktop image-search help describes both methods.
Lens is a visual search tool, not a guarantee of an exact identification. Two products may look alike, and closely related plants can be nearly indistinguishable in one photograph. Do not rely on a Lens result alone for mushroom edibility, medical decisions, or safety-critical identification.
Update Google Photos and the Google app, then check the photo's More menu again. Alternatively, start Lens from the Google app's search bar. Make sure the app has permission to access the images you want to use. Menu layouts and available features can differ by device, app version, and region.
Older tutorials sometimes say that Lens must be enabled for each account or that the phone's language must be set to English. Those rollout-era instructions should not be treated as requirements for today's standard photo-search workflow. Also remember that visual searches send image information to Google's services, so avoid searching sensitive photos unless you are comfortable with that processing.
Learn how to add a visible date and time to new or existing Android photos with your camera's watermark setting or Google Photos Markup.
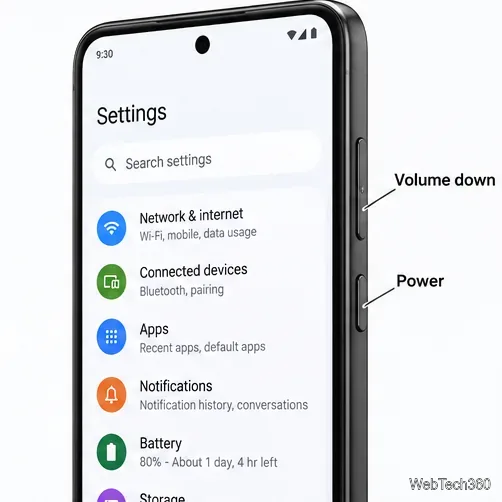
Learn how to screenshot on Android with button shortcuts, scrolling captures, and Pixel, Samsung, and Motorola gestures, plus where to find and share images.
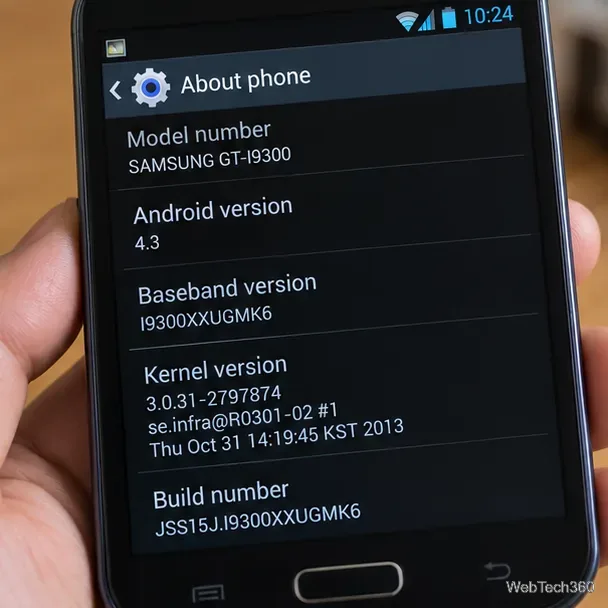
Learn how Framaroot rooted compatible older Android phones, what to check before installing its APK, and why it rarely works on newer devices.
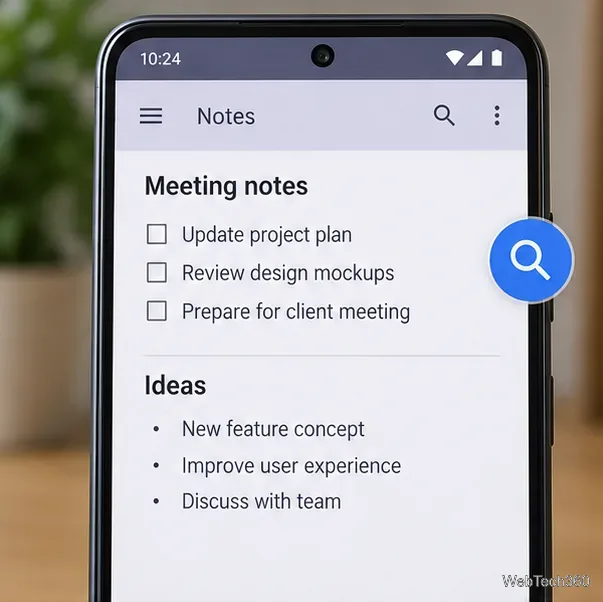
See how the classic Search Now app used a floating search button for on-device and web searches, why its Play Store listing is gone, and what works today.
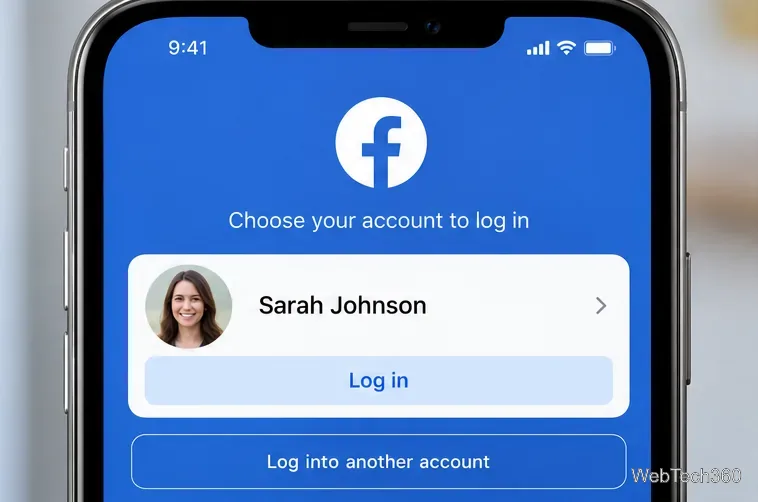
Learn how to turn Facebook profile picture login on or off, remove saved sign-ins on iPhone or Android, and find the current Saved login settings.
Learn how to identify plants, products, books, and other objects in photos with Google Lens on Android, iPhone, or a computer—and improve uncertain matches.
Remove your Pokémon GO avatar’s hat, gloves, and backpack using the Style menu. Follow the steps and fix missing no-item options without spending PokéCoins.
Understand what firmware and ROM mean on Android, how stock and custom ROMs differ, what flashing changes, and which risks to check before installing an image.
Learn what you need to install CyanogenMod 7.1 RC1 on the Motorola CLIQ XT, back up the MB501, flash the matching ZIPs, and avoid unverified files.
See what Android 2.3 Gingerbread keyboard language packs supported, how to verify a compatible ZIP, back up your phone, and avoid unsafe recovery flashes.