Home
» GAMING
»
How to Build a House in Animal Crossing: New Horizons: From Tent to Home
How to Build a House in Animal Crossing: New Horizons: From Tent to Home
In Animal Crossing: New Horizons, your first house is an upgrade arranged through Tom Nook, not a building project you place or craft yourself. Pay off the initial 5,000 Nook Miles move-in fee, ask Tom Nook to upgrade your tent, and accept the 98,000-Bell home loan. The house is ready the next in-game day, and you do not need to gather lumber, iron, or furniture before construction.
Nintendo’s beginner guide to New Horizons confirms that paying the island package fee unlocks the house order and that the home is completed by the following day.
Before you can get a house
Start by finishing the island’s opening sequence and moving into your tent. Once the game has shifted to its regular real-time schedule, Tom Nook will track your Deserted Island Getaway Package fee as 5,000 Nook Miles. This is the first requirement. You cannot skip it by collecting Bells, and you do not have to wait several in-game days after paying it.
If your balance is short, open the NookPhone’s Nook Miles app and complete the listed activities. Early tasks reward miles for ordinary actions such as catching bugs or fish, pulling weeds, crafting, and placing furniture. Claim the activity rewards in the app so they count toward the balance.
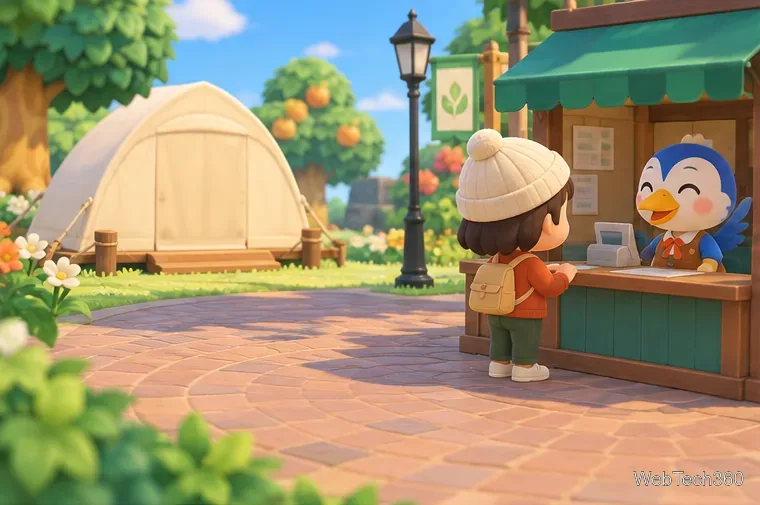
A starter tent sits across the plaza from an island service counter.
How to build your first house
1. Pay the 5,000 Nook Miles fee
Speak with Tom Nook at Resident Services and settle the move-in package fee using Nook Miles. If the option to order a home is not available yet, check the fee first; the house upgrade follows repayment of this initial balance. Nook Miles and Bells are separate currencies, so make sure you are looking at the miles total for this step.
2. Ask Tom Nook to upgrade your tent
After the fee is cleared, talk to Tom Nook again and choose the home-construction option. He offers to replace your tent with a house and records the new cost as a 98,000 Bells loan. You do not need to pay this second loan before the house is built. Tom handles construction, so there is no plot to reserve, DIY recipe to learn, or materials checklist to complete for your own home.
The game’s first house is your personal home. It does not provide rooms for island villagers; each villager has a separate house. The later tasks to place housing kits and craft requested furnishings belong to island development, not to upgrading your tent.
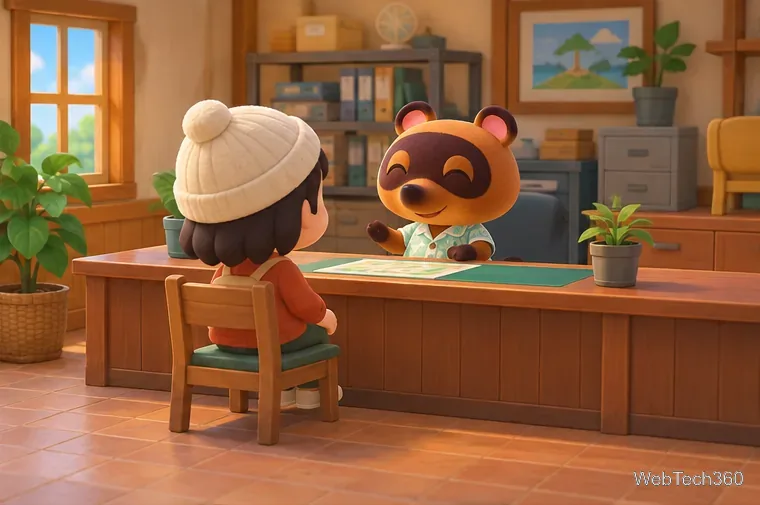
A resident discusses a home request at the island service counter.
3. Let the next in-game day arrive
When you accept the offer, your tent remains in place for the rest of that day. After the next day begins, return to your home location: the tent will have become a house. The game follows the date and time set on your Nintendo Switch, so the change happens on the next in-game day rather than after a fixed number of real-world hours.
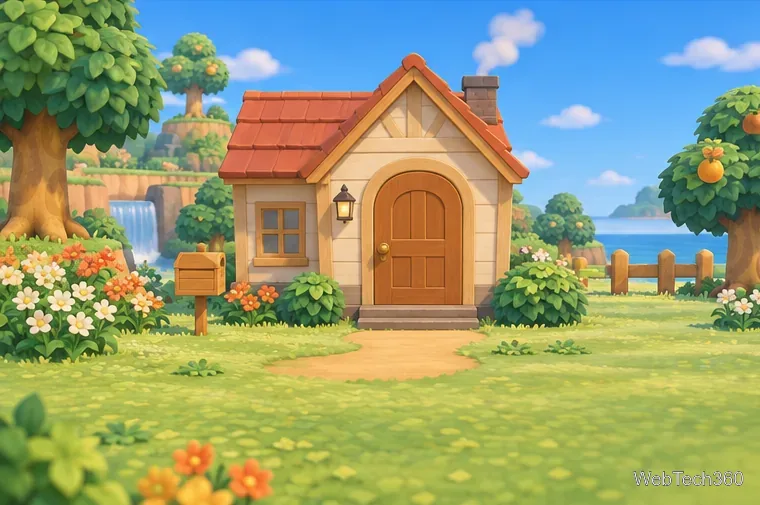
A compact house stands in a flower-lined clearing on the island.
4. Move in and decorate
Walk inside to place furniture, wall decorations, and other items you have collected or crafted. Your first house gives you more room than the tent and adds home storage, which is useful for materials and items you do not want to carry. You can decorate gradually; there is no furniture checklist you must finish to keep the house.
Use the house as a starting point, then speak with Tom Nook when you are ready for a larger room or a different exterior. As Nintendo’s home and island tips explain, Tom Nook handles home loans, expansions, and customization at Resident Services. Available choices change as you progress and repay existing home loans.
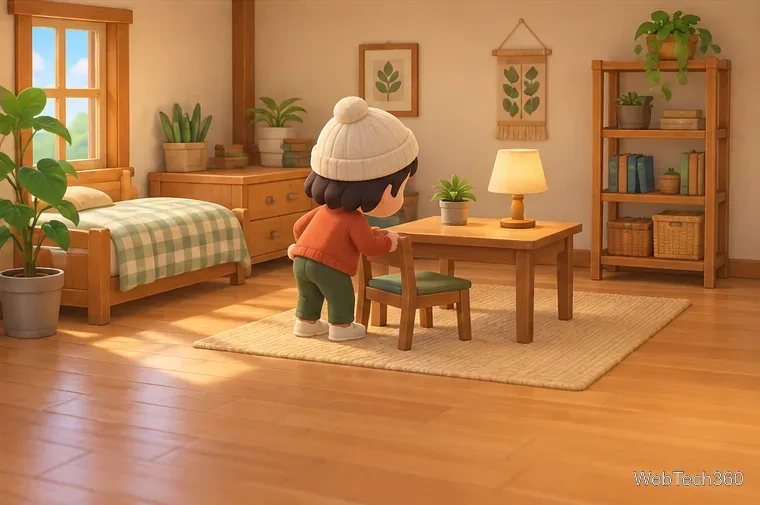
A resident positions a chair beside a table in a furnished starter room.
If the house option does not appear
Check the first fee: confirm that the 5,000 Nook Miles package balance is fully paid.
Finish the opening dialogue: return to Tom Nook and ask about your home after settling the fee.
Distinguish the two loans: the first balance uses Nook Miles; the house loan is 98,000 Bells. The second loan does not need to be repaid before construction.
Give construction until the next day: if you ordered the upgrade today, your home will appear after the game advances to the next day.
Your house and villager houses are different projects
You do not need to build a house for yourself from a plot kit. Later in the island story, Tom Nook may ask you to prepare plots for incoming villagers and make specific furniture for those homes. Nintendo’s island-development guide describes that separate process: the player reserves land and fulfills furnishing requests, then Tom Nook manages construction and the new residents’ arrival.
For your own home, the short route is simple: repay 5,000 Nook Miles, order the upgrade from Tom Nook, and check back the next in-game day. The Bells loan can be paid off later when you want to expand or customize further.