Home
» GAMING
»
How to Fish in Animal Crossing: New Horizons in 4 Simple Steps
How to Fish in Animal Crossing: New Horizons in 4 Simple Steps
Fishing in Animal Crossing: New Horizons follows four simple steps: equip a fishing rod, find a fish’s shadow, cast the bobber in front of it, and press A when the bobber sinks. You can fish in rivers, ponds, and the ocean. A calm approach and patient timing make the biggest difference. These steps follow Nintendo’s official fishing tips.
Step 1: Get and equip a fishing rod
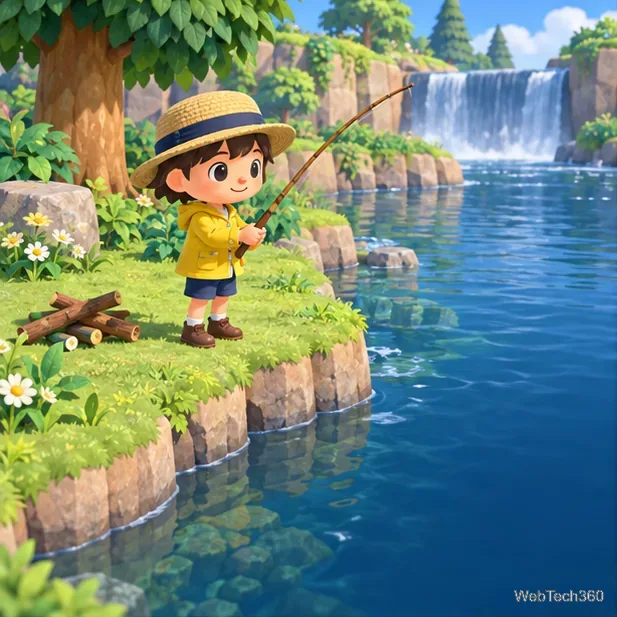
Have a fishing rod ready before you approach the water.
You need a rod before you can catch a fish. If you are early in the game, use the DIY recipe for a Flimsy Fishing Rod at a workbench. Collect the materials listed in the recipe, then craft the tool. Once Nook’s Cranny is open, you can also buy a fishing rod there with Bells. Crafting is a useful first option when the shop is not available yet; buying is convenient later.
After you have a rod, select it from your pockets so your character is holding it. You do not need a special Nook Miles upgrade to begin fishing. A basic rod is enough for the steps below.
Step 2: Find a fish shadow
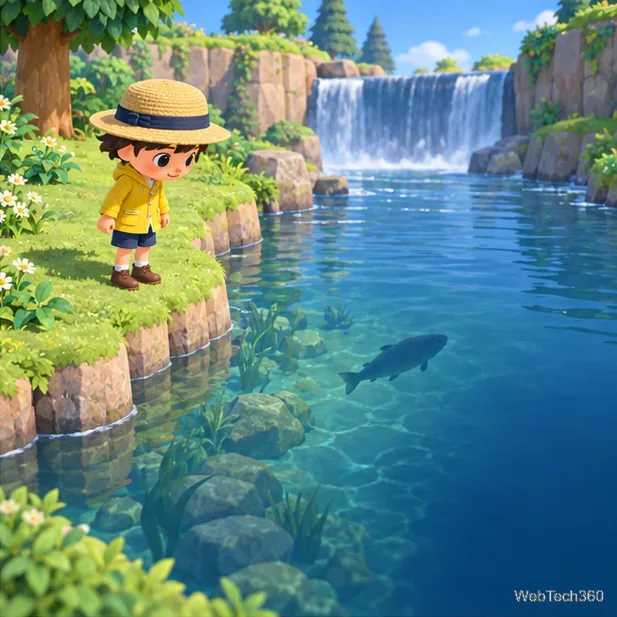
Look for a fish-shaped shadow under the water in a river, pond, or ocean.
Walk along the edge of a river, pond, or the ocean and scan the water for a dark, fish-shaped silhouette. Its size and shape can offer a rough clue about what might be swimming there. A shadow with a fin may belong to a shark, but silhouettes are only hints; they do not identify the catch with certainty.
Move slowly as you search. Running close to the water can scare a fish away before you cast. When you spot a shadow, stop at a safe position facing the water and line up your character with it.
Step 3: Cast the bobber in front of the fish
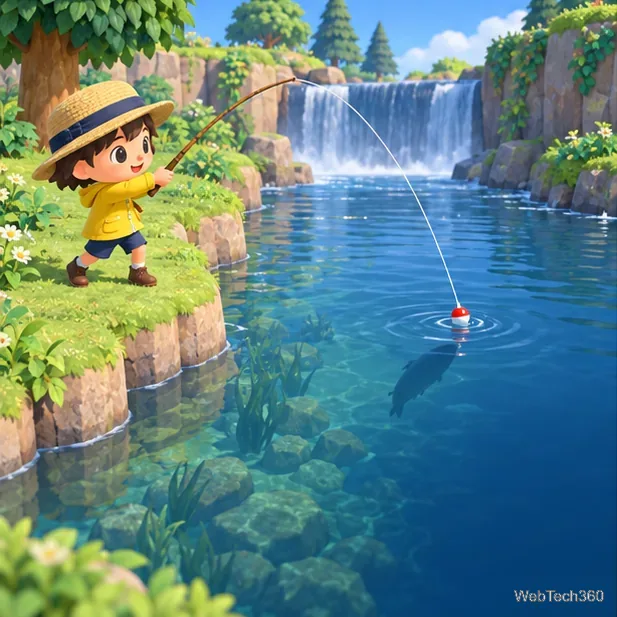
Place the bobber where the fish can see it, just ahead of its shadow.
Press the A Button to cast. Aim so the bobber lands in front of the shadow and within the fish’s view. If it lands too far away, or the fish swims past without noticing, press A to pull the line back and cast again. You can adjust your position a little if the shoreline makes it hard to line up the throw.
You can fish from different spots around the island, including bridges, cliffs, waterfalls, and the airport pier, as long as the line reaches the water. The same basic rule applies in each spot: get the bobber in front of the fish rather than casting randomly and hoping it finds the bait.
Step 4: Wait for the bobber to sink, then press A
Wait for the bobber to disappear under the water before pressing A.
Once the bobber is in place, watch it closely and listen. The fish may nibble several times—up to five—before it bites. Small splashes or quick movements do not mean it is time to reel in. Wait until the bobber goes completely under the surface and you hear the distinct “kerplunk” sound, then press A immediately.
Pressing A too soon pulls the bobber away and lets the fish escape. If you miss the timing, let that fish go and try again with the next shadow. For a more reliable cue, focus on the bobber instead of repeatedly pressing the button; the sound can help when the visual movement is easy to miss.
Check the Critterpedia for fish availability
Different fish appear at different times of day, in different seasons, and under different weather conditions. The Critterpedia on your in-game NookPhone tracks fish you have caught and can help you see when to look for more. If you are searching for a particular species, check its available time and season rather than assuming every shadow will be catchable whenever you visit the water.
If a fish ignores your cast, retrieve the line and try placing the bobber closer to its path. If it swims away, avoid running near the water and wait for another shadow. The routine stays the same: approach carefully, cast in front, wait for the full sink, then press A.