Home
» GAMING
»
How to Get a Shovel in Animal Crossing: New Horizons and Upgrade It
How to Get a Shovel in Animal Crossing: New Horizons and Upgrade It
To get your first shovel in Animal Crossing: New Horizons, donate five fish or bugs to Tom Nook, place the museum tent, and talk to Blathers after he arrives. He gives you the DIY recipe for a Flimsy Shovel, which you can craft with five hardwood. For a sturdier shovel, redeem the Pretty Good Tools Recipes item at the Nook Stop for 3,000 Nook Miles, then combine one Flimsy Shovel with one iron nugget.
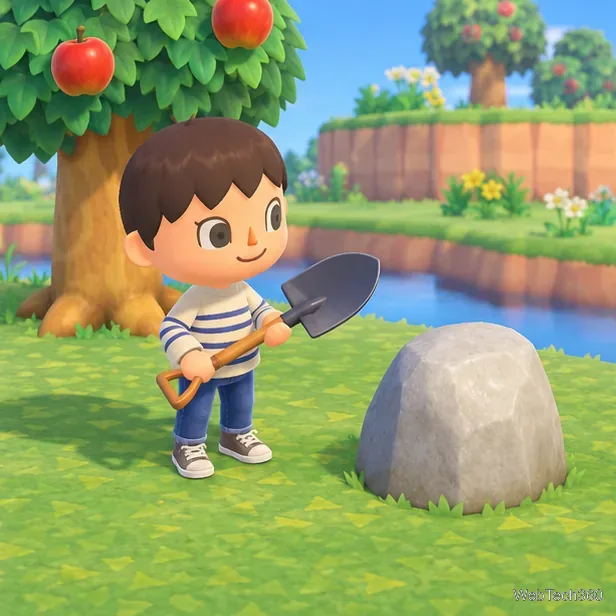
The shovel is useful early: it lets you dig up fossils, uncover buried items, move trees and flowers, and hit rocks for materials. Here is the quickest path from your first donation to the standard shovel.
How to unlock the Flimsy Shovel
1. Donate five fish or bugs to Tom Nook
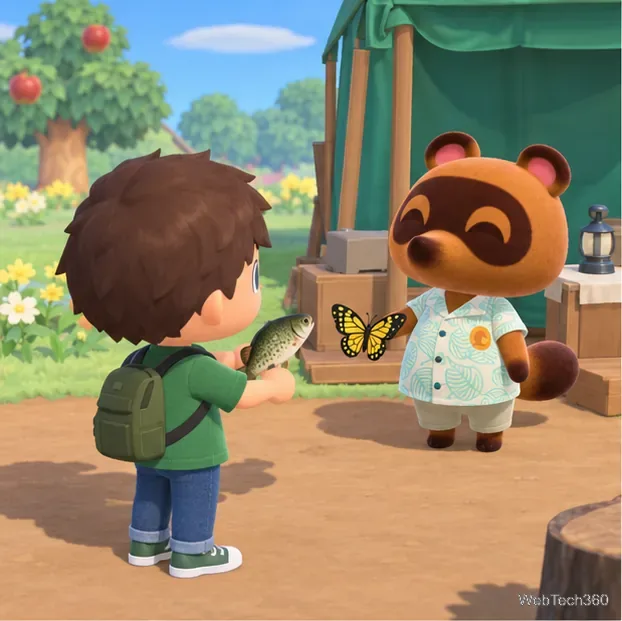
Catch fish with a fishing rod and bugs with a net, then bring them to Tom Nook in Resident Services. Donate a total of five creatures; any mix of fish and bugs works. Keep giving him new specimens until he asks you to prepare a place for the museum. Choose a location for the Museum Tent with the site kit he gives you.
If Resident Services is still a tent, that is normal at this point in the story. You do not need to wait for the full museum building to get a shovel. The important milestone is placing Blathers’s tent.
Donate a total of five fish and/or bugs to Tom Nook to trigger the museum setup.
2. Speak with Blathers when he arrives
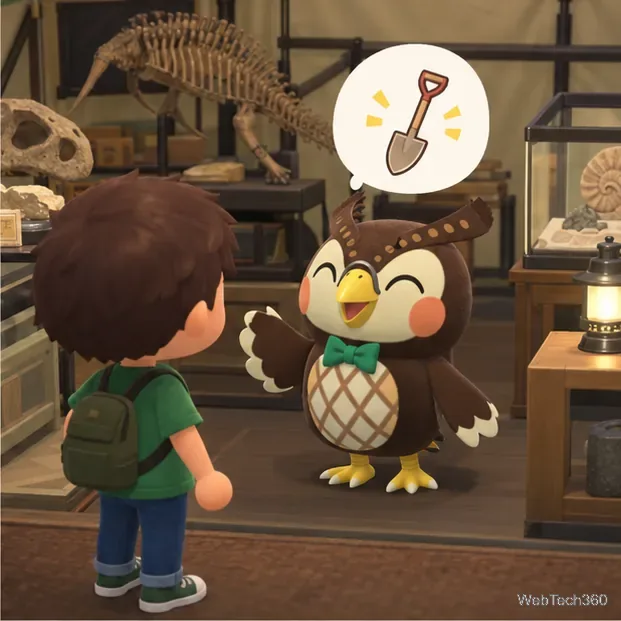
Blathers moves into the tent after the game advances to the next day. Go inside and talk to him. During the introductory conversation, he teaches you the Flimsy Shovel DIY recipe, along with the Vaulting Pole recipe. If you have already spoken with him and missed the instructions, open the DIY Recipes app on your NookPhone and look under the tools section.
Nintendo’s island-growth guide confirms that Blathers teaches the flimsy shovel for fossil-digging and describes the Pretty Good Tools recipes as a route to more durable tools.
After Blathers arrives, speak with him to learn the flimsy-shovel recipe.
3. Gather five hardwood and craft the shovel
The Flimsy Shovel recipe requires five hardwood. Use an axe to hit trees and collect the wood that falls. Each drop can be regular wood, softwood, or hardwood, so keep gathering until the DIY screen shows five hardwood in your pockets. You do not have to chop down the tree.
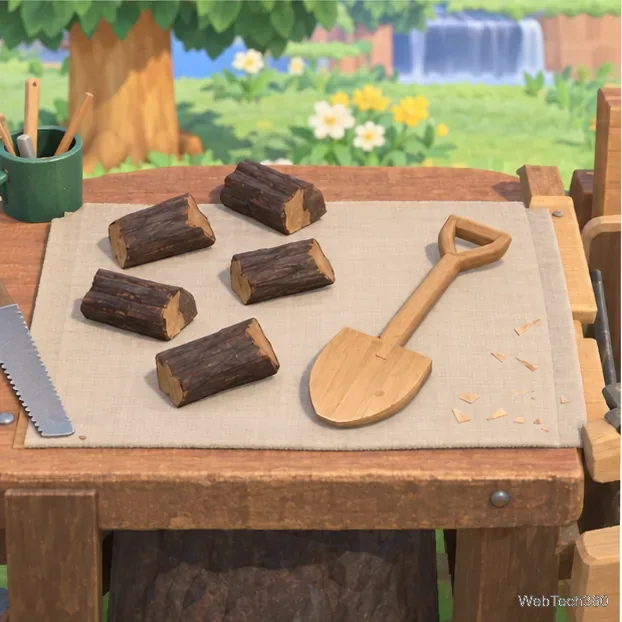
Use any DIY workbench, choose the Flimsy Shovel recipe, and craft it. The tool is ready to use as soon as it is in your inventory. If you need a workbench, use the one in Resident Services or craft and place a DIY workbench on your island.
Gather hardwood, then use any DIY workbench to craft your first shovel.
How to upgrade to the standard Shovel
The regular Shovel lasts longer than the flimsy version, but its recipe is a separate unlock. At Resident Services, interact with the Nook Stop terminal and open Redeem Nook Miles. Purchase the Pretty Good Tools Recipes set for 3,000 Nook Miles. It teaches several upgraded tool recipes, including the Shovel. If the set is not in your catalog yet, keep progressing through the opening island tasks and check again.
At a workbench, craft the Shovel with:
1 Flimsy Shovel
1 Iron Nugget
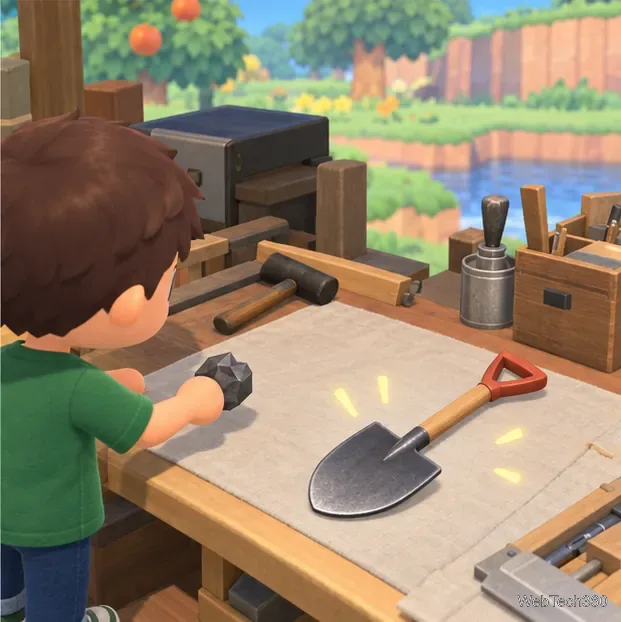
Iron nuggets come from hitting rocks with a shovel or axe. Stand beside a rock and dig a hole behind your character before striking it; the hole helps prevent knockback so you can collect several drops in a row. Avoid eating fruit first if you want to gather materials without breaking the rock.
The standard shovel recipe combines one flimsy shovel with one iron nugget.
Can you buy a shovel instead?
Yes. Once you have unlocked the shovel through the story, Nook’s Cranny can sell a Flimsy Shovel in its tool selection. Buying one saves the five-hardwood crafting step, but it does not unlock the standard Shovel recipe. For the stronger tool, you still need the Nook Miles recipe set and one iron nugget. Store stock can vary, so crafting is the dependable option when the tool is not on display.
What the shovel is used for
Use it on the star-shaped marks in the ground to dig up fossils and other buried items. You can also dig up a whole tree after eating fruit, pick up flowers by digging beside them, and hit rocks to collect stone, clay, iron nuggets, or Bells. The Flimsy Shovel breaks sooner than the standard Shovel, so upgrading is worthwhile if you expect to gather resources or fossils regularly.
A Golden Shovel is a separate, optional late-game goal. You do not need it for museum donations, fossils, or the standard tool upgrade described here.
If the recipe is missing
Blathers is not on the island: make sure Tom Nook accepted five fish and/or bugs and that you placed the Museum Tent site. Return after the next in-game day.
You cannot craft it: check that your materials are hardwood, not regular wood or softwood, and that you have five pieces.
The standard Shovel is not listed: confirm that you redeemed Pretty Good Tools Recipes at the Nook Stop. The Flimsy Shovel recipe from Blathers is not the upgraded recipe.