Home
» GAMING
»
How to Grow Mushrooms in Minecraft: A Simple Farm Guide
How to Grow Mushrooms in Minecraft: A Simple Farm Guide
To grow the familiar red and brown mushrooms in Minecraft, collect a small mushroom, place it on podzol, mycelium, or nylium, and let it spread—or use bone meal to try to grow a huge mushroom. On ordinary dirt or grass, keep the light level at 12 or lower. A huge mushroom can produce many small mushrooms, making it the faster way to build up a supply.
What you need
At least one small red or brown mushroom. Bring both colors if you also want to craft mushroom stew.
A suitable planting block. Podzol, mycelium, or nylium are easiest for a lit farm. Dirt or grass also works for giant-mushroom growth when light is 12 or lower.
Bone meal if you want to grow a huge mushroom, plus a clear area roughly 7 blocks wide and 8 blocks high.
Water and humidity are not mushroom mechanics in Minecraft; the substrate and light level matter.
How to grow mushrooms in Minecraft
1. Find starter mushrooms
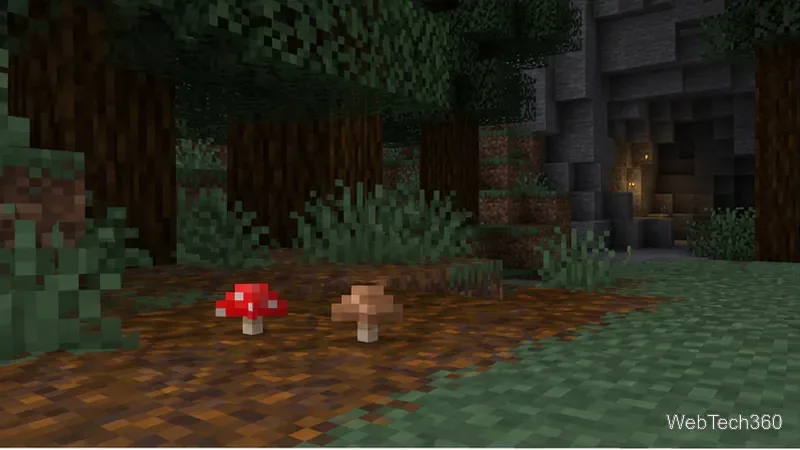
Look in Mushroom Fields, underground caves, and the Nether. The official Minecraft guide also recommends these locations. Break a small mushroom to collect it, then bring it to your farm site. A single mushroom is enough to start, but keeping one red and one brown makes it easier to grow both colors.
Collect a small mushroom of each color if you want both kinds in your farm.
2. Prepare a safe planting area
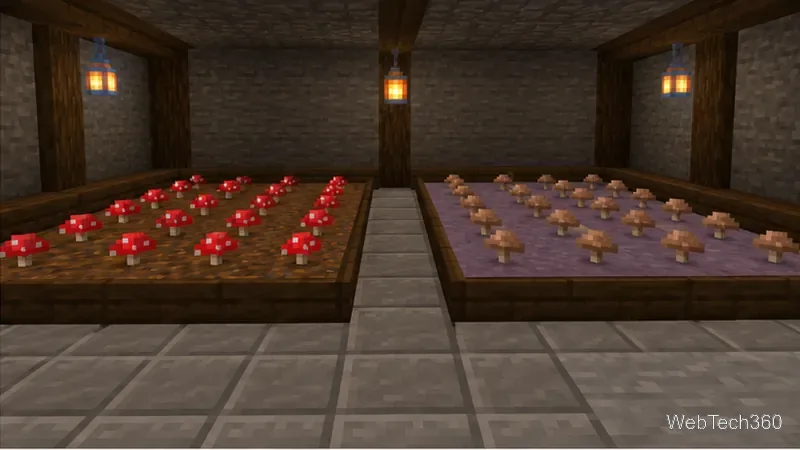
Use podzol, mycelium, or nylium for a lit farm. On dirt or grass, use a roofed area with light level 12 or lower; brighter conditions can prevent placement or make mushrooms pop off after a block update. A dark, damp cave is not required.
Leave open patches for each color and enough overhead room for a future huge mushroom.
Podzol and mycelium let a mushroom farm stay bright without losing the planted mushrooms.
3. Plant small mushrooms and let them spread
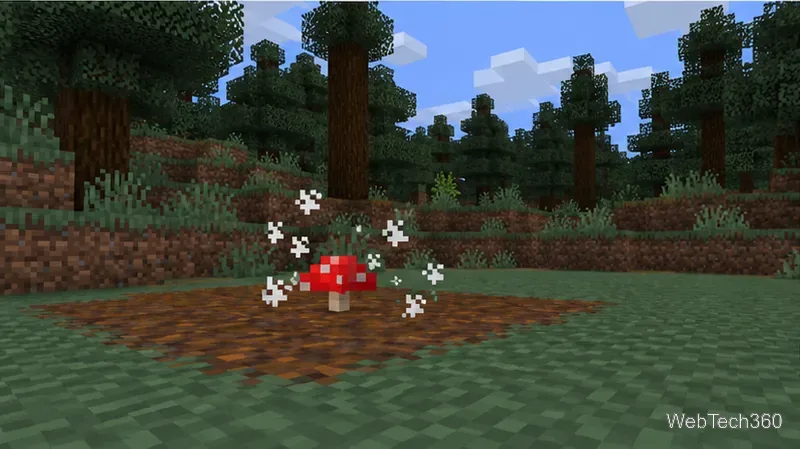
Place each mushroom directly on a suitable block. It will not grow taller by itself, but it can spread slowly to nearby valid spots. Spread stops locally when five mushrooms of the same color are within a 9-by-9-by-3 area, so leave open planting spots instead of crowding the patch.
Keep a few starters and harvest only part of the patch. A mushroom does not regrow in the same spot after breaking, so save or replant one.
4. Use bone meal for a huge mushroom
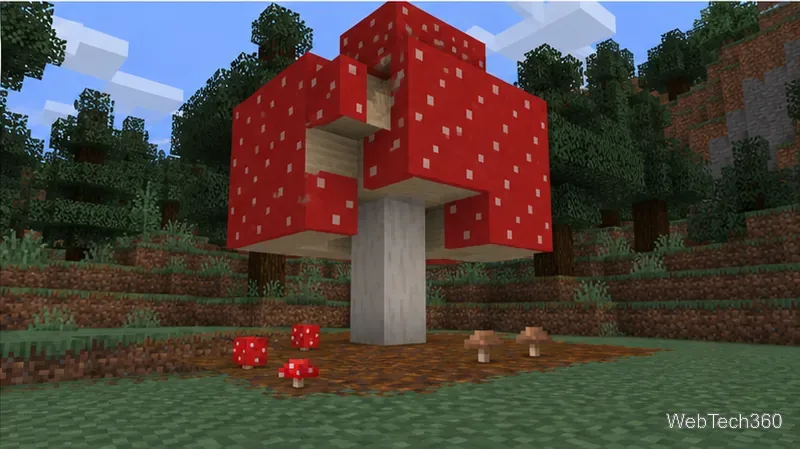
For a larger harvest, plant on podzol, mycelium, or nylium, or use another valid block with light at 12 or lower. Leave a 7-by-7 footprint and 8 blocks of vertical clearance. Apply bone meal; each use has a chance, not a guarantee, to grow a huge mushroom of the same color.
Bone meal can turn a planted red or brown mushroom into a huge mushroom when the site has enough room.
Break the cap blocks to collect small mushrooms, then replant a few and repeat. Minecraft’s official guide describes podzol and bone meal as a way to build a larger supply.
Harvest the huge mushroom’s cap, then keep a few small mushrooms to restart the farm.
What mushrooms are used for
Craft mushroom stew with one red mushroom, one brown mushroom, and a bowl; eating it returns the bowl. Raw mushrooms are not cooked in a furnace or brewed with water into a regeneration potion. A brown mushroom combines with sugar and a spider eye to make a fermented spider eye, used in recipes such as Potion of Weakness.
Fix common growth problems
It will not stay planted: use podzol, mycelium, or nylium, or lower light on ordinary soil to 12 or less.
Bone meal fails: check the block, light, and 7-by-7-by-8 clearance. Growth is a chance, not a guarantee.
The patch is not spreading: growth is slow and crowded same-color mushrooms limit it. Thin the patch and leave valid blocks open.
Note for newer versions
Java Edition 26.3 and Bedrock Edition 26.50 also add a separate Shelf Mushroom, which bone meal can grow from small to large. It is different from the red and brown mushrooms covered here.