Home
» GAMING
»
Minecraft Villages: What to Know About Biomes, Villagers, and Trading
Minecraft Villages: What to Know About Biomes, Villagers, and Trading
Minecraft villages are worth finding early in a survival world: they offer shelter, crops, useful supplies, villagers to trade with, and sometimes an iron golem for protection. Villages generate naturally in eligible Overworld biomes, and their buildings reflect the surrounding landscape. Their exact size, population, and available trades vary, so do not assume every village will contain the same buildings or villagers.
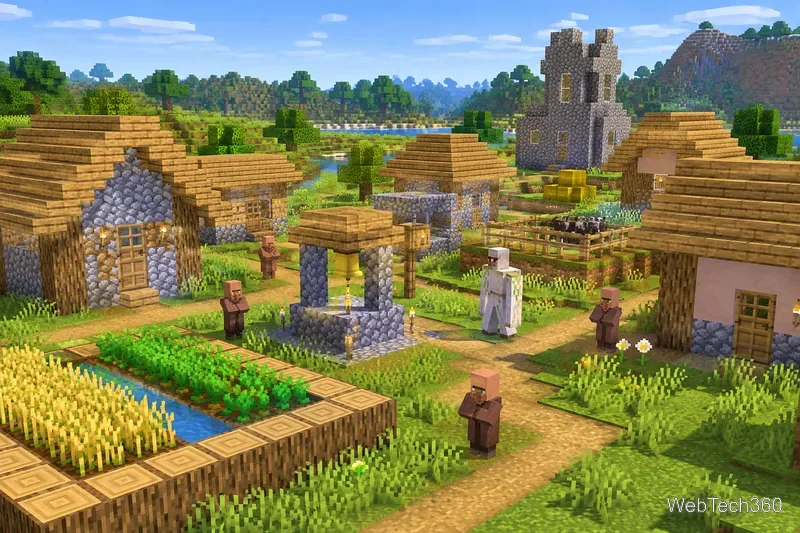
A plains village brings together homes, farms, paths, villagers, and a meeting point.
Where Minecraft villages generate
Natural villages can appear in plains, desert, savanna, taiga, meadow, and snowy plains biomes. The biome around the village center determines its architectural style. A settlement near a biome border generally uses one village style rather than blending every nearby biome into a hybrid.
Plains: Open grassland with oak-and-cobblestone homes, paths, and crop plots.
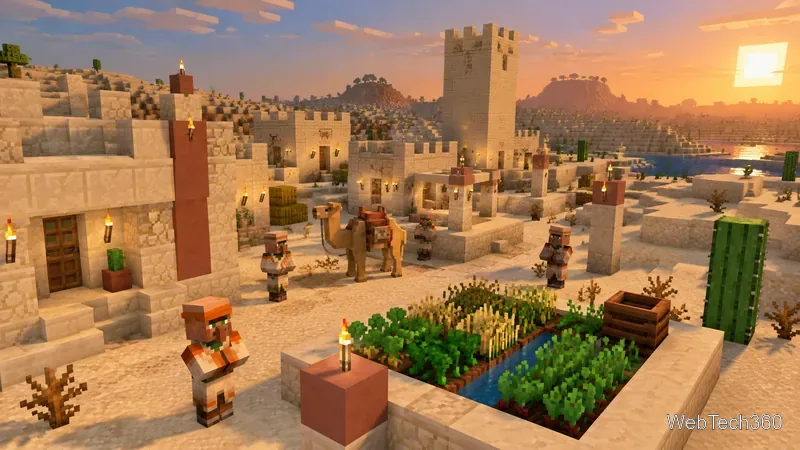
Desert: Sandstone buildings set among sand, cacti, and dry terrain.
Savanna: Acacia-toned buildings and warm grass colors, often spread across uneven ground.
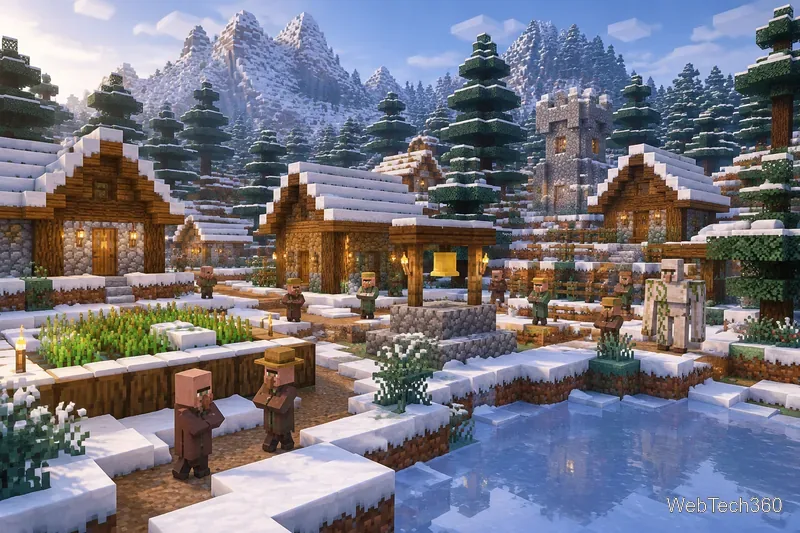
Taiga: Spruce-based buildings among dense conifer trees.
Snowy plains: Snow-covered surroundings and cold-biome village designs.
Meadow: A village style similar to plains villages, set in a highland meadow biome.
Village generation differs between Java and Bedrock editions, so a biome or structure pattern found in one edition may not behave exactly the same in the other. Jungle and swamp villagers exist, but ordinary village structures do not naturally generate in jungle or swamp biomes in the standard game.
Sandstone buildings and irrigated fields distinguish a desert village from greener village styles.
What you can find in a village
Villages are more than a cluster of houses. Depending on their generated buildings, you may find beds, job-site blocks, crop farms, paths, a bell, animals, and loot chests in some structures. Not every village contains every building type. Abandoned villages can also generate; they tend to look neglected and may contain zombie villagers instead of a normal population.
Villagers have different professions and trade offers. A farmer may buy crops, while other professions can offer items such as tools, maps, armor, or enchanted books. Trades depend on profession and level, and a villager's offers are not identical across every world. Trading with a villager increases its experience and unlocks higher trade tiers. Emeralds are the usual currency, so bringing surplus crops, paper, sticks, or other tradeable materials can make a village useful even after you have basic equipment.
How villagers, beds, and breeding work
Villagers follow routines around their beds, workstations, and meeting points. A job-site block can give an eligible unemployed villager a profession, while a bell acts as a gathering point. If you want to expand a settlement, focus on practical access rather than simply building more decorative houses.
Provide extra beds: Villagers need available, reachable beds for successful breeding; leave enough open space above each bed for a baby villager.
Supply food: In standard breeding mechanics, villagers can become willing when they have enough food. Common qualifying amounts include 3 bread or 12 carrots, potatoes, or beetroots per villager. Food must be picked up and the villagers must be able to breed.
Keep two adults nearby: At least two adult villagers need to reach one another, and a spare valid bed must be available for the baby.
Make workstations accessible: If you want a villager to take or refresh a profession, ensure it can reach an appropriate, unclaimed job-site block. Some profession and trade behaviors differ between Java and Bedrock.
The old idea that you can increase a village population just by adding a certain number of doors is outdated. Beds, food, access, and edition-specific village mechanics are the more useful things to check.
A snowy taiga village shows how biome, building materials, beds, paths, and farms shape a settlement.
Moving villagers and keeping a village safe
You can relocate villagers to another area, but it takes patience. A boat can carry a villager across water and can also be pushed along land; minecarts and rails are another option for longer routes. Clear the route, protect the villager from hostile mobs, and prepare a secure destination with beds and any job-site blocks you need before moving them.
Villages are vulnerable at night and during hostile encounters. Light dark paths and interiors, close gaps in fences or walls, and make sure villagers can get indoors. An iron golem can help defend villagers, but it is not a substitute for lighting and basic protection. Be cautious about raids: entering a village while affected by Bad Omen can trigger a raid under the game's current mechanics.
Useful tips for your first village
Take note of the coordinates so you can return after exploring.
Check every house and farm for useful supplies, but avoid breaking beds or job-site blocks you want villagers to keep using.
Trade with villagers whose offers fit your needs, and remember that trades can restock when the villager can work at its job site.
Before expanding, add accessible beds, protect the perimeter, and keep paths clear so villagers can move around.
If you cannot find a village near spawn, keep exploring eligible biomes; villages are not guaranteed within a fixed distance of every starting point.