Home
» GAMING
»
What to Do in Minecraft Survival: 8 Goals for a Strong Start
What to Do in Minecraft Survival: 8 Goals for a Strong Start
Minecraft Survival starts with an empty inventory, so the first goal is to turn nearby materials into tools, food, light, and a safe place to spend the night. You do not need a large house or rare ores right away. Gather wood, make a crafting table and basic tools, secure a shelter before dark, and then build up a steady supply of food and materials. Once those essentials are covered, you can explore caves, improve your base, and develop a village at your own pace.
1. Gather the essentials before nightfall
Look for trees, accessible stone, and a reliable food source near your spawn point. Break a few logs by hand, turn them into planks, and use four planks to craft a crafting table. Make sticks and a wooden pickaxe, then collect cobblestone to upgrade to stone tools. Stone tools last longer than wooden ones and make gathering the next batch of resources faster.
Collect food from crops or passive animals when available, but avoid wandering too far from your starting area before you have basic equipment. Mark your spawn location or note your coordinates so you can find your way back. The official Minecraft first-day guide also recommends prioritizing wood, tools, food, and a plan for the first night.
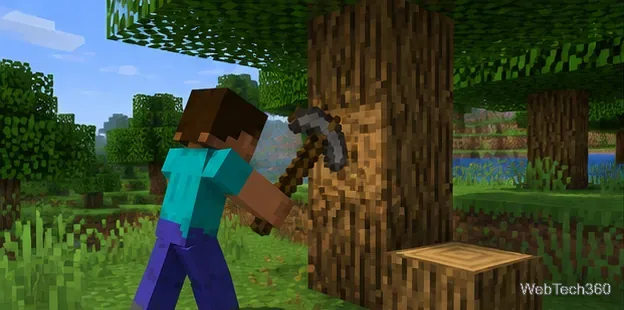
Start with nearby wood so you can craft a table, sticks, and your first tools.
2. Craft tools, a furnace, and a bed
Your early crafting priorities are a pickaxe, an axe, a sword or other defensive option, a furnace, and—if you can gather the materials—a bed. A crafting table unlocks most useful recipes. A furnace cooks raw food and smelts materials; its standard recipe uses eight cobblestone blocks arranged around the outside of the crafting grid. If you cannot find coal, smelt a log into charcoal and combine the charcoal with a stick to make torches.
A bed requires three matching wool blocks and three wooden planks. Sheep can provide wool, and shears let you collect it without killing them. Sleeping skips the night and sets your respawn point, so use the bed in your base once it is safe. If you cannot make a bed on day one, a sealed shelter is still a practical fallback.
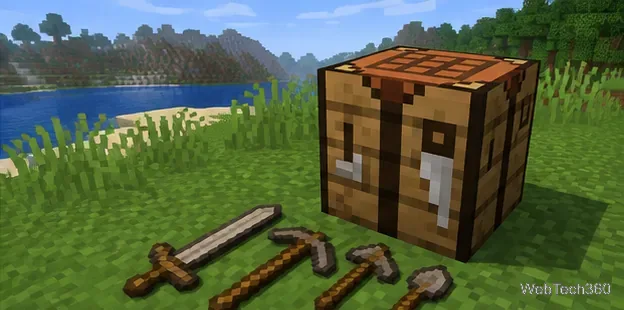
A crafting table opens up recipes for tools and other essential equipment.
3. Build a simple, secure shelter
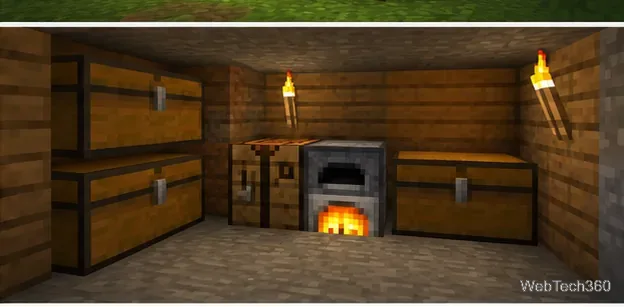
Keep the first base small. A dirt, wood, or cobblestone room with a roof and a door is enough to get started; you can upgrade its materials and appearance later. Place the crafting table and furnace inside, leave space for a bed, and add a chest when you have spare wood. Store extra food, seeds, building blocks, and valuable materials instead of carrying everything while exploring.
Light the interior and nearby entrances with torches to reduce dark areas where many hostile mobs can spawn. If you have no time to build a full house, seal yourself into a hillside or make a compact block shelter before night arrives. Avoid leaving open gaps that let mobs walk in, and do not assume a fence or moat alone makes a base safe.
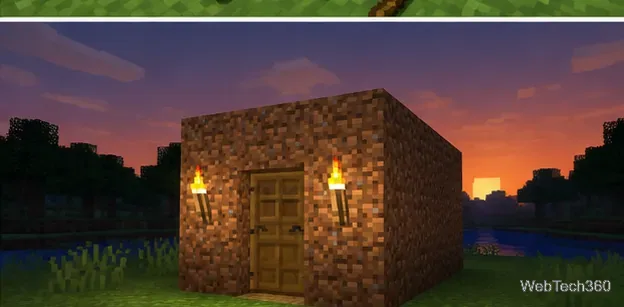
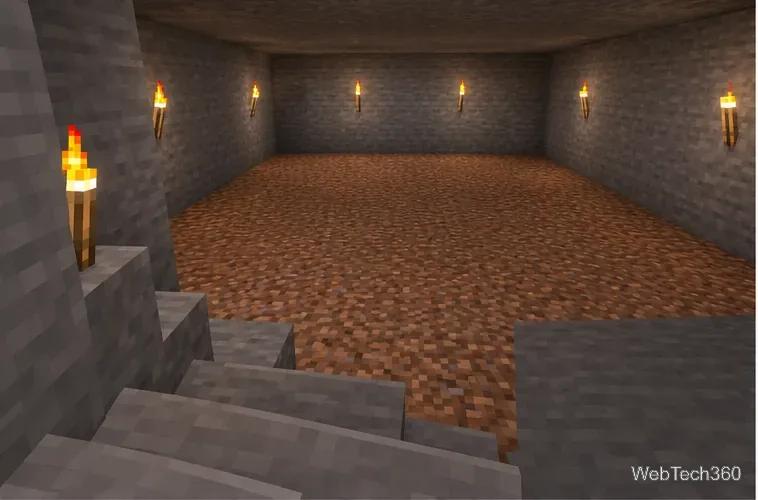
A small lit shelter protects your essentials while you prepare for the next day.
4. Keep food and supplies coming
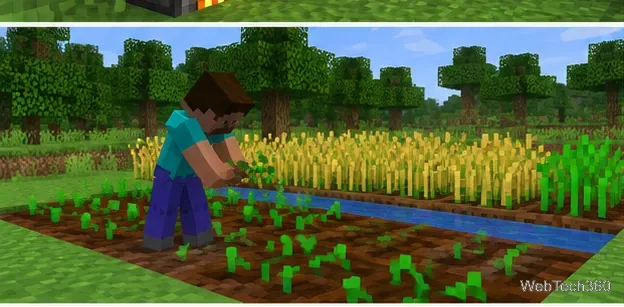
Hunger makes long trips and repeated sprinting harder to manage, so establish a dependable food source early. Plant wheat seeds in tilled soil near water, and protect crops from being trampled. As you explore, collect seeds and useful crop drops; once you find carrots, potatoes, melons, or pumpkins, you can expand the farm. Animal pens can provide a renewable supply of food and materials when you have enough wheat, seeds, or other appropriate breeding items.
Make a basic storage system with labeled areas or separate chests for food, building blocks, ores, tools, and farming supplies. It is not necessary to stockpile every ore immediately. Keep a few spare tools, torches, and blocks ready before a mining trip so you can handle unexpected terrain or mobs.
A small crop plot near water helps turn early seeds into a repeatable food supply.
5. Mine carefully and upgrade in stages
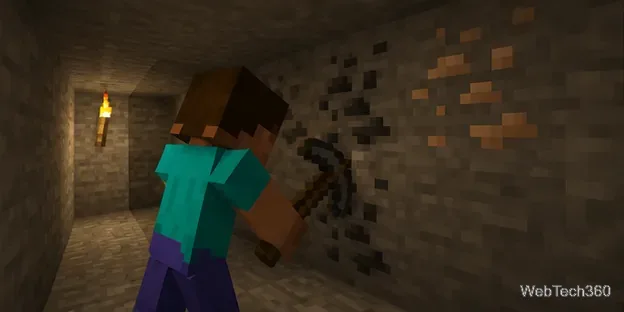
Mining opens access to coal, iron, copper, redstone, gold, and rarer resources, but dark caves can be dangerous. Bring a pickaxe, food, torches, and blocks for bridging or blocking off hazards. Light the route as you go, watch for lava and sudden drops, and never dig straight down: you could fall into a cave or lava. If a cave feels too risky, start with a controlled staircase or tunnel and return better equipped.
Use the right tier of pickaxe for the ore you want to collect; some valuable blocks will not drop their resources if mined with an unsuitable tool. Smelt raw iron and other smeltable materials in a furnace, then craft stronger tools and armor when you have enough. Store rare materials at home before going on a longer expedition.
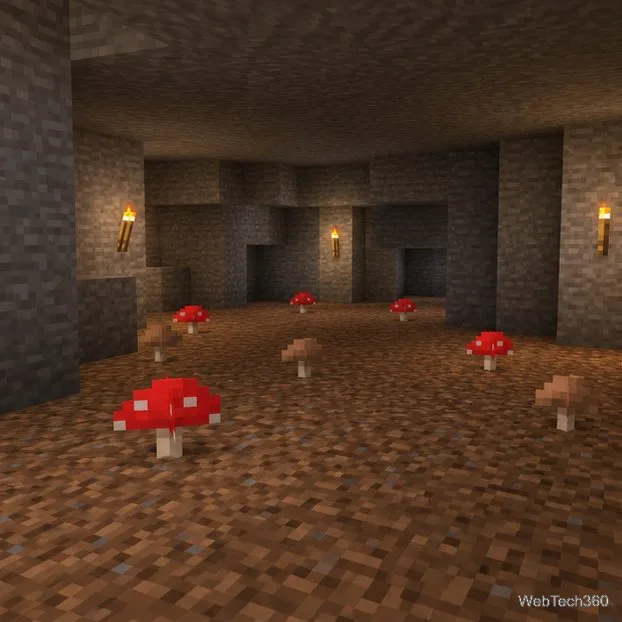
Torches improve visibility underground and help you keep track of explored tunnels.When time is short, a sealed temporary shelter is better than staying exposed after dark.
6. Defend yourself without taking unnecessary risks
Hostile mobs such as zombies, skeletons, spiders, and creepers can turn a resource run into a setback. Use a sword or axe if you must fight, but retreat behind blocks or return to shelter when your health is low. A shield, armor, and a well-lit route make early encounters more manageable. Against skeletons, use cover to block arrows; against creepers, keep distance and avoid fighting beside your storage or crops.
Do not rely on complicated traps as your first line of defense. A closed door, a lit approach, and a safe escape route are usually easier to maintain. Be careful with lava and other hazards: they can destroy drops and put your own base at risk. On the first few nights, avoiding a fight is often smarter than trying to defeat every mob.
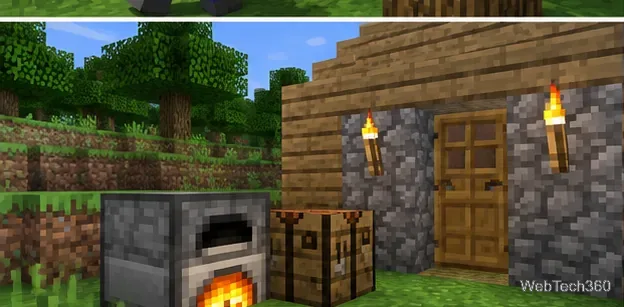
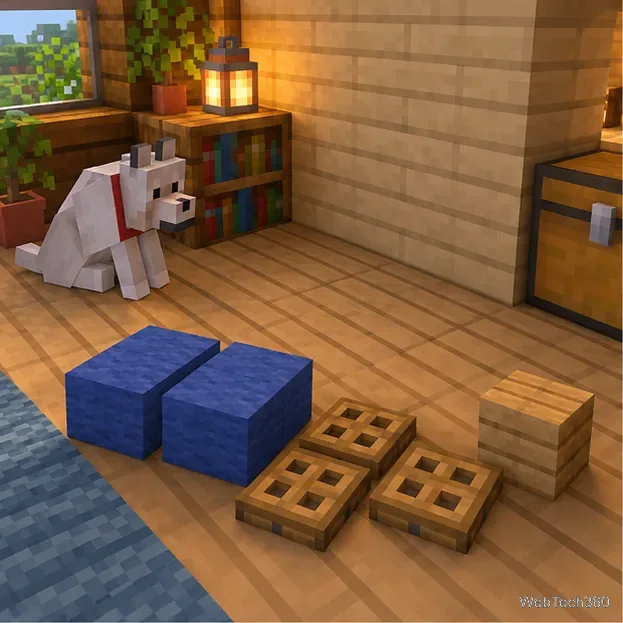
Keep frequently used crafting and storage blocks together to make routine tasks quicker.
7. Expand your base and build a village
Once food, shelter, and basic gear are stable, choose a longer-term project: a larger house, a mine entrance, an animal pen, a crop field, a bridge, or a watchtower. Keep the area around your base lit and connect useful buildings with paths so you can move supplies efficiently. A chest near each work area can save time when you are crafting or farming.
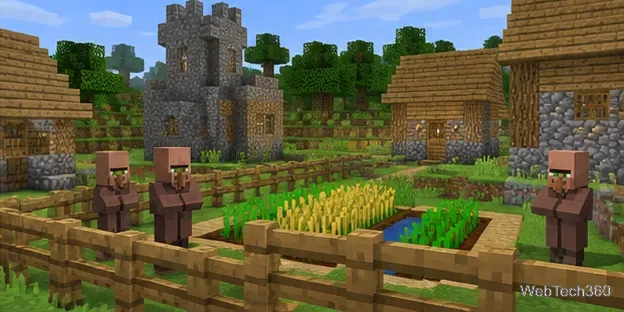
If you find a village, it can offer buildings, beds, farms, and villagers with whom you can trade. Secure the area from hostile mobs and avoid damaging villagers or their homes. To establish a settlement elsewhere, build suitable houses and provide beds; villager behavior and breeding depend on game mechanics and available conditions, so do not assume that adding one room automatically attracts new residents. For more context, see this official Minecraft beginner resource.
A village can become a useful hub for farming, trading, and future building projects.
8. Set a practical goal for each session
Survival mode has no single required building order, so choose one achievable target at a time. For example, spend one day upgrading tools, another expanding your farm, and another exploring a nearby cave. Before leaving home, check that you have food, a suitable pickaxe, torches, and enough inventory space. Before nightfall, return to a lit area or make a temporary shelter.
First day: wood, crafting table, basic tools, food, and a closed shelter.
Early progress: furnace, torches, bed if possible, chest, and a small crop plot.
Mid-game: stronger tools and armor, organized mining trips, animal pens, and safer paths.
Long-term: village trading, larger builds, exploration, and resource projects that suit your play style.
These priorities keep you moving forward without requiring rare resources at the start. For additional guidance on first-night safety, consult Minecraft’s guide to surviving the first night.