Add a Date and Time Stamp to Photos on Your Android Phone

Learn how to add a visible date and time to new or existing Android photos with your camera's watermark setting or Google Photos Markup.
You can change an Android boot animation by building a standard bootanimation.zip and using an installation method supported by your phone’s ROM. The archive contains numbered PNG frames and a desc.txt playback file. Compatibility varies by manufacturer, and many current phones protect system files, so check support and prepare a rollback first.
AOSP’s standard archive contains desc.txt and folders such as part0 with sequential PNG frames. AOSP documents /system/media/bootanimation.zip and /oem/media/bootanimation.zip as standard locations, but vendors and custom ROMs may use different paths or formats. A bootloader splash logo appears before Android’s animation and is a separate component. See the AOSP boot animation format.
Read the instructions for your exact device and ROM. If available, inspect its current animation for the canvas size and playback settings. Stop if it uses a proprietary layout. There is no universal non-root ADB command for modern Android. Do not unlock a bootloader just for this: supported unlock procedures erase user data, and some devices cannot be unlocked. Review Android’s bootloader unlocking guidance first.
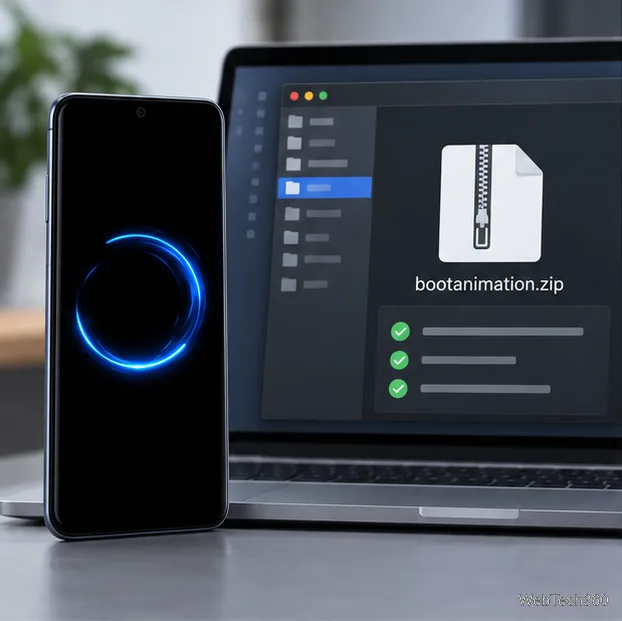
Extract a compatible bootanimation.zip on your computer. At the archive root, you should see desc.txt and the part folders directly, with no extra enclosing folder. Keep the untouched original separate from your working copy.
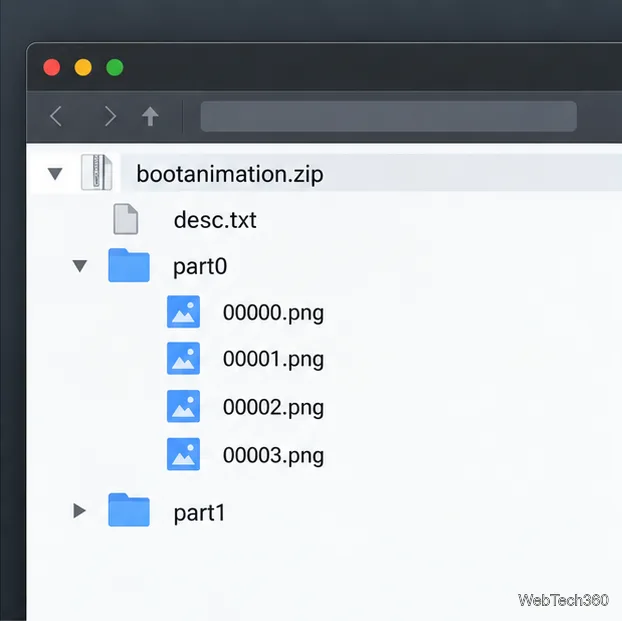
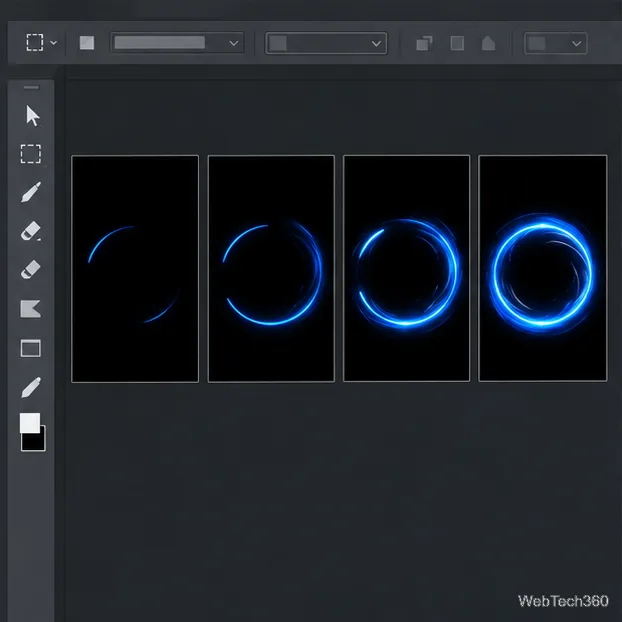
Export each frame as a PNG and number them in order, such as 00000.png, 00001.png, and 00002.png, inside part0. Use the target ROM’s animation dimensions as your reference, not just the display’s advertised resolution. Keep frames consistent in size and reasonably small to limit memory use during startup.
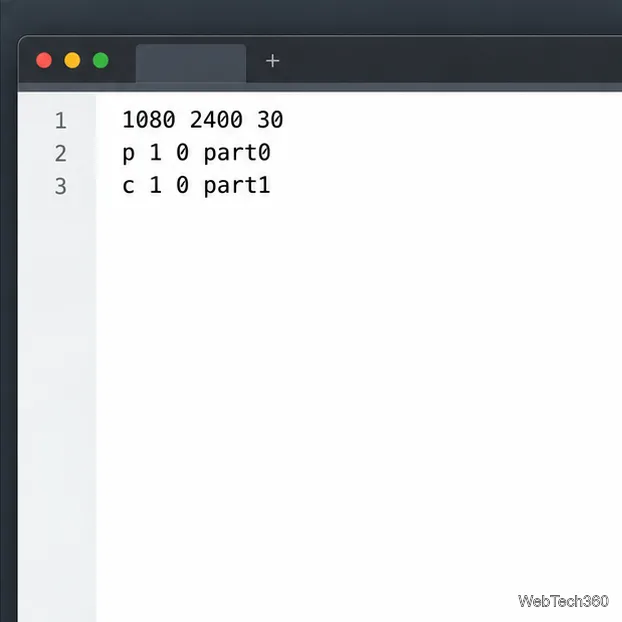
The first line sets width, height, and frames per second. Each later line describes a part. For example:
1080 2400 30
p 1 0 part0
c 1 0 part1
Use values appropriate for the target. A p part can stop when boot completes; c plays to completion. The count sets repetitions, and 0 loops until boot finishes. Pause is measured in frames: at 30 fps, 15 frames equal half a second. The AOSP format documents the full syntax and optional fields.
Select the folder contents and create bootanimation.zip with ZIP format and Store or “no compression.” Keep desc.txt and the part folders at the archive root. Reopen the file and check its names and nesting before installing.
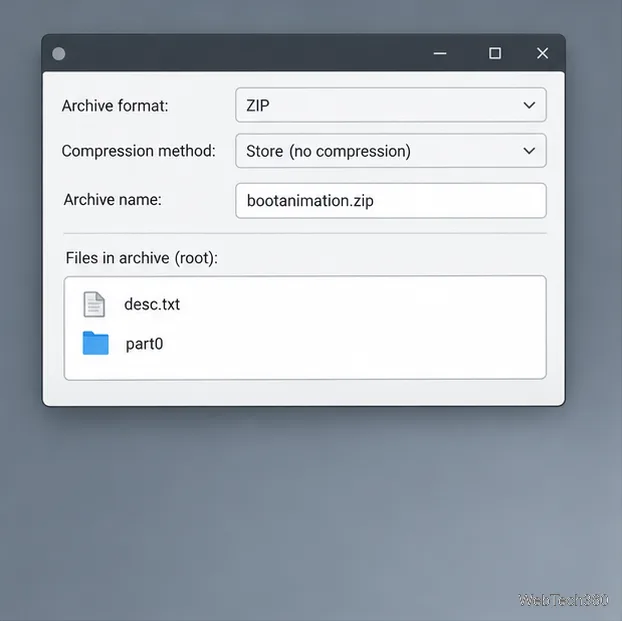
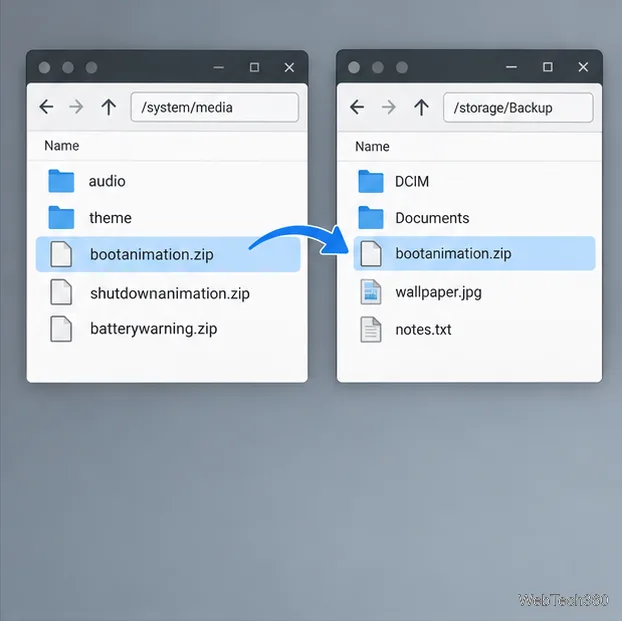
Save the original outside the location the ROM reads at boot. If you already have root access, copy it from the path your ROM actually uses; the AOSP paths are examples. Keep the device’s recovery instructions and stock firmware available. A backup beside the replacement does not protect you if both share the same path.
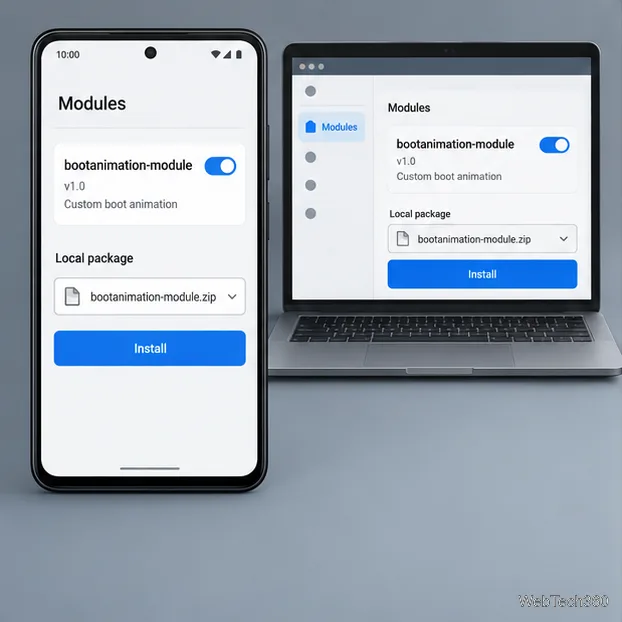
Use an official ROM setting if one exists. Otherwise, on a device already rooted, a compatible systemless module may expose the file without directly remounting a read-only system partition. Magisk’s module guide explains its module.prop metadata and how files under system/ are overlaid. Use its current installer scaffold, and target system/media/ only if your ROM reads that location. Install with the manager’s documented method. A module cannot fix an unsupported OEM format or path.
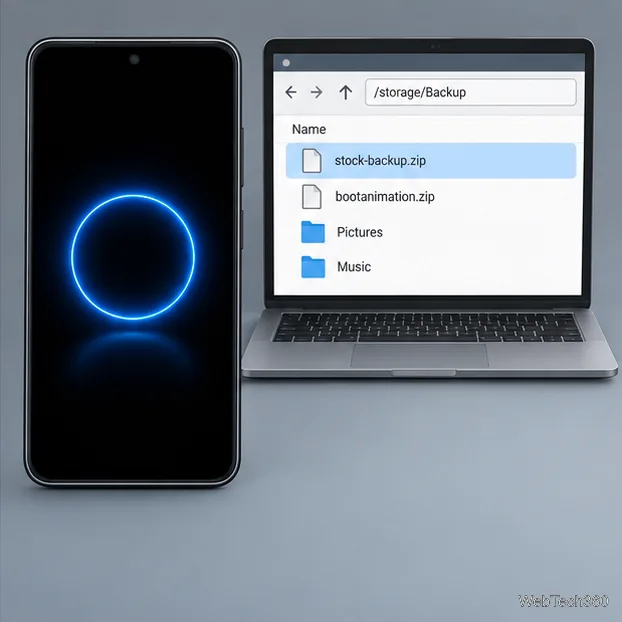
Restart once and watch the full boot. If the stock animation remains, recheck the path, archive nesting, PNG names, and desc.txt. If it freezes or the device fails to boot, disable the module or restore the original through the ROM’s recovery procedure. Magisk’s FAQ describes a Safe Mode method for disabling modules after boot problems; check its current device instructions before installing.
Learn how to add a visible date and time to new or existing Android photos with your camera's watermark setting or Google Photos Markup.
Learn how to screenshot on Android with button shortcuts, scrolling captures, and Pixel, Samsung, and Motorola gestures, plus where to find and share images.
Learn how Framaroot rooted compatible older Android phones, what to check before installing its APK, and why it rarely works on newer devices.
See how the classic Search Now app used a floating search button for on-device and web searches, why its Play Store listing is gone, and what works today.
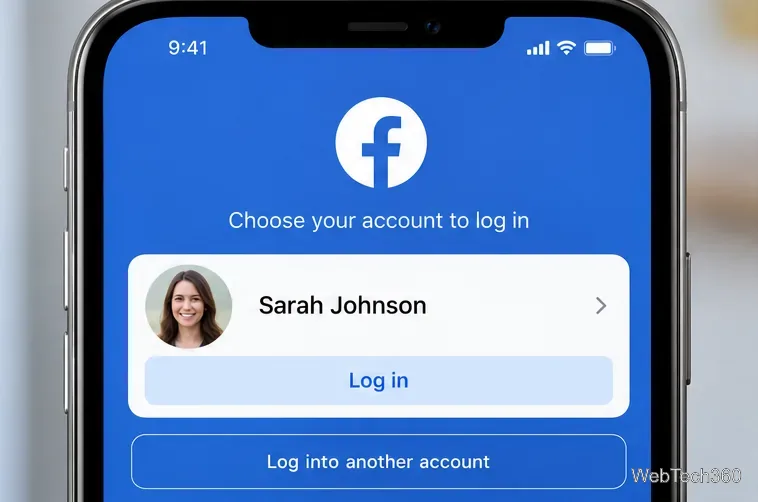
Learn how to turn Facebook profile picture login on or off, remove saved sign-ins on iPhone or Android, and find the current Saved login settings.
Learn how to identify plants, products, books, and other objects in photos with Google Lens on Android, iPhone, or a computer—and improve uncertain matches.
Remove your Pokémon GO avatar’s hat, gloves, and backpack using the Style menu. Follow the steps and fix missing no-item options without spending PokéCoins.
Understand what firmware and ROM mean on Android, how stock and custom ROMs differ, what flashing changes, and which risks to check before installing an image.
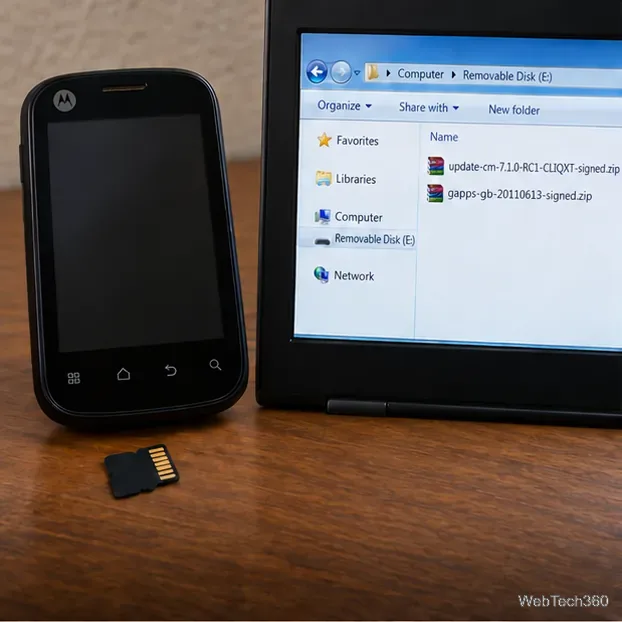
Learn what you need to install CyanogenMod 7.1 RC1 on the Motorola CLIQ XT, back up the MB501, flash the matching ZIPs, and avoid unverified files.
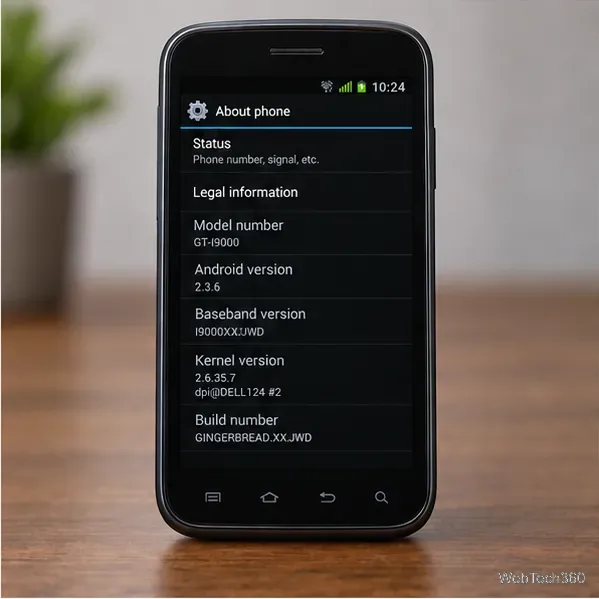
See what Android 2.3 Gingerbread keyboard language packs supported, how to verify a compatible ZIP, back up your phone, and avoid unsafe recovery flashes.