Add a Date and Time Stamp to Photos on Your Android Phone

Learn how to add a visible date and time to new or existing Android photos with your camera's watermark setting or Google Photos Markup.
To hide the public IP address websites see from your Android phone, use a VPN for most phone traffic, Tor Browser for browsing in that app, or a Wi-Fi proxy for compatible apps on one network. A VPN is the easiest general option. Tor and a proxy have narrower coverage.
Your public IP is associated with your internet connection, such as a home router or mobile carrier gateway. It can reveal your ISP and an approximate network location, but not your exact location or a permanent identity for your phone. Changing it does not erase cookies, account logins, GPS data, or other ways a service may recognize you.
| Option | What sites see | Coverage |
|---|---|---|
| VPN | VPN server IP | Most traffic routed through the VPN; trust shifts to its provider. |
| Tor Browser | Tor exit relay IP | Only browsing inside Tor Browser. |
| Wi-Fi proxy | Proxy IP | One Wi-Fi network and apps that honor its proxy setting. |
Private DNS changes DNS lookup handling; it does not hide your public IP. Incognito mode does not hide it either.
A VPN routes supported connections through an encrypted tunnel to a VPN server. Websites generally see the server’s IP instead of your network IP. A provider app is usually simpler than entering a manual VPN profile. The provider can see connection data, so check its privacy policy and independent security information; a “no logs” claim alone is not proof of anonymity.
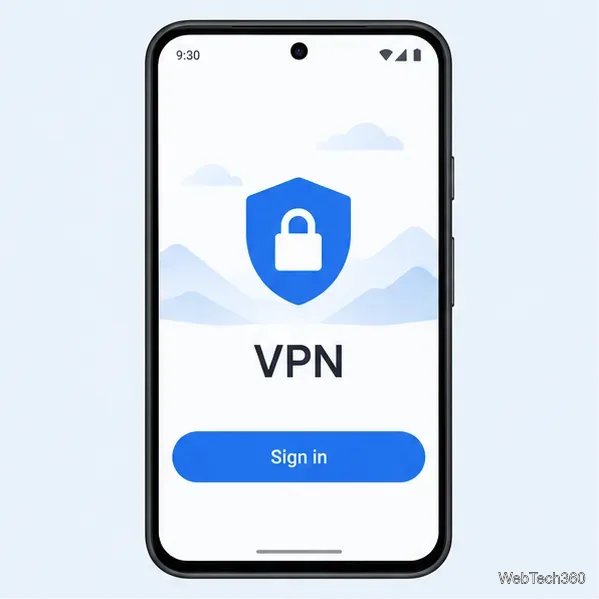
Choose a provider you have researched, then install its app from Google Play or its official channel and complete setup. Look for clear details about data collection, retention, ownership, and how security claims are checked.
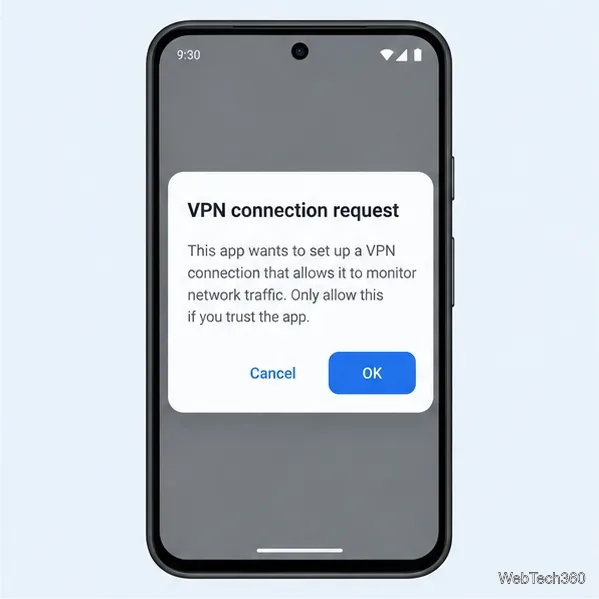
Android asks before an app creates a VPN connection. Approve the request only if you trust the provider, because the app can route network traffic through its service.
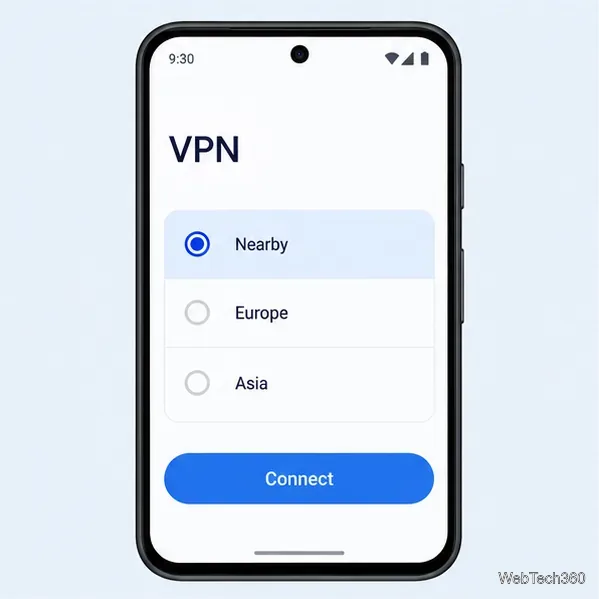
Pick a nearby server for ordinary browsing. Choose another country only when you need an IP from that region; a VPN cannot guarantee access to a streaming service. Tap Connect and wait for the app to confirm it is active.
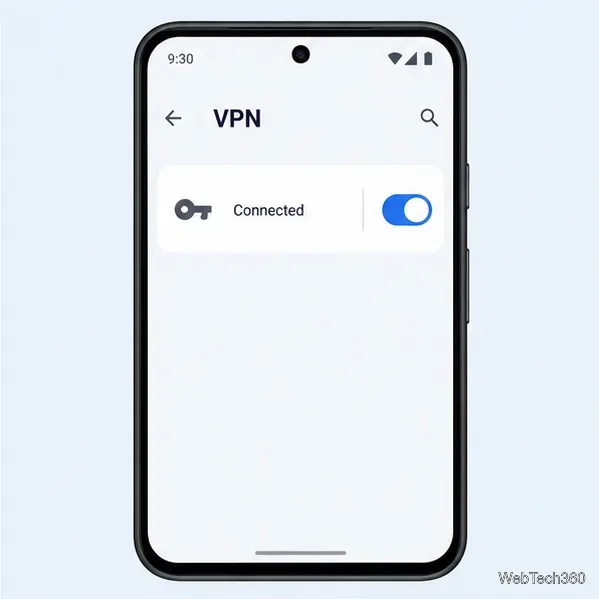
Confirm the app or Android VPN settings show a connection, then compare the public IP reported by a reputable IP-check page. Android may show a key or VPN indicator. Google’s Android VPN instructions explain the status and optional Always-on setting. Menus and options vary by device and VPN setup.
Tor Browser sends its own browsing traffic through the Tor network, so visited sites see a Tor exit relay IP. It does not route other Android apps through Tor. Signing in to a personal account can still identify you, and sites may load more slowly or ask for extra verification.
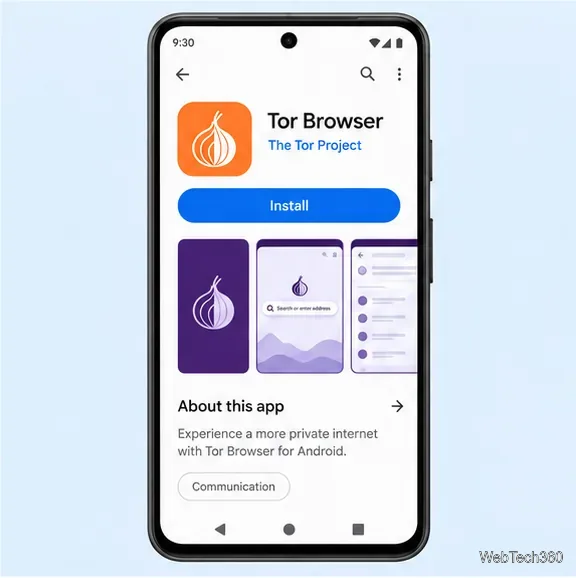
Install Tor Browser from Google Play, F-Droid, or the Tor Project’s official download page. Check that the publisher is The Tor Project and avoid look-alike apps. The Tor Project installation guide lists official Android sources.
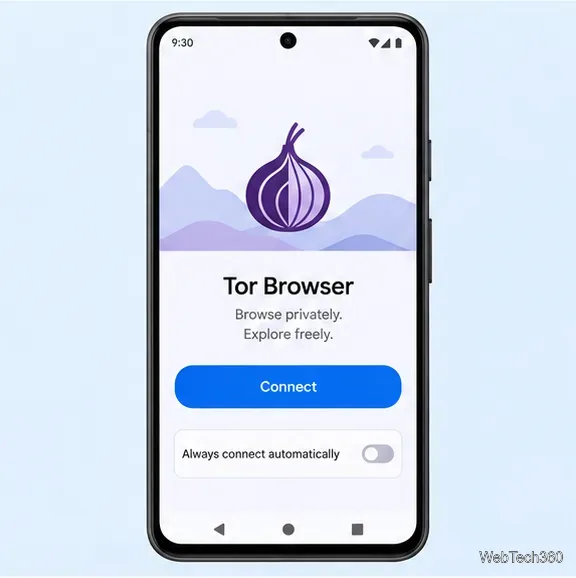
Open the app and tap Connect; the first connection may take a little time. Use Tor Browser for the sites you want routed through Tor. Opening those sites in Chrome or another app does not use Tor. If a connection is blocked, follow the Tor Project first-launch guidance.
A proxy forwards connections through an intermediary, so compatible requests can appear to come from its IP. Use it when a workplace, school, or provider gives you settings. A proxy is not a VPN and does not automatically encrypt traffic. Avoid unknown free-proxy lists; their operators may observe or alter unencrypted connections.
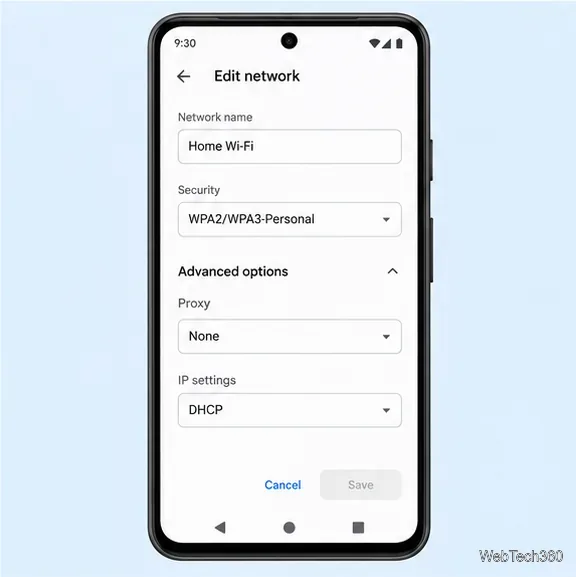
Connect to the Wi-Fi network first. On Pixel phones, go to Settings > Network & internet > Internet, tap the network, choose Edit, and expand Advanced options. Find Proxy. Other Android devices may use different labels.
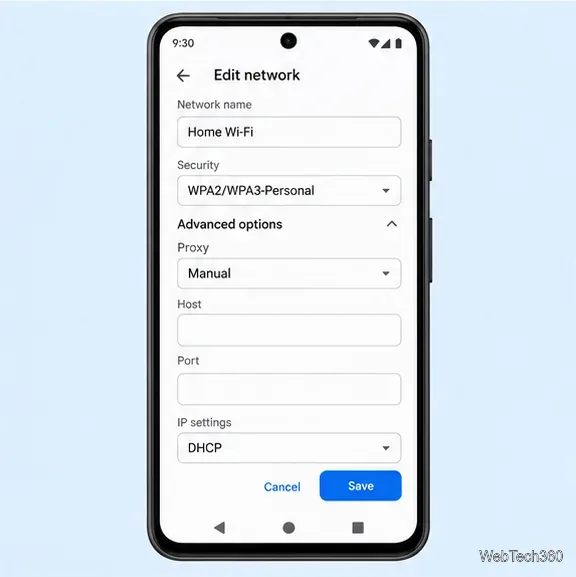
Select Manual and enter the host and port from your administrator or provider, then tap Save. If they gave you an automatic configuration address, use the matching option if available. Reconnect if needed. Google’s Pixel proxy instructions describe this route and note that steps vary by device. This setting applies to that Wi-Fi network, not mobile data, and some apps may ignore it.
For a simple IP change across most phone traffic, start with a VPN provider you have vetted. Choose Tor Browser for browser-specific Tor protections, and use a proxy only when you have reliable settings and understand its limits.
Learn how to add a visible date and time to new or existing Android photos with your camera's watermark setting or Google Photos Markup.
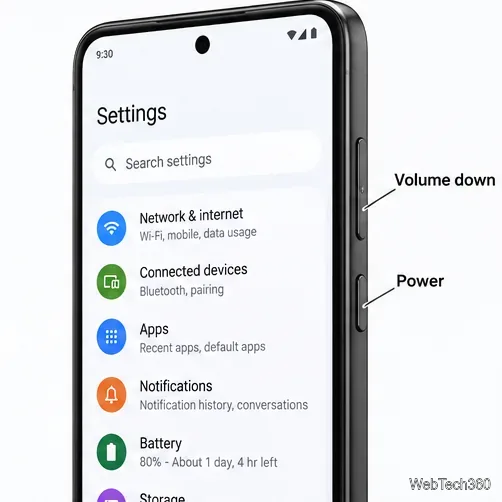
Learn how to screenshot on Android with button shortcuts, scrolling captures, and Pixel, Samsung, and Motorola gestures, plus where to find and share images.
Learn how Framaroot rooted compatible older Android phones, what to check before installing its APK, and why it rarely works on newer devices.
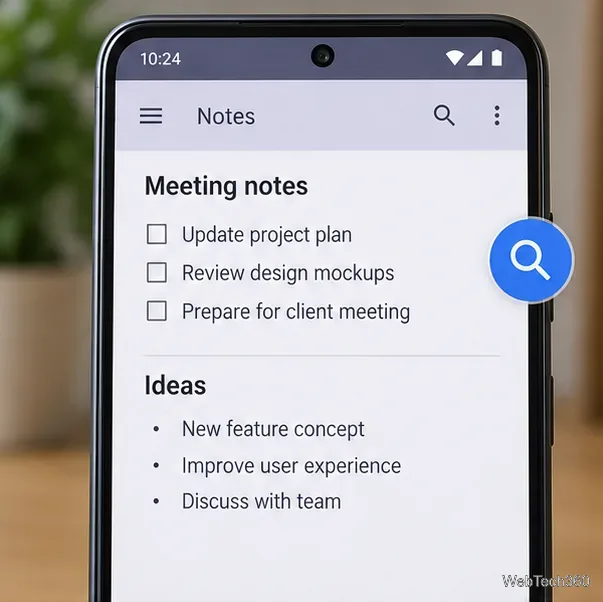
See how the classic Search Now app used a floating search button for on-device and web searches, why its Play Store listing is gone, and what works today.
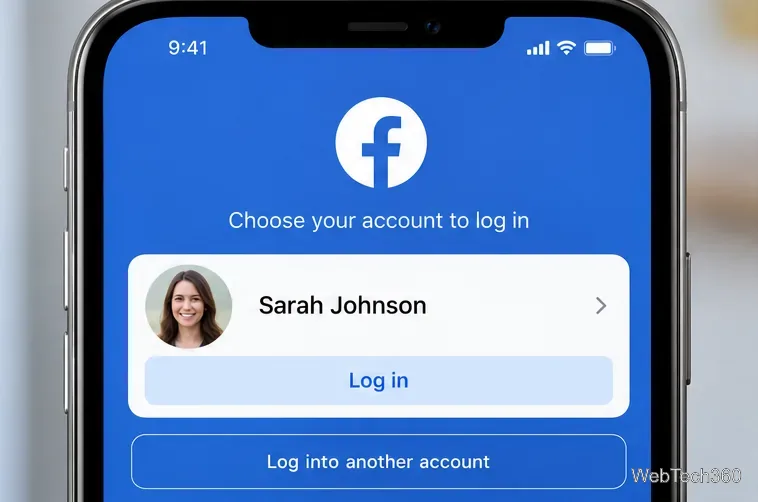
Learn how to turn Facebook profile picture login on or off, remove saved sign-ins on iPhone or Android, and find the current Saved login settings.
Learn how to identify plants, products, books, and other objects in photos with Google Lens on Android, iPhone, or a computer—and improve uncertain matches.
Remove your Pokémon GO avatar’s hat, gloves, and backpack using the Style menu. Follow the steps and fix missing no-item options without spending PokéCoins.
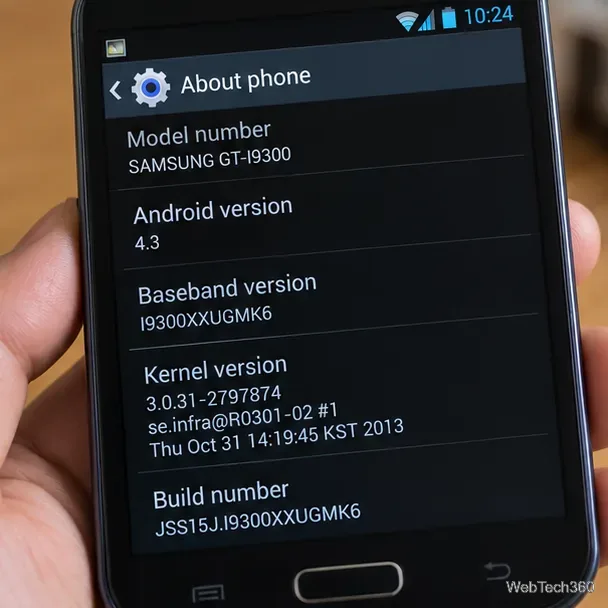
Understand what firmware and ROM mean on Android, how stock and custom ROMs differ, what flashing changes, and which risks to check before installing an image.
Learn what you need to install CyanogenMod 7.1 RC1 on the Motorola CLIQ XT, back up the MB501, flash the matching ZIPs, and avoid unverified files.
See what Android 2.3 Gingerbread keyboard language packs supported, how to verify a compatible ZIP, back up your phone, and avoid unsafe recovery flashes.