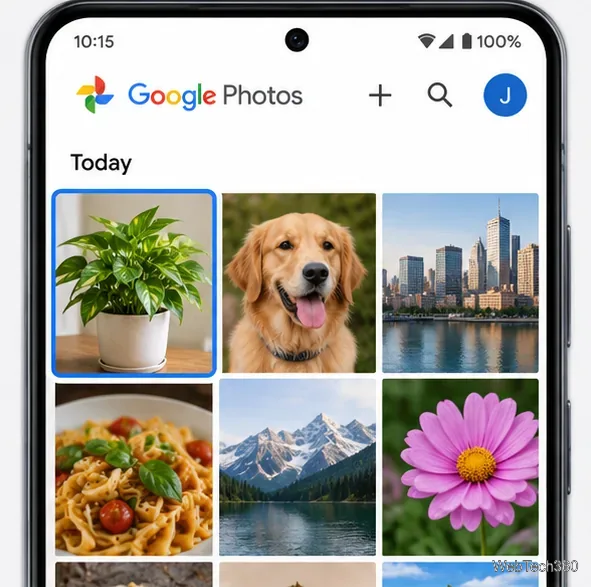
Add a Date and Time Stamp to Photos on Your Android Phone

Learn how to add a visible date and time to new or existing Android photos with your camera's watermark setting or Google Photos Markup.
If your Android phone has a Contacts app that supports SIM storage, you can transfer selected contacts through its contact-management menu. On many Samsung Galaxy phones, the current path is Contacts > Menu > Manage contacts > Move contacts. The exact options depend on the manufacturer, model, software version, and whether a compatible physical SIM is installed. Google Contacts’ documented export flow saves a VCF file; that file is a backup, not a direct SIM transfer.
Insert the physical SIM you want to use, then check where the contacts currently live. Android may show separate sources such as Phone, a Google Account, or a Samsung Account. The source matters because a contact list can combine records from several accounts even when it looks like one list. Moving contacts does not make the SIM a cloud backup, and SIM cards have limited contact storage.
Make a backup before using a command labeled Move. In Google Contacts, open Fix & manage > Export to file, select the account or accounts, and export a .VCF file. Google documents this as an export to a file, not to a SIM. Keep the VCF somewhere you can find it, and check that it contains the contacts you need before continuing. See Google’s Android contact export instructions.
Samsung’s current Galaxy instructions use the Contacts app’s Move contacts tool. Menu labels can differ slightly across devices, but the sequence is:
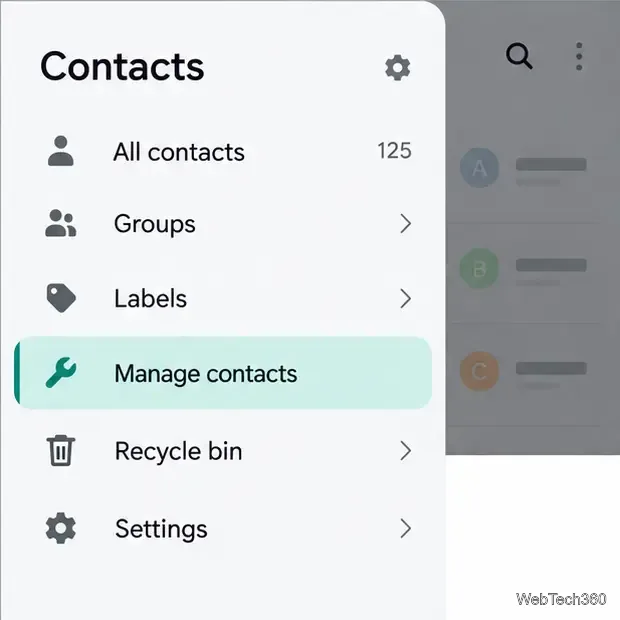
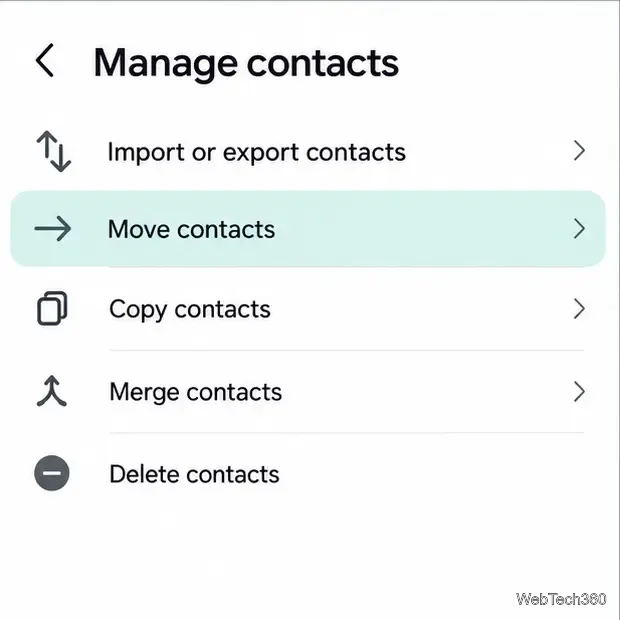
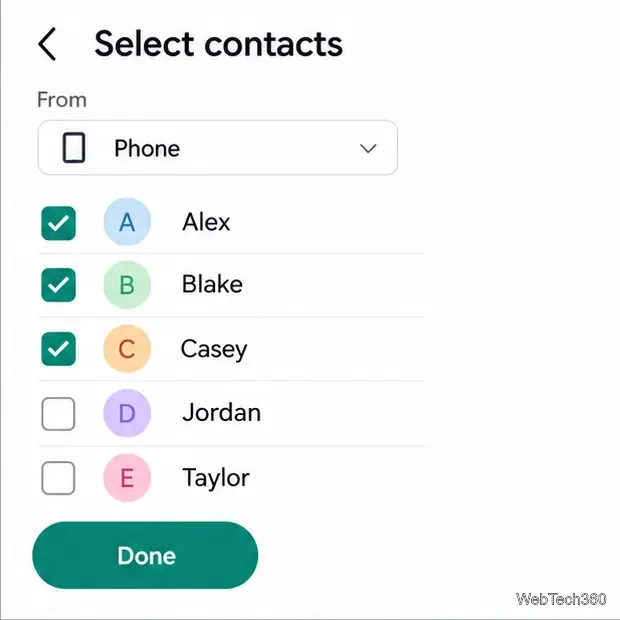
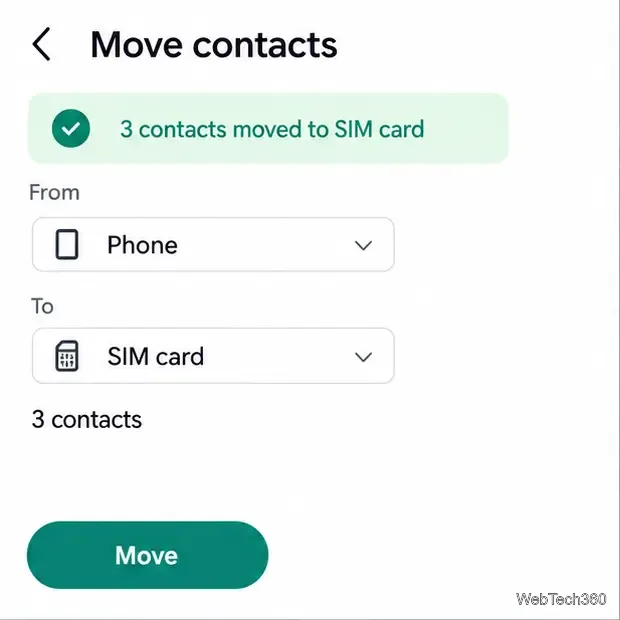
Samsung documents the current route as Contacts > Menu > Manage contacts > Move contacts, followed by choosing a source, selecting contacts, and choosing a destination. On some older Galaxy software, the option may instead appear under Manage contacts > Import or export contacts > Export > SIM card. Samsung’s current Galaxy Contacts guide and its SIM import and export guide describe these device-dependent paths.
There is no single SIM-export menu shared by every Android phone. If your Contacts app only offers Google Account, device storage, or VCF export, check the phone maker’s support page for your exact model or try the manufacturer’s built-in Contacts app if it is available. Do not assume that exporting a VCF file has written anything to the SIM: it has only created a file. Avoid granting an unfamiliar contacts app broad access unless you trust its publisher and understand what it will read.
Google Contacts’ published Android export steps end with Export to .VCF file; they do not describe a direct SIM destination. So if that is the only export option on your phone, use VCF as a backup and look for a manufacturer-supported SIM-transfer feature instead. For a supported Google backup of device and SIM contacts, Google also documents automatic saving to a Google Account. The setting is under Android Settings > Google services > Backup and restore > Google Contacts sync; availability depends on the phone, and the account must be eligible. Read Google’s device and SIM contact backup instructions.
A SIM is designed for a small set of contact details, not a full modern address book. Samsung notes that its SIM export copies the contact’s name and phone number; other information may be lost, and long names or numbers may be shortened. Email addresses, notes, photos, multiple numbers, and other fields should remain in your phone account or backup rather than being assumed to transfer.
After the move, confirm that the completion message appeared and check the SIM contacts in the Contacts app if your phone lets you filter by storage location. If an important contact is missing or truncated, restore it from the VCF backup or move it back from the SIM before deleting anything. Because the SIM’s capacity and supported fields vary, transfer only the contacts you need and keep the original backup until you have verified the result.
Learn how to add a visible date and time to new or existing Android photos with your camera's watermark setting or Google Photos Markup.
Learn how to screenshot on Android with button shortcuts, scrolling captures, and Pixel, Samsung, and Motorola gestures, plus where to find and share images.
Learn how Framaroot rooted compatible older Android phones, what to check before installing its APK, and why it rarely works on newer devices.
See how the classic Search Now app used a floating search button for on-device and web searches, why its Play Store listing is gone, and what works today.
Learn how to turn Facebook profile picture login on or off, remove saved sign-ins on iPhone or Android, and find the current Saved login settings.
Learn how to identify plants, products, books, and other objects in photos with Google Lens on Android, iPhone, or a computer—and improve uncertain matches.
Remove your Pokémon GO avatar’s hat, gloves, and backpack using the Style menu. Follow the steps and fix missing no-item options without spending PokéCoins.
Understand what firmware and ROM mean on Android, how stock and custom ROMs differ, what flashing changes, and which risks to check before installing an image.
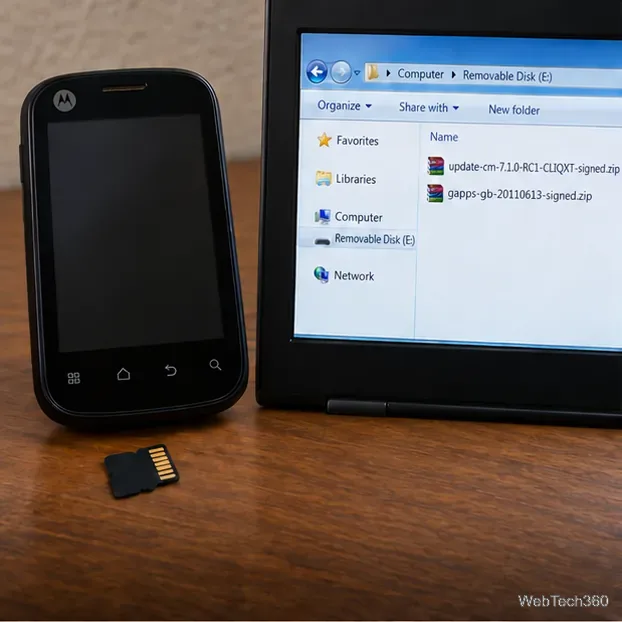
Learn what you need to install CyanogenMod 7.1 RC1 on the Motorola CLIQ XT, back up the MB501, flash the matching ZIPs, and avoid unverified files.
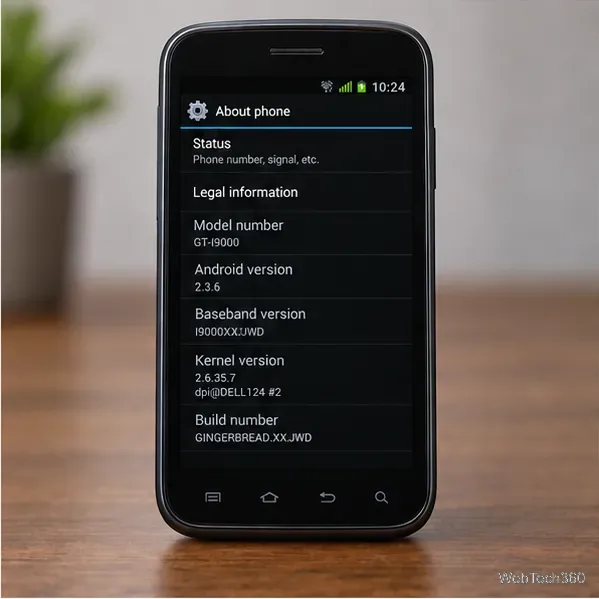
See what Android 2.3 Gingerbread keyboard language packs supported, how to verify a compatible ZIP, back up your phone, and avoid unsafe recovery flashes.