Install MIUI 1.6.17 on the Xperia X10: Android 2.3.4 ROM Guide

The Android 2.3.4 MIUI 1.6.17 ROM for the Sony Ericsson Xperia X10 is an old, unofficial community port. It requires the exact supported X10 variant, root access, working xRecovery, and a ROM ZIP from a source you can trust. The original download pointed to Hotfile; I could not verify a surviving download or checksum. If you cannot confirm your archive matches the developer’s release, do not flash it.

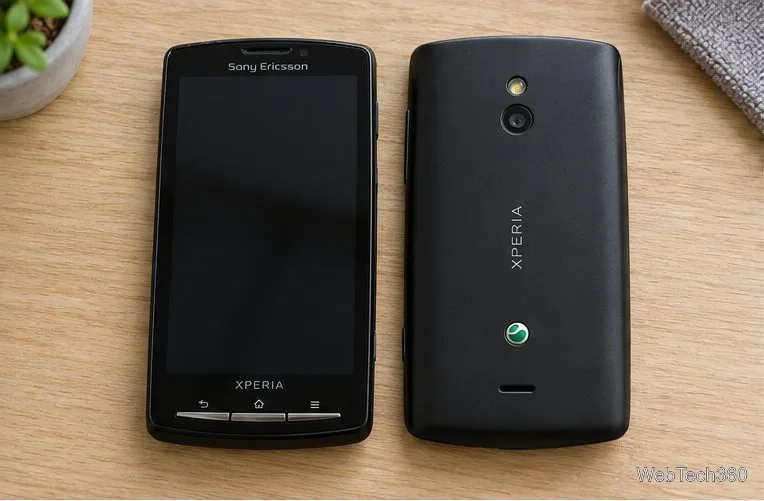
Sony Ericsson Xperia X10 shown from the front and back on a workbench.
Confirm the handset is an Xperia X10; this ROM is not for an X10 mini, X10 mini pro, or another Xperia.

Compatibility and known limitations

Sony lists the X10’s official software path as Android 1.6, 2.1, and 2.3. Android 2.3.4 here is custom software. MIUI 1.6.17 dates to June 2011, and a surviving release archive does not list the X10 among supported devices, so this build was an unofficial port and is no longer maintained. See Sony’s Xperia Android version list, the MIUI 1.6.17 release archive, and the historical XDA thread cited by the original guide. The XDA thread and its files may be unavailable.

The original post reported working calls, SMS/MMS, mobile data, audio, video, themes, sync, browser, music, gallery, GPS, and SD-card storage. It also said the camera and camcorder were broken; Camera Illusion was mentioned as a still-camera workaround. These are unverified 2011 notes, not guarantees. Expect missing features and instability.

Before you begin

  • Check that the maintainer’s notes explicitly support your exact X10 model variant and list any required base firmware or kernel. Never use this ZIP on an X10 mini or mini pro.
  • Have root access and a working xRecovery already installed. This guide does not cover rooting or installing recovery; the legacy tools must match your handset and firmware.
  • Back up photos, contacts, and other personal files to a computer. Charge the battery and confirm xRecovery can read the microSD card.
  • Use only a ROM archive with verifiable provenance. The old Hotfile URL is not a current download source. A Nandroid backup does not replace a separate copy of personal files.

A factory reset erases installed apps and phone data. Stop if the model, package, prerequisites, or backup is uncertain; a mismatched image can prevent the phone from booting.

Install MIUI 1.6.17 with xRecovery

  1. Verify the package. Read the preserved developer instructions for the exact model, base firmware, and any required files. Keep the ROM as a ZIP; do not extract it.
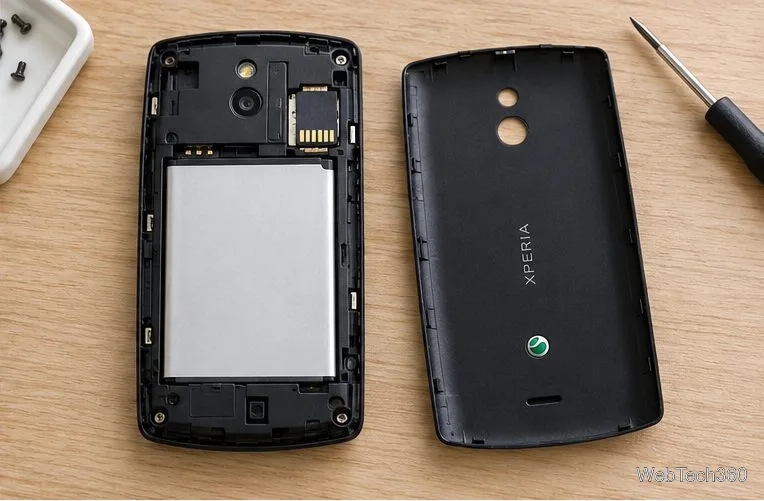
  2. Prepare the phone. Copy personal files elsewhere, charge the battery, and confirm xRecovery opens before wiping anything. The microSD slot is under the rear cover.
    The rear cover and battery compartment of a Sony Ericsson Xperia X10 are open, exposing the microSD slot.
    The card slot is inside the X10’s rear compartment; handle the card and battery gently.
  3. Copy the ZIP. Put the unchanged ROM file in the top level of the microSD card so recovery can find it. Eject the card safely, then reinsert it if you used a reader.
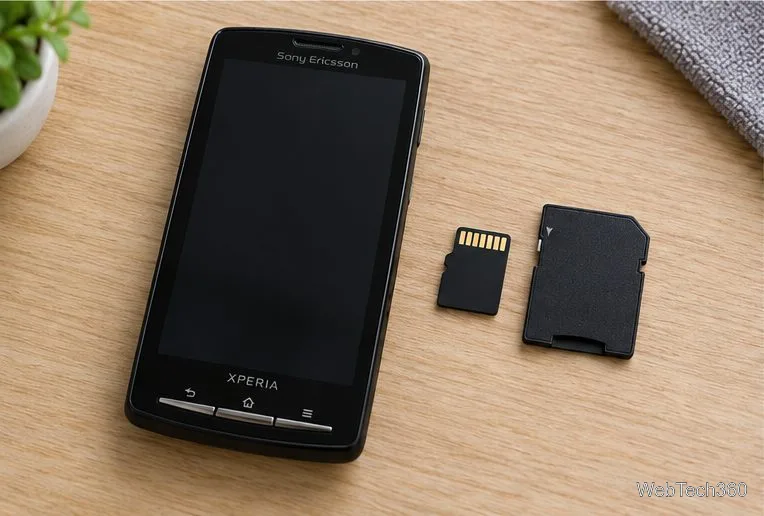
    A Sony Ericsson Xperia X10 beside a microSD card and full-size SD adapter on a wooden desk.
    Use a card that xRecovery can read to carry the ROM ZIP.
  4. Check the copy. Confirm the ZIP appears on the card and the transfer completed. Compare a published checksum if one exists; without one, the filename alone cannot prove the archive is intact.
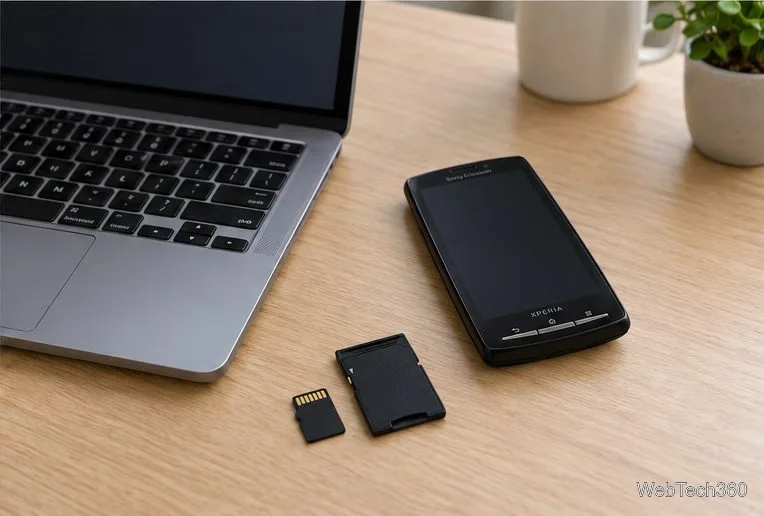
    A laptop, microSD card, and Xperia X10 arranged for copying the ROM ZIP to removable storage.
    Check the card before restarting the phone.
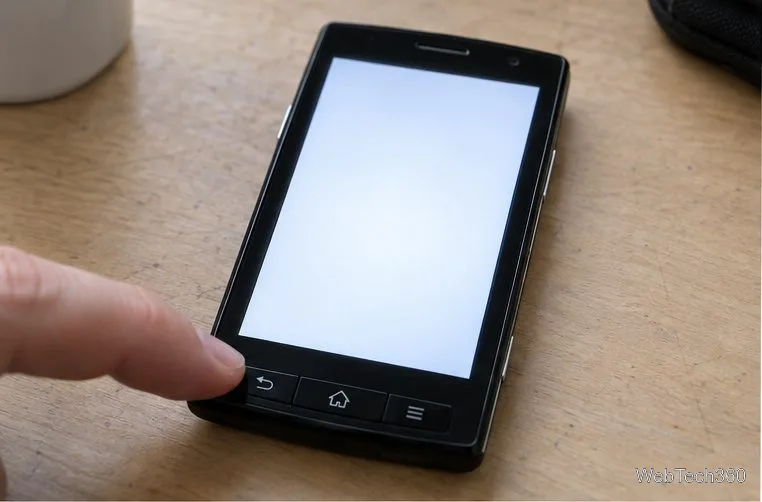
  5. Open xRecovery. Power the phone off and turn it on. As the white Sony Ericsson startup screen appears, tap the physical Back key several times, as the original guide describes. If recovery does not open, stop and fix that first.
    A fingertip pressing the physical Back key beneath a bright startup screen on an Xperia X10.
    Repeatedly tap the physical Back key as the startup screen appears.
  6. Make a Nandroid backup. Choose the backup option in xRecovery and wait for a success message. If possible, copy the backup folder from the SD card to a computer before continuing.
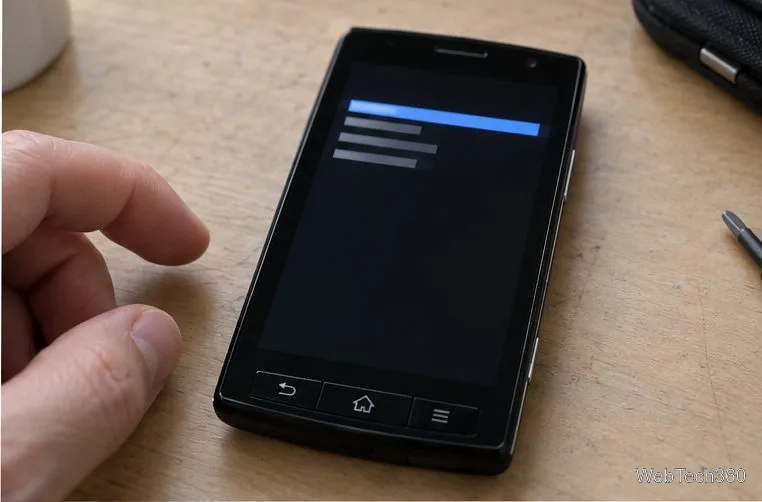
    An Xperia X10 displaying an old-style recovery menu with indistinct rows and one highlighted selection.
    This recovery view is illustrative, not an exact screenshot; follow the labels on your installed xRecovery version.
  7. Wipe and install. Select Wipe data/factory reset, wipe cache and Dalvik cache if offered, then choose the install-from-SD-card option and select the exact MIUI ZIP. Menu wording varies; stop if your screen does not match the developer instructions. Do not interrupt the process.
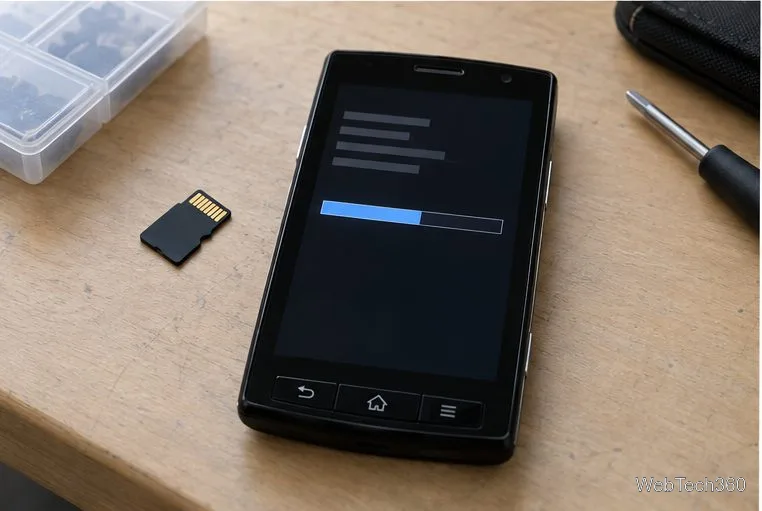
    An Xperia X10 showing a generic recovery progress bar beside a microSD card.
    Wait for recovery to finish before choosing another action.
  8. Reboot and check. Use recovery’s reboot option after installation reports success, then allow the first startup time to complete. If the phone loops at the logo, return to the same recovery and restore your Nandroid backup; do not flash random files.
    A Sony Ericsson Xperia X10 resting beside a laptop after a restart, with its display dark.
    Give the first restart time to complete, then check whether the phone reaches the home screen.

If something goes wrong

If xRecovery cannot see the ZIP, power down and check that the card is seated and the file is at its top level. If installation fails, record the error and consult the historical developer thread before trying again. If the phone will not boot, restore the backup rather than layering another ROM over it. With discontinued software and tools, there may be no supported repair if the correct package, recovery, or backup is missing.

This is a historical procedure for enthusiasts who already have the correct archive and a working recovery, not a supported Sony upgrade path or a verified download page.

Leave a Comment

Add a Date and Time Stamp to Photos on Your Android Phone

Add a Date and Time Stamp to Photos on Your Android Phone

Learn how to add a visible date and time to new or existing Android photos with your camera's watermark setting or Google Photos Markup.

How to Screenshot on Android Devices: Buttons and Gestures

How to Screenshot on Android Devices: Buttons and Gestures

Learn how to screenshot on Android with button shortcuts, scrolling captures, and Pixel, Samsung, and Motorola gestures, plus where to find and share images.

How to Root Older Android Devices With Framaroot in a Few Taps

How to Root Older Android Devices With Framaroot in a Few Taps

Learn how Framaroot rooted compatible older Android phones, what to check before installing its APK, and why it rarely works on newer devices.

Search Now for Android: Search Your Phone or the Web From Anywhere

Search Now for Android: Search Your Phone or the Web From Anywhere

See how the classic Search Now app used a floating search button for on-device and web searches, why its Play Store listing is gone, and what works today.

How to Enable or Disable Facebook Profile Picture Login

How to Enable or Disable Facebook Profile Picture Login

Learn how to turn Facebook profile picture login on or off, remove saved sign-ins on iPhone or Android, and find the current Saved login settings.

How to Use Google Lens to Identify Objects in Photos

How to Use Google Lens to Identify Objects in Photos

Learn how to identify plants, products, books, and other objects in photos with Google Lens on Android, iPhone, or a computer—and improve uncertain matches.

How to Remove a Hat, Gloves, and Backpack From Your Pokémon GO Avatar

How to Remove a Hat, Gloves, and Backpack From Your Pokémon GO Avatar

Remove your Pokémon GO avatar’s hat, gloves, and backpack using the Style menu. Follow the steps and fix missing no-item options without spending PokéCoins.

Firmware, Stock ROMs, Custom ROMs, and Flashing Explained

Firmware, Stock ROMs, Custom ROMs, and Flashing Explained

Understand what firmware and ROM mean on Android, how stock and custom ROMs differ, what flashing changes, and which risks to check before installing an image.

How to Install CyanogenMod 7.1 RC1 on the Motorola CLIQ XT

How to Install CyanogenMod 7.1 RC1 on the Motorola CLIQ XT

Learn what you need to install CyanogenMod 7.1 RC1 on the Motorola CLIQ XT, back up the MB501, flash the matching ZIPs, and avoid unverified files.

Install Android 2.3 Gingerbread Keyboard Language Packs Safely

Install Android 2.3 Gingerbread Keyboard Language Packs Safely

See what Android 2.3 Gingerbread keyboard language packs supported, how to verify a compatible ZIP, back up your phone, and avoid unsafe recovery flashes.