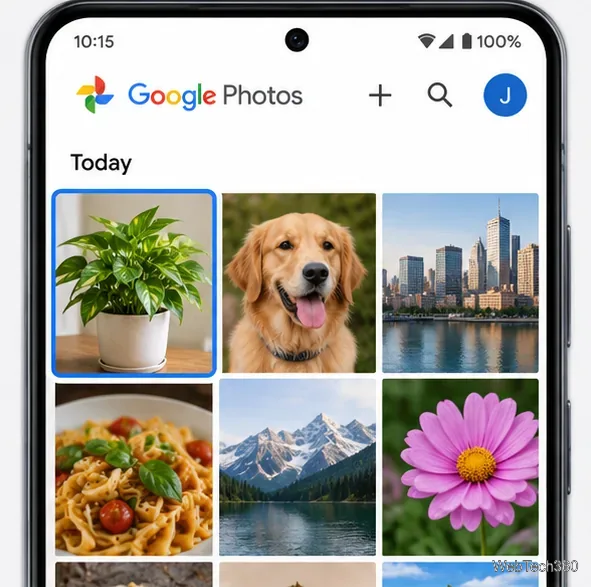
Add a Date and Time Stamp to Photos on Your Android Phone

Learn how to add a visible date and time to new or existing Android photos with your camera's watermark setting or Google Photos Markup.
MAGLDR is a community-made second-stage bootloader for the HTC HD2. It adds a boot menu and USB flashing mode; it does not install an operating system. Version 1.13 dates to 2011, so these instructions apply to legacy HD2 hardware and tools.
The original Dark Forces Team (DFT) release lists support for both LEO512 and LEO1024 HD2 models, requires a radio that supports 576 MB RAM, and adds Android Recovery support. Depending on the ROMs already installed, the menu can boot Windows Phone 7 from internal NAND, Android from NAND or a microSD card, or ClockworkMod Recovery. MAGLDR is a boot manager and flashing entry point, not an operating system.
Installing an OS to NAND can erase Windows Mobile 6.5 and stored data. MAGLDR has no Windows Mobile 6.5 boot option, so do not expect it to dual-boot stock Windows Mobile with Android. A known arrangement paired Windows Phone 7 on NAND with Android from a compatible SD build.
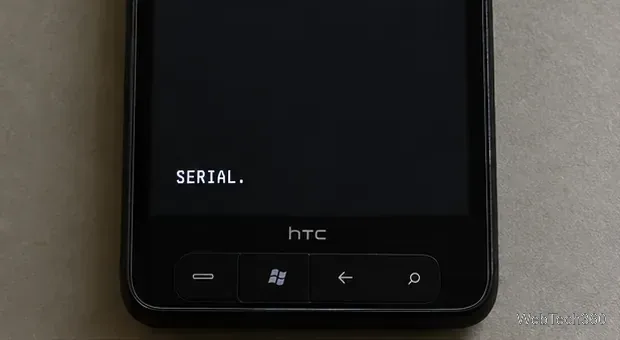
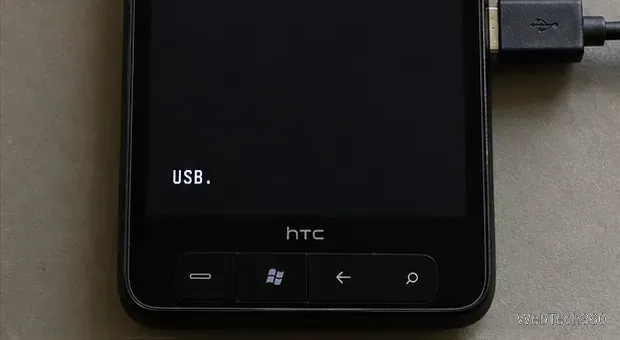
ROMUpdateUtility.exe. Read the warnings and preparation prompts; select Update only after the utility recognizes the phone. Keep the cable connected and wait for the phone to reboot and the RUU to finish.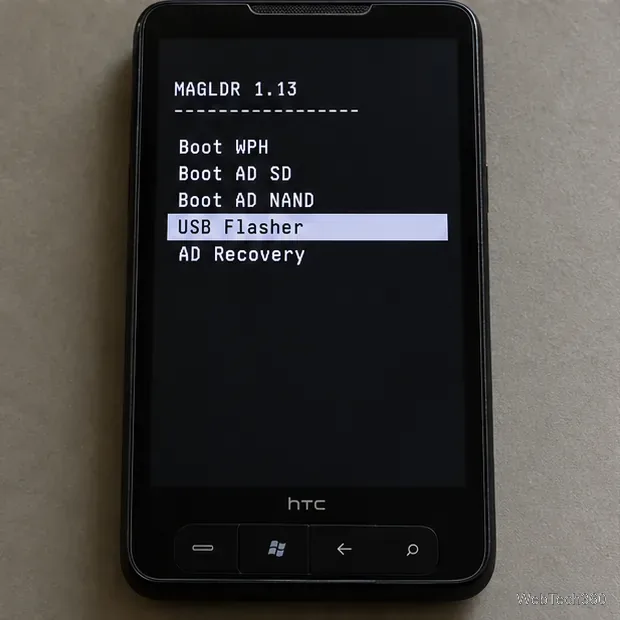
Use Volume Up and Volume Down to highlight an option. The green Call/Send key selects it; End Call returns to the previous menu, and the Windows logo key returns to the main menu on the documented HD2 layout. The main entries are:
| Menu entry | What it does |
|---|---|
Boot WPH | Starts a compatible Windows Phone 7 NAND installation. |
Boot AD SD | Starts an Android build configured for the microSD card. |
Boot AD NAND | Starts an Android installation in internal NAND. |
USB Flasher | Waits for a compatible PC flasher; it is not a way to install any arbitrary ROM ZIP. |
AD Recovery | Starts ClockworkMod Recovery if a compatible recovery has already been installed. |
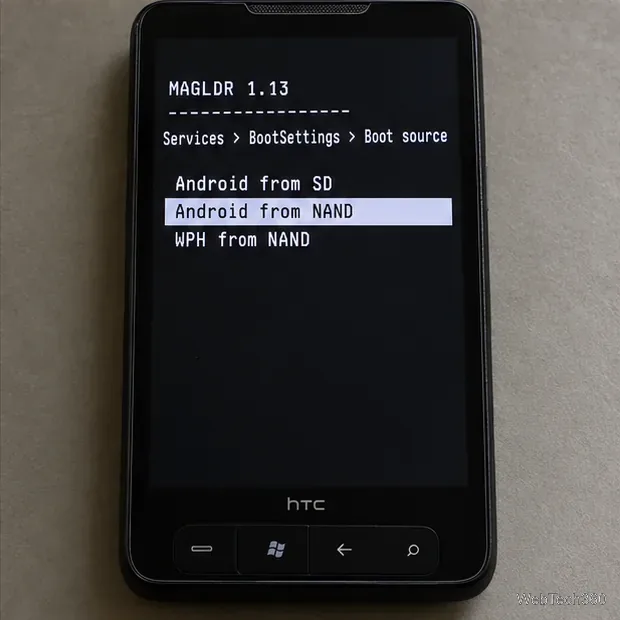
To set the automatic startup choice, open Services > BootSettings > Boot source and choose Android from SD, Android from NAND, or WPH from NAND. AlwaysMenu controls whether MAGLDR shows its menu at each startup instead of immediately booting the selected source.
To flash a supported HD2 ROM, enter MAGLDR, select USB Flasher, connect to a compatible PC, then follow that ROM's DAF/RUU instructions. Android ZIPs require a compatible recovery such as ClockworkMod first; USB Flasher does not install them by itself. Check the ROM's partition requirements. For the historical release notes, see DFT MAGLDR 1.13 release thread.
Avoid destructive service options unless you intend the result: AD Hardreset resets Android user data, while ClearSD MBR erases the SD card's partition table. If USB is not detected or a flash fails, stop; do not retry with a different image. The model, radio, HSPL, ROM, and drivers must match.
Learn how to add a visible date and time to new or existing Android photos with your camera's watermark setting or Google Photos Markup.
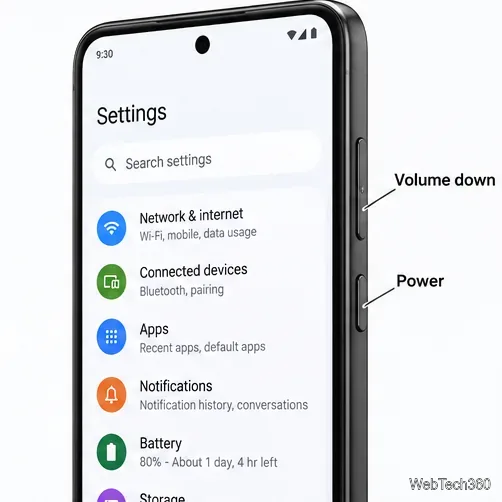
Learn how to screenshot on Android with button shortcuts, scrolling captures, and Pixel, Samsung, and Motorola gestures, plus where to find and share images.
Learn how Framaroot rooted compatible older Android phones, what to check before installing its APK, and why it rarely works on newer devices.
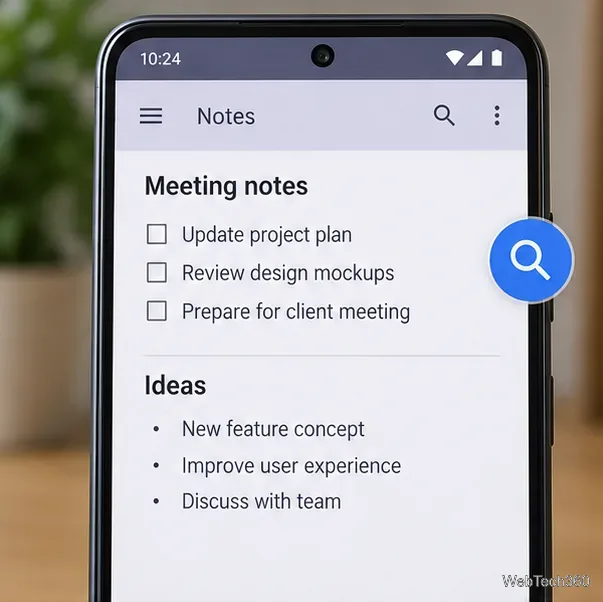
See how the classic Search Now app used a floating search button for on-device and web searches, why its Play Store listing is gone, and what works today.
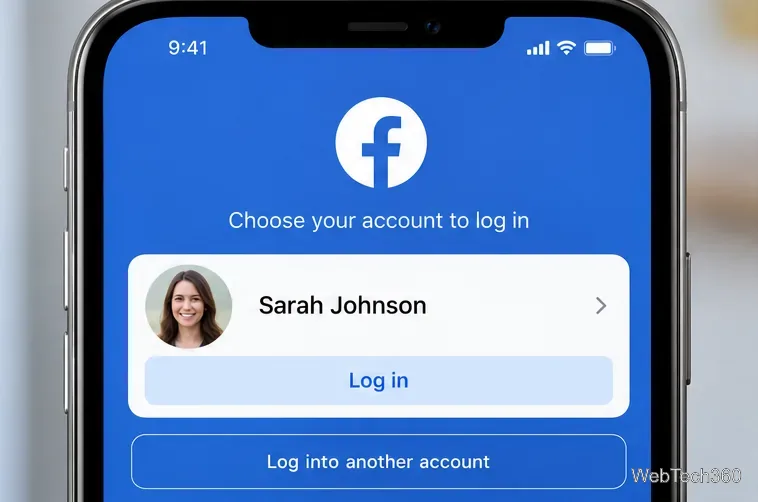
Learn how to turn Facebook profile picture login on or off, remove saved sign-ins on iPhone or Android, and find the current Saved login settings.
Learn how to identify plants, products, books, and other objects in photos with Google Lens on Android, iPhone, or a computer—and improve uncertain matches.
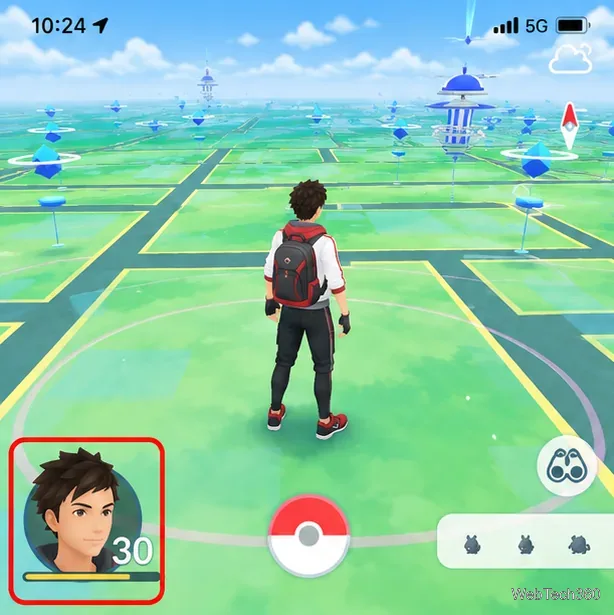
Remove your Pokémon GO avatar’s hat, gloves, and backpack using the Style menu. Follow the steps and fix missing no-item options without spending PokéCoins.
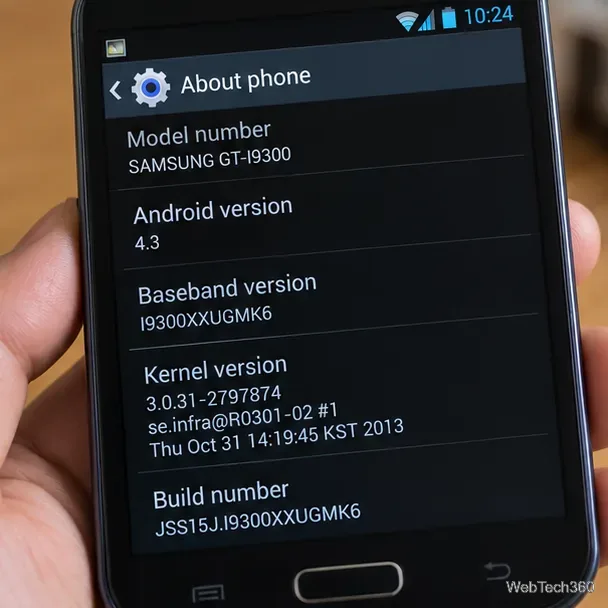
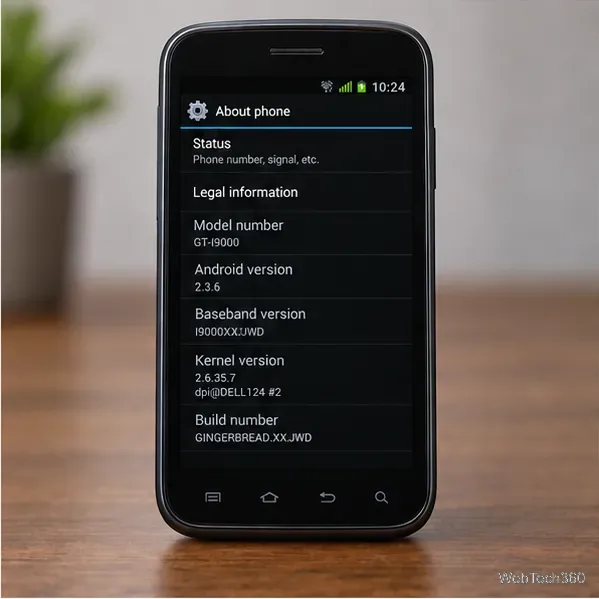
Understand what firmware and ROM mean on Android, how stock and custom ROMs differ, what flashing changes, and which risks to check before installing an image.
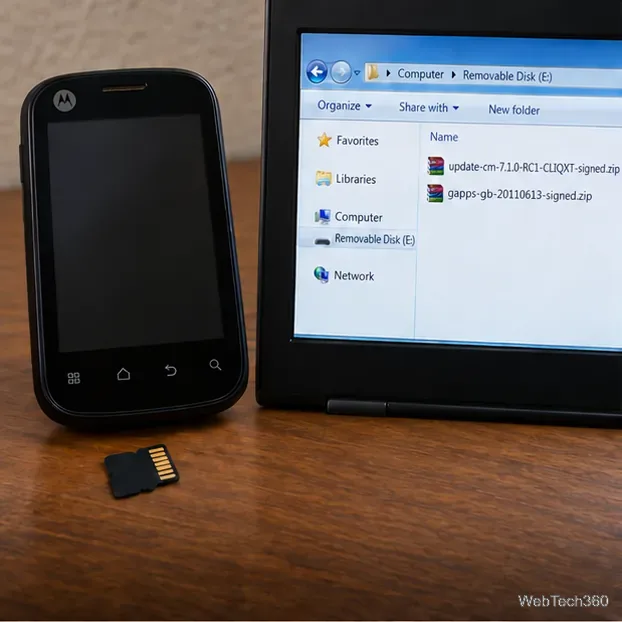
Learn what you need to install CyanogenMod 7.1 RC1 on the Motorola CLIQ XT, back up the MB501, flash the matching ZIPs, and avoid unverified files.
See what Android 2.3 Gingerbread keyboard language packs supported, how to verify a compatible ZIP, back up your phone, and avoid unsafe recovery flashes.