Add a Date and Time Stamp to Photos on Your Android Phone

Learn how to add a visible date and time to new or existing Android photos with your camera's watermark setting or Google Photos Markup.
Android has no systemwide Trash or Recycle Bin. Deleted items stay in the app that handled them: Files by Google files, Google Photos media, and Gmail messages each have separate bins. Check the app and account you used.
Check the app below first. For a missing photo or file, also check the phone’s Gallery or file manager and any cloud service that syncs it. Restore items quickly: many bins clear after 30 days, and an emptied bin may not be recoverable.
Open Files by Google, tap the menu icon in the upper-left corner, and choose Trash. Select the file or files, then tap Restore at the bottom and confirm. Google says files stay there for 30 days. The Trash feature was introduced for Android 11 and has been rolling out to other Android versions, so its availability can vary by device and app version.
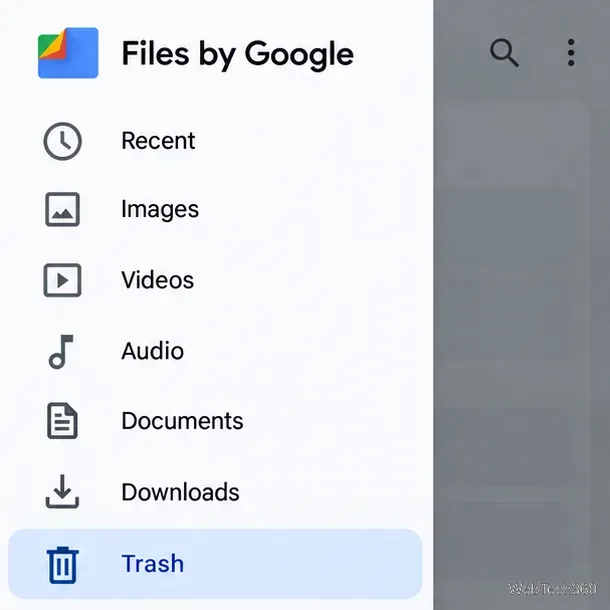
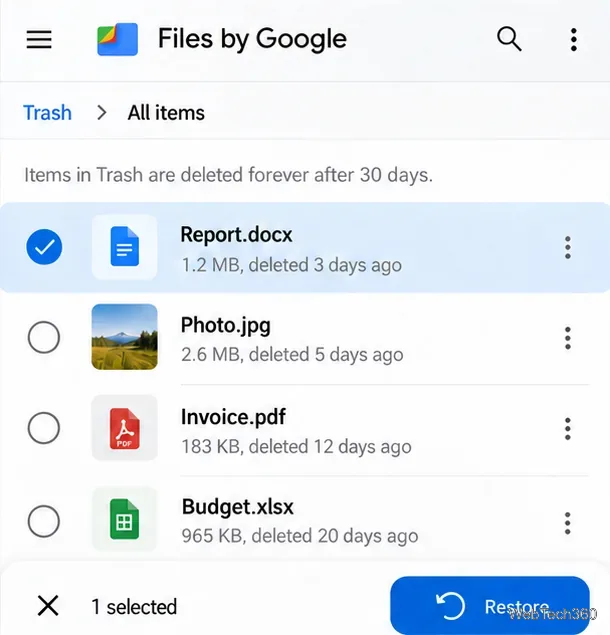
One important exception: files removed from the Junk files card in the app’s Clean section are permanently deleted rather than sent to Trash. If you do not see the menu item, update Files by Google and check the phone’s Gallery or manufacturer file manager; the item may have been deleted through a different app. See Google’s Files by Google instructions for Trash and restore.
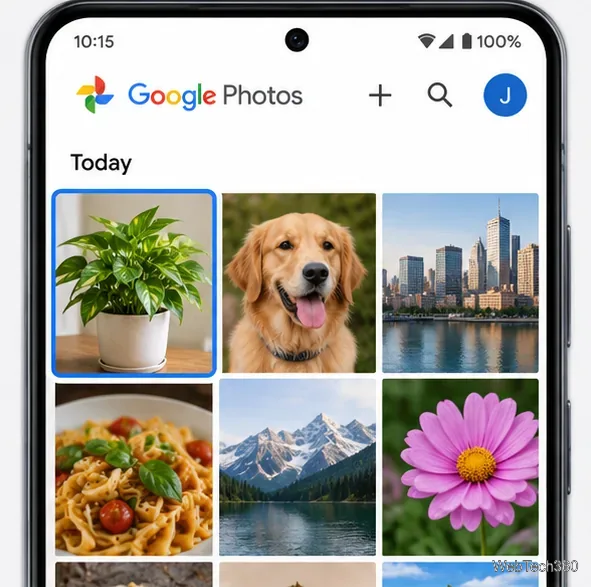
In Google Photos, tap Collections at the bottom, then Trash. Touch and hold a photo or video and tap Restore. It returns to the Photos library and, when applicable, the phone’s gallery. Google’s current help page says items in Trash are permanently deleted after 30 days; an item manually deleted from Trash cannot be restored there.
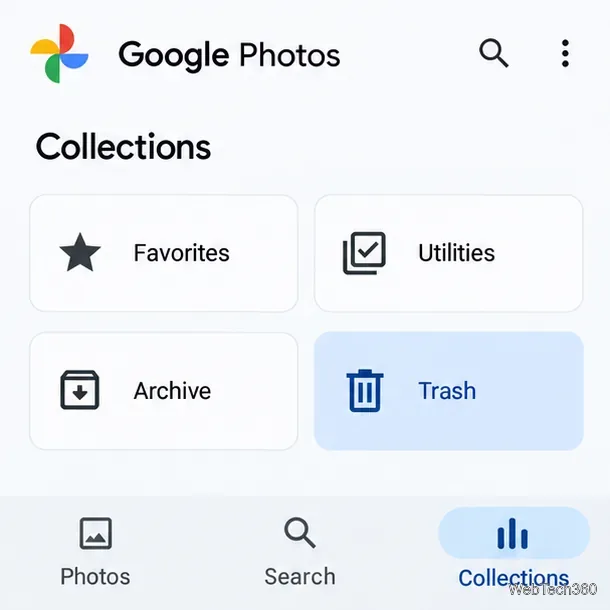
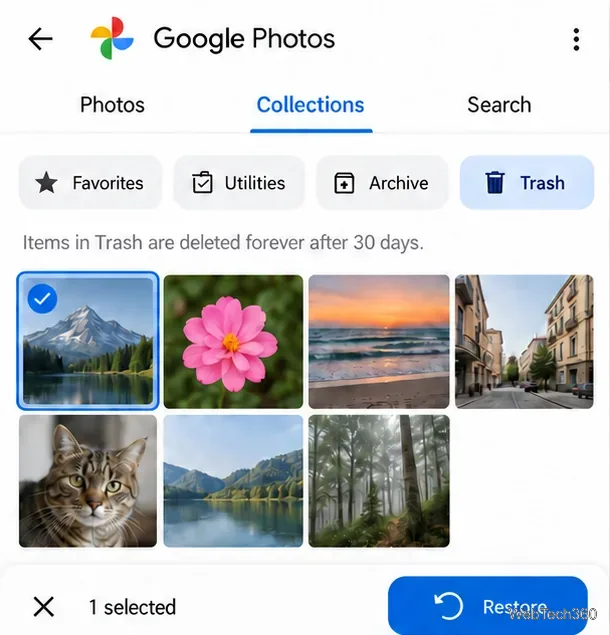
If a picture is missing from the main Photos view but was never deleted, check Archive as well. Also confirm you are signed in to the Google account where the photo was backed up. For the current route and limits, see Google Photos’ Android restore guide.
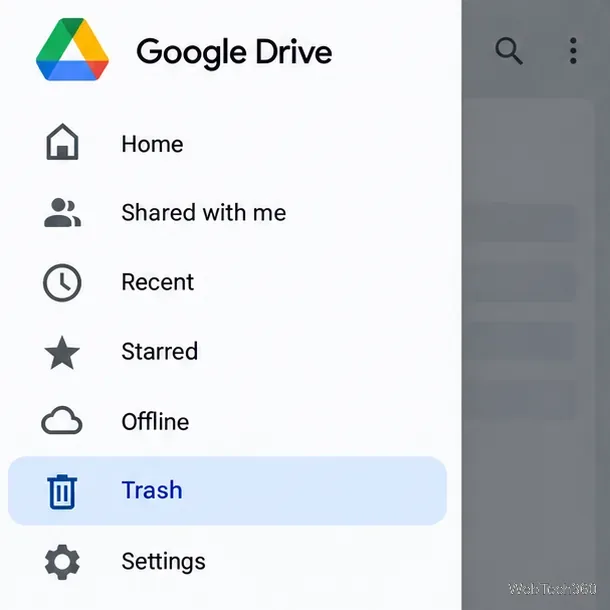
For a document stored in Drive, open the app, tap the upper-left Menu, and choose Trash. Tap the three-dot menu beside the file and select Restore. Drive keeps items in Trash for 30 days before deleting them permanently. Shared files can disappear because an owner changed access or moved them, so check the correct Google account if the file is not listed. Follow Google Drive’s Android steps for finding lost files.
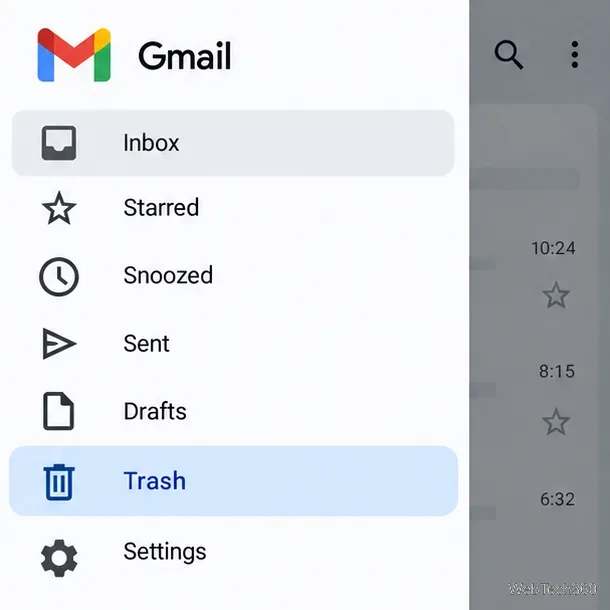
Deleted mail is separate from documents and phone files. In Gmail, tap the menu icon and choose Trash. To recover a message, touch and hold it, tap More, choose Move to, and select Inbox or another folder. Gmail automatically removes messages from Trash after 30 days, or you can empty it sooner. If you cannot see an email, search Gmail with in:anywhere to include Trash and Spam. See Gmail’s Android steps for moving messages out of Trash and Gmail’s guidance for missing emails.
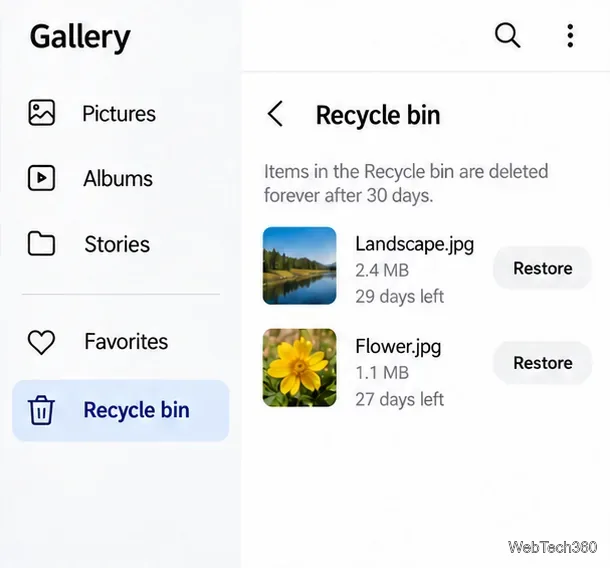
On Samsung phones, open Gallery, tap Menu (the three horizontal lines), and choose Trash or Recycle bin; the wording can vary by software version. Touch and hold the photo or video, select it, and tap Restore. Samsung says Gallery items remain for 30 days. If you deleted a document, check My Files too. On Galaxy devices with One UI 6, Samsung also documents a cross-app view at Settings > Device care > Storage management > Recycle bin. See Samsung’s Gallery Trash instructions and Samsung’s One UI 6 Recycle Bin guide.
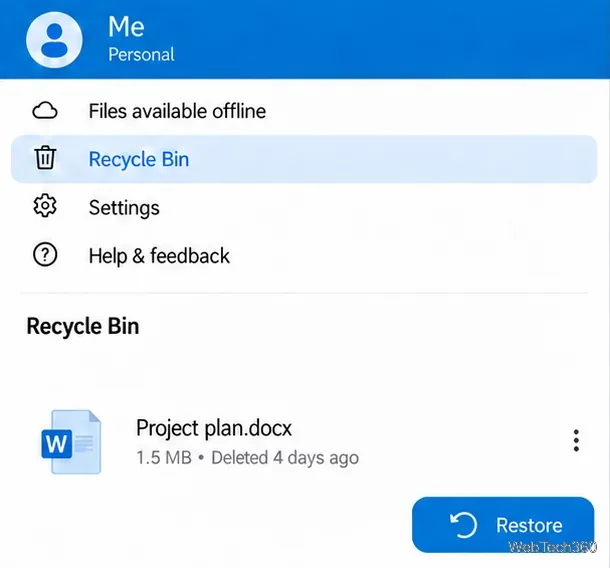
If the item was stored in OneDrive, open the app, tap Me at the bottom right, select the relevant account, and open Recycle Bin. Select the file and tap Restore. This is OneDrive’s cloud bin, not a general Android folder. Microsoft’s mobile-app guidance gives personal accounts 30 days and work or school accounts 93 days, unless an administrator changes the setting. Its OneDrive recovery instructions show the Android route.
After an app’s retention period, permanent deletion, or an emptied bin, its normal restore option is gone. Android has no universal deleted-files folder. Confirm the app and account, then check for a backup.
Learn how to add a visible date and time to new or existing Android photos with your camera's watermark setting or Google Photos Markup.
Learn how to screenshot on Android with button shortcuts, scrolling captures, and Pixel, Samsung, and Motorola gestures, plus where to find and share images.
Learn how Framaroot rooted compatible older Android phones, what to check before installing its APK, and why it rarely works on newer devices.
See how the classic Search Now app used a floating search button for on-device and web searches, why its Play Store listing is gone, and what works today.
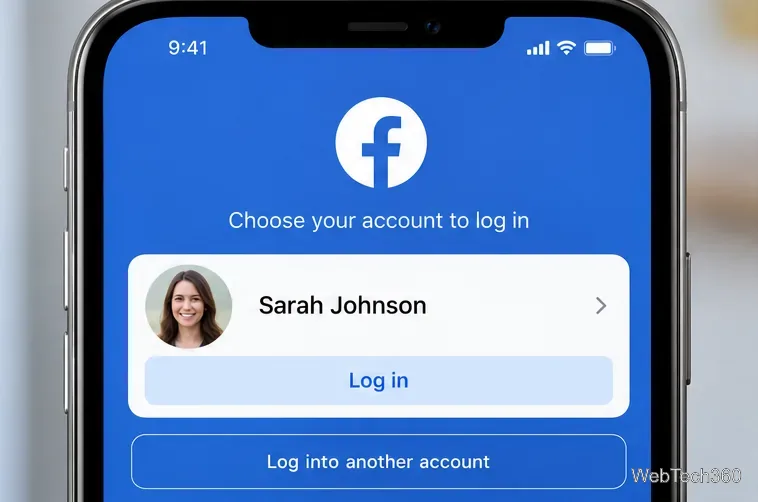
Learn how to turn Facebook profile picture login on or off, remove saved sign-ins on iPhone or Android, and find the current Saved login settings.
Learn how to identify plants, products, books, and other objects in photos with Google Lens on Android, iPhone, or a computer—and improve uncertain matches.
Remove your Pokémon GO avatar’s hat, gloves, and backpack using the Style menu. Follow the steps and fix missing no-item options without spending PokéCoins.
Understand what firmware and ROM mean on Android, how stock and custom ROMs differ, what flashing changes, and which risks to check before installing an image.
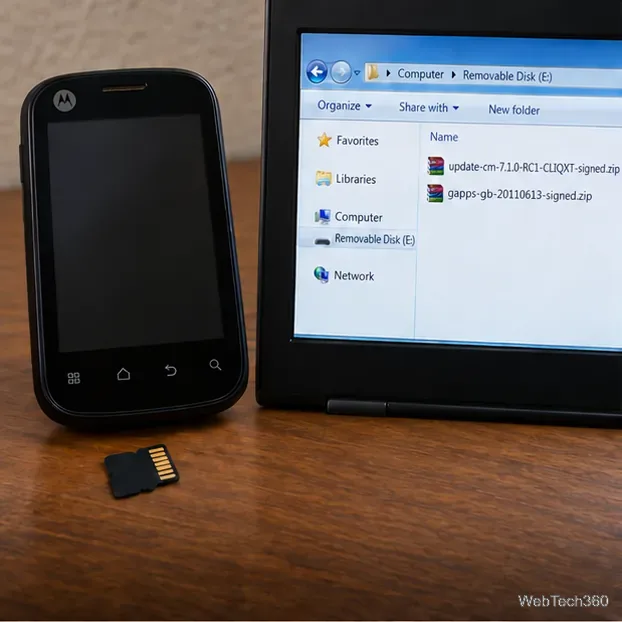
Learn what you need to install CyanogenMod 7.1 RC1 on the Motorola CLIQ XT, back up the MB501, flash the matching ZIPs, and avoid unverified files.
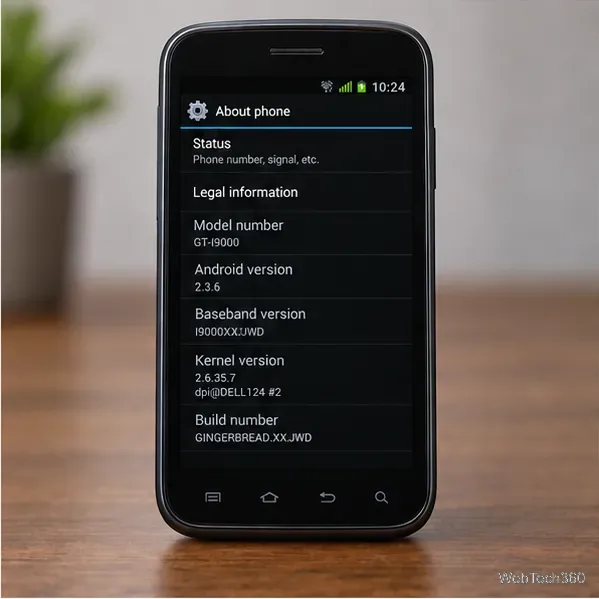
See what Android 2.3 Gingerbread keyboard language packs supported, how to verify a compatible ZIP, back up your phone, and avoid unsafe recovery flashes.