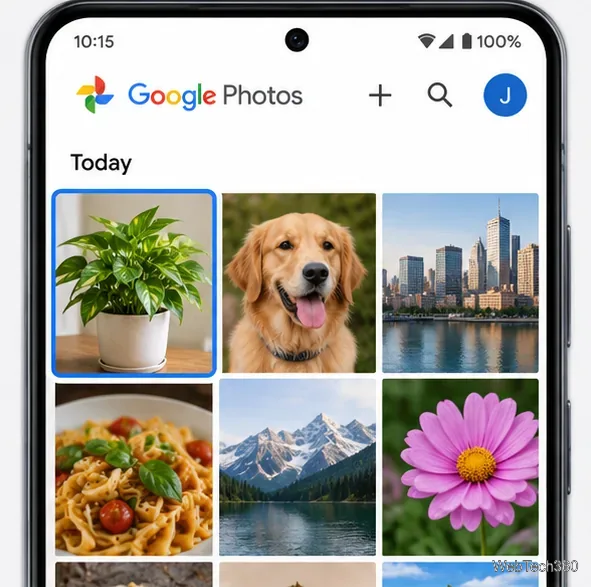
Add a Date and Time Stamp to Photos on Your Android Phone

Learn how to add a visible date and time to new or existing Android photos with your camera's watermark setting or Google Photos Markup.
No Service means your phone is not connected to its cellular carrier, so calls, texts, and mobile data may fail even though Wi-Fi still works. Common causes include weak coverage, an outage, a temporary software glitch, an inactive SIM or eSIM, an account issue, or device damage. If signal bars and calls work but apps cannot connect, troubleshoot mobile data instead.
On iPhone, SOS or SOS Only means your usual carrier is unavailable; emergency calls may work through another network in some regions.
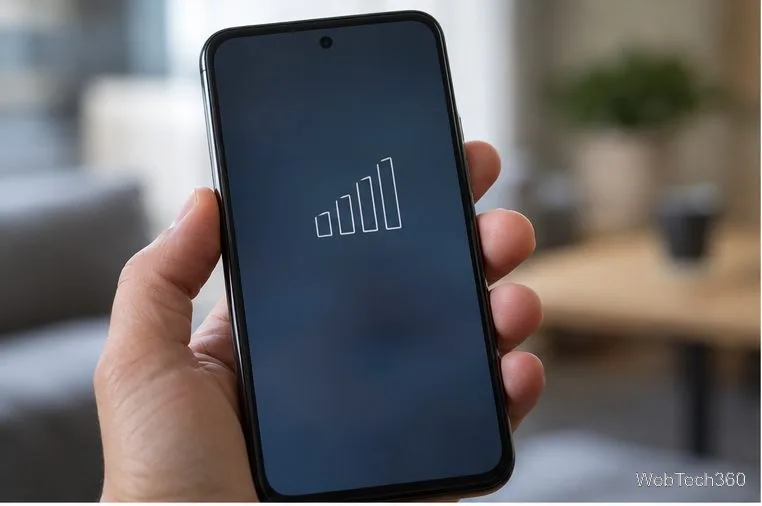
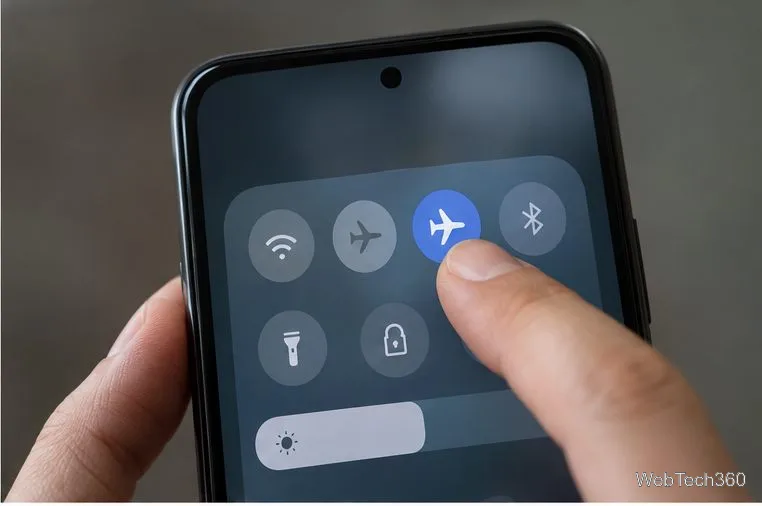
Open Settings and turn on Airplane Mode. Leave it on for at least 15 seconds, then turn it off. This makes the phone search for a cellular network again. On Android, you can use the Quick Settings panel or the Airplane Mode setting. Confirm that the mode is off afterward.
Move outdoors or near an exterior window, away from basements, elevators, and thick concrete walls. Buildings and other obstructions can weaken reception. If service returns elsewhere, check your carrier’s coverage and outage information; repeated dead zones may be a network limitation rather than a phone fault. To check cellular reception itself, temporarily turn Wi-Fi off and look for a signal indicator.

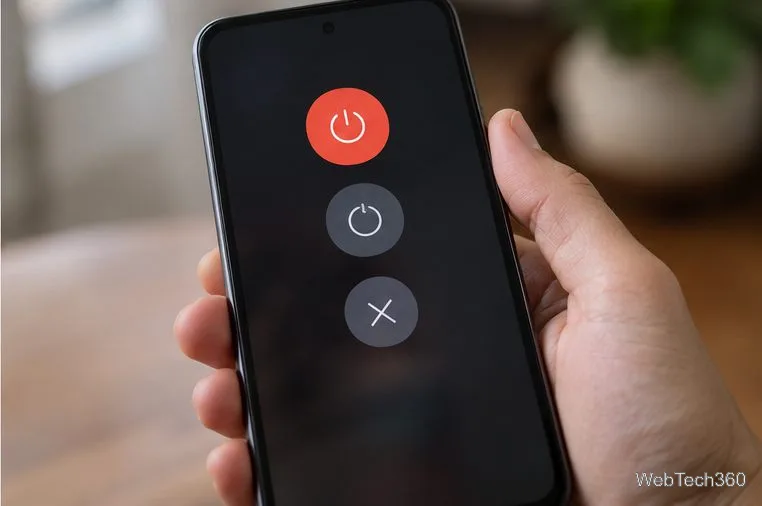
Restart normally using the power controls, then wait for the carrier name or signal indicator to return. A restart is a low-risk way to clear a temporary software or radio state. Install a pending operating-system update when you have a stable Wi-Fi connection, especially if the issue began after a software change.
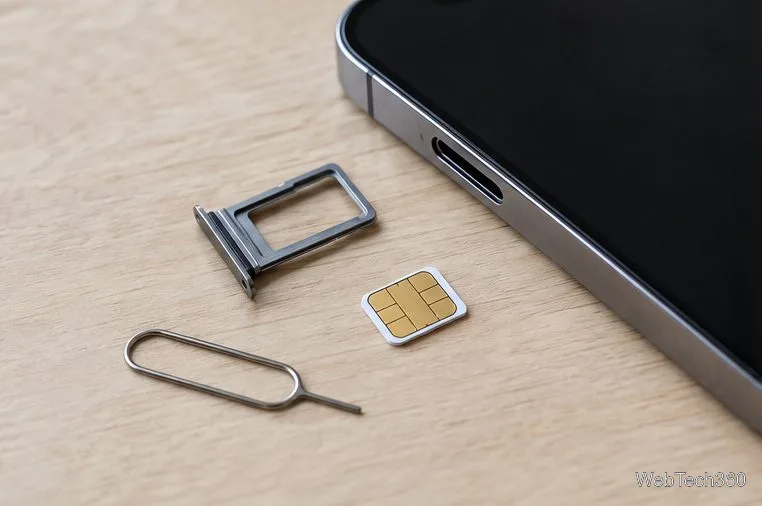
If the phone says No SIM or “Emergency calls only,” check whether the SIM or eSIM line is present, enabled, and activated by your carrier.
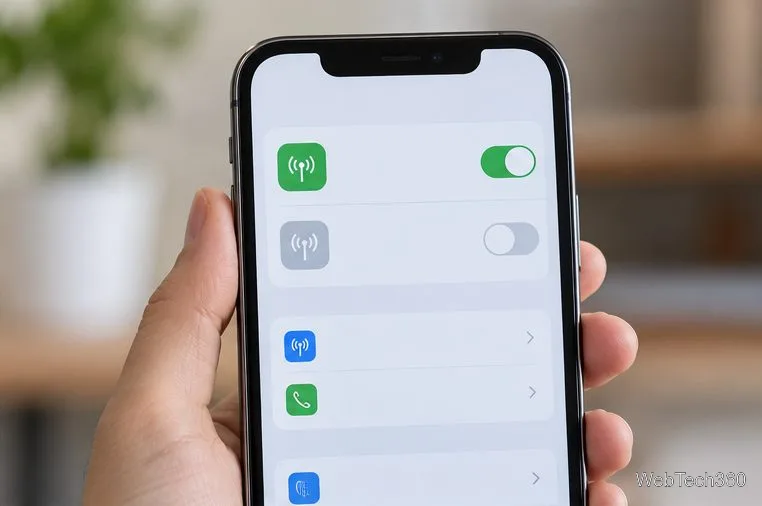
On iPhone, connect to Wi-Fi and open Settings > General > About. Install a carrier settings update if prompted, and check for an iOS update. A new SIM or eSIM may need updated carrier settings; see Apple’s instructions. On Android, check for a system update in Settings; the route varies by manufacturer.
If the simpler steps fail, reset network settings—not the whole phone. On iPhone, go to Settings > General > Transfer or Reset iPhone > Reset > Reset Network Settings. This clears saved Wi-Fi networks and passwords, VPN, and APN settings. Android reset options vary; read the notice because some phones also reset Wi-Fi or Bluetooth settings.
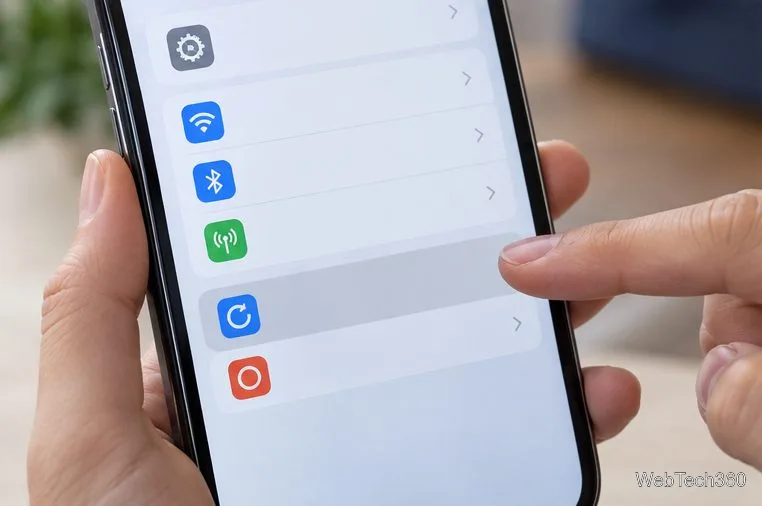
A network reset cannot activate a line or repair hardware. Avoid a factory reset unless support recommends it and your data is backed up.
Contact your carrier if service stays down in several locations, the line is missing, or the problem began after a plan change, number transfer, SIM swap, or trip. Ask it to verify account status, SIM/eSIM activation, local outages or blocks, and device compatibility. Only the carrier can check line provisioning and account restrictions. Travelers should confirm roaming support and charges before enabling it.
If the carrier confirms the line and local network are working but the phone still cannot connect, use the manufacturer’s support or diagnostics. Apple says iPhones running iOS 18 or later can use the Apple Support app for additional diagnostics. A damaged phone, liquid exposure, or a problem that persists with a known-working SIM may need professional service.
Ask your carrier whether Wi-Fi Calling is available for your device, line, and country. When supported and enabled, it can route calls over Wi-Fi where cellular reception is poor; it does not restore cellular service itself. If the failure follows the phone from place to place, focus on the SIM/eSIM, account provisioning, updates, or device support instead of repeatedly toggling settings.

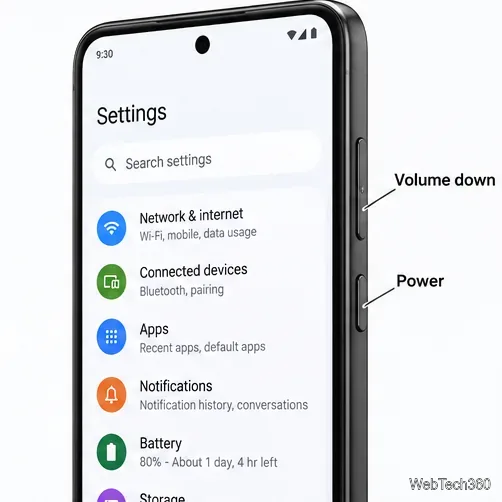
Learn how to add a visible date and time to new or existing Android photos with your camera's watermark setting or Google Photos Markup.
Learn how to screenshot on Android with button shortcuts, scrolling captures, and Pixel, Samsung, and Motorola gestures, plus where to find and share images.
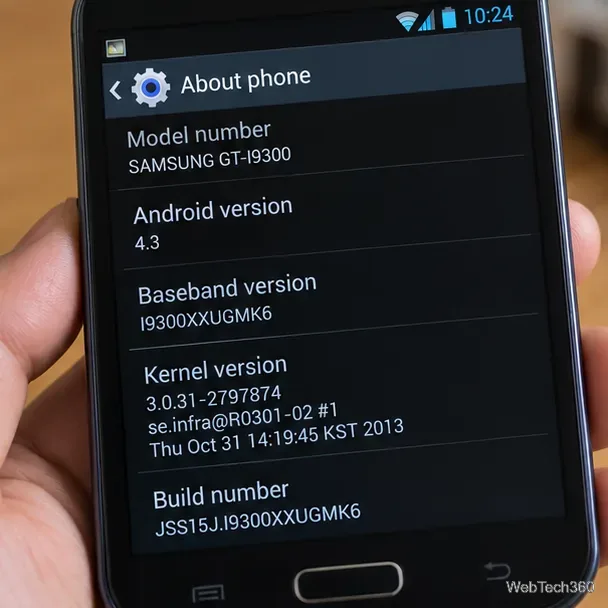
Learn how Framaroot rooted compatible older Android phones, what to check before installing its APK, and why it rarely works on newer devices.
See how the classic Search Now app used a floating search button for on-device and web searches, why its Play Store listing is gone, and what works today.
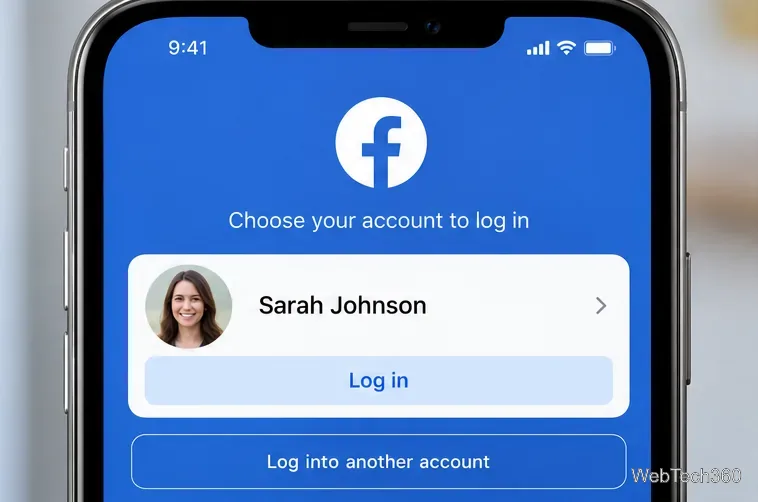
Learn how to turn Facebook profile picture login on or off, remove saved sign-ins on iPhone or Android, and find the current Saved login settings.
Learn how to identify plants, products, books, and other objects in photos with Google Lens on Android, iPhone, or a computer—and improve uncertain matches.
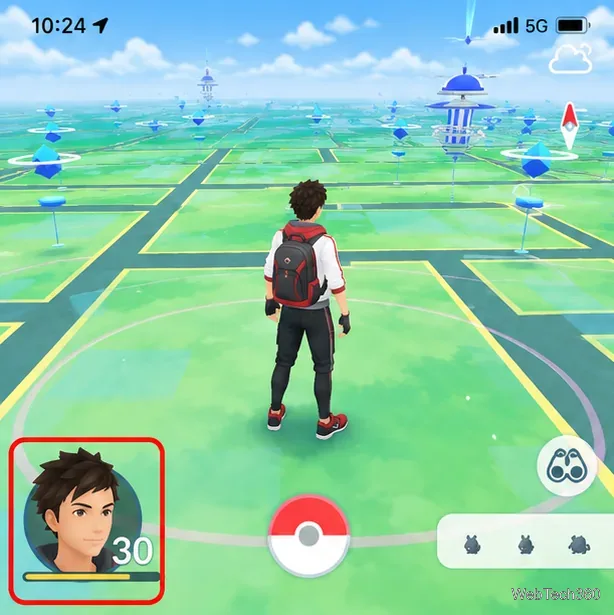
Remove your Pokémon GO avatar’s hat, gloves, and backpack using the Style menu. Follow the steps and fix missing no-item options without spending PokéCoins.
Understand what firmware and ROM mean on Android, how stock and custom ROMs differ, what flashing changes, and which risks to check before installing an image.
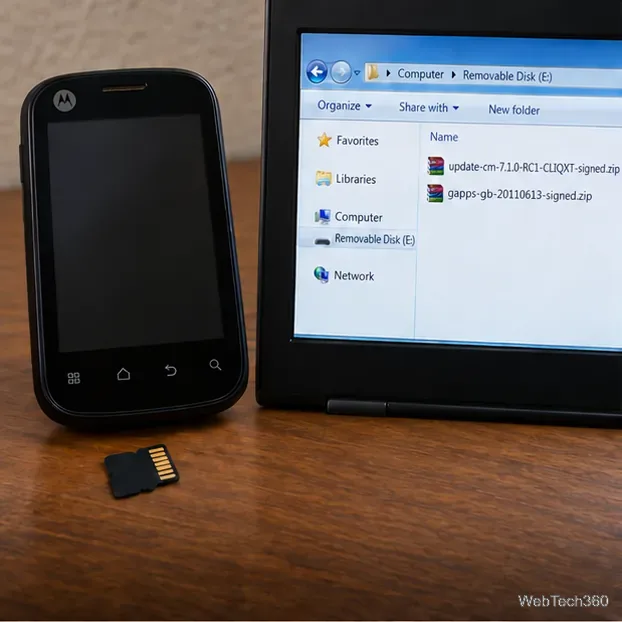
Learn what you need to install CyanogenMod 7.1 RC1 on the Motorola CLIQ XT, back up the MB501, flash the matching ZIPs, and avoid unverified files.
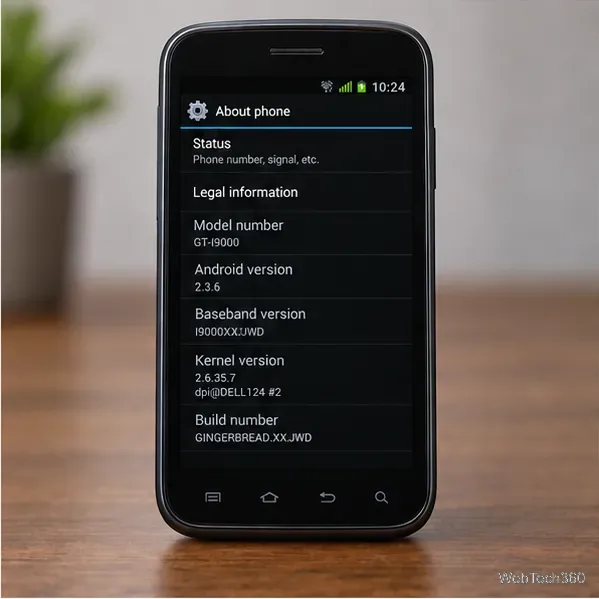
See what Android 2.3 Gingerbread keyboard language packs supported, how to verify a compatible ZIP, back up your phone, and avoid unsafe recovery flashes.