How to Watch Emby on ChromeOS in Chrome
Open the Emby Web App on your Chromebook, sign in to your server, and play movies, shows, music, and photos without installing Linux.
To use Bitwarden on a Chromebook, install the official Bitwarden Password Manager extension in Chrome. It puts your vault in the browser and can fill matching website logins, so most people do not need to enable Linux or install a separate desktop app. The optional Linux route is covered at the end.
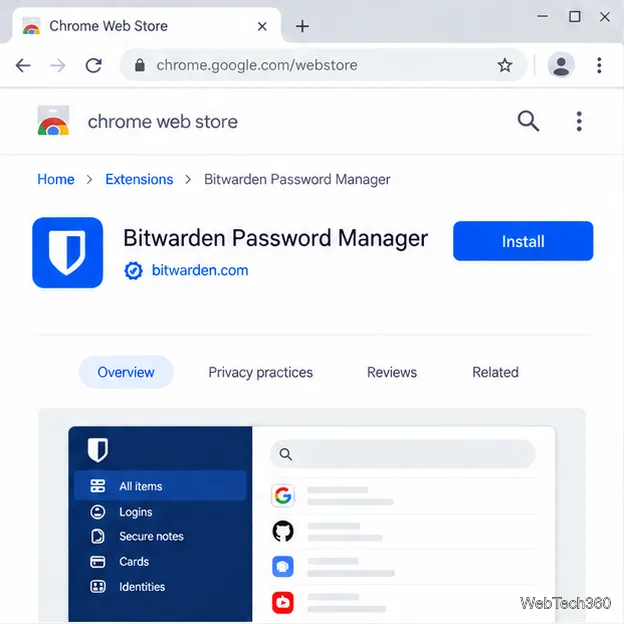
Open the Bitwarden publisher listing in the Chrome Web Store, choose Bitwarden Password Manager, and select the current install control. Confirm Chrome’s prompt. Check that the publisher is Bitwarden Inc. If a work or school Chromebook blocks the listing or installation, ask its administrator whether the extension is allowed.
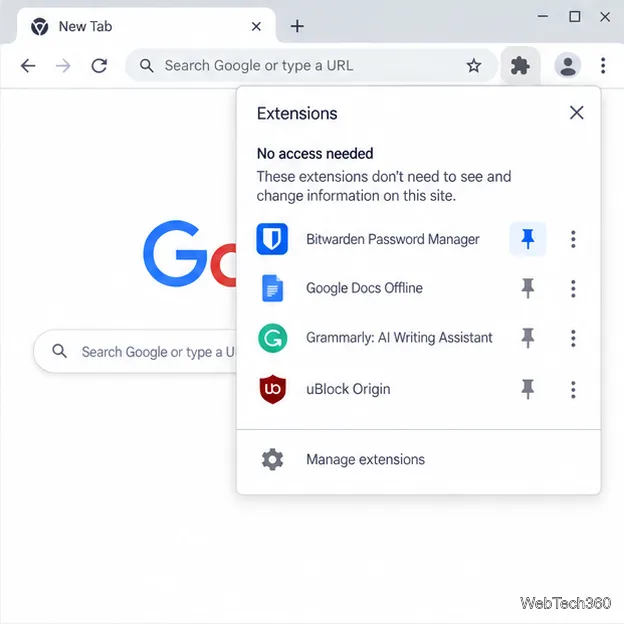
Select Chrome’s puzzle-piece Extensions icon beside the address bar. Find Bitwarden in the menu and select its pin control. The Bitwarden icon will then stay visible, making it quicker to open your vault. These steps follow Bitwarden’s browser extension setup guide.
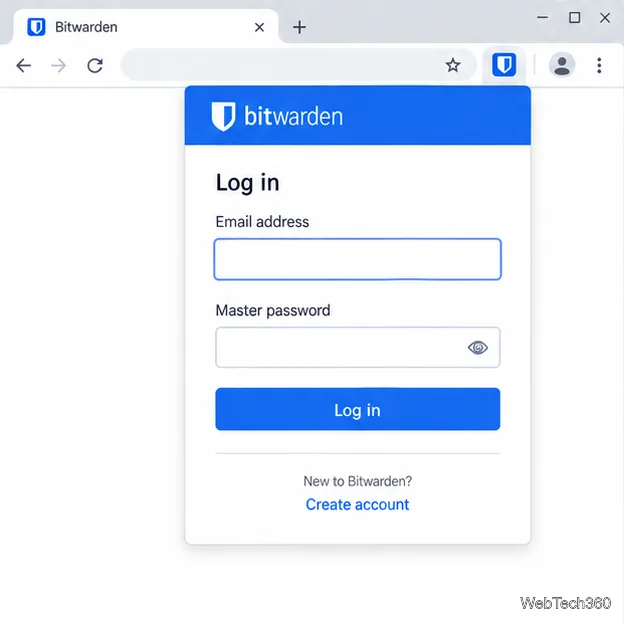
Open the pinned icon and sign in with the email address and master password for your Bitwarden account. If you are new, choose Create account, enter your email, select the server region if prompted, and follow the verification message. Choose a strong, memorable master password and keep it somewhere safe; Bitwarden’s account creation guide explains the signup flow. If your organization invited you, follow its invitation and sign-in instructions.
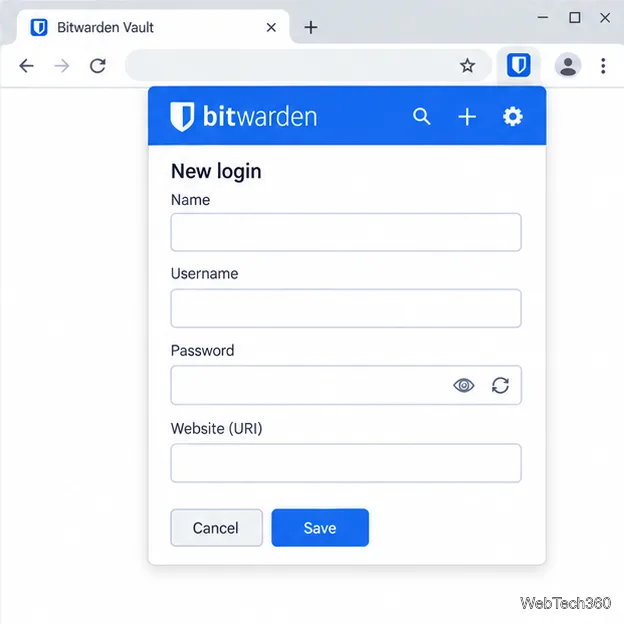
In the Bitwarden vault, select the plus button and choose a login item. Give it a recognizable name, then enter the username and current password. Add the website address in the Website (URI) field and save. This URI connects the item to the site where you sign in, so use the correct domain. When changing a password on a website, update the saved Bitwarden item after the site accepts the new password.
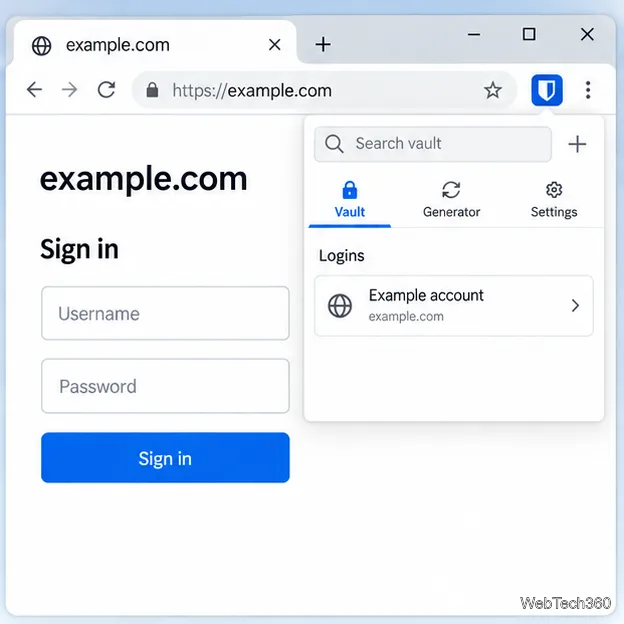
Visit the site’s sign-in page, open Bitwarden, and look under Autofill suggestions in the Vault tab. Select the matching login to fill the page. Check the site and item name before choosing if you have more than one login for that domain. This manual method lets you decide when credentials are entered. If the item does not appear, edit it and check its Website (URI) field; Bitwarden’s autofill guide describes URI matching and other autofill options.
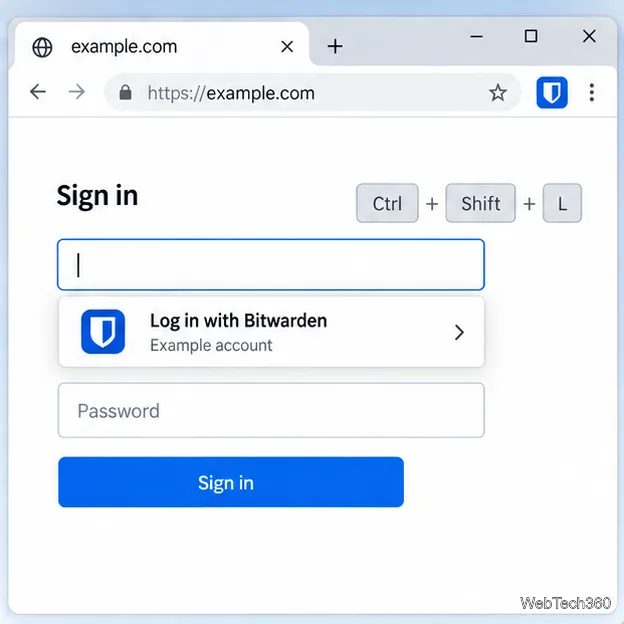
On a login page, place the cursor in a username or password field and press Ctrl + Shift + L to autofill the matching login. Press the shortcut again to cycle through multiple matching items. If it conflicts with another shortcut or does nothing, open chrome://extensions/shortcuts and assign a different key combination. Bitwarden lists the current default in its keyboard shortcut reference.
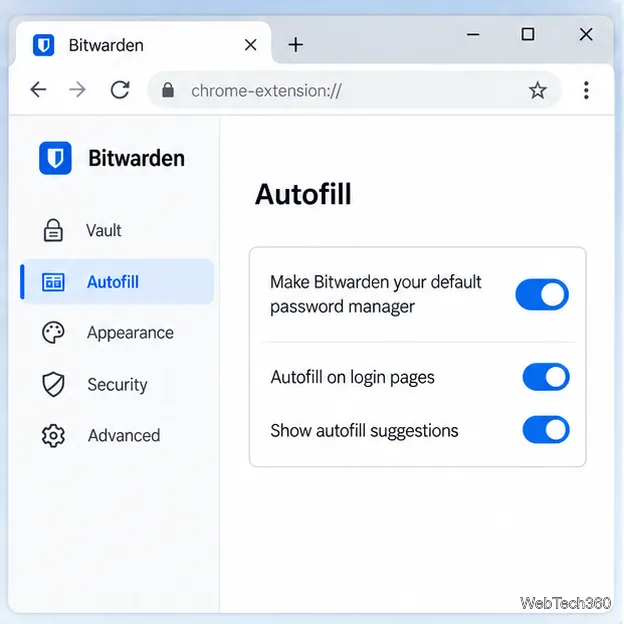
In the extension, open Settings, choose Autofill, and turn on Make Bitwarden your default password manager. Allow the browser-setting change if Chrome asks. This can reduce competing save and autofill prompts from Chrome’s built-in password manager. Bitwarden’s extension guide has the current setting path.
Also review the extension’s vault timeout and lock action in Settings. A shorter timeout can help protect an unlocked vault if you leave your Chromebook unattended; choose a setting that fits how you use the device. See Bitwarden’s vault timeout documentation. You can add another sign-in layer by enabling two-step login in your account and keeping its recovery information separate from the Chromebook.
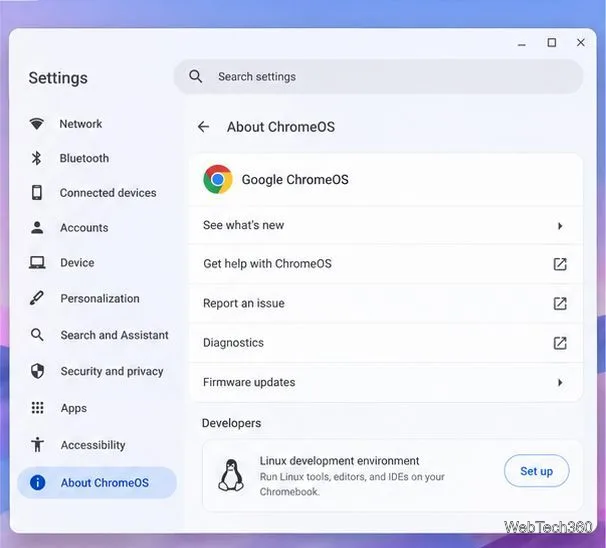
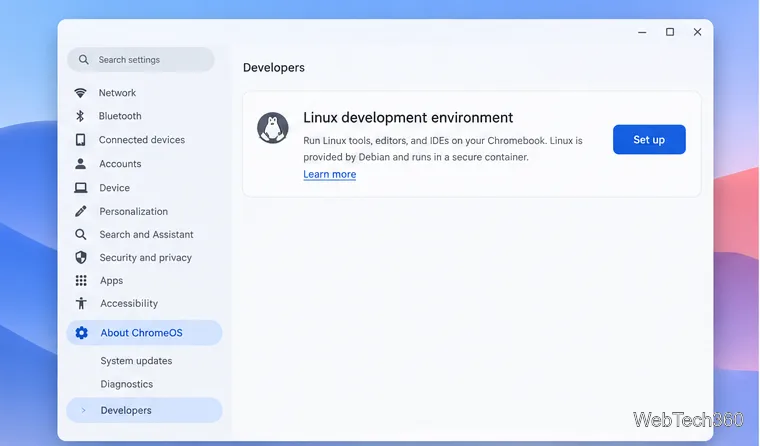
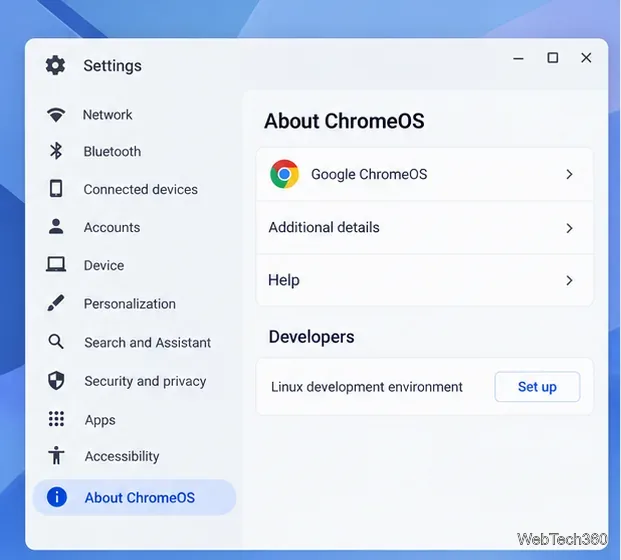
Use the Linux app only if you specifically want a separate desktop window. ChromeOS’s Linux environment is off by default: open Settings > About ChromeOS > Developers > Linux development environment and select Set up. Google says setup can take 10 minutes or more, and Linux may be unavailable on managed work or school devices. The Chromebook Linux setup guide has the current steps.
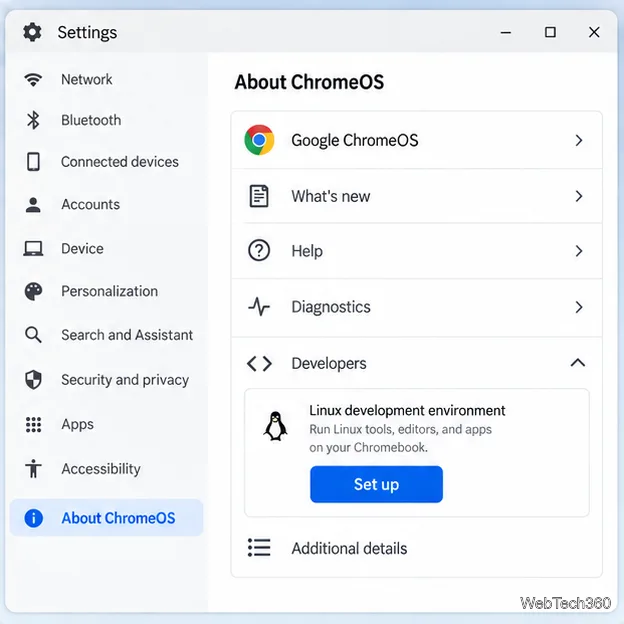
After Linux is enabled, use Bitwarden’s official downloads page to choose a Linux package. Bitwarden documents several Linux distribution channels, including Flatpak and DEB, and notes that features and automatic updates vary by channel in its desktop app feature matrix. Follow the current instructions for the package that matches your Chromebook. You can still use the Chrome extension for browser autofill; the desktop app is not required for the steps above.
Open the Emby Web App on your Chromebook, sign in to your server, and play movies, shows, music, and photos without installing Linux.
Install Syncthing on a Chromebook, share a ChromeOS folder with Linux, connect another device, and keep the web interface private.
Enable Linux on your Chromebook, install Tor Browser with the Tor Project’s Flatpak launcher, connect to Tor, and understand what the setup protects.
Install Bitwarden on a Chromebook, save your first login, autofill websites, and learn when the optional Linux desktop app makes sense.
Install Firefox, Brave, Edge, or Opera on a Chromebook with Linux. Learn how to enable the Debian environment, choose a compatible package, and understand the limits.
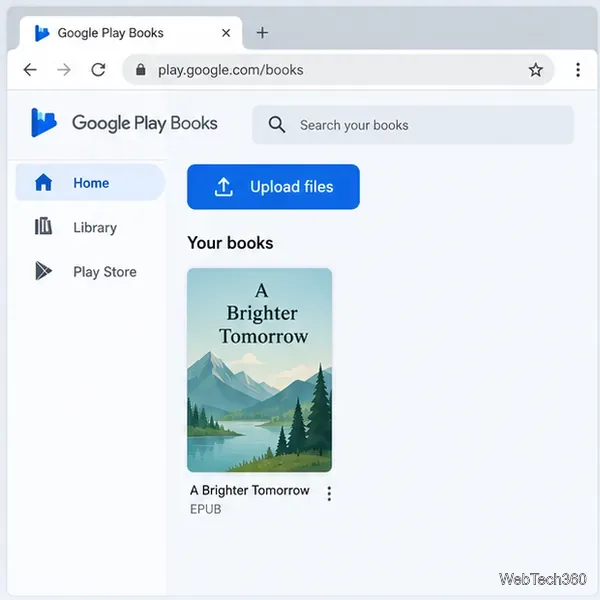
Read EPUBs and PDFs in Google Play Books on your Chromebook, or install Foliate through Linux for a local reader that supports more formats.
Install VLC on a Chromebook from Google Play, play local files and network media, or set up the Linux desktop version when you need it.
Install Krita on a Chromebook with ChromeOS Linux and Flatpak, then launch the app, open shared artwork, and troubleshoot common setup limits.
Use Teams on a Chromebook through Chrome, sign in with a work or school account, install the optional web app, and resolve camera or microphone issues.
Set up ChromeOS Linux, choose the right VS Code Debian package for your Chromebook, and install the desktop editor with APT.