Home
» HARDWARE
»
What the WPS Button on a Router Does—and When to Use It
What the WPS Button on a Router Does—and When to Use It
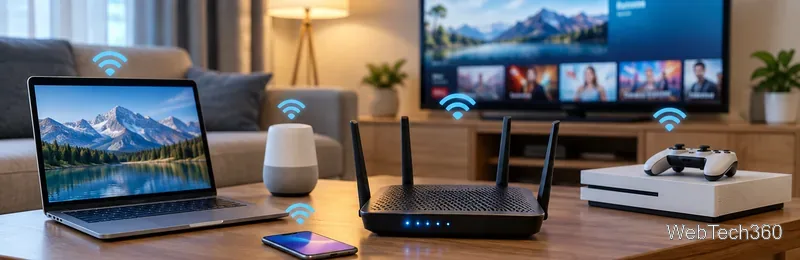
The WPS button on a router lets a compatible device join Wi-Fi without you typing the network name and password. Start WPS on the device, briefly press the router button, and wait for pairing. Many routers allow about two minutes, but timing varies by model. WPS is optional; security guidance recommends disabling it if unused.
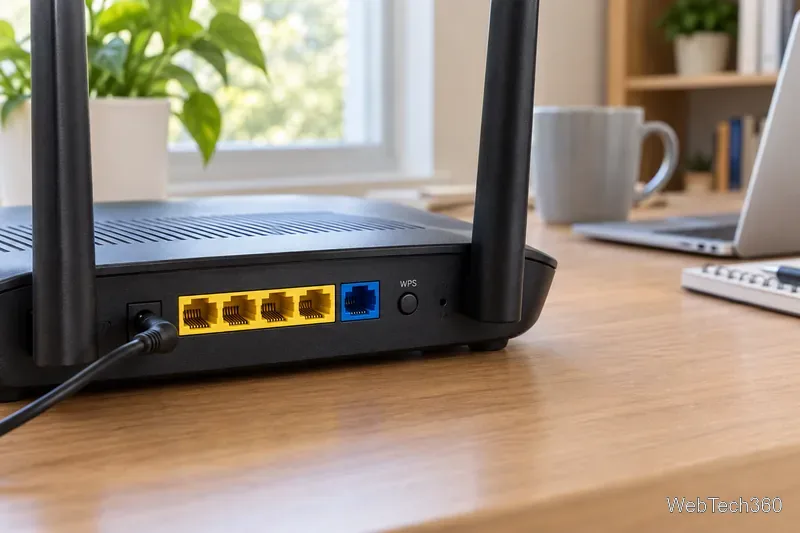
A router’s WPS button is often on the rear panel, though its location and label vary by model.
What WPS does
WPS (Wi-Fi Protected Setup) gives compatible printers, extenders, cameras, and other devices the information they need to join a Wi-Fi network. It saves typing on devices with small screens or no keyboard. NETGEAR’s support guide describes this use and notes that not every Wi-Fi device supports WPS.
WPS is not WPA2 or WPA3, the protocols that secure Wi-Fi traffic. It helps a device join but does not boost signal strength or internet speed.
Where to find the WPS button
Look on the back, side, or underside for a “WPS” label or two-arrow symbol. Some routers combine WPS with another button or offer it only in an app or web settings. Check the manual for the location and status-light meanings.
A button labeled WPS/Reset may start pairing with a short press and reset the router if held. Behavior varies. For example, TP-Link’s instructions for supported models say to press its WPS button for one second and warn that holding it longer can disable wireless service. Follow your own router’s manual rather than copying another model’s timing.
How to connect a device with WPS
Follow the router and device instructions; choose the push-button option when available. A typical sequence is:
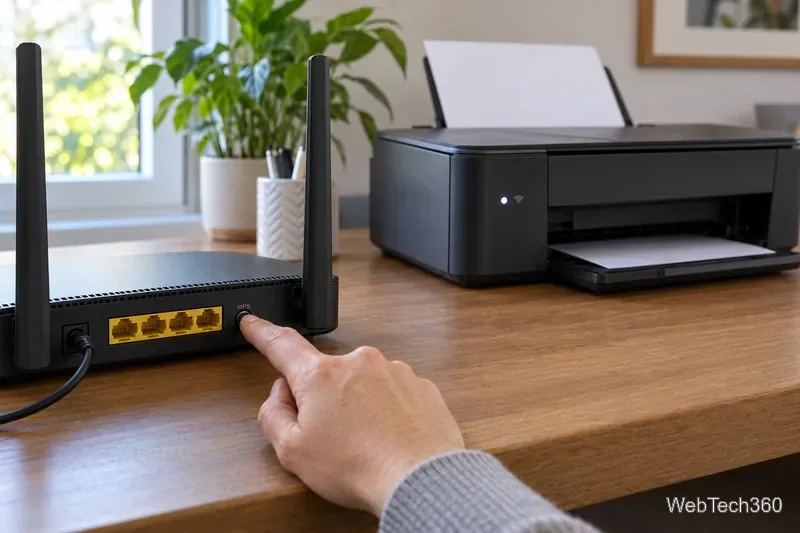
Get the device ready. In its Wi-Fi setup, select WPS or Push Button Setup. Leave the prompt open, unless the instructions tell you to start at the router.
Press the router’s WPS button briefly. Do not hold it unless the manual says to. On many models, the WPS light blinks during pairing.
Finish before the window closes. If prompted, press the device’s WPS button within the time shown. NETGEAR allows two minutes on supported routers. Wait for a connection confirmation.
Start pairing only when the intended device is ready, then confirm the connection on that device.
Pair one device at a time near the router. If it fails, confirm both products support WPS, check that it is enabled, choose push-button rather than PIN, and retry after a timeout. If WPS is unavailable, select your network and enter its password. Do not weaken security for compatibility; some routers disable WPS with outdated encryption such as WEP.
Is WPS safe to leave on?
WPS adds another way to join your network. While pairing is active, a nearby WPS-capable device may be able to connect. NETGEAR advises against using WPS where others could gain unauthorized access, such as a shared office or apartment. Keep the router in a private place and start pairing only when your device is ready.
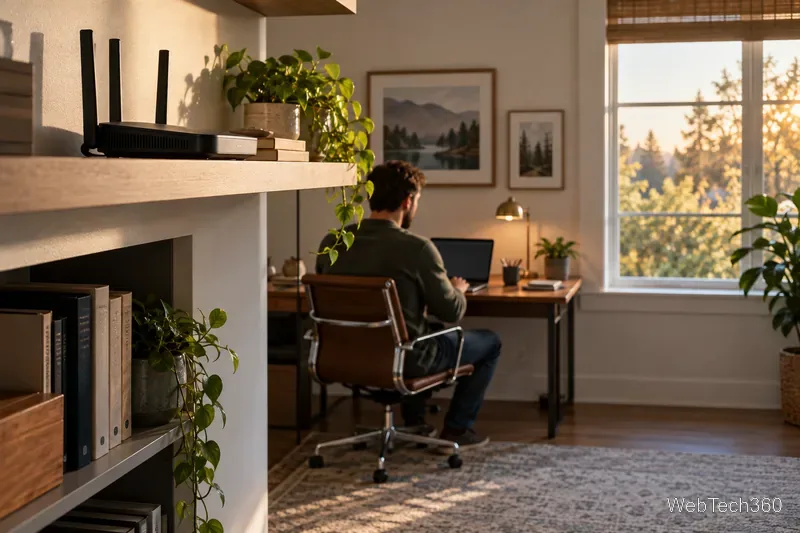
A router in a private home office is easier to keep under the control of trusted household members.
If you never use WPS, disable it in the router app or admin settings; menu names vary, so consult the manual. CISA’s home-network guidance recommends disabling WPS as a protective measure. You can still add devices by choosing your Wi-Fi network and entering its password. Keep the router firmware updated and use the strongest security mode your router and devices support.
Quick answers
Does the WPS button show me my Wi-Fi password?
No. WPS lets a compatible device join without you typing the password on that device; it does not display the password on the router.
Will pressing WPS factory-reset my router?
A brief WPS press usually starts pairing, but a combined WPS/Reset control may reset the router if held. The safe press length depends on the model, so check the manual before touching a button with multiple functions.