How to Uninstall Kodi Repositories the Right Way
Learn how to uninstall a Kodi repository safely, remove its saved source URL separately, and check which installed add-ons or dependencies you still need.
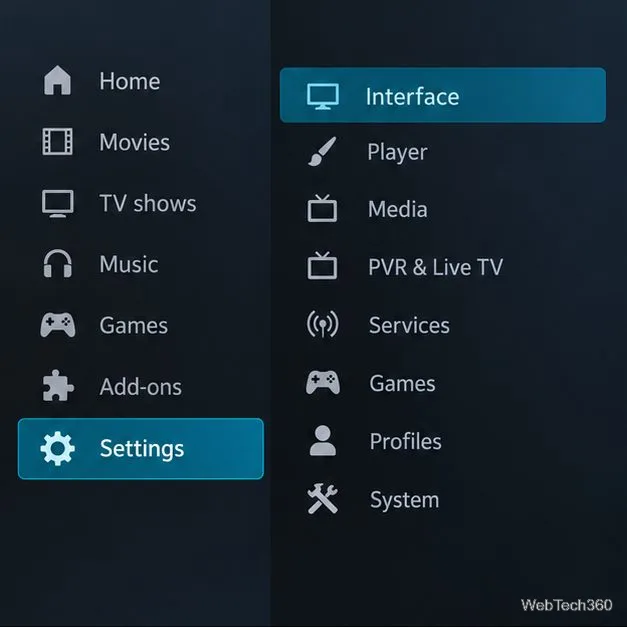
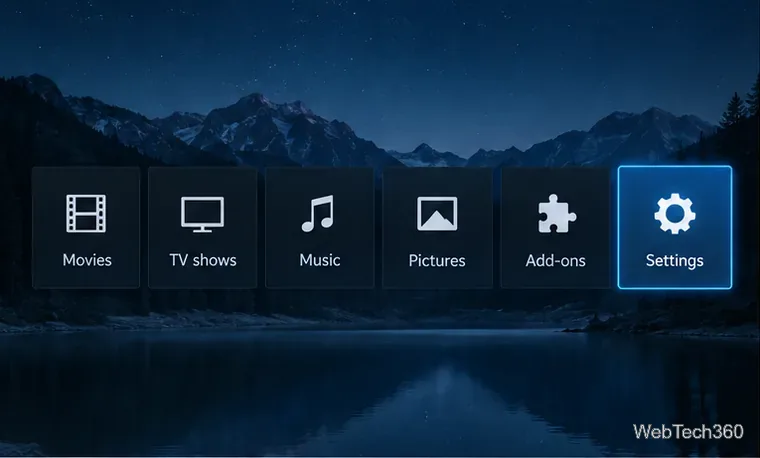
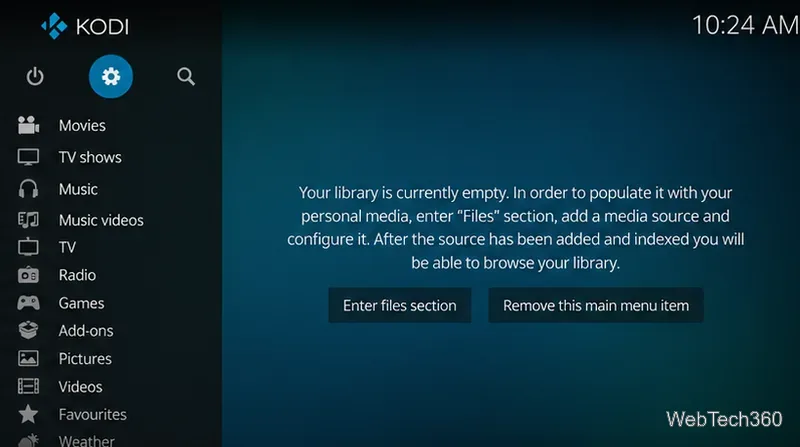
Kodi’s home menu is controlled by its active skin. In the default Estuary skin, open Settings > Interface > Skin > Configure skin to hide or show supported home-screen items, adjust widgets, and change artwork. For a different layout or custom shortcuts, choose a skin that offers those controls. The exact options vary by Kodi version and skin.
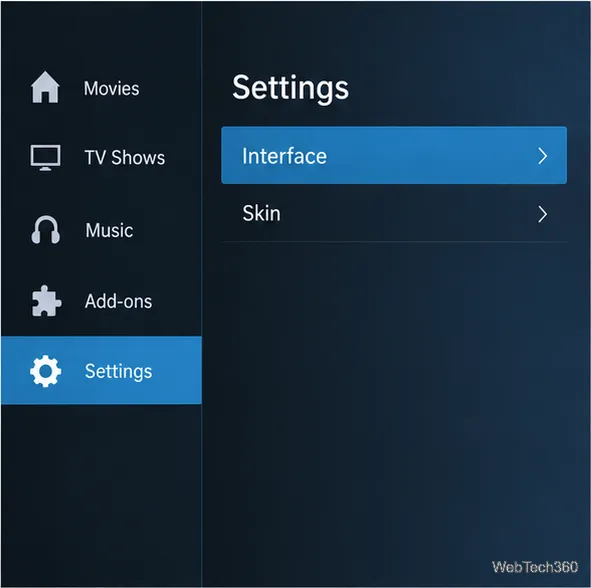
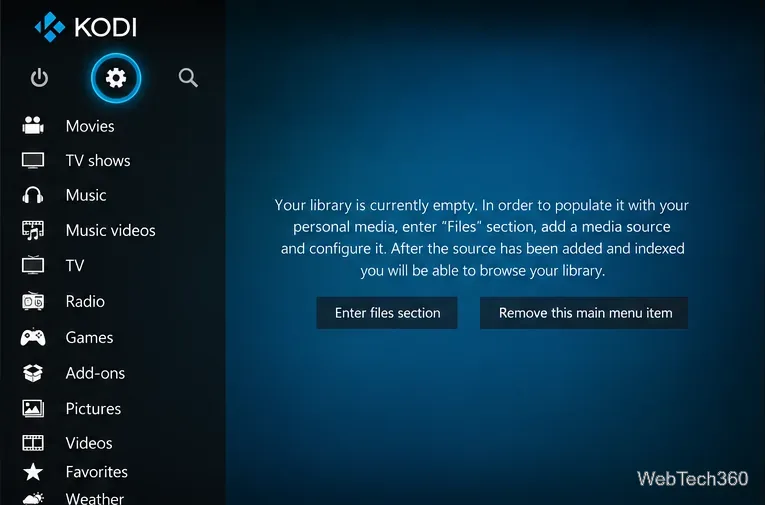
These interface illustrations are mockups. Your screen may look different, and some options appear only with a compatible skin.
Estuary lets you control the built-in home menu items and widgets. Turning an item off removes it from the home screen; it does not delete your media library or uninstall an add-on.
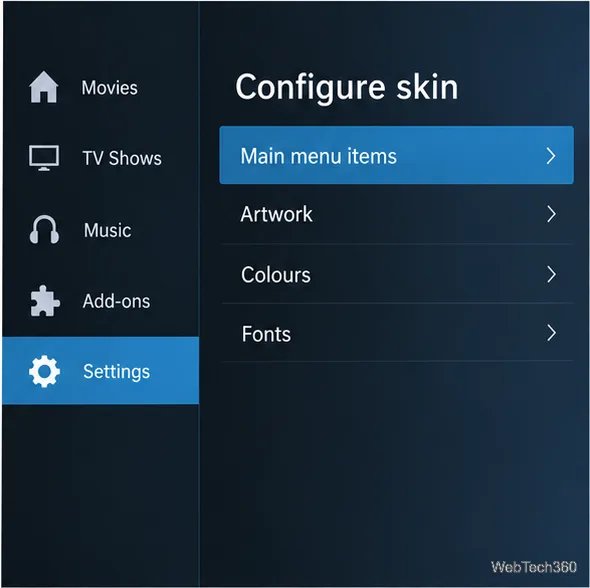
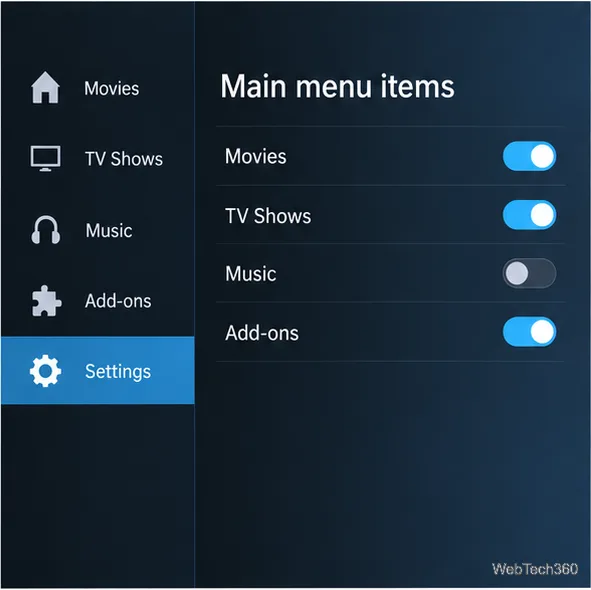
Estuary also provides widget and category controls for supported library sections. If you see Edit widgets or Edit categories, use them to adjust which rows appear under sections such as Movies, TV Shows, Music, or Music Videos. Creating new library categories can involve nodes or smart playlists, so leave those controls alone if you only want a simpler home screen.
The default skin has limits: its built-in settings do not provide a general tool for adding any arbitrary new home-menu entry. Kodi’s custom home items guide explains that adding extra entries requires a skin designed to support that feature.
In Configure skin, open Artwork. Estuary’s artwork settings can show the fanart for the selected library title behind the menu, apply a background pattern, or use an optional skin fanart pack.
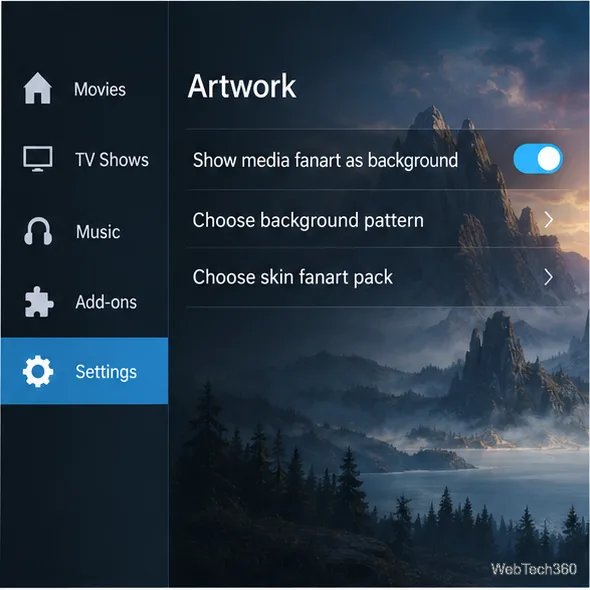
These choices affect the skin’s presentation; they do not change the posters or files in your library. The Kodi Wiki’s Estuary settings reference describes the artwork options and their behavior.
Go to Settings > Interface > Skin to see the appearance controls supported by the active skin. Depending on the skin, this screen may include a theme, color set, font set, or zoom control.
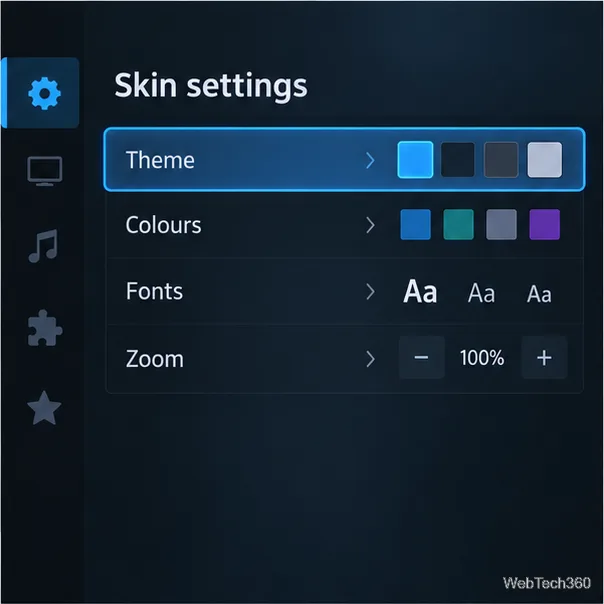
Not every skin offers alternate colors, themes, or fonts. If a control is missing, that skin may not support it; installing another skin is usually easier than editing files. Zoom changes the size of Kodi’s on-screen interface, not the video image. A font choice can also affect whether some languages’ characters display correctly. See the Kodi Wiki guide to skin settings for details.
A different skin can change Kodi’s overall layout and may offer controls for adding, renaming, or reordering home-menu entries. The controls are skin-specific, so check that a skin supports your Kodi version and the type of menu change you want before switching.
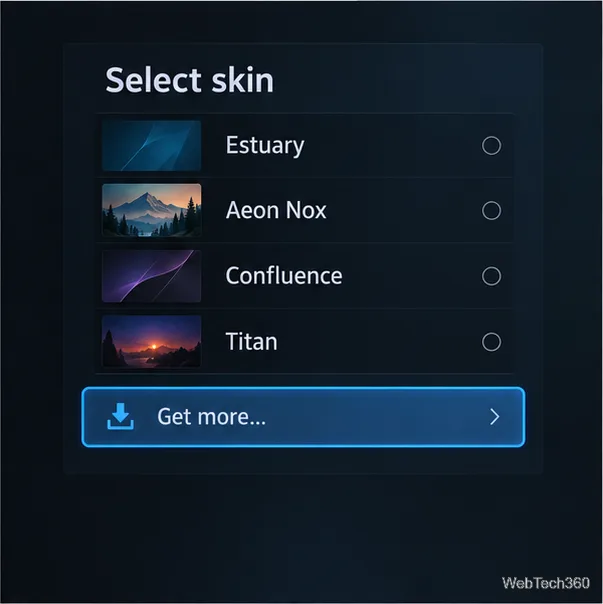
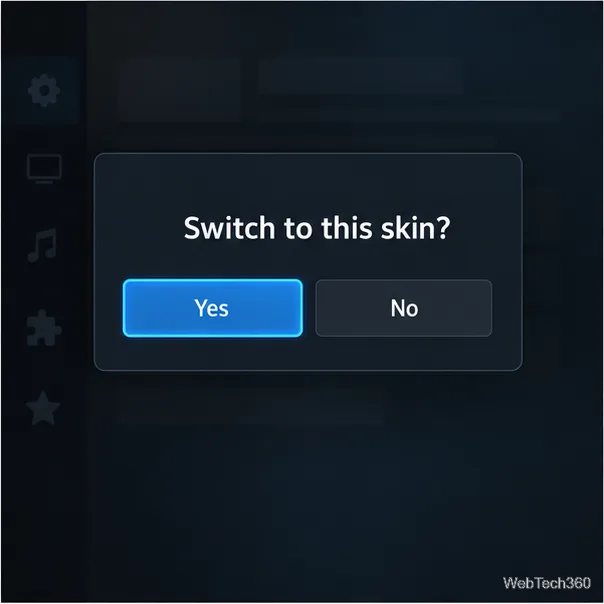
After switching, return to Settings > Interface > Skin > Configure skin. Look for options such as Home, Main menu, or Customize menu. Some skins let you choose a favorite, playlist, or add-on as a shortcut; others only change appearance. Follow that skin’s own documentation because button names and capabilities differ.
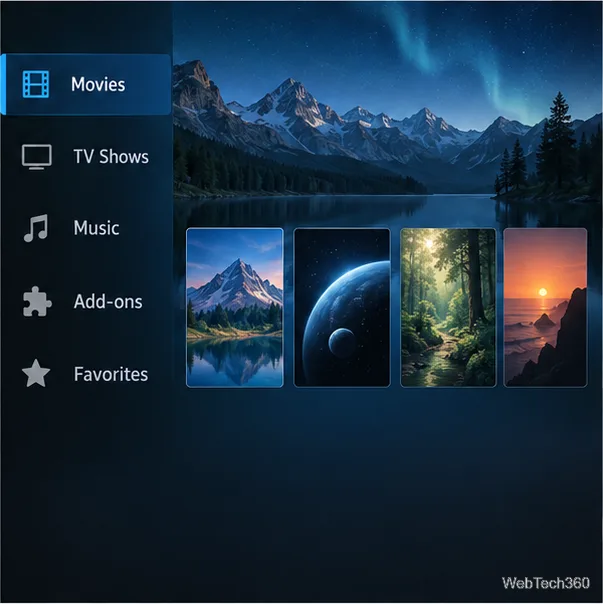
To go back, open the Skin selector again and choose Estuary. Kodi’s official skin-change instructions cover the installation flow. The Kodi add-on catalog lists available add-ons by Kodi version, so avoid relying on old instructions for a repository or skin that may no longer be maintained.
A skin changes how Kodi looks and navigates; it does not provide movies, channels, or other media. For routine customization, the built-in settings and skins available through Kodi’s version-specific catalog are the safest place to start.
Learn how to uninstall a Kodi repository safely, remove its saved source URL separately, and check which installed add-ons or dependencies you still need.
Find the safest way to watch live tennis with Kodi: learn what iPlayer WWW can stream, how to find licensed coverage, and which add-ons to avoid.
Learn how to watch movies on Kodi from your computer, USB drive, or NAS, add online video services, and fix missing titles with clear setup steps.
Set a Kodi Master Lock PIN, protect selected menus, and create a separate kids’ profile with media sources you choose.
Find the authorized stream for your country, check whether its provider supports Kodi, and watch a boxing PPV on your TV without relying on outdated add-ons.
Compare five Kodi skins in the official Omega catalog, then follow the current Settings path to install one, customize it, or switch back.
Looking for the 1Channel Kodi add-on? Learn why old PrimeWire installation guides are unreliable and how to install a supported video add-on safely.
Enable Kodi’s Chorus2 web interface, control your media from any browser, and learn how to connect remotely without exposing Kodi to the Internet.
Follow the original Nemesis Kodi installation process, learn what changed with Stream Army, and avoid outdated repository and PIN instructions.
Download Kodi safely on Windows using the official installer or Microsoft Store, then add your media library and set up trusted add-ons.