How to Uninstall Kodi Repositories the Right Way
Learn how to uninstall a Kodi repository safely, remove its saved source URL separately, and check which installed add-ons or dependencies you still need.
You can install Kodi on Apple TV 4 (now called Apple TV HD) by sideloading the tvOS app from a Mac. You cannot install Kodi directly on Apple TV 3, and Apple TV 2 is no longer supported by current Kodi releases. The correct method depends on the model—not just the number in its name.
First, check the model number on the device or in its settings against Apple’s identification guide. An Apple TV HD is model A1625; Apple TV 3 is A1427 or A1469; Apple TV 2 is A1378.
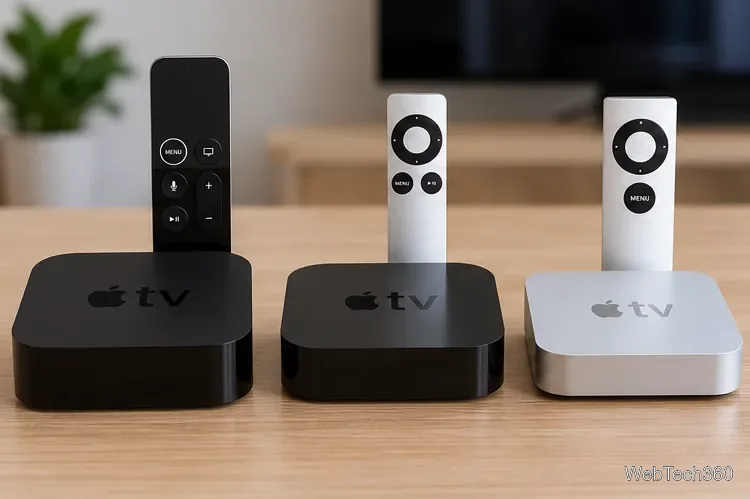
| Device | Kodi support | Best approach |
|---|---|---|
| Apple TV 4 / Apple TV HD | Supported | Sideload with a Mac and Xcode |
| Apple TV 4K | Supported | Pair wirelessly with Xcode |
| Apple TV 3 | Not supported | Mirror Kodi running on a Mac, where compatible |
| Apple TV 2 | Support ended with Kodi 15 | Avoid obsolete installations |
Kodi is not a normal Apple TV App Store download. The Kodi project documents sideloading for tvOS-capable models; availability and compatibility of any particular build still depend on its tvOS requirements. See the official Kodi hardware guide.
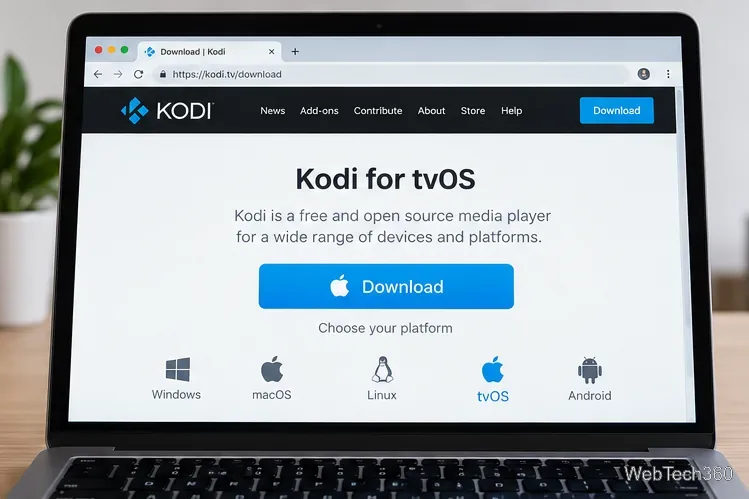
On a Mac, install a compatible copy of Xcode from Apple’s App Store. Sign in to Xcode with your Apple Account. Download the tvOS package from Kodi’s official tvOS page and obtain iOS App Signer from its developer’s GitHub releases. The latter converts and signs supported app packages; it is a separate, community-maintained utility.
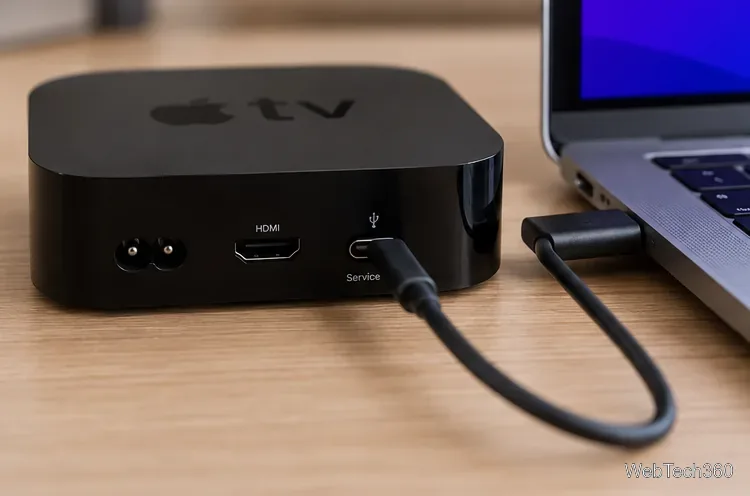
Keep the Apple TV powered on. Apple TV HD has a USB-C service port that can connect to the Mac with a suitable cable. For wireless pairing—required for Apple TV 4K—place the Mac and Apple TV on the same network.
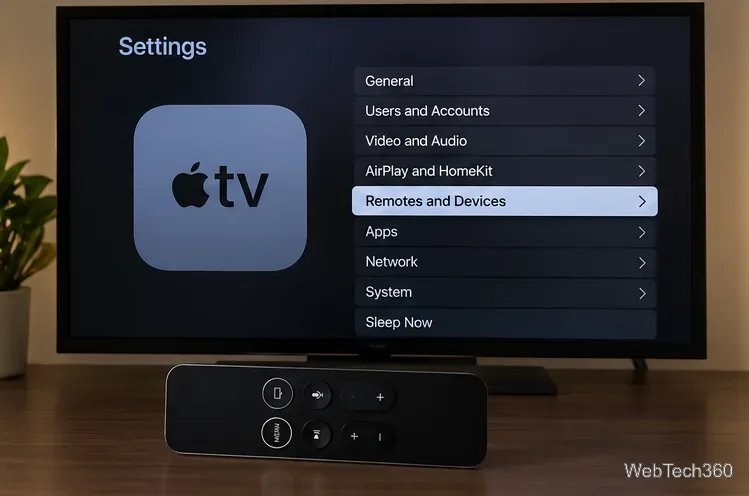
On Apple TV, open Settings > Remotes and Devices > Remote App and Devices. Leave that screen open while you switch to the Mac.
In Xcode, open Window > Devices and Simulators (or its equivalent device-management view). Select the discovered Apple TV, click Pair if offered, and enter the verification code shown on the TV. If the device does not appear, check the network and restart pairing.
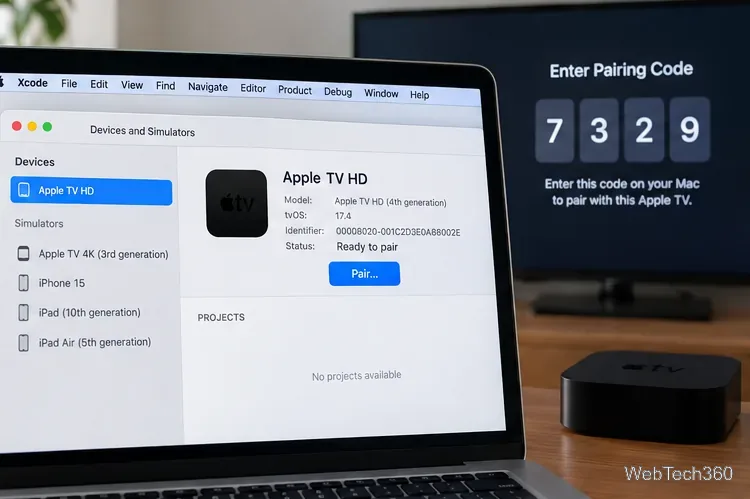
Create a new Xcode project using the current tvOS App template. Give it a project name and a unique bundle identifier. Under Signing & Capabilities, choose your Apple developer team and enable automatic signing. Select the connected Apple TV as the target so Xcode can prepare the appropriate certificate and provisioning profile.
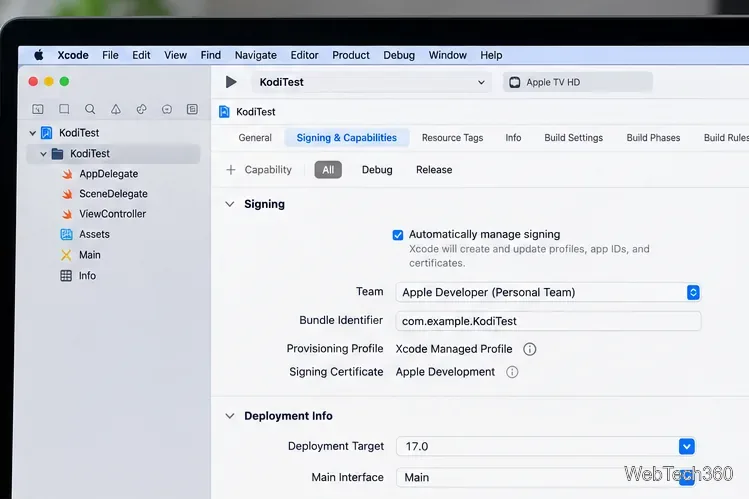
A free Apple Account can be used for personal testing, but Apple says its free provisioning profiles expire after seven days. That means reinstalling or re-signing the app periodically; a paid developer membership follows different signing rules. See Apple’s developer account guidance.
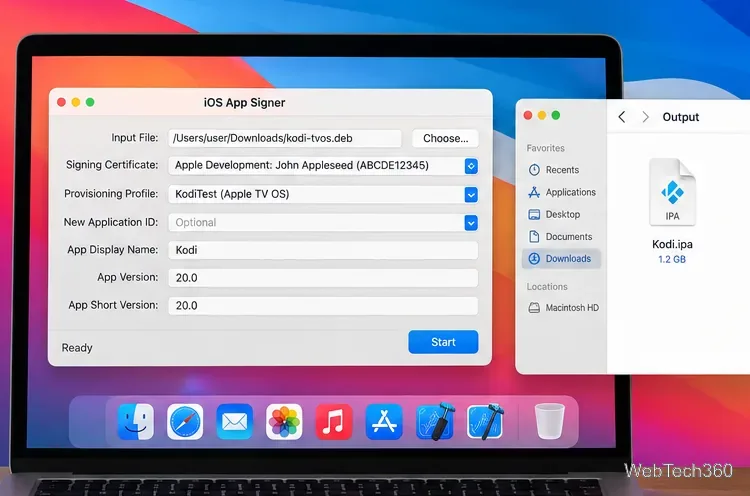
Open iOS App Signer. Select the downloaded .deb package as the input, then choose the signing certificate and matching provisioning profile prepared in Xcode. Start the signing process and save the output .ipa file. If the package or its extensions cannot be signed, consult the Kodi tvOS installation notes rather than mixing files from unrelated Kodi versions.
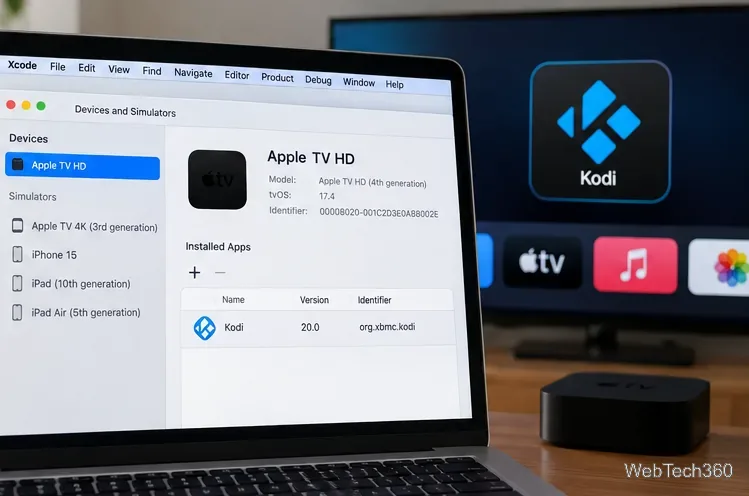
Return to Xcode’s Apple TV device view. Use the Add (+) control in the installed-apps area, or the equivalent Apps inspector in newer Xcode versions, and select your signed .ipa. When installation finishes, open Kodi from the Apple TV Home Screen. Apple documents this device-install workflow in its Xcode device-management instructions.
No direct installation is supported. Apple TV 3 lacks the app installation support required by Kodi. The practical alternative is to run Kodi on a Mac and use AirPlay screen mirroring to the Apple TV if the Mac and Apple TV support that connection. Open Kodi on the Mac, use the macOS Screen Mirroring control, and select the Apple TV. Video playback quality and audio behavior can vary; this does not install Kodi on the box. See Apple’s AirPlay instructions.
Apple TV 2 once ran jailbroken XBMC/Kodi builds, but the Kodi project ended support starting with version 15. Old tutorials that tell you to SSH into the box, use a default root password, and install abandoned package repositories are not a dependable or secure way to set up a media player today. For an actively maintained Kodi installation, use supported hardware instead.
Only use Kodi with media and services you are authorized to access. Third-party add-ons should come from sources you trust; a VPN does not make an unsafe add-on safe or grant rights to copyrighted streams.
Learn how to uninstall a Kodi repository safely, remove its saved source URL separately, and check which installed add-ons or dependencies you still need.
Find the safest way to watch live tennis with Kodi: learn what iPlayer WWW can stream, how to find licensed coverage, and which add-ons to avoid.
Learn how to watch movies on Kodi from your computer, USB drive, or NAS, add online video services, and fix missing titles with clear setup steps.
Set a Kodi Master Lock PIN, protect selected menus, and create a separate kids’ profile with media sources you choose.
Find the authorized stream for your country, check whether its provider supports Kodi, and watch a boxing PPV on your TV without relying on outdated add-ons.
Compare five Kodi skins in the official Omega catalog, then follow the current Settings path to install one, customize it, or switch back.
Looking for the 1Channel Kodi add-on? Learn why old PrimeWire installation guides are unreliable and how to install a supported video add-on safely.
Enable Kodi’s Chorus2 web interface, control your media from any browser, and learn how to connect remotely without exposing Kodi to the Internet.
Follow the original Nemesis Kodi installation process, learn what changed with Stream Army, and avoid outdated repository and PIN instructions.
Download Kodi safely on Windows using the official installer or Microsoft Store, then add your media library and set up trusted add-ons.