How to Uninstall Kodi Repositories the Right Way

Learn how to uninstall a Kodi repository safely, remove its saved source URL separately, and check which installed add-ons or dependencies you still need.
To install Kodi on a Mac, download the macOS disk image from the official Kodi website, choose the version for your Mac’s processor, open the .dmg file, and drag Kodi into Applications. Then launch it from Applications. You do not need a subscription or a third-party installer.
Kodi is a free, open-source media player. Its official macOS download page lists macOS 10.14 or later and supports both Intel and Apple silicon Macs. As checked on October 28, 2026, the recommended release is Kodi 21.3 “Omega”; Kodi 22 “Piers” is still offered as a prerelease. For ordinary use, choose the stable Recommended build, not a nightly or prerelease build. Check current macOS downloads.
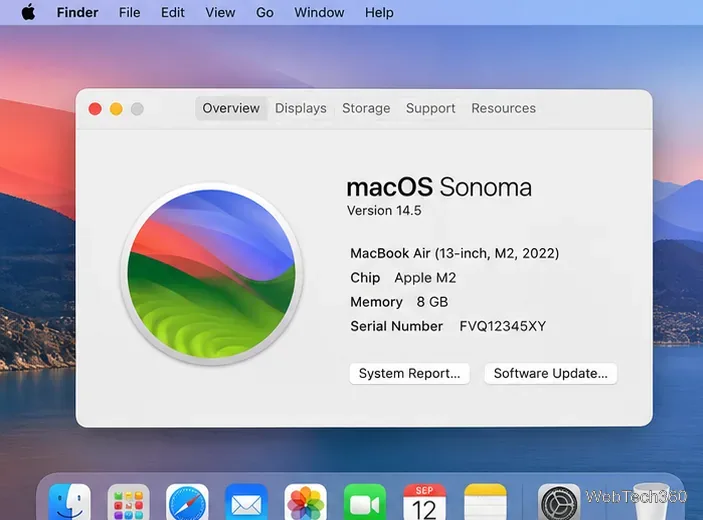
To find your processor, open the Apple menu and choose About This Mac. A Mac with an M-series chip needs the Apple Silicon (ARM64) installer; a Mac showing an Intel processor needs the Intel (x86_64) installer. The Apple support guide to Mac chip types explains the distinction.
In Safari or another browser, visit kodi.tv/download and select macOS, or go directly to Kodi for macOS. Avoid unrelated download portals and “Kodi builds” that bundle unfamiliar add-ons.
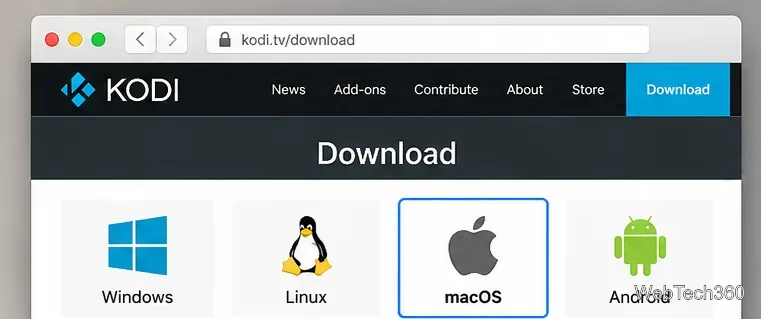
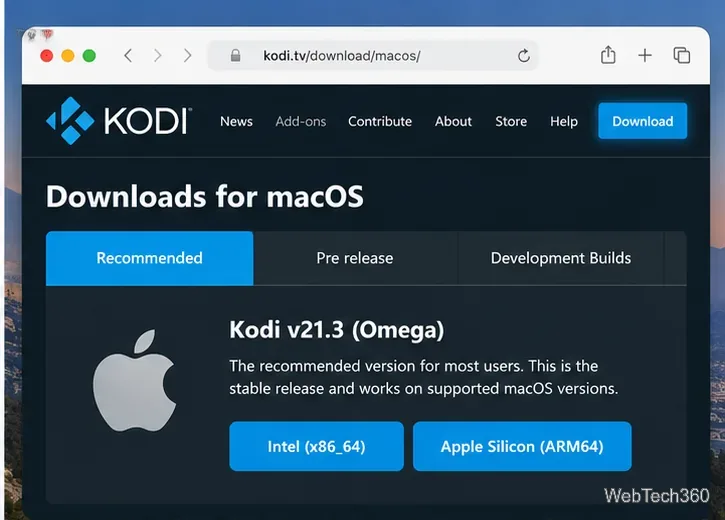
Stay on the Recommended tab. Click Apple Silicon (ARM64) if your Mac has an M-series chip, or Intel (x86_64) if it uses an Intel processor. The current download page labels the two options separately; there is no need to install Rosetta just to use the correct native build.
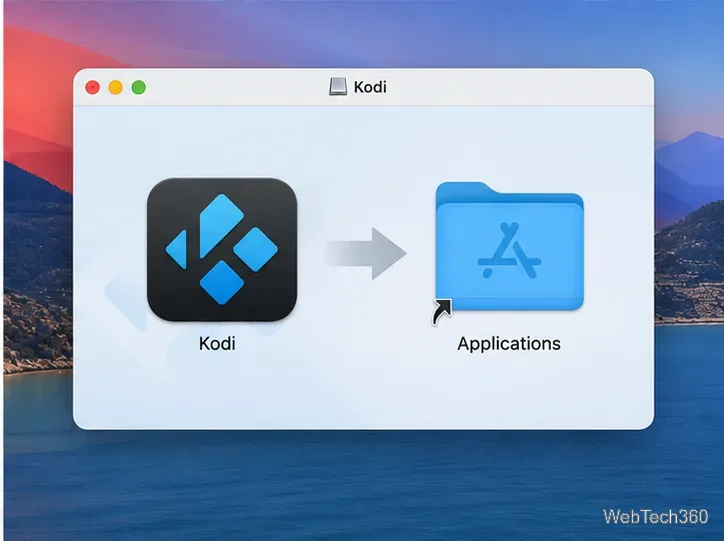
After the download finishes, open Finder → Downloads and double-click the Kodi .dmg file. Some browsers open it automatically. The disk image mounts as a temporary volume and shows an installation window; it does not install Kodi until you copy the app.
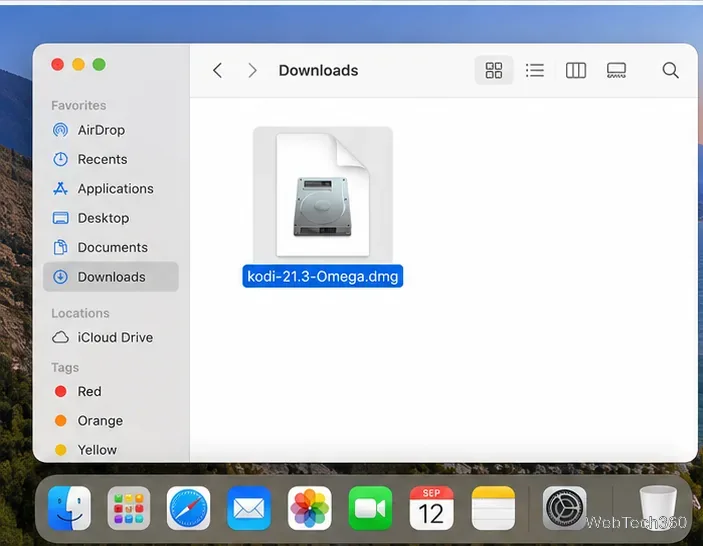
The file name may differ with each release, and the Finder icon can vary with macOS settings. Look for the .dmg extension rather than an exact file size or old version number.
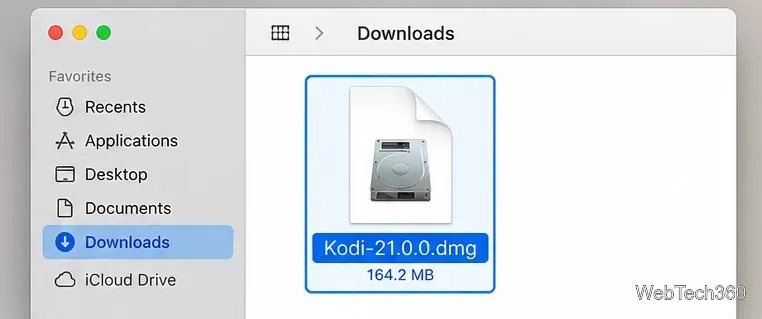
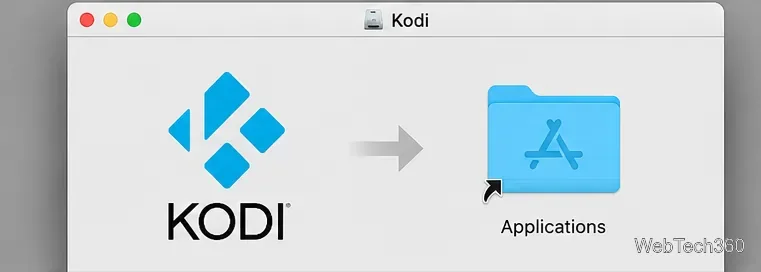
In the mounted disk image window, drag the Kodi app icon onto the Applications folder icon. Wait for copying to finish. Open Finder → Applications to confirm that Kodi is there. Eject the Kodi disk image from the Finder sidebar, then delete the .dmg from Downloads if you no longer need it.
Open Applications → Kodi. macOS may ask you to confirm an app downloaded from the internet. If you see a security warning saying the developer cannot be verified, first confirm the download came directly from kodi.tv. After attempting to open the app, go to Apple menu → System Settings → Privacy & Security and, if available, select Open Anyway for Kodi. Follow the confirmation prompts. If you suspect the download has been altered, delete it instead of overriding the warning. See Apple’s guidance on opening apps safely.
Do not disable Gatekeeper globally or run Terminal commands to suppress macOS security checks. A one-app exception, when appropriate, is safer.
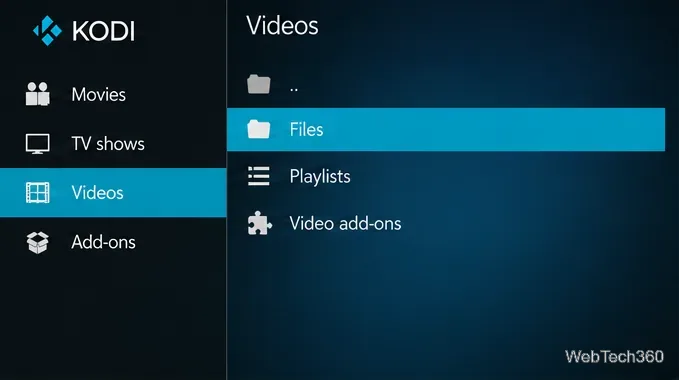
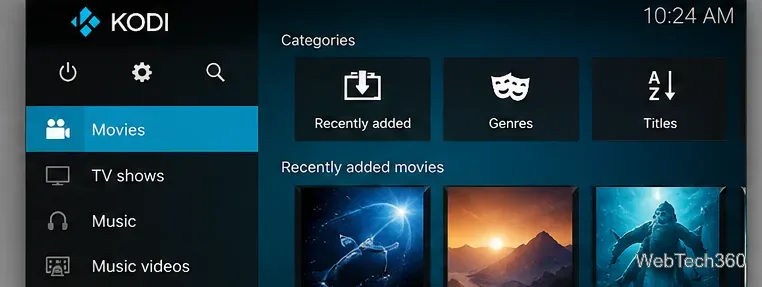
Kodi starts without movies, shows, or paid streaming subscriptions. For a local video collection, open Videos → Files → Add videos, browse to your media folder, and choose whether it contains movies or TV shows. Kodi can then scan the folder into its library. For more precise setup, follow the official video-source guide. Only use add-ons and media sources you trust and have permission to access.
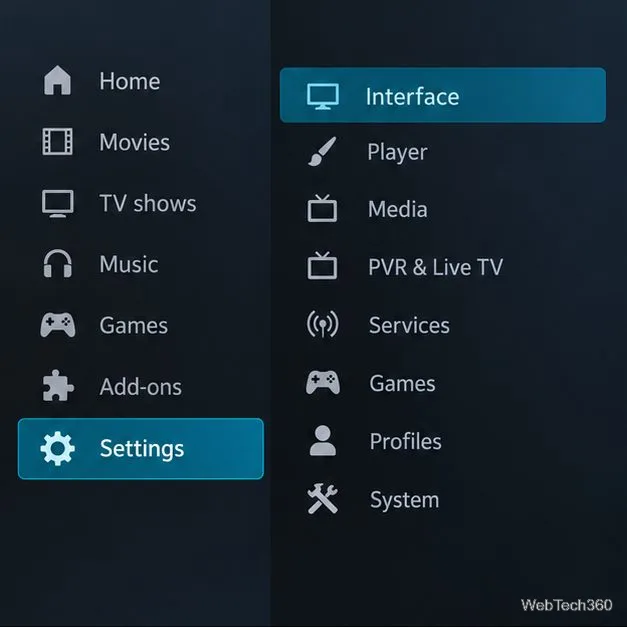
Open Kodi’s Settings → System information → Summary to check its installed version, then compare it with the recommended macOS release. To upgrade, close Kodi, download the matching new .dmg, open it, and drag the new Kodi app into Applications. When Finder asks, choose to Replace the existing app. You normally do not need to uninstall it first.
Before upgrading, back up ~/Library/Application Support/Kodi/ while Kodi is closed. This folder stores your settings, add-ons, and library data separately from the application. Copy the entire folder somewhere safe rather than moving it out of place. The Kodi backup documentation explains what is preserved.
To uninstall the app, quit Kodi and move Applications/Kodi.app to the Trash. This alone generally leaves your settings intact, which is useful if you plan to reinstall. For a full reset, open Finder, select Go → Go to Folder, enter ~/Library/Application Support/Kodi/, and back up or remove that folder. Removing it deletes your Kodi configuration and local library database; it does not delete original movie files stored elsewhere. See the official Kodi data-folder reference.
If Kodi will not launch, check that your Mac meets the macOS requirement, that you downloaded the correct Intel or ARM64 build, and that the app was fully copied into Applications. If macOS reports a damaged or suspicious app, discard the file and download a fresh copy from Kodi rather than attempting to circumvent the warning. If the app opens but your movies do not appear, revisit Videos → Files and confirm the correct media folder is added and accessible.
Once Kodi is running, the most useful next step is to import a small, known-good media folder, confirm playback, and then expand your library.
Learn how to uninstall a Kodi repository safely, remove its saved source URL separately, and check which installed add-ons or dependencies you still need.
Find the safest way to watch live tennis with Kodi: learn what iPlayer WWW can stream, how to find licensed coverage, and which add-ons to avoid.
Learn how to watch movies on Kodi from your computer, USB drive, or NAS, add online video services, and fix missing titles with clear setup steps.
Set a Kodi Master Lock PIN, protect selected menus, and create a separate kids’ profile with media sources you choose.
Find the authorized stream for your country, check whether its provider supports Kodi, and watch a boxing PPV on your TV without relying on outdated add-ons.
Compare five Kodi skins in the official Omega catalog, then follow the current Settings path to install one, customize it, or switch back.
Looking for the 1Channel Kodi add-on? Learn why old PrimeWire installation guides are unreliable and how to install a supported video add-on safely.
Enable Kodi’s Chorus2 web interface, control your media from any browser, and learn how to connect remotely without exposing Kodi to the Internet.
Follow the original Nemesis Kodi installation process, learn what changed with Stream Army, and avoid outdated repository and PIN instructions.
Download Kodi safely on Windows using the official installer or Microsoft Store, then add your media library and set up trusted add-ons.