How to Uninstall Kodi Repositories the Right Way

Learn how to uninstall a Kodi repository safely, remove its saved source URL separately, and check which installed add-ons or dependencies you still need.
LibreELEC is a lightweight Linux operating system built to run Kodi as a dedicated media center. It boots straight into Kodi instead of a conventional desktop, making it a practical way to turn a supported Raspberry Pi or small PC into a TV-connected player. Here is what it supports, how to install it, and what to configure after the first boot.
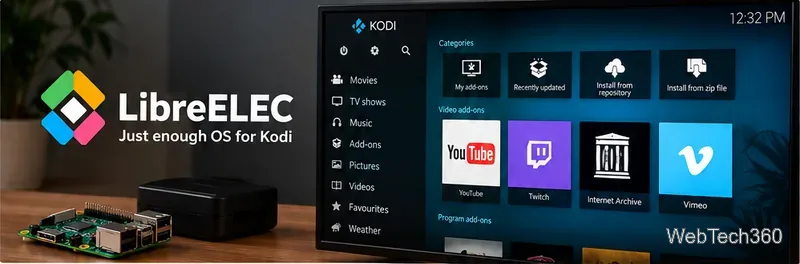
LibreELEC (“Libre Embedded Linux Entertainment Center”) is an open-source, purpose-built operating system that includes Kodi. It began in 2016 as a fork of OpenELEC. Unlike Raspberry Pi OS or a full desktop Linux distribution, LibreELEC is designed primarily for media playback, library browsing, and Kodi add-ons—not general computing.
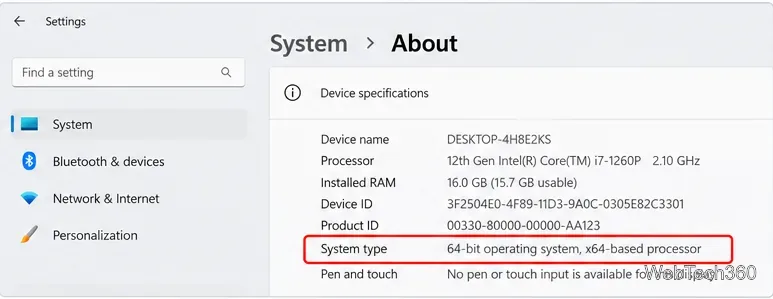
The official download pages currently list LibreELEC 12.2.1 with Kodi 21.3 (Omega), released November 3, 2025. Supported images include Raspberry Pi 2 and 3, Pi 4, Pi 400, Compute Module 4, and Pi 5, plus selected 64-bit PCs and other single-board computers. Choose the image for your exact device; an old Raspberry Pi Zero/1 image should not be mistaken for a current supported release. Check the Raspberry Pi image list and PC image list before downloading.
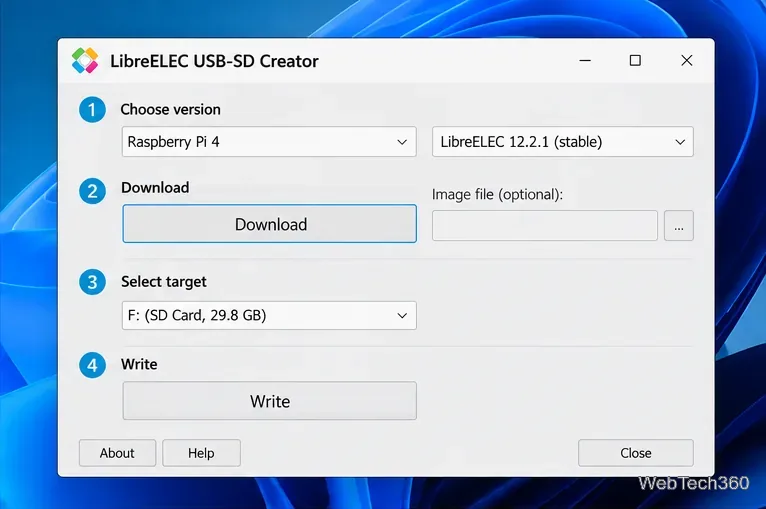
Open the official LibreELEC Downloads page. For Windows 64-bit or macOS, download the LibreELEC USB-SD Creator. The Linux edition is not currently offered. If you use Linux, download the compressed .img.gz for your model and write it with a compatible tool such as Raspberry Pi Imager or Balena Etcher. The official Create Media guide describes these options.
Launch USB-SD Creator with the permissions it requests. Select your Raspberry Pi model and a stable LibreELEC release, choose Download (or Select file for an image you already have), then choose the correct microSD card under the destination selector. Click Write and wait for completion before ejecting the card.
Warning: Writing the image erases the selected card. Double-check the drive letter or device name to avoid overwriting another disk.
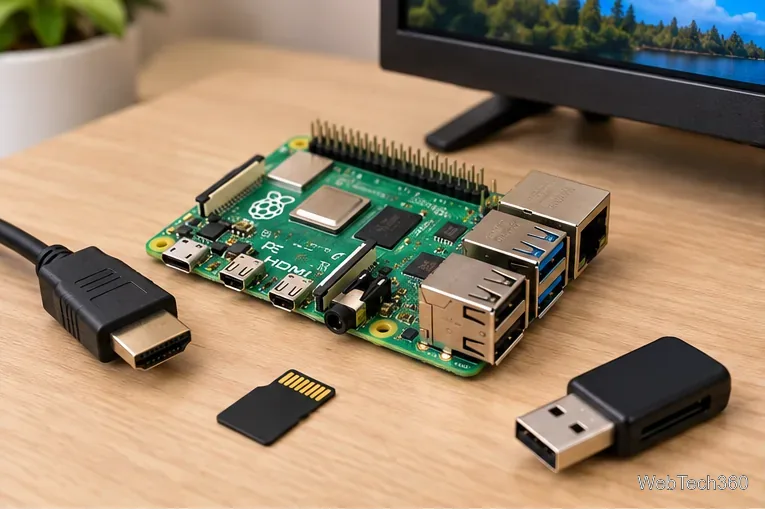
With power disconnected, insert the prepared card into the Pi’s microSD slot. Connect HDMI, your input device, and any network cable. Then connect power. LibreELEC will initialize storage on first boot and open its setup wizard. Allow the first startup to finish rather than interrupting it.
Follow the wizard to select your language if prompted, name the device, and configure networking. You may also be offered Samba file sharing and SSH remote access. Leave SSH disabled unless you need it. If enabled, set a strong password when asked; the project documents the default root/libreelec credential and warns that it must be changed. Disable services you do not use, and do not expose SSH or Samba directly to the internet.
For details, follow LibreELEC’s official security recommendations.
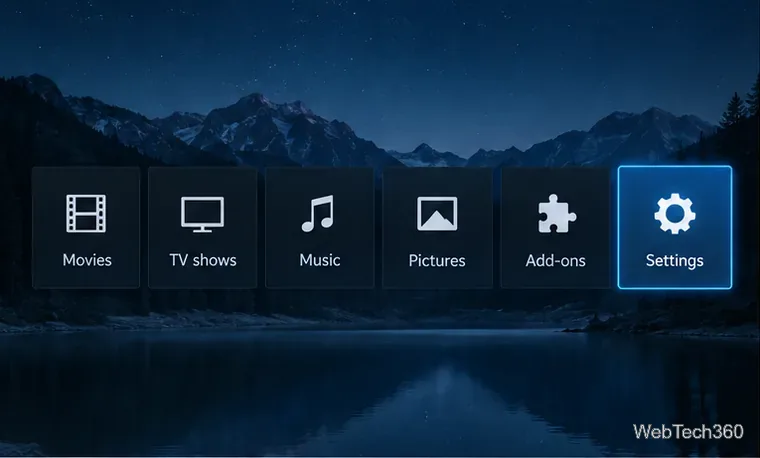
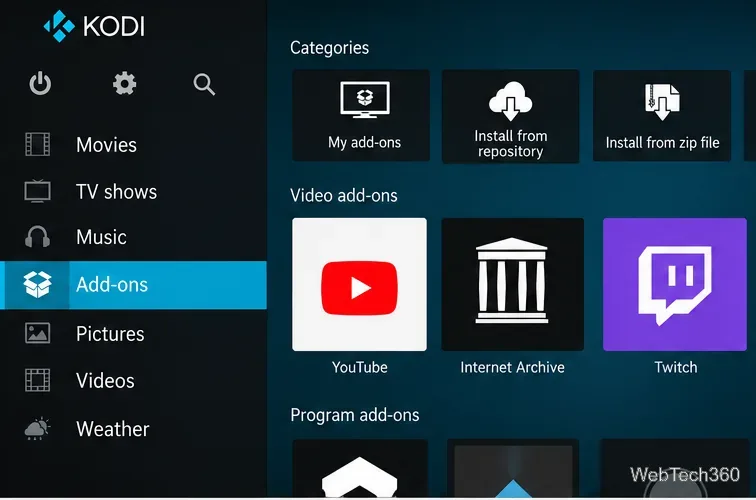
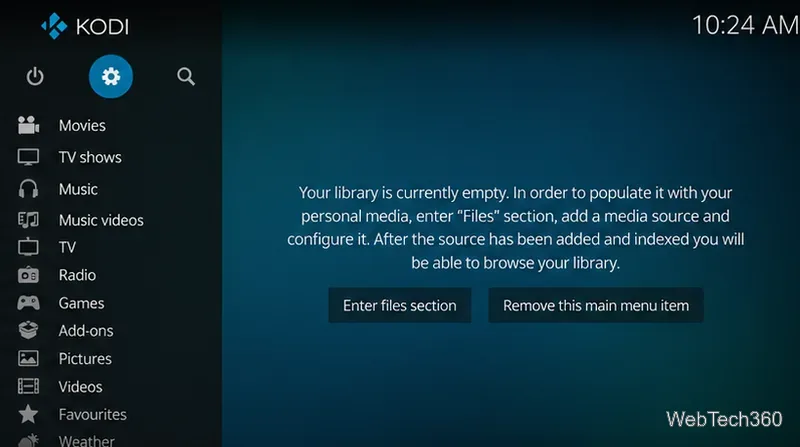
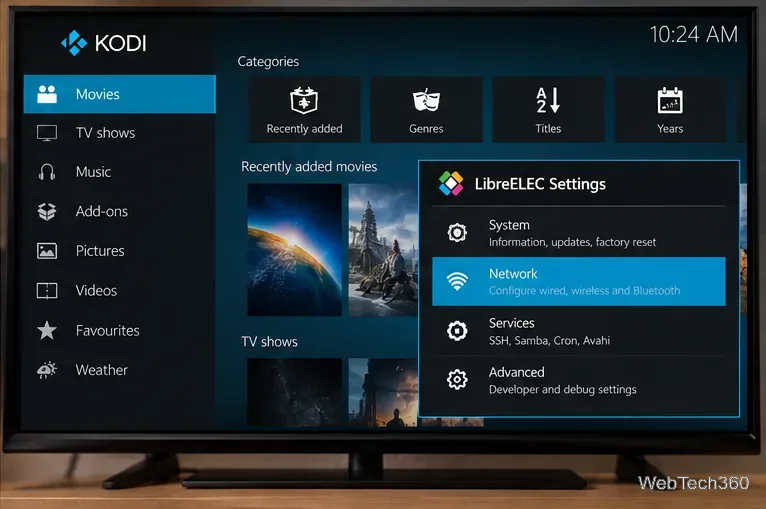
Once setup finishes, the familiar Kodi home screen provides Movies, TV shows, Music, Pictures, and Add-ons. Add your own media sources through Kodi, or use Add-ons → Install from repository to browse extensions in the official Kodi repository. Kodi also supports third-party repositories, but their reliability, legality, and security vary; avoid unknown ZIP files.
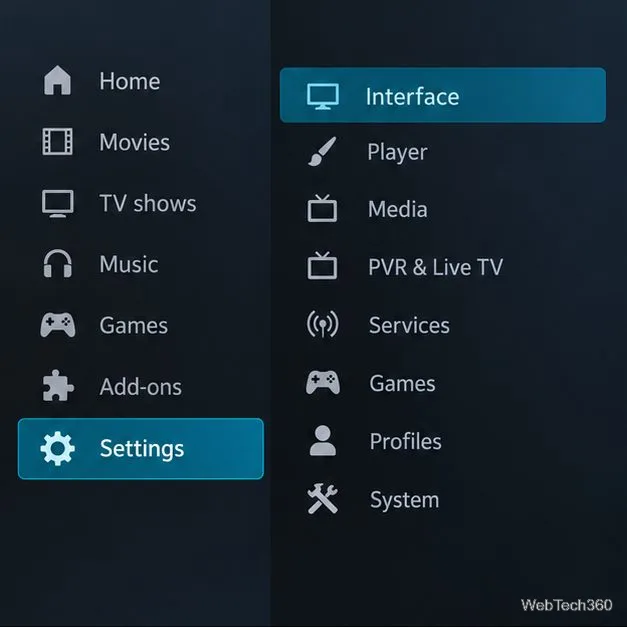
LibreELEC adds its own LibreELEC Settings add-on for system-specific controls such as wired or wireless networking, services, and updates. These are separate from ordinary Kodi settings. Menu placement can vary by Kodi skin and version.
Why choose it? LibreELEC is free, boots directly to Kodi, and avoids much of the overhead of a desktop OS. Its main tradeoff is flexibility: it is not intended to replace a general-purpose Linux computer. Hardware support and third-party add-on compatibility depend on the specific image and Kodi version.
For an alternative, OSMC is another Kodi-focused operating system; its published downloads support Raspberry Pi models through Pi 4/400 but not Pi 5. If you need a desktop and other applications, Raspberry Pi OS with Kodi installed separately may fit better.
Learn how to uninstall a Kodi repository safely, remove its saved source URL separately, and check which installed add-ons or dependencies you still need.
Find the safest way to watch live tennis with Kodi: learn what iPlayer WWW can stream, how to find licensed coverage, and which add-ons to avoid.
Learn how to watch movies on Kodi from your computer, USB drive, or NAS, add online video services, and fix missing titles with clear setup steps.
Set a Kodi Master Lock PIN, protect selected menus, and create a separate kids’ profile with media sources you choose.
Find the authorized stream for your country, check whether its provider supports Kodi, and watch a boxing PPV on your TV without relying on outdated add-ons.
Compare five Kodi skins in the official Omega catalog, then follow the current Settings path to install one, customize it, or switch back.
Looking for the 1Channel Kodi add-on? Learn why old PrimeWire installation guides are unreliable and how to install a supported video add-on safely.
Enable Kodi’s Chorus2 web interface, control your media from any browser, and learn how to connect remotely without exposing Kodi to the Internet.
Follow the original Nemesis Kodi installation process, learn what changed with Stream Army, and avoid outdated repository and PIN instructions.
Download Kodi safely on Windows using the official installer or Microsoft Store, then add your media library and set up trusted add-ons.