How to Recover Lost Partitions and Hard Disk Data Safely
Learn how to recover lost partitions and files with TestDisk and PhotoRec. Protect the source drive, scan safely, and save recovered data to another disk.
Cameractrls is a GTK app for adjusting webcam controls exposed through Video4Linux2 (V4L2). Install it from Flathub, select a device, and change only the controls it reports. Options vary by camera and driver; a missing control may simply be unsupported.
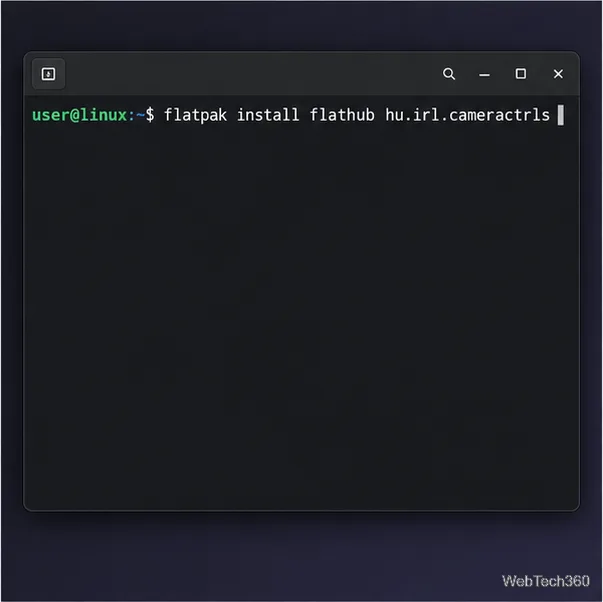
The upstream project lists Flathub as an installation method. On a system with Flatpak and the Flathub remote configured, open Terminal and run:
flatpak install flathub hu.irl.cameractrlsFollow the prompts, then launch Cameractrls from your desktop’s application menu. If Flatpak is not set up, use the official Flatpak setup guide. The Cameractrls project page also lists distribution packages and its source-install instructions.
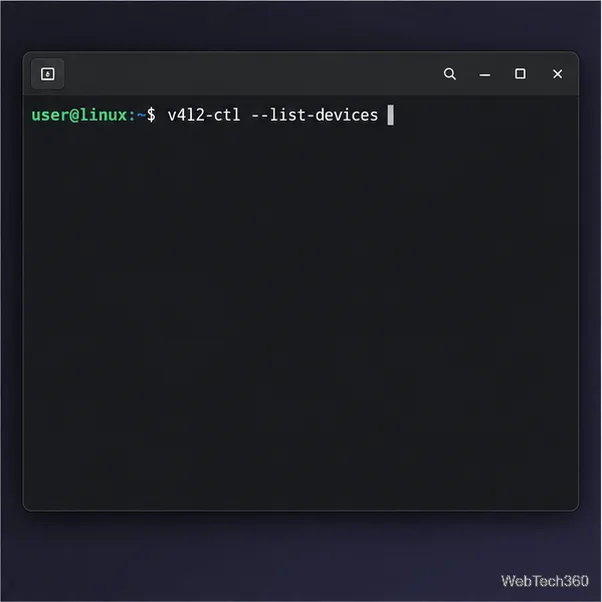
If you have more than one camera or do not know which device to select, install your distribution’s v4l-utils package and run v4l2-ctl --list-devices. The output maps detected V4L2 cameras to device paths such as /dev/video0. A single camera can expose several nodes, so verify the capture node instead of assuming that every webcam is /dev/video0.
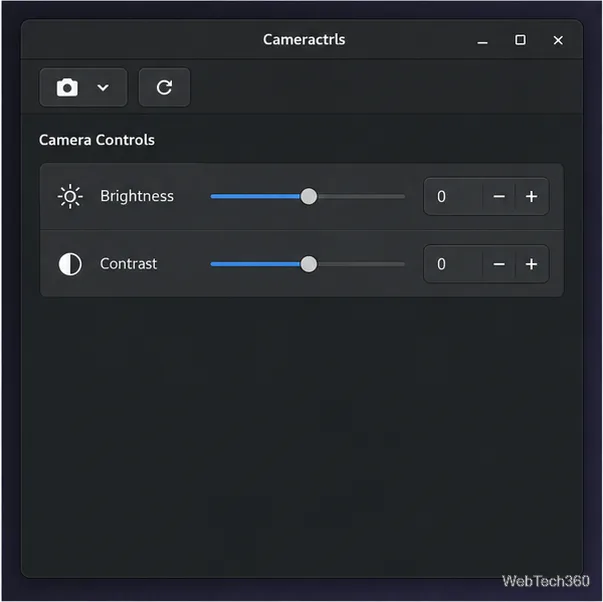
Open Cameractrls and use the camera selector in the header bar to choose the device you identified. The app can refresh its detected devices; use that control after connecting a USB webcam. Cameractrls builds its control pages from the selected camera’s reported controls, so the labels and layout can differ from one device to another.
Use Cameractrls’ preview-window control to check the picture while you make changes. If the camera exposes zoom, pan, or tilt controls, adjust them in small increments and watch the preview. These controls are often specific to a camera or model; they are not the same as cropping a picture in a video-call app, and they will not appear on webcams that do not provide them.
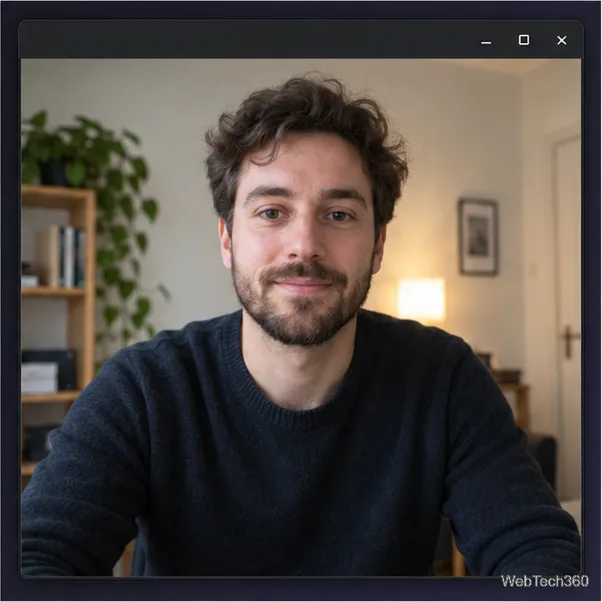
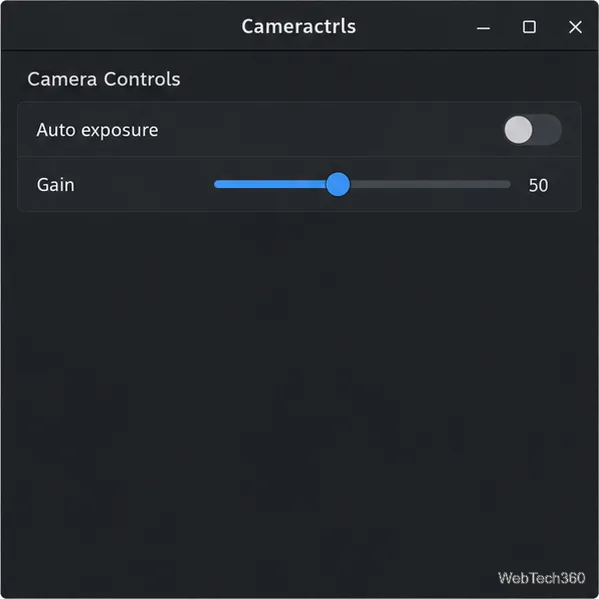
Look for controls such as automatic exposure, exposure, or gain. Keep automatic exposure enabled for a starting point. If you need manual control and the camera offers it, turn off the automatic option first, then change one value at a time while watching the preview. Brightness and gain are not interchangeable: brightness changes the picture’s black level, while gain amplifies the camera signal. The V4L2 standard defines common controls, but the driver decides which ones are available and their allowed ranges.
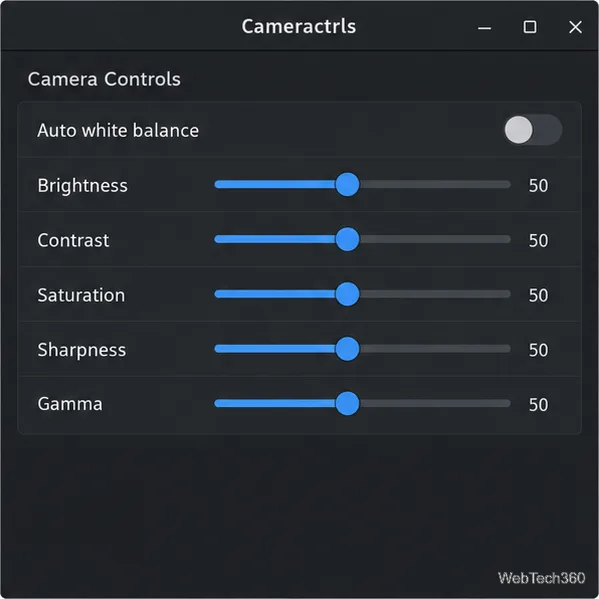
Automatic white balance is a useful default when the room lighting changes. If the color shifts under steady lighting, check whether the webcam offers a manual white-balance or temperature control. You may also find brightness, contrast, saturation, sharpness, or gamma controls. Move sliders in small steps and compare the preview; large changes can make a face look washed out, overly saturated, or unnaturally sharp. Not every camera exposes every color control.
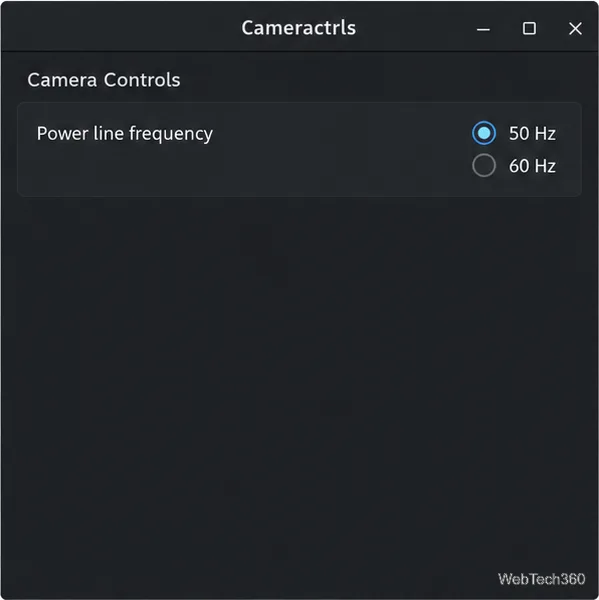
If indoor lights produce visible bands or pulsing, look for a power-line-frequency control. When available, choose the setting that matches the electrical supply where the camera is being used, commonly 50 Hz or 60 Hz. This is a lighting-flicker filter, not a frame-rate setting. Leave it unchanged if the control is absent or the preview has no flicker.
Cameractrls is for camera controls; it does not provide a universal resolution and frames-per-second selector for every webcam application. Set those options in the video-call, recording, or streaming app that will capture the camera. To inspect modes for a V4L2 device, run v4l2-ctl -d /dev/video0 --list-formats-ext, replacing the path with your camera’s node. The upstream v4l-utils option reference describes the format, frame-size, and interval listing. Choose a mode supported by both the camera and app.
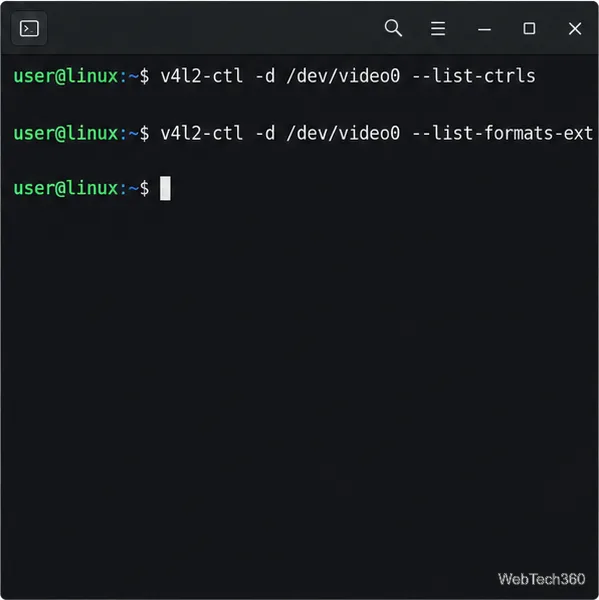
First check that Linux detects the device with v4l2-ctl --list-devices. If the command is missing, install v4l-utils from your distribution’s software repository. If the camera is listed, use its video node to inspect available controls:
v4l2-ctl -d /dev/video0 --list-ctrlsReplace /dev/video0 with the correct path. The v4l2-ctl manual documents these device and control-listing options. If a control is missing or disabled, that is usually a hardware or driver limitation for the selected device or input, not a hidden setting in Cameractrls. The Linux kernel’s V4L2 control documentation explains that drivers can expose different controls and mark inapplicable ones inactive.
After tuning the camera, open the app you actually use for calls or recording and check its preview. Some applications set camera controls or request their own video format when they start, so a picture can differ from the Cameractrls preview. If that happens, select the intended camera in the capture app and choose a supported mode there.
Learn how to recover lost partitions and files with TestDisk and PhotoRec. Protect the source drive, scan safely, and save recovered data to another disk.
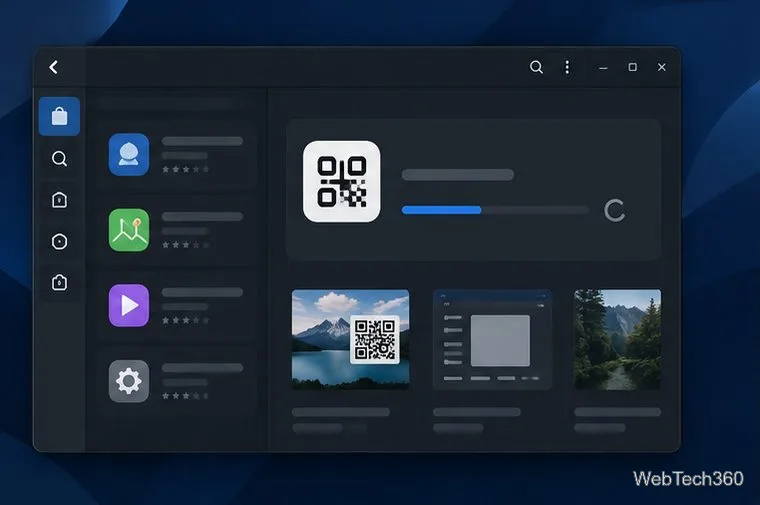
Scan QR codes on Linux with CoBang using a webcam or image file. See installation options, setup steps, and fixes for Flatpak camera access.
Change webcam settings on Linux with Cameractrls: tune exposure, color, flicker reduction, and other supported controls, then check compatible video modes.
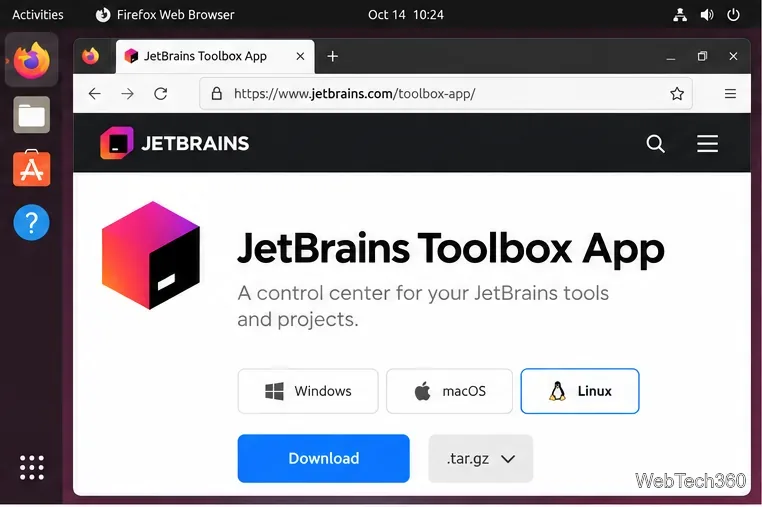
Install PhpStorm on Linux with JetBrains Toolbox or the standalone tar.gz archive, plus Snap and Arch AUR options. Java is already bundled.
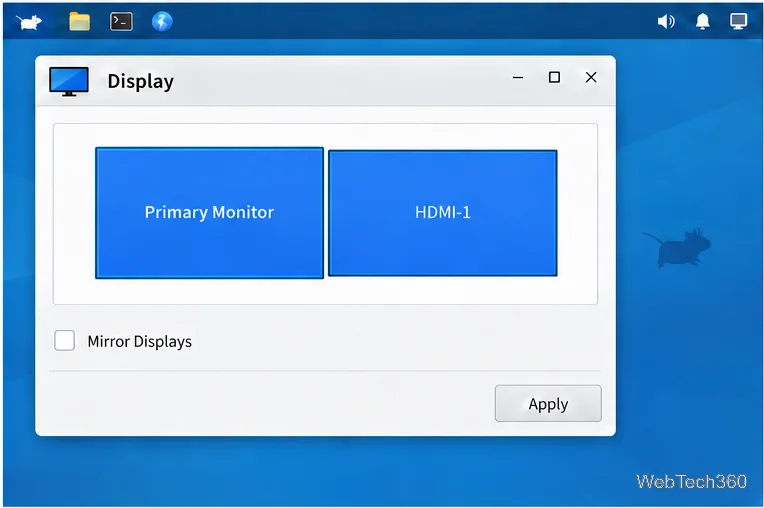
Create a separate XFCE 4 panel for each display, assign the second panel to the right output, position and size it, and add the launchers and status items you need.
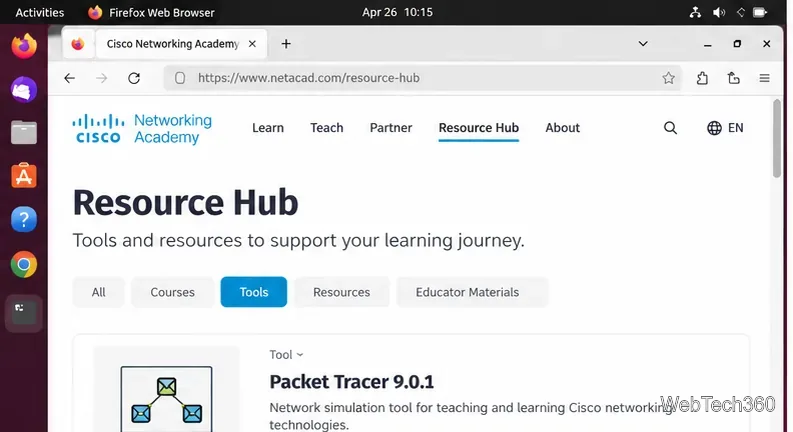
Download Cisco Packet Tracer 9.0.1 for Ubuntu 64-bit, install the DEB package with APT, accept the license in Terminal, and sign in to start a lab.
Remove a photo background on Linux with GIMP: trace a subject, delete the selected background, keep transparency, and export a reusable PNG.
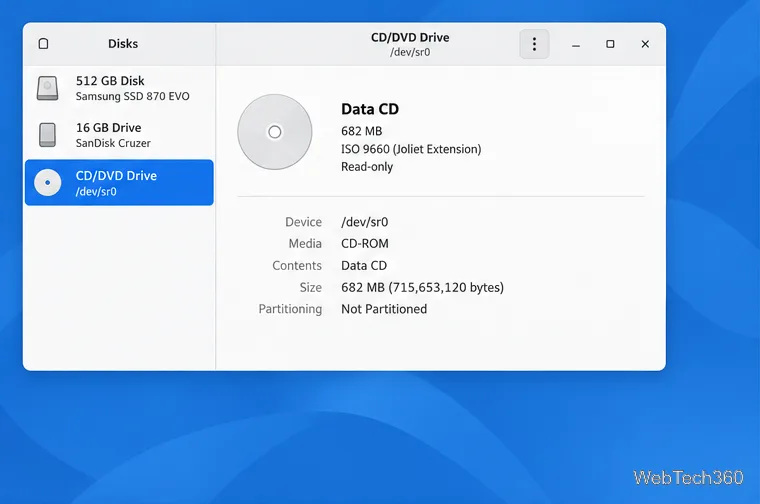
Create a CD-ROM ISO on Linux with GNOME Disks or dd. Identify the optical drive, monitor the copy, verify the image, and know when a damaged or audio disc needs another tool.
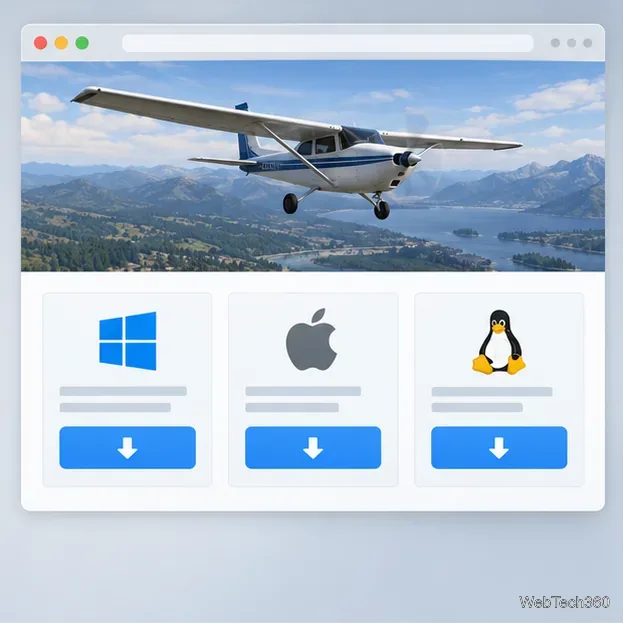
Download FlightGear for free from the official site. Compare Windows, macOS, and Linux packages, install the data files, and start your first flight.
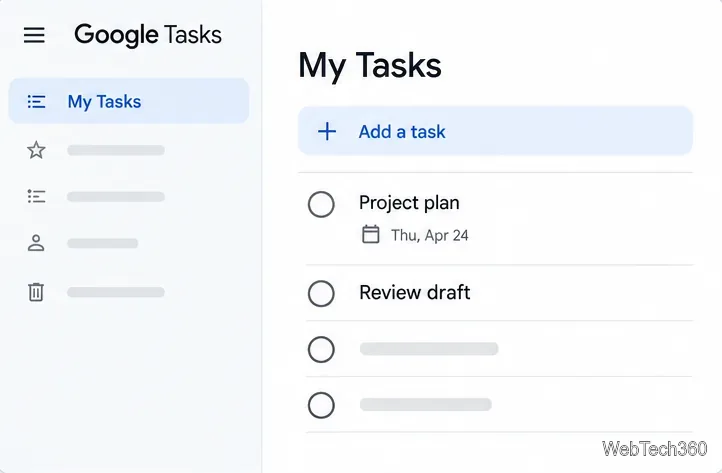
Open Google Tasks in a browser, add a Chrome shortcut or app-style launch, and manage dated to-dos through Calendar and Gmail.