How to Recover Lost Partitions and Hard Disk Data Safely
Learn how to recover lost partitions and files with TestDisk and PhotoRec. Protect the source drive, scan safely, and save recovered data to another disk.
If a partition disappears or Windows says a disk is unreadable, stop using that disk. You may be able to recover its partition or files, but new writes can overwrite data you want back. The safer sequence is to preserve the source, make an image if the drive may be failing, inspect the partition map, and copy recovered files to another drive. Recovery is not guaranteed if data has been overwritten or the hardware is damaged.
Use TestDisk to find and verify partitions; it can write a recovered partition table and browse some supported file systems. Use PhotoRec when damaged file-system metadata prevents browsing. It searches file signatures and usually loses original names and folders. Both are free, open-source CGSecurity tools; start with the official documentation.
Do not initialize, format, create a new volume, install recovery software, or save output on the source. Avoid file-system or bad-sector repair on the original until your data is safe; those actions can overwrite metadata or stress a failing drive. If it clicks, disconnects, vanishes from BIOS/UEFI, or returns repeated read errors, power it down. For irreplaceable data, contact a recovery specialist before scanning again.

If Windows will not boot, create an Ubuntu live USB with the official Ubuntu guide. Creating it erases the selected USB, so verify the device first. Restart and open your computer’s boot menu; F12, Esc, F2, and F10 are common keys, but check the PC manual. Choose Try Ubuntu, not Install. A live session runs from USB but does not automatically make the source read-only.
Connect a separate, healthy destination drive for the image and recovered files. If the disk is encrypted, have its recovery key available.
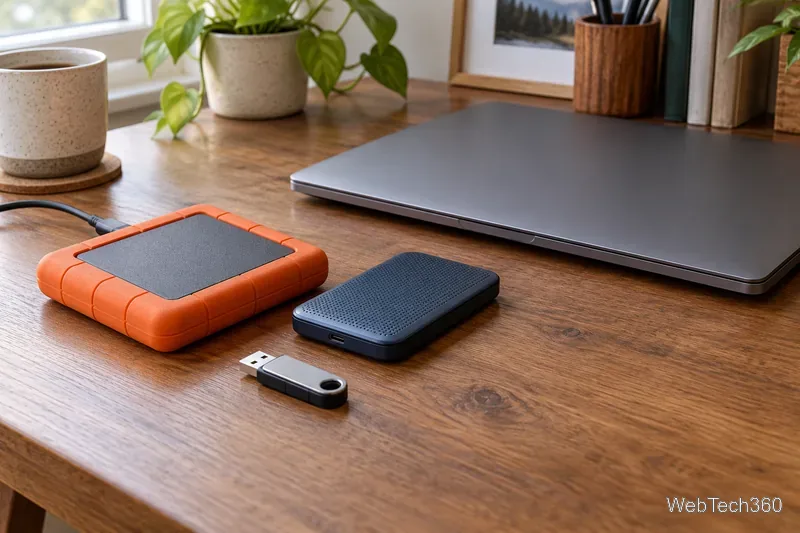
A failing drive should not be scanned repeatedly. GNU ddrescue can make a sector-level image and track progress in a mapfile; its manual recommends copying a failing drive and attempting repairs on the copy. Save both files on healthy storage. Source and destination order matters: choosing the wrong device can overwrite it. If you cannot identify the devices confidently, stop and get help.
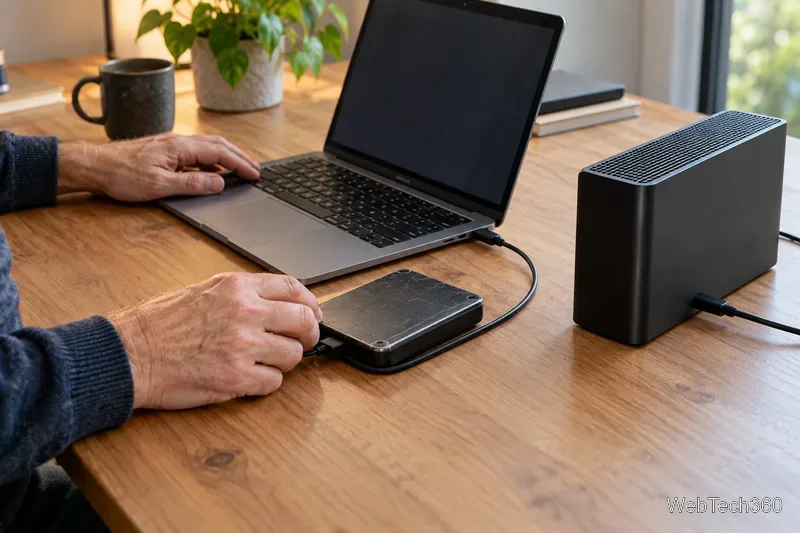
Download TestDisk from CGSecurity and run it with administrator or root permissions. Select the physical disk by model and capacity, not a Windows drive letter such as C:. Accept the detected partition-table type when it matches the disk, then choose Analyse and Quick Search. If the partition is missing, run Deeper Search; it can take hours.
Highlight a candidate and press P to inspect files where supported. Compare the partition size and contents with what you expect. Choose Write only when the complete list of partitions you want to keep or recover is present and correct: this changes the partition table. If anything is unclear, quit without writing and continue from an image. Follow CGSecurity’s partition-recovery steps.
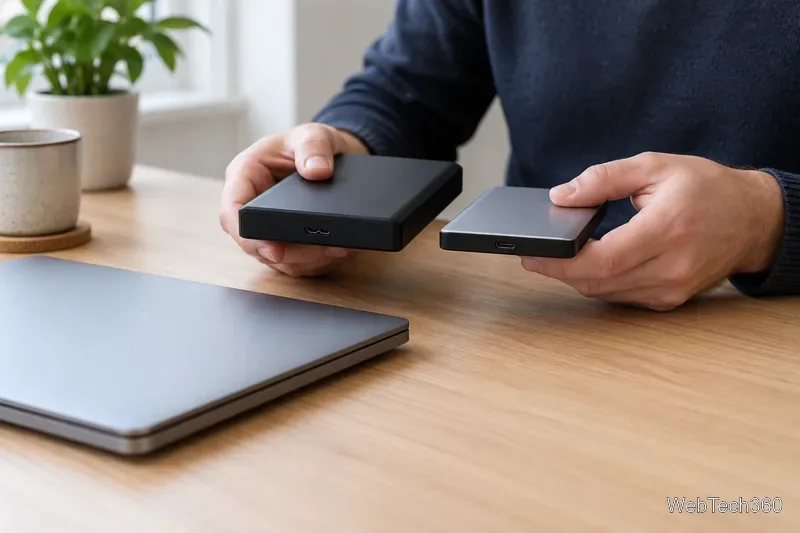
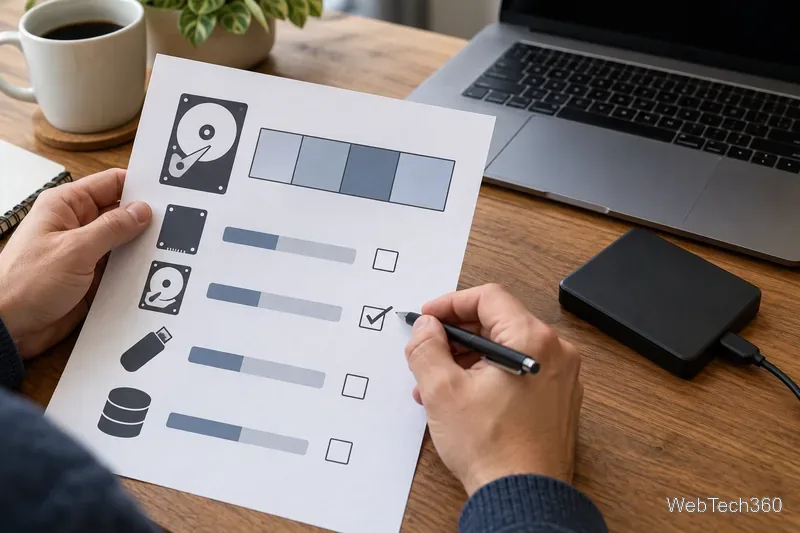
If TestDisk can browse the partition, use its file-listing and copy functions to save files to the separate destination. If the file system is unreadable, try PhotoRec on the image when possible. Choose the appropriate partition or whole-disk scan, then select a destination on a different physical drive. Never write output to the source file system. PhotoRec saves results in folders such as recup_dir.1; expect generic filenames and sort files by type or embedded dates. See the PhotoRec guide.
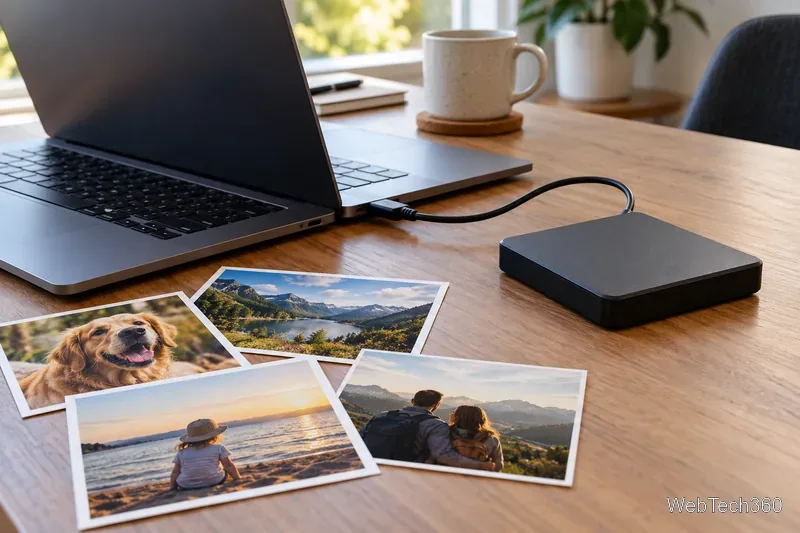
Open samples of recovered documents, photos, and archives, then make a second backup. Keep the original untouched until you have checked what matters. If TestDisk restored a partition entry, confirm the volume is readable before further repairs. A restored partition does not necessarily fix Windows startup; secure your files first, then replace a failing drive or rebuild the operating system.
No. It can restore partition information when enough metadata remains, but cannot reconstruct overwritten file contents. Keep an image before writing changes.
It identifies data by file signatures instead of relying on damaged directory information, so usable files may have generic names and no original folder structure.
Learn how to recover lost partitions and files with TestDisk and PhotoRec. Protect the source drive, scan safely, and save recovered data to another disk.
Scan QR codes on Linux with CoBang using a webcam or image file. See installation options, setup steps, and fixes for Flatpak camera access.
Change webcam settings on Linux with Cameractrls: tune exposure, color, flicker reduction, and other supported controls, then check compatible video modes.
Install PhpStorm on Linux with JetBrains Toolbox or the standalone tar.gz archive, plus Snap and Arch AUR options. Java is already bundled.
Create a separate XFCE 4 panel for each display, assign the second panel to the right output, position and size it, and add the launchers and status items you need.
Download Cisco Packet Tracer 9.0.1 for Ubuntu 64-bit, install the DEB package with APT, accept the license in Terminal, and sign in to start a lab.
Remove a photo background on Linux with GIMP: trace a subject, delete the selected background, keep transparency, and export a reusable PNG.
Create a CD-ROM ISO on Linux with GNOME Disks or dd. Identify the optical drive, monitor the copy, verify the image, and know when a damaged or audio disc needs another tool.
Download FlightGear for free from the official site. Compare Windows, macOS, and Linux packages, install the data files, and start your first flight.
Open Google Tasks in a browser, add a Chrome shortcut or app-style launch, and manage dated to-dos through Calendar and Gmail.