How to Recover Lost Partitions and Hard Disk Data Safely

Learn how to recover lost partitions and files with TestDisk and PhotoRec. Protect the source drive, scan safely, and save recovered data to another disk.
To install Cisco Packet Tracer on Linux, download Cisco’s Ubuntu 64-bit DEB package, then install it from Terminal with apt-get. Cisco’s current instructions document Ubuntu (Linux); the Resource Hub currently lists Packet Tracer 9.0.1 for Ubuntu 64-bit. The installer asks you to accept its license during the command-line setup, so keep the Terminal open until it finishes.
You need an internet connection, an Ubuntu desktop running on a 64-bit x86 system, and a Cisco Networking Academy account. The package is a .deb installer, not a general Linux archive. Check Cisco’s official Resource Hub for the current build and use the Ubuntu 64-bit download. Cisco’s free Getting Started with Cisco Packet Tracer course is another access route if the download is not visible in your account.
Sign in to Cisco Networking Academy and open the Resource Hub. Find Packet Tracer and choose the Ubuntu 64-bit package. At the time of this update, Cisco lists version 9.0.1. Save the DEB file in your Downloads folder. If Cisco has released a newer version by the time you read this, download the version currently shown there rather than searching for an old 8.0 package.
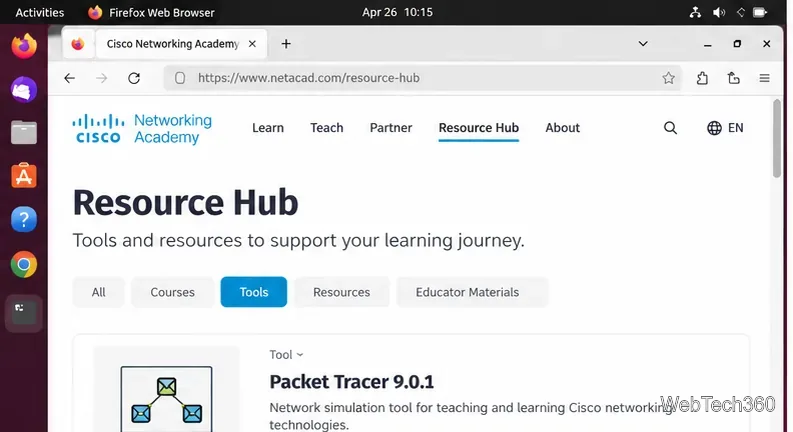
If the download controls are unavailable, make sure you are signed in. If your account still does not show the package, open the free Getting Started course, enroll, and return to the Resource Hub. Cisco may adjust the page layout, so follow the current labels rather than older screenshots or instructions that refer to a specific “Introduction to Packet Tracer” page.
Open Terminal with Ctrl+Alt+T and check the machine architecture:
uname -mFor the Ubuntu 64-bit installer, the expected output is x86_64. Cisco’s current download page lists an Ubuntu 64-bit package; if your system reports a different architecture, stop and check Cisco’s current requirements before installing. Then move to Downloads and confirm the package name:
cd ~/Downloads
ls -lh CiscoPacketTracer_*_Ubuntu_64bit.deb
The wildcard matches Cisco’s documented filename pattern. If it reports that no file matches, list the DEB files with ls -lh *.deb and check that the download completed and was saved in this folder.
Refresh Ubuntu’s package index, then install the downloaded file. The example below uses the current 9.0.1 filename; if Cisco’s download uses a different version number, replace the filename with the exact name shown in Downloads. Keep the ./ prefix so APT treats it as a local package.
sudo apt-get update
sudo apt-get install ./CiscoPacketTracer_901_Ubuntu_64bit.deb
Enter your Ubuntu password when prompted. Cisco’s installer then opens a text-based license setup inside Terminal. The mouse does not work in this prompt: use Tab to move to <OK>, press Enter, then use Tab to select <Yes> and press Enter to accept the license. Wait for APT to finish and return to the shell prompt before closing Terminal. Cisco’s download and installation instructions describe this Ubuntu flow.
Launch the application from Ubuntu’s Applications menu, or type this command in Terminal:
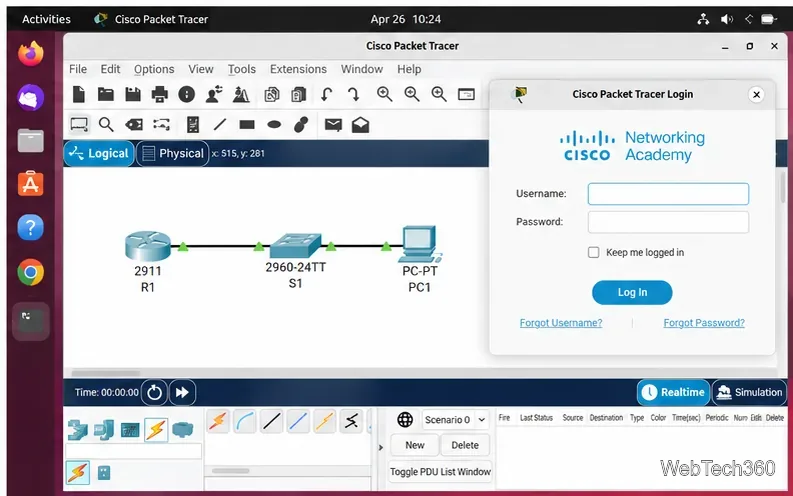
packettracerOn first launch, sign in with your Cisco Networking Academy account. A browser tab may open to complete authentication; after it confirms sign-in, return to Packet Tracer. If a multi-user prompt appears and you are setting up a regular local lab, you can choose No and enable multi-user use later if you need it.
cd ~/Downloads, check the exact filename with ls -lh *.deb, and use that name in the install command. Linux filenames are case-sensitive.uname -m returns x86_64 and download the matching package from Cisco.sudo apt-get update and retry the local-file install command. APT can resolve dependencies from your configured Ubuntu repositories. If a dependency is unavailable, check that the package and Ubuntu release are supported and consult Cisco’s current resources; avoid installing random dependency packages from third-party sites.packettracer from Terminal to see an error message. Recheck that installation completed and that you installed the official Ubuntu DEB.Cisco’s current download and installation material identifies Ubuntu (Linux) and documents the Ubuntu apt-get procedure. A DEB may work on some compatible Debian-based systems, but Cisco’s guide does not verify every Debian release or derivative. The older advice to install through an Arch User Repository package is not part of Cisco’s current instructions, so this guide sticks to the official Ubuntu package and support path.
Learn how to recover lost partitions and files with TestDisk and PhotoRec. Protect the source drive, scan safely, and save recovered data to another disk.
Scan QR codes on Linux with CoBang using a webcam or image file. See installation options, setup steps, and fixes for Flatpak camera access.
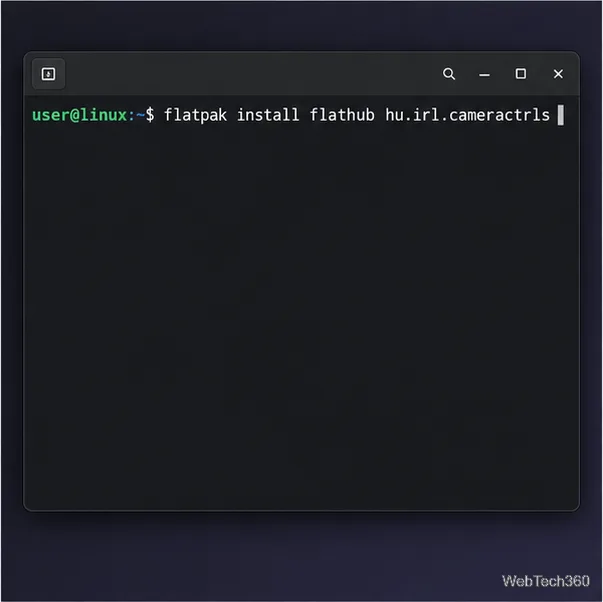
Change webcam settings on Linux with Cameractrls: tune exposure, color, flicker reduction, and other supported controls, then check compatible video modes.
Install PhpStorm on Linux with JetBrains Toolbox or the standalone tar.gz archive, plus Snap and Arch AUR options. Java is already bundled.
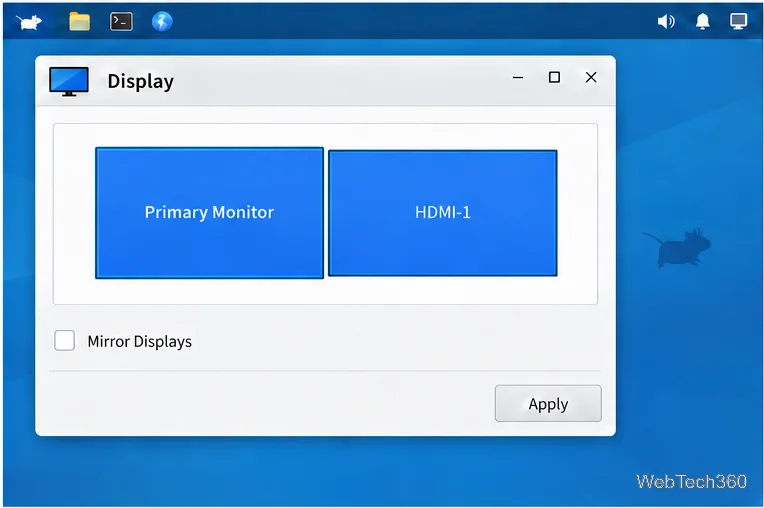
Create a separate XFCE 4 panel for each display, assign the second panel to the right output, position and size it, and add the launchers and status items you need.
Download Cisco Packet Tracer 9.0.1 for Ubuntu 64-bit, install the DEB package with APT, accept the license in Terminal, and sign in to start a lab.
Remove a photo background on Linux with GIMP: trace a subject, delete the selected background, keep transparency, and export a reusable PNG.
Create a CD-ROM ISO on Linux with GNOME Disks or dd. Identify the optical drive, monitor the copy, verify the image, and know when a damaged or audio disc needs another tool.
Download FlightGear for free from the official site. Compare Windows, macOS, and Linux packages, install the data files, and start your first flight.
Open Google Tasks in a browser, add a Chrome shortcut or app-style launch, and manage dated to-dos through Calendar and Gmail.