How to Recover Lost Partitions and Hard Disk Data Safely
Learn how to recover lost partitions and files with TestDisk and PhotoRec. Protect the source drive, scan safely, and save recovered data to another disk.
To set up dual panels in XFCE 4, enable both displays, add a second panel in Panel Preferences, assign it to the other monitor, and choose its position, length, and panel items. The menu labels below follow Xfce 4.20 documentation. Your distribution’s theme may look different, and the second output may be named HDMI-1, DP-1, or something else.
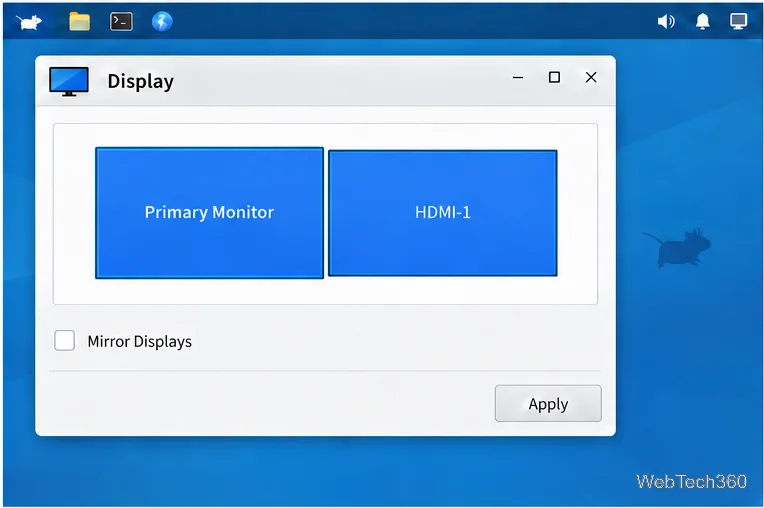
Open Settings Manager > Display. Confirm that both monitor tiles are present and enabled. Drag them in the preview so their left-to-right or top-to-bottom arrangement matches your desk. For an extended desktop, turn off Mirror Displays, then apply the change. If the second monitor is not detected here, Xfce cannot assign a panel to it yet. The display preview and controls are described in the Xfce 4.20 Display documentation.
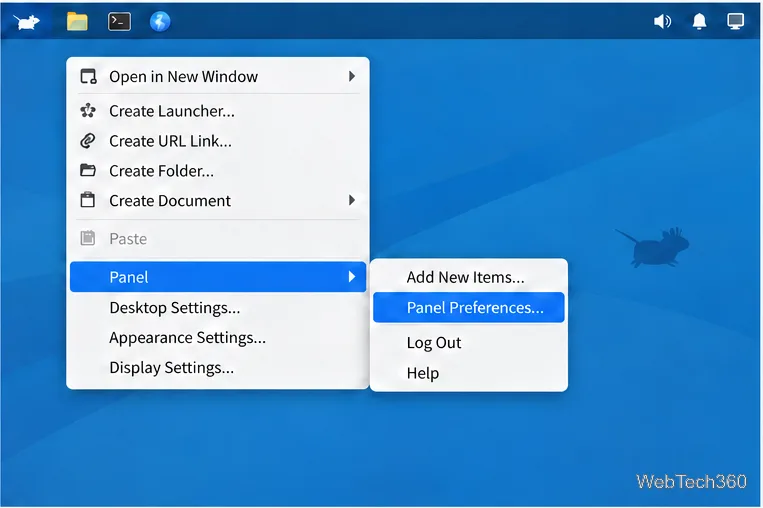
Right-click an open section of the existing panel and choose Panel Preferences. Depending on the distribution’s menu layout, you may see the entry under Panel > Panel Preferences. You can also open Settings Manager > Panel.
At the top of Panel Preferences, use the panel selector to see which panel is being edited. Click the adjacent + button to add a new, empty panel. Then select the new panel in the drop-down list, usually named Panel 2. Check the selector before changing settings so you do not move or edit your original panel by mistake.
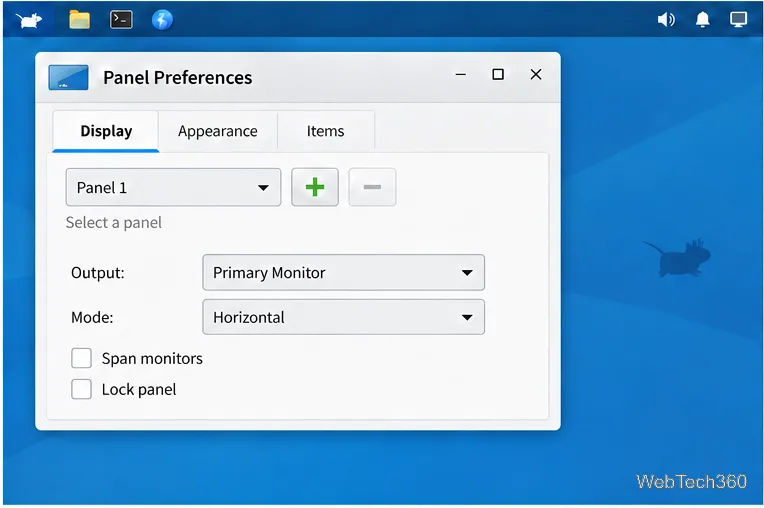
With the new panel selected, open its Display settings and choose the second monitor from Output. Set Mode to Horizontal for a standard top or bottom bar. Leave Span monitors off when you want one panel confined to one screen. Xfce only shows the Output and Span monitors controls when it detects a display output, so return to Display settings if those options are missing.
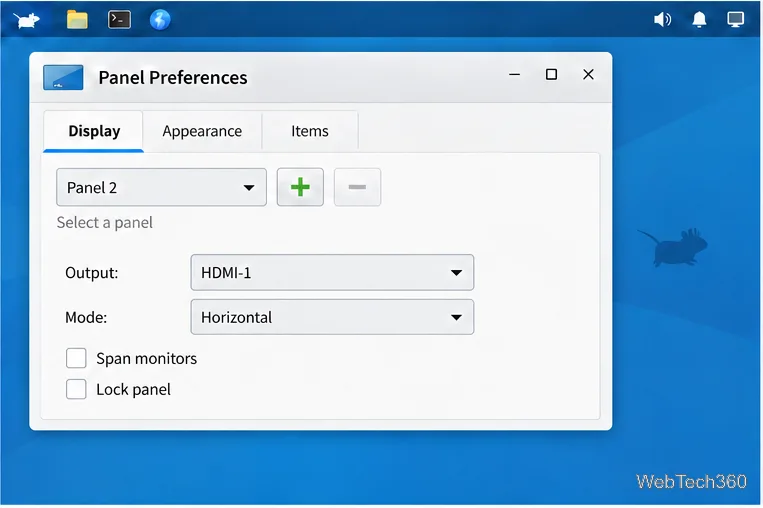
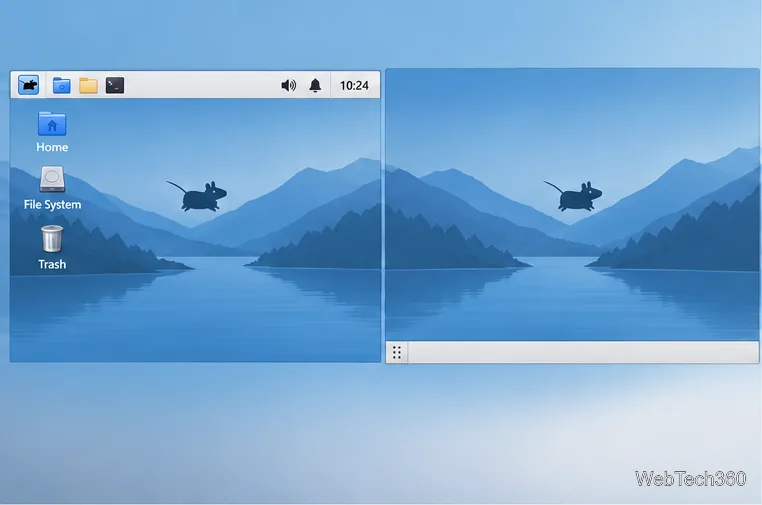
Make sure Lock panel is off while positioning. The panel’s handles become available; drag the handle to the bottom edge of the second display, or to another edge you prefer. Xfce snaps an unlocked panel to screen edges. If the panel moves on the wrong screen, check its Output selection before dragging it again.
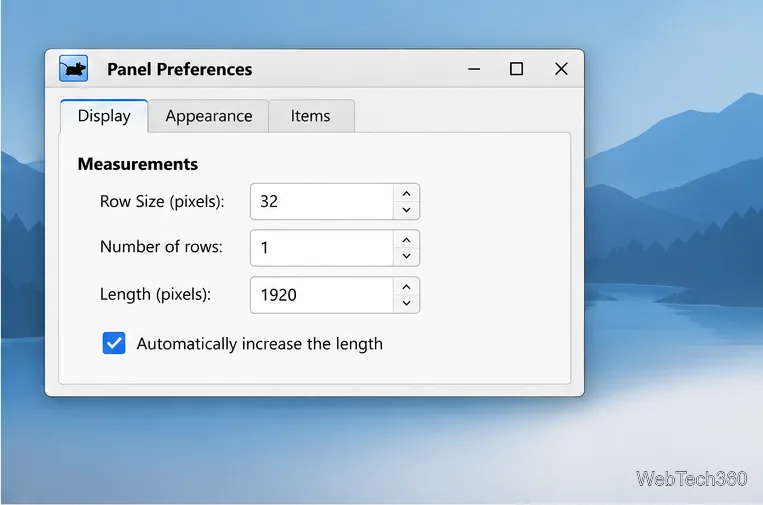
In the Measurements controls, Row Size changes the panel’s height, while Length is entered in pixels. Keep Number of rows at 1 for a simple bar. To make the panel span the display, increase Length until it reaches both edges; a 1920-pixel-wide output is a useful starting point at 1920 logical pixels. Display scaling can change the size reported to the desktop, so adjust the value if needed. Automatically increase the length lets the panel grow to fit its plugins, which is handy for a short panel. Xfce stores the length relative to the monitor so its proportions can carry over if the output size changes.
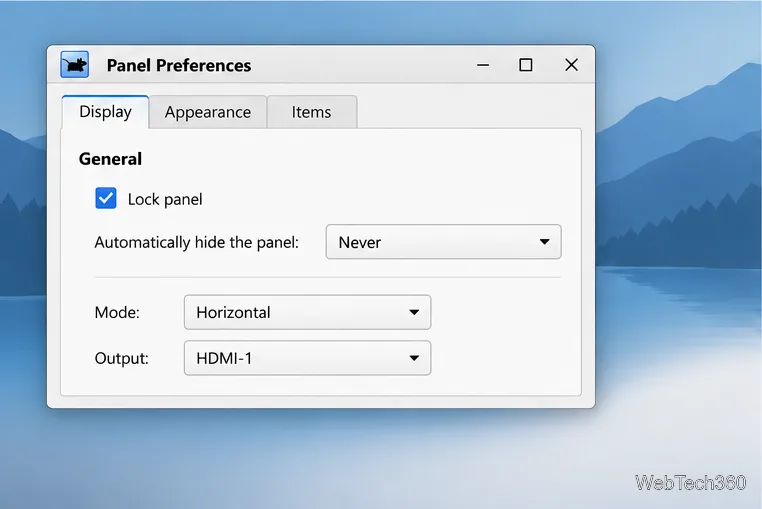
After placing the panel, turn Lock panel on to hide its drag handles and avoid accidental movement. Set Automatically hide the panel to Never if you want it visible all the time. Intelligently hides it when a focused window overlaps it; Always keeps it hidden until you move the pointer to the edge. You can unlock it later to reposition it.
Open the Items tab and use Add New Items to place plugins on the second panel. Common choices include Launcher for app shortcuts, Window Buttons for open windows, and Notification Area for status icons. The available list depends on which Xfce plugins your distribution has installed. Use the arrow controls to reorder items; add separators if you want to keep groups or align items at opposite ends.
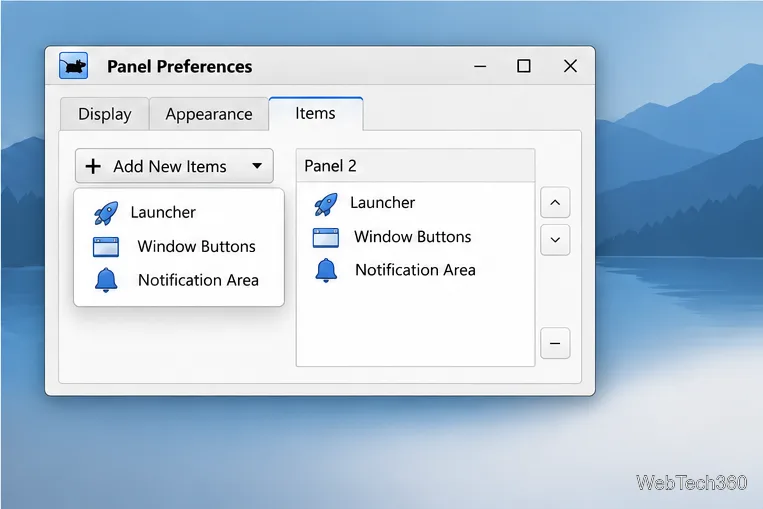
The Xfce 4.20 Panel Preferences documentation explains panel selection, output, locking, measurements, hiding, and item management. The exact monitor names and available plugins depend on your hardware and Linux distribution.
Learn how to recover lost partitions and files with TestDisk and PhotoRec. Protect the source drive, scan safely, and save recovered data to another disk.
Scan QR codes on Linux with CoBang using a webcam or image file. See installation options, setup steps, and fixes for Flatpak camera access.
Change webcam settings on Linux with Cameractrls: tune exposure, color, flicker reduction, and other supported controls, then check compatible video modes.
Install PhpStorm on Linux with JetBrains Toolbox or the standalone tar.gz archive, plus Snap and Arch AUR options. Java is already bundled.
Create a separate XFCE 4 panel for each display, assign the second panel to the right output, position and size it, and add the launchers and status items you need.
Download Cisco Packet Tracer 9.0.1 for Ubuntu 64-bit, install the DEB package with APT, accept the license in Terminal, and sign in to start a lab.
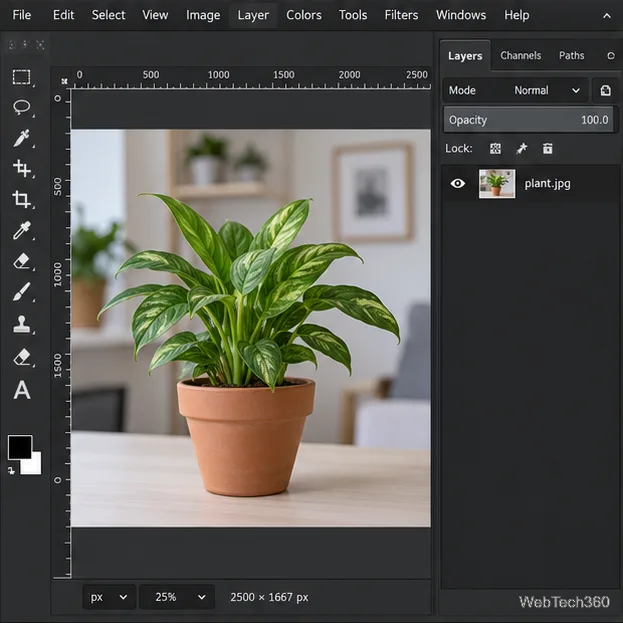
Remove a photo background on Linux with GIMP: trace a subject, delete the selected background, keep transparency, and export a reusable PNG.
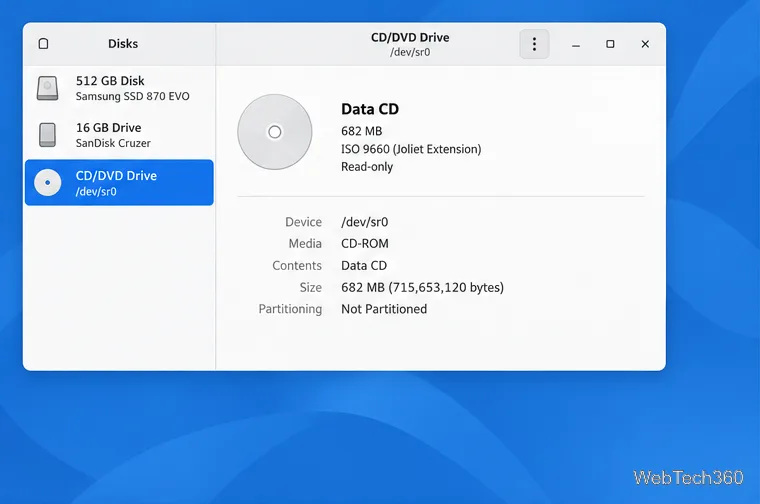
Create a CD-ROM ISO on Linux with GNOME Disks or dd. Identify the optical drive, monitor the copy, verify the image, and know when a damaged or audio disc needs another tool.
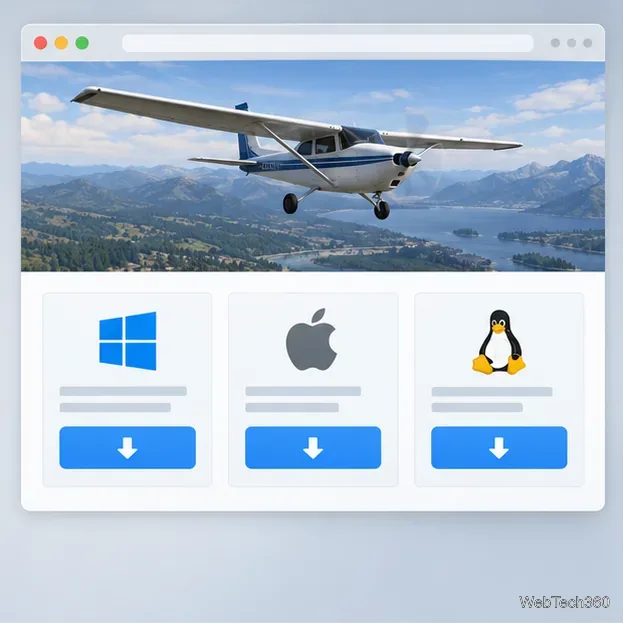
Download FlightGear for free from the official site. Compare Windows, macOS, and Linux packages, install the data files, and start your first flight.
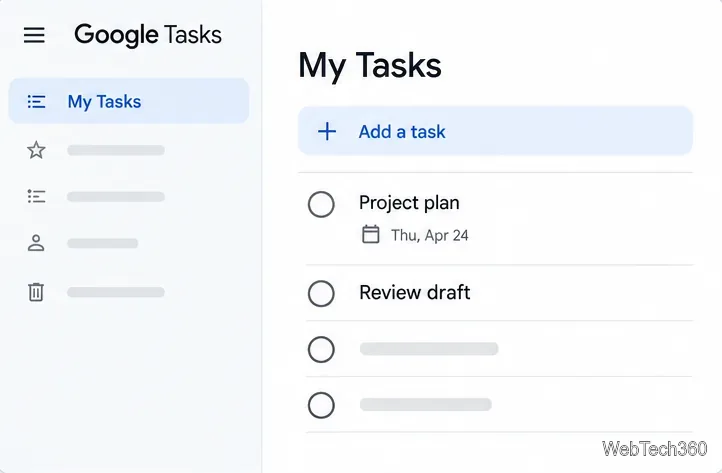
Open Google Tasks in a browser, add a Chrome shortcut or app-style launch, and manage dated to-dos through Calendar and Gmail.