How to Recover Lost Partitions and Hard Disk Data Safely
Learn how to recover lost partitions and files with TestDisk and PhotoRec. Protect the source drive, scan safely, and save recovered data to another disk.
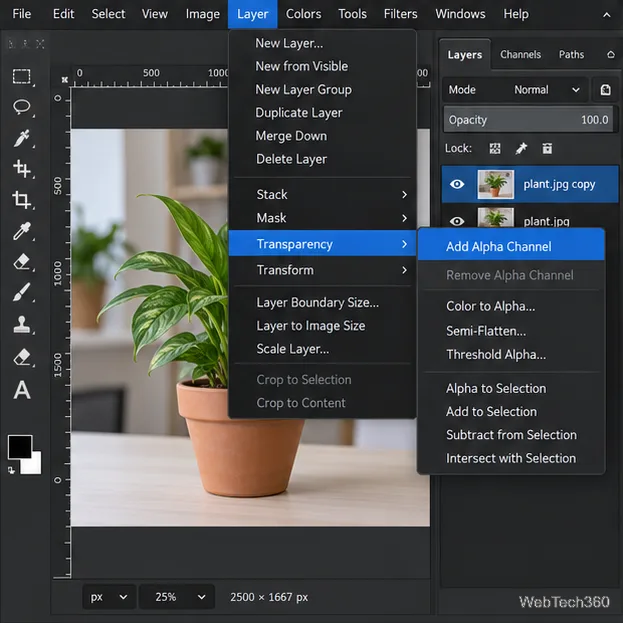
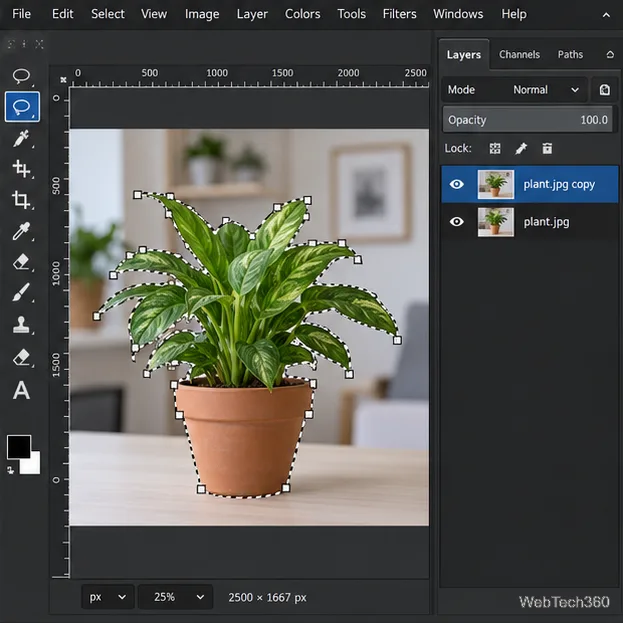
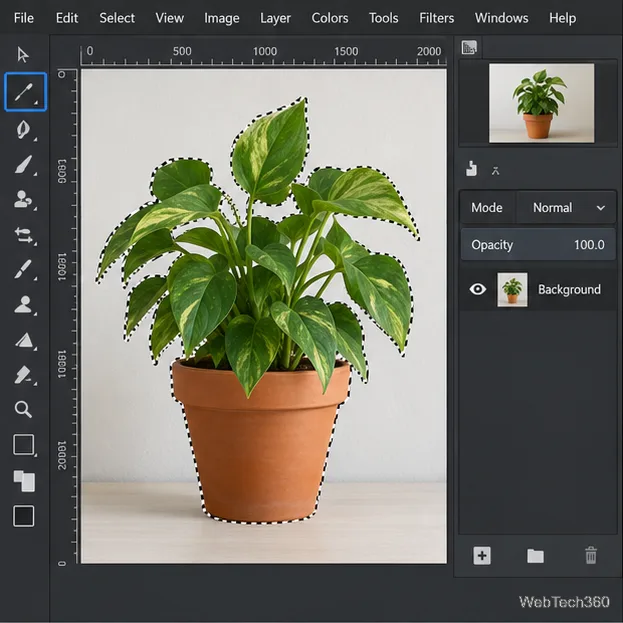
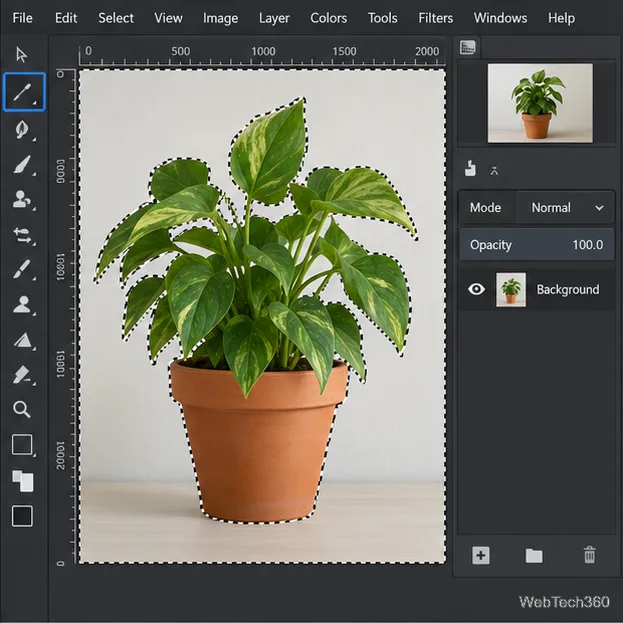
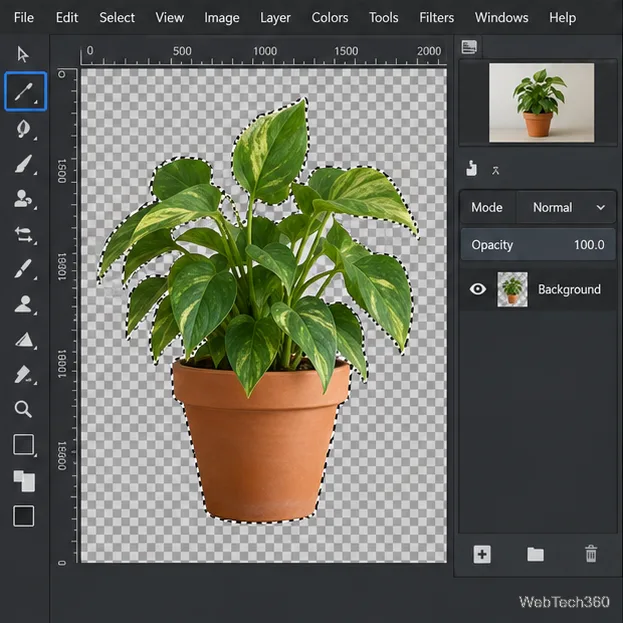
To cut out a subject on Linux, open the photo in GIMP, trace the subject with the Free Select tool, invert the selection, and delete the background. Add an alpha channel first and export the result as a PNG so the area around the subject stays transparent. This method works best for objects with a clear outline; fine hair and soft, see-through edges need more detailed cleanup.
If GIMP is not installed, use your Linux distribution’s software center or follow the current official GIMP downloads page. As of October 26, 2026, that page lists GIMP 3.2.6 as the current stable release. Its Linux instructions include Flatpak; on a system with Flatpak, the official install command is:
flatpak install --user https://flathub.org/repo/appstream/org.gimp.GIMP.flatpakrefPackage names and available versions vary by distribution, so use your distro’s package manager if you prefer its maintained package. Launch GIMP from the application menu after installation.
.xcf file with File > Save As; XCF preserves GIMP layers for later edits.
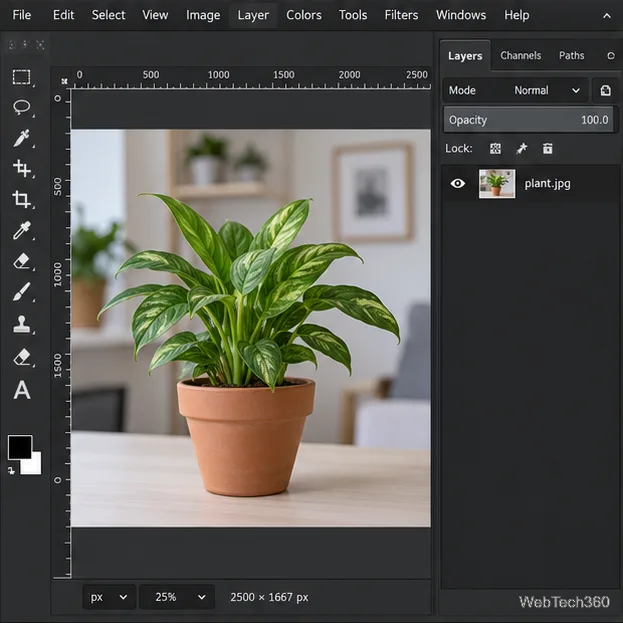
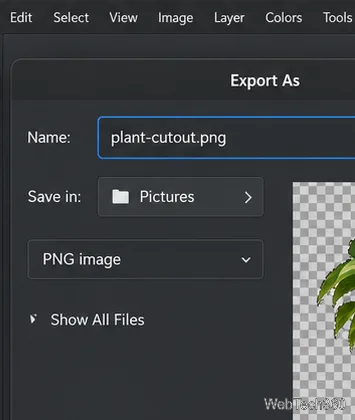
.png, choose PNG if GIMP asks for a format, and click Export. PNG supports transparency; JPEG does not. GIMP’s PNG export documentation lists the format options.
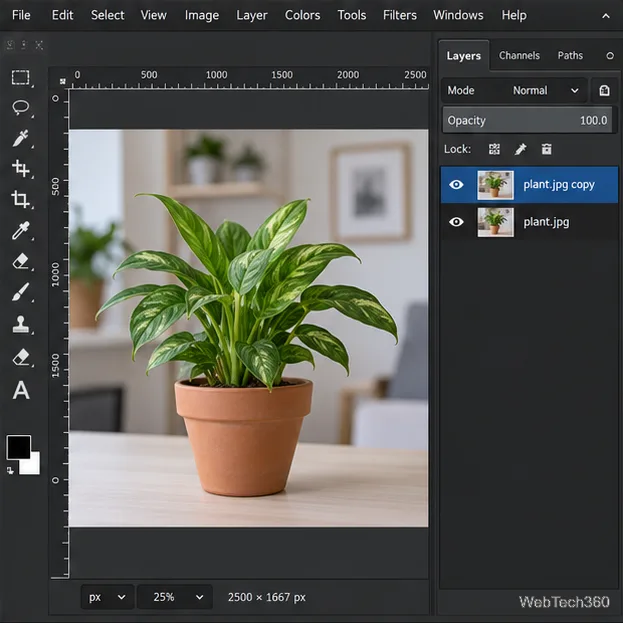
First check that the duplicate layer is active and that the original layer underneath is hidden. Then undo the deletion, add an alpha channel if needed, and delete again. A checkerboard in GIMP is the usual sign that the layer has transparent pixels; another image viewer may display transparency over a white page, so test the exported PNG over a colored background.
Zoom in and refine the selection with more points around curves. Keep the Antialiasing option enabled. Avoid feathering unless you want a deliberately soft edge: too much feathering can make the subject look blurry. Free Select is useful for a rough cutout, but GIMP notes that it is not ideal for precise edges; for hair or complicated outlines, refine the result with Quick Mask or a layer mask instead of expecting a perfect one-click selection.
Export a PNG rather than JPEG, and make sure you used Export As with a .png filename. Keep the XCF file as your editable master so you can adjust the outline or restore the original layer later.
Learn how to recover lost partitions and files with TestDisk and PhotoRec. Protect the source drive, scan safely, and save recovered data to another disk.
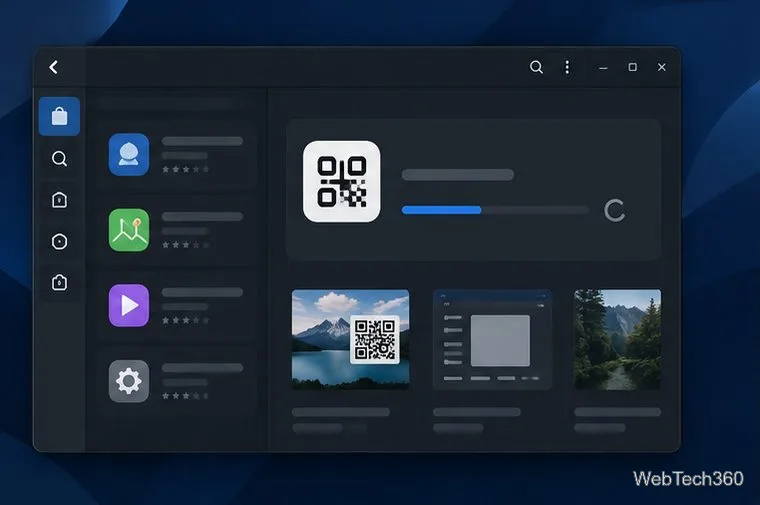
Scan QR codes on Linux with CoBang using a webcam or image file. See installation options, setup steps, and fixes for Flatpak camera access.
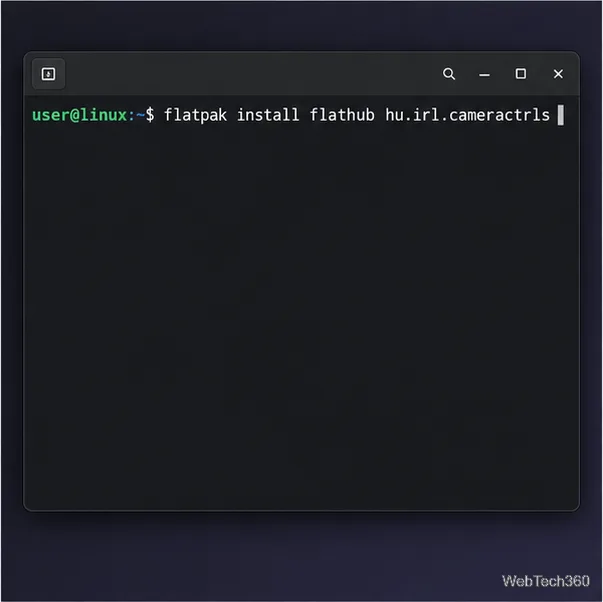
Change webcam settings on Linux with Cameractrls: tune exposure, color, flicker reduction, and other supported controls, then check compatible video modes.
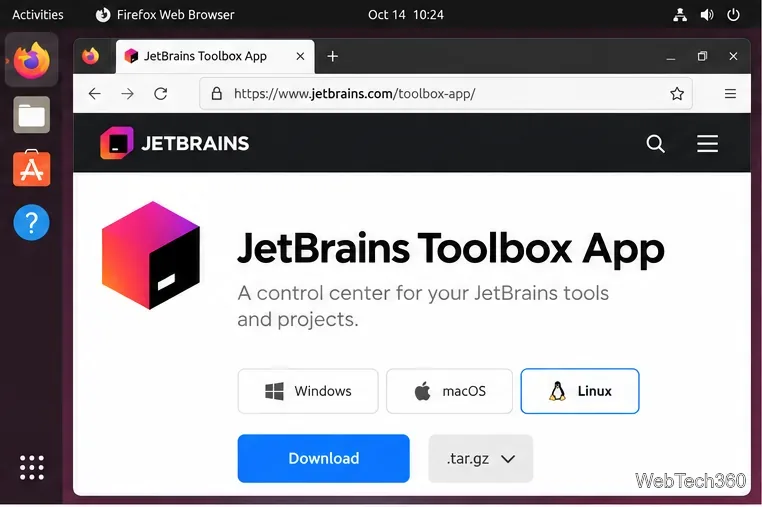
Install PhpStorm on Linux with JetBrains Toolbox or the standalone tar.gz archive, plus Snap and Arch AUR options. Java is already bundled.
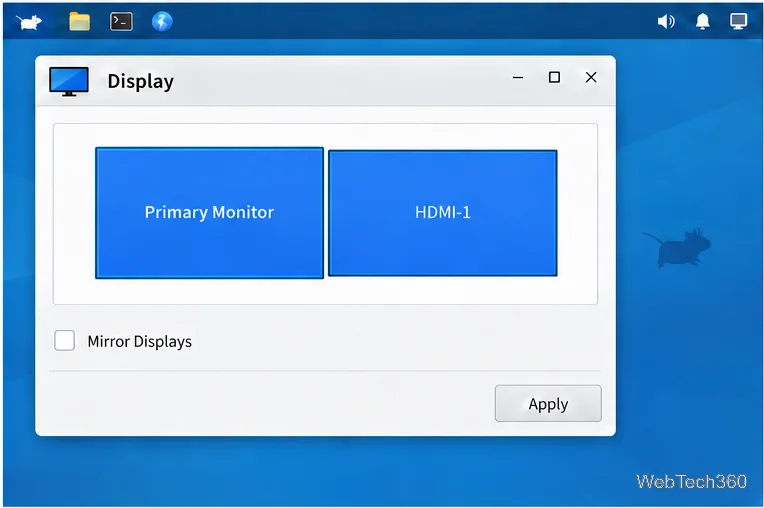
Create a separate XFCE 4 panel for each display, assign the second panel to the right output, position and size it, and add the launchers and status items you need.
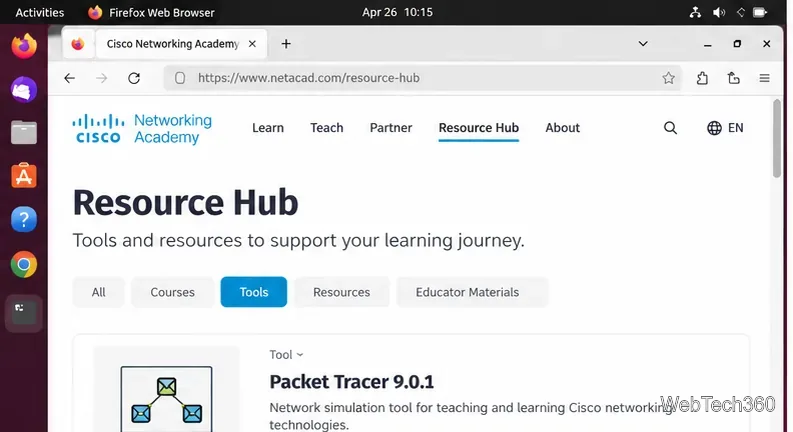
Download Cisco Packet Tracer 9.0.1 for Ubuntu 64-bit, install the DEB package with APT, accept the license in Terminal, and sign in to start a lab.
Remove a photo background on Linux with GIMP: trace a subject, delete the selected background, keep transparency, and export a reusable PNG.
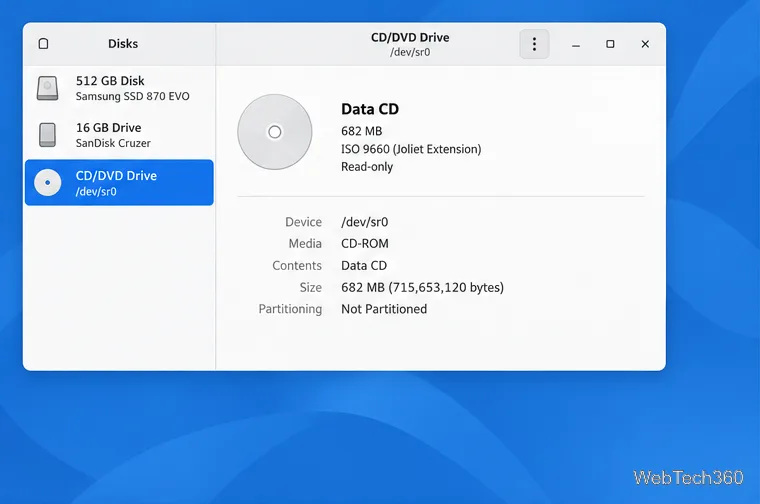
Create a CD-ROM ISO on Linux with GNOME Disks or dd. Identify the optical drive, monitor the copy, verify the image, and know when a damaged or audio disc needs another tool.
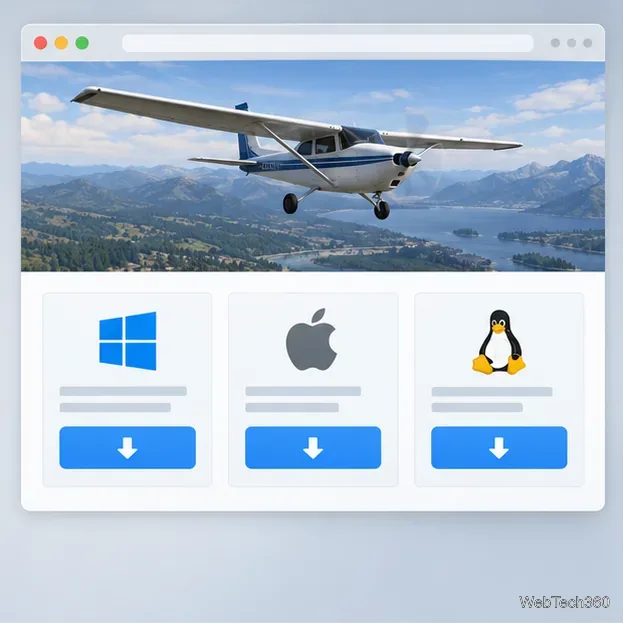
Download FlightGear for free from the official site. Compare Windows, macOS, and Linux packages, install the data files, and start your first flight.
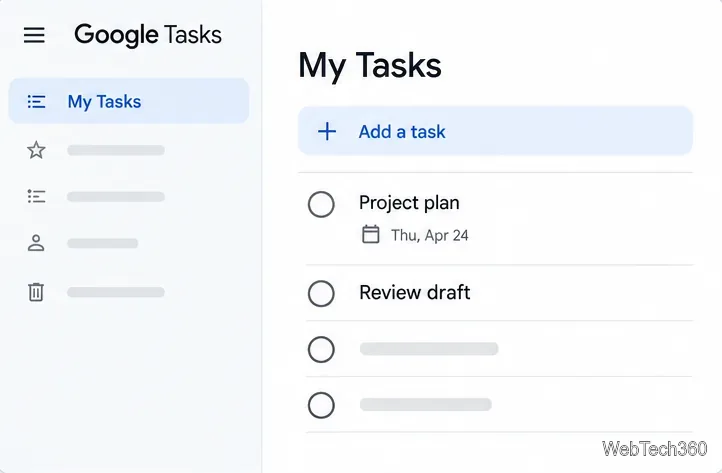
Open Google Tasks in a browser, add a Chrome shortcut or app-style launch, and manage dated to-dos through Calendar and Gmail.