How to Screenshot on Mac: A Comprehensive Guide
Learn how to screenshot on Mac with shortcuts for the full screen, an area, or a window, plus the Screenshot app, clipboard, editing, and save-location tips.
You can add multiple images to a single PDF on macOS by selecting them in Finder and choosing Quick Actions > Create PDF. For more control over paper size, image scaling, or pictures per page, open the images together in Preview and save the print layout as a PDF.
Both methods use tools included with your Mac. The instructions use English menu labels; the appearance and placement of controls can vary between macOS versions.
Use Finder when you want a straightforward PDF containing your selected pictures. Apple documents this built-in Create PDF workflow.
Open the folder containing your images. Hold Command and click each file you want to include. Select them in the intended reading order: Apple says the PDF follows the order in which you select the files. For a three-picture document, select the first picture, then the second, then the third.
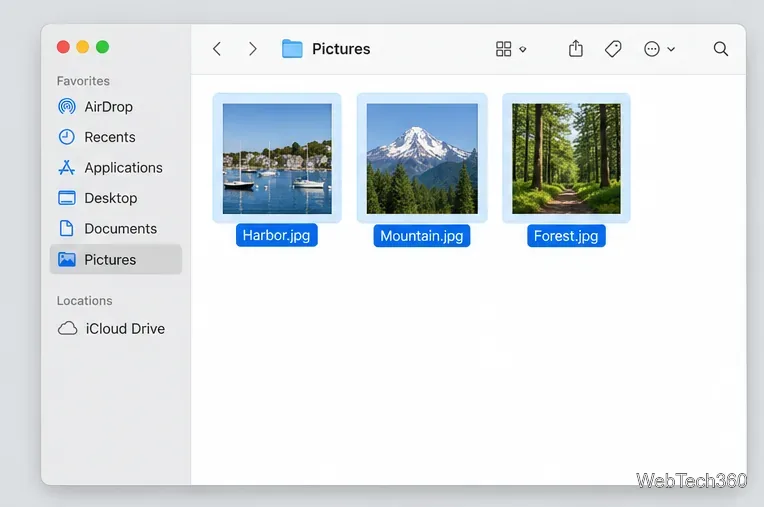
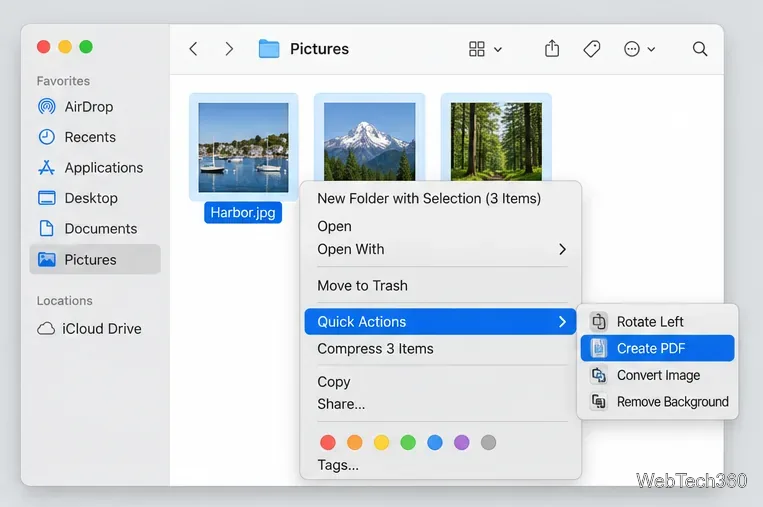
Control-click the selection, then choose Quick Actions > Create PDF. Finder creates a PDF automatically with a name similar to the first selected file. Rename the new PDF to something recognizable.
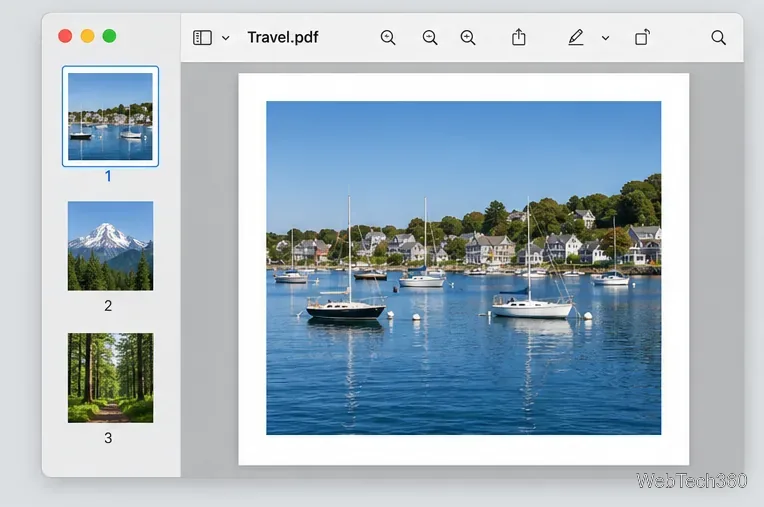
Open the PDF in Preview and choose View > Thumbnails. Check that every picture appears and the order is correct. If necessary, drag page thumbnails into the correct positions. Preview saves document changes automatically, so duplicate the PDF first if you want to preserve its initial version.
This method is useful when you need a consistent paper size or want to avoid cropping images with different proportions.
Select the pictures in Finder, Control-click, then choose Open With > Preview. If they open in separate windows, go to Preview > Settings > Images, select Open groups of files in the same window, and reopen the group. Apple explains this setting in its guide to displaying several files together.
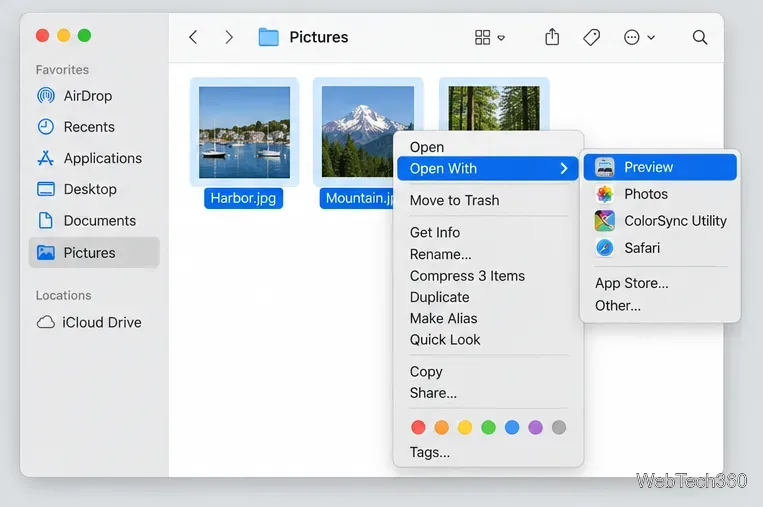
Choose View > Thumbnails. Drag the image thumbnails into the desired order. Click a thumbnail, then press Command-A while the sidebar has focus to select the entire group. Opening several images together does not, by itself, save them as one PDF.
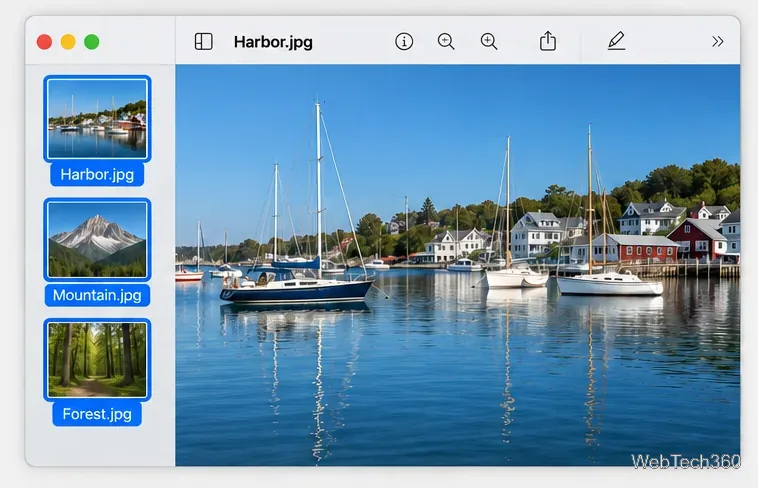
Choose File > Print, or press Command-P. If you are printing selected thumbnails, enable Selection in the Preview options when available. Check the preview's page count before continuing: for three images with one image per page, it should show three pages.
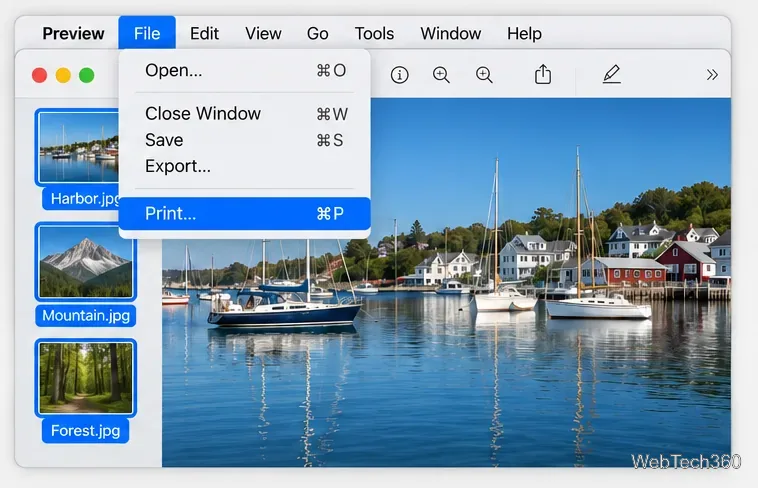
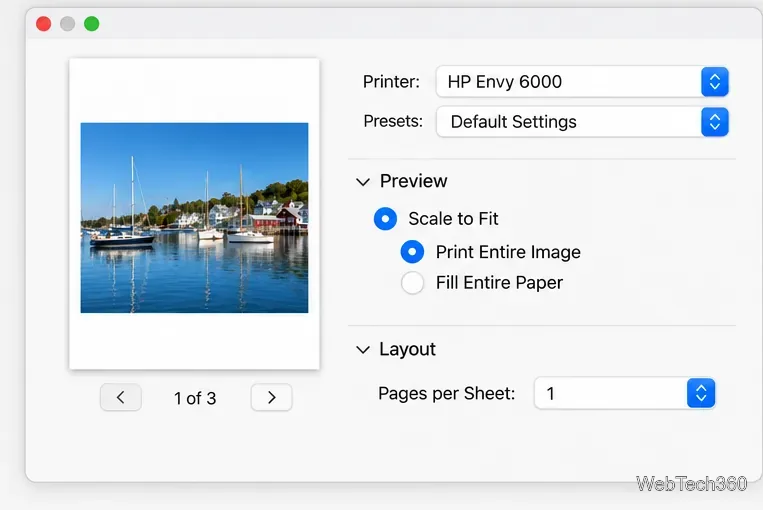
Select the required paper size and orientation. In the Preview section, choose Scale to Fit > Print Entire Image to keep the whole picture visible. Fill Entire Paper can crop it.
In Layout, keep Pages per Sheet at 1 for one picture per PDF page. Choose a higher value only if you want a contact sheet. These controls are covered in Apple's Preview printing instructions.
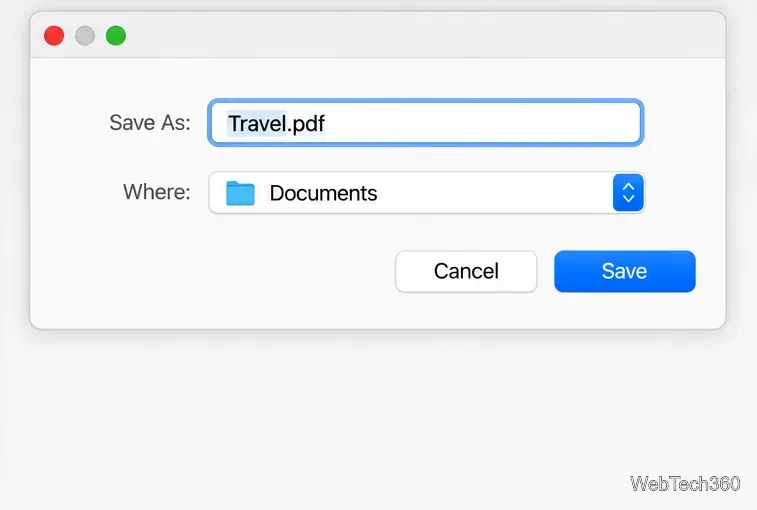
Open the PDF pop-up menu in the Print dialog and choose Save as PDF. Enter a filename and location, then click Save. This creates a file rather than sending the document to a physical printer. Apple also provides a guide to saving documents as PDFs.
Reopen the saved file and check every page for missing pictures, unexpected cropping, and unreadable details before uploading or sharing it.
Learn how to screenshot on Mac with shortcuts for the full screen, an area, or a window, plus the Screenshot app, clipboard, editing, and save-location tips.
Combine multiple images into a single PDF on macOS using Finder or Preview. Control page order, avoid cropping, and fix missing pages without extra software.
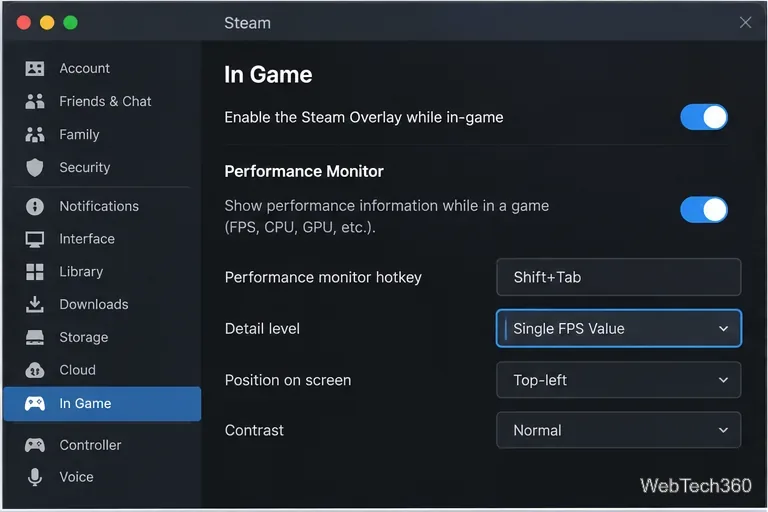
Learn how to show FPS on a Mac with Steam’s performance overlay or Apple’s Metal Performance HUD, plus fixes when the counter does not appear.
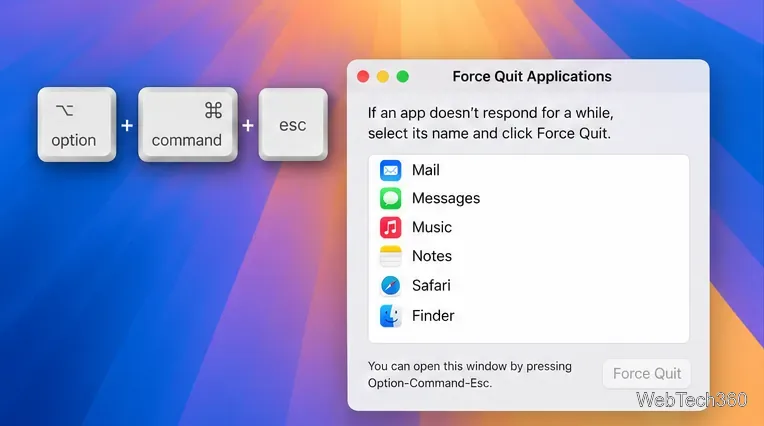
Use Option–Command–Esc to force quit an unresponsive Mac app, or close it from the Apple menu, Dock, Activity Monitor, or Terminal.
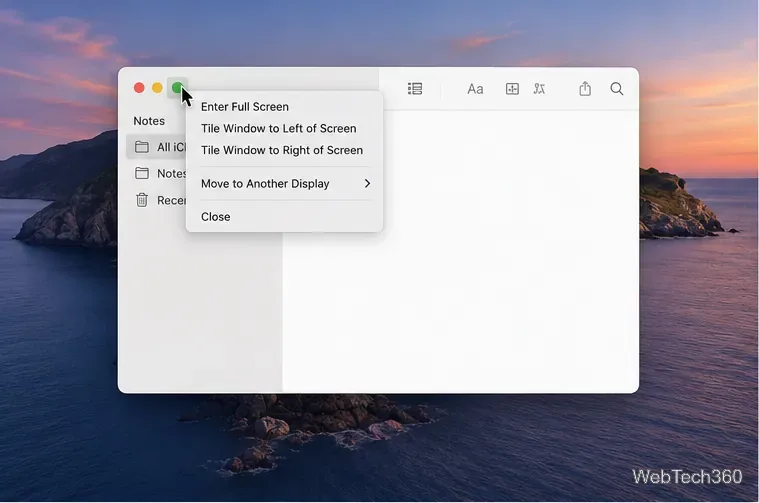
Set up Split View, resize or replace a pane, use Mission Control, and learn when desktop window tiling is a better fit on your Mac.
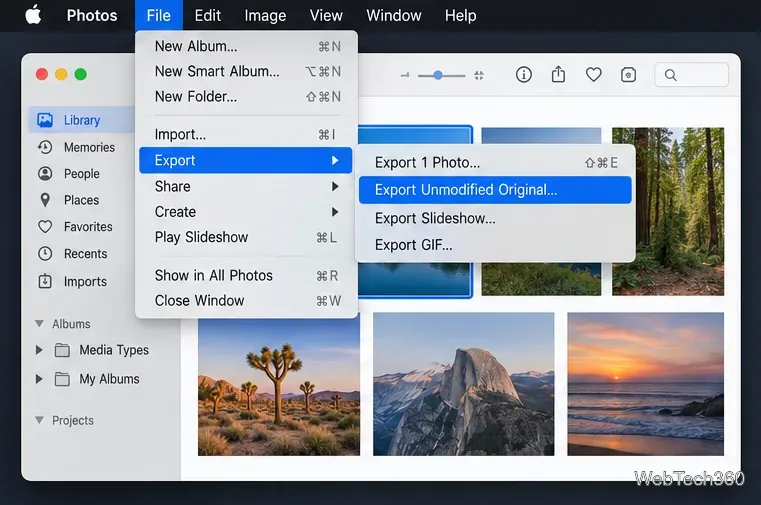
Learn how to remove EXIF data from photos on macOS, hide location in Photos, clean exported JPEG copies with ExifTool, and verify the result.
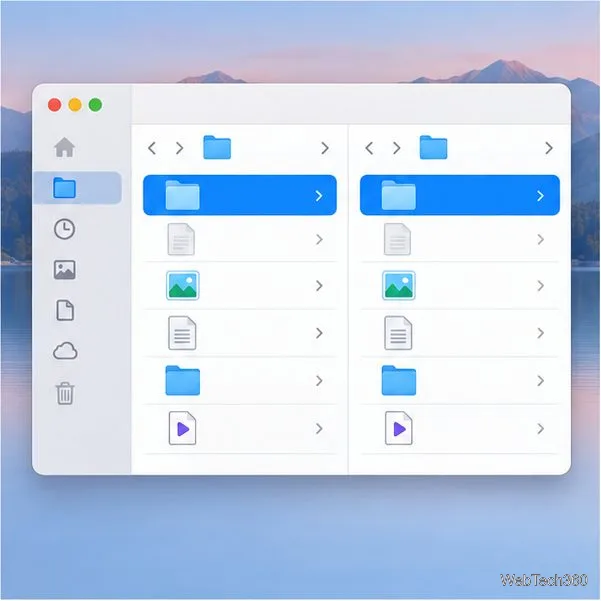
Sync two folders on a Mac with SyncTwoFolders, choose a one-way or two-way update, and preview changes before files are replaced or removed.
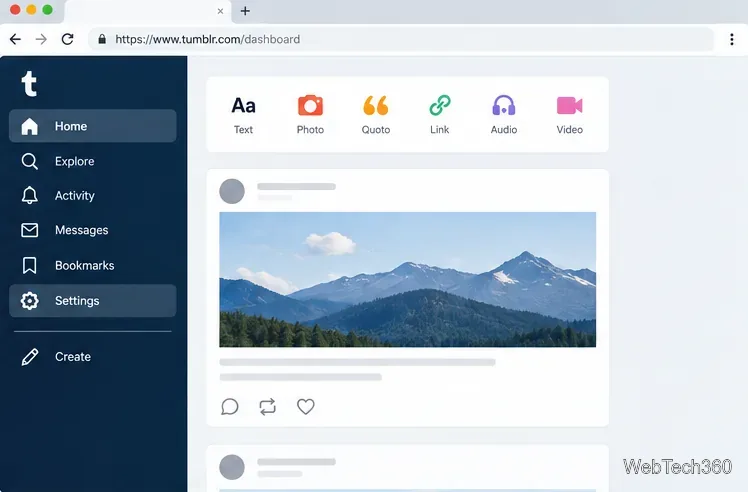
Back up a Tumblr blog on your Mac with Tumblr’s web export. Download and unpack the ZIP, keep its posts and media safe, and know what the archive leaves out.
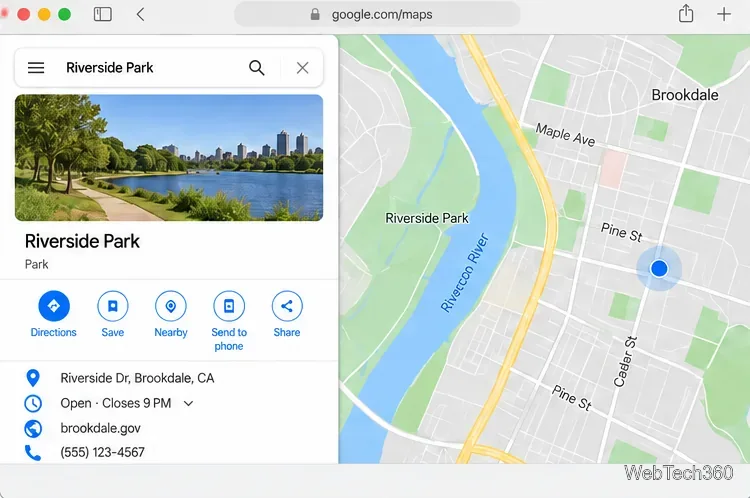
Use Google Maps on your Mac in Safari or Chrome, find places and routes, switch map layers, and add a Safari web app to your Dock on macOS Sonoma 14 or later.
Compare five free WAV-to-MP3 converters for Windows and macOS, including online file limits, local batch tools, and practical export settings.