How to Screenshot on Mac: A Comprehensive Guide

Learn how to screenshot on Mac with shortcuts for the full screen, an area, or a window, plus the Screenshot app, clipboard, editing, and save-location tips.
To use split screen on a Mac, open two apps, hover over the green button in the first window’s upper-left corner, choose a left- or right-side placement under Full Screen, then click the second app. macOS opens the pair in Split View, a full-screen desktop space for working in two apps side by side. Menu wording can vary by macOS version.
Start with the two apps you want to use, such as Safari and Notes. Make sure both are open; the second app should have a window ready to select.
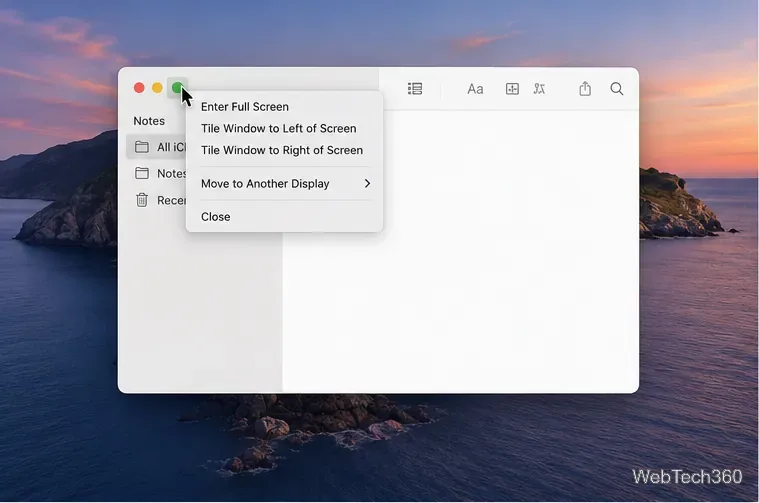
The two apps share the display, with a vertical separator between them. In full-screen Split View, the menu bar and Dock may hide until you move the pointer to the top or bottom edge. For Apple’s current steps and controls, see Use apps in Split View on Mac.
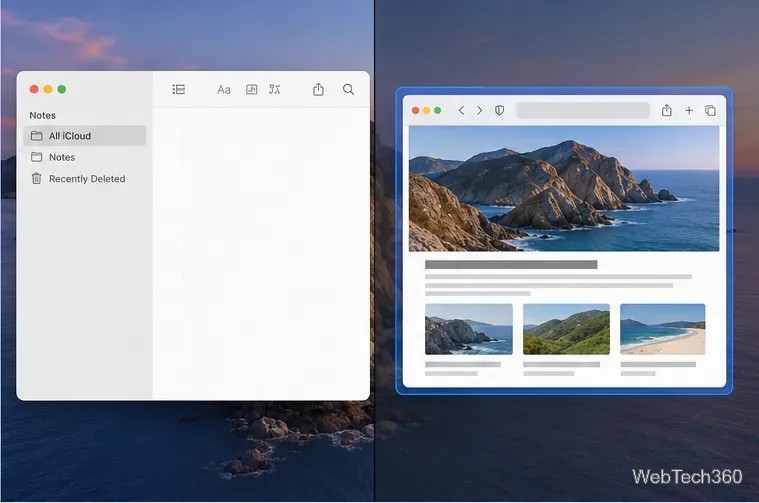
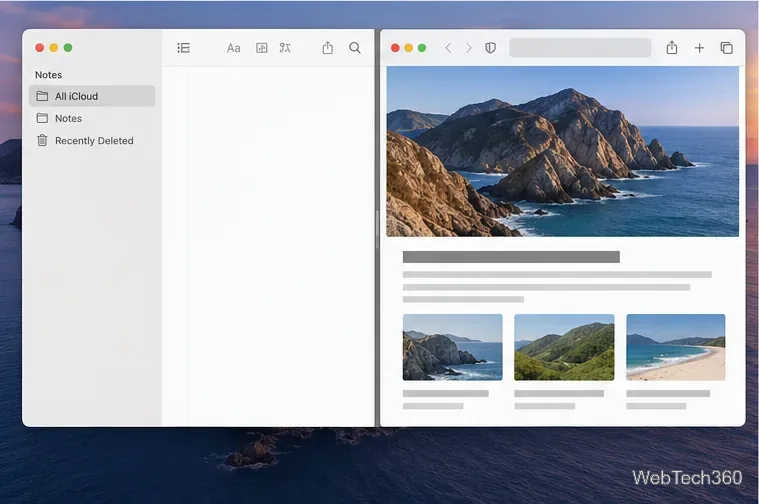
To give one app more room, move the pointer over the center separator and drag it left or right. Double-click the separator to restore equal widths. You can also drag an app’s title bar to the opposite side to switch the panes.
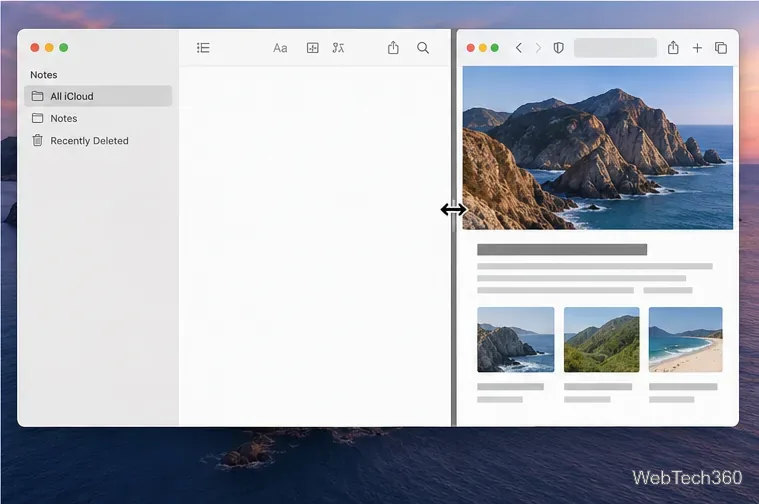
To change just one side, click the app you want to replace, hover over its green button, choose Replace Tiled Window, then select another open window. This keeps the other app in place.
Mission Control is useful when one app is already full screen or when you prefer to work from the overview of open windows.
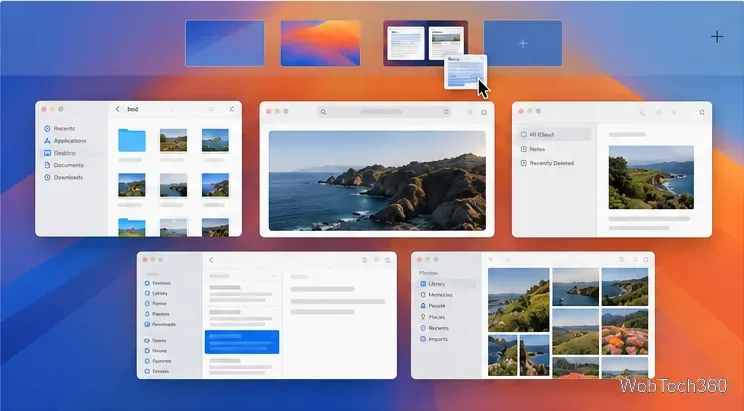
Control–Up Arrow opens Mission Control; it does not immediately split two windows. Apple documents the green-button and Mission Control routes for creating Split View. See View open windows and spaces in Mission Control.
Split View gives two apps a dedicated full-screen space. Window tiling arranges windows on your regular desktop, so the Dock and menu bar remain part of the workspace. If your macOS version supports the feature, drag a window toward the left or right edge and release when the highlighted placement appears. You can also hover over the green button or use the app’s Window menu to choose a layout.
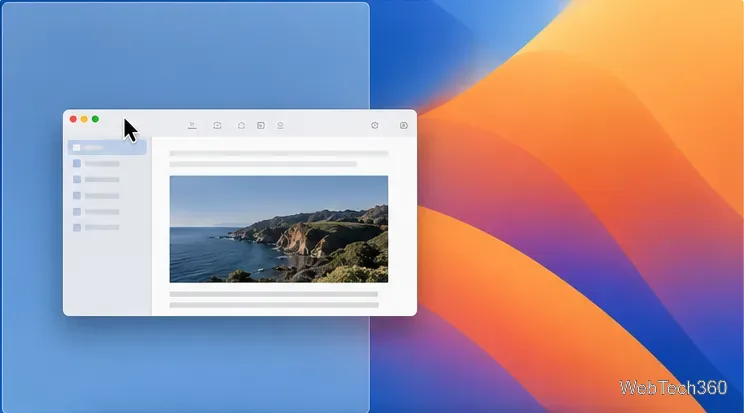
Use tiling when you want more flexible window arrangements or need to keep other desktop windows visible. Apple’s Tile windows on Mac guide lists the available layouts and ways to apply them. Tiling and Split View are related, but they do not behave the same way.
Connect and position an external display, then open Apple menu > System Settings > Displays to arrange the screens. The Arrange control appears when a display is connected. To use Split View on a display other than the main one, Apple says Displays have separate Spaces must be enabled in System Settings > Desktop & Dock. Then start Split View on the display where you want the two apps.
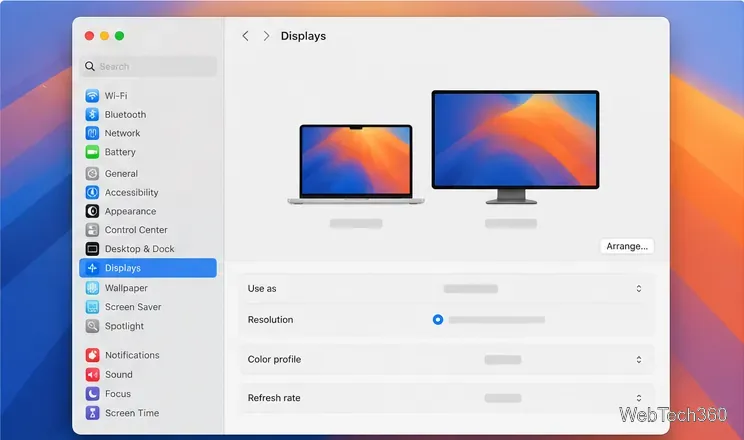
See Apple’s Displays settings on Mac and Desktop & Dock settings for those options.
Move the pointer to the top of either pane, hover over its green button, and choose Move Window to Desktop. That app returns to the desktop; the other app may remain full screen in its own space. Use Mission Control or the Control–Left/Right Arrow shortcuts to move between spaces.
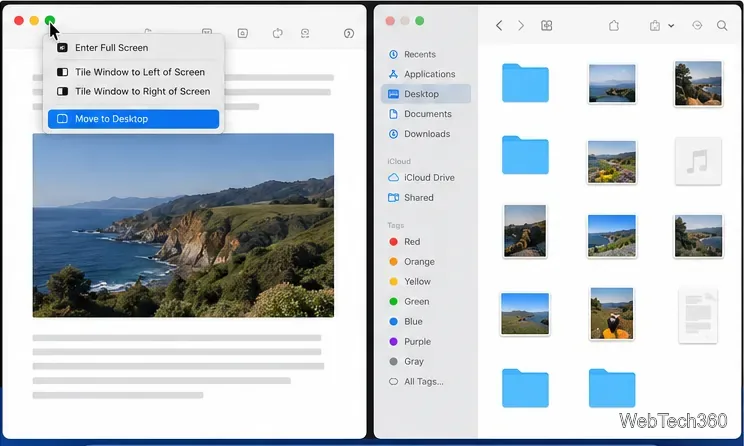
For exactly two focused apps, use Split View. For several windows or a desktop that stays visible, use tiling. That distinction makes it easier to pick the Mac window layout that fits the task.
Learn how to screenshot on Mac with shortcuts for the full screen, an area, or a window, plus the Screenshot app, clipboard, editing, and save-location tips.
Combine multiple images into a single PDF on macOS using Finder or Preview. Control page order, avoid cropping, and fix missing pages without extra software.
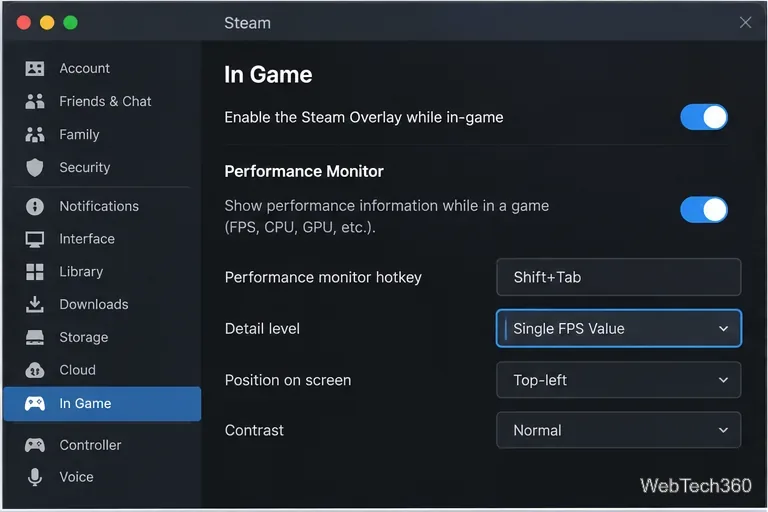
Learn how to show FPS on a Mac with Steam’s performance overlay or Apple’s Metal Performance HUD, plus fixes when the counter does not appear.
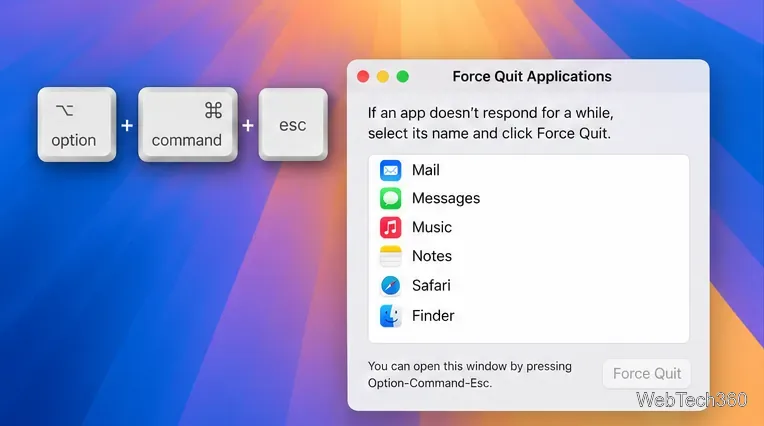
Use Option–Command–Esc to force quit an unresponsive Mac app, or close it from the Apple menu, Dock, Activity Monitor, or Terminal.
Set up Split View, resize or replace a pane, use Mission Control, and learn when desktop window tiling is a better fit on your Mac.
Learn how to remove EXIF data from photos on macOS, hide location in Photos, clean exported JPEG copies with ExifTool, and verify the result.
Sync two folders on a Mac with SyncTwoFolders, choose a one-way or two-way update, and preview changes before files are replaced or removed.
Back up a Tumblr blog on your Mac with Tumblr’s web export. Download and unpack the ZIP, keep its posts and media safe, and know what the archive leaves out.
Use Google Maps on your Mac in Safari or Chrome, find places and routes, switch map layers, and add a Safari web app to your Dock on macOS Sonoma 14 or later.
Compare five free WAV-to-MP3 converters for Windows and macOS, including online file limits, local batch tools, and practical export settings.