How to Screenshot on Mac: A Comprehensive Guide

Learn how to screenshot on Mac with shortcuts for the full screen, an area, or a window, plus the Screenshot app, clipboard, editing, and save-location tips.
To take a screenshot on a Mac, press Shift-Command-3 to capture the full screen, Shift-Command-4 to select an area, or Shift-Command-5 to open the Screenshot controls. Captures normally save to the desktop; add Control to a shortcut to copy the image to the clipboard instead.
The built-in tools cover each main capture type.
| What you want to capture | Shortcut |
|---|---|
| Entire screen | Shift-Command-3 |
| Selected area | Shift-Command-4 |
| Window or menu | Shift-Command-4, then Space bar |
| Screenshot and screen-recording controls | Shift-Command-5 |
| Touch Bar, on supported MacBook Pro models | Shift-Command-6 |
Press and release the keys together. To send any shortcut capture to the clipboard rather than saving a file, hold Control as you press the other keys.

If you use more than one display, check the resulting files to confirm you captured the screen you wanted. For a single app or a smaller area, use a window or selection capture instead.

The screenshot appears as a thumbnail if that option is enabled; otherwise, it saves directly to your chosen destination.
To capture only particular items inside an open menu, press Shift-Command-4 and drag across those items instead of using the camera pointer.
On macOS Mojave 10.14 or later, press Shift-Command-5 to open Screenshot. Select a still-image tool for the whole screen, a window, or a portion; then click Capture. The same panel also includes screen-recording tools, so choose a still capture when you want an image.
Open Options in the panel to choose a destination, including another folder, and to set a timer. Depending on the capture, you can also show or hide the floating thumbnail and mouse pointer. A timer is useful when you need to open a menu or arrange a window after starting the capture.
On supported Macs running macOS Tahoe 26 or later, Screenshot can also offer SDR and HDR capture formats. Apple lists SDR as PNG and HDR as HEIF; the available choices depend on the Mac and system version.

Hold Control while using the shortcut you need. For example, press Control-Shift-Command-3 to copy the full screen, or add Control to the Shift-Command-4 shortcut for a selected area. Then paste with Command-V. If you already took a screenshot and its thumbnail is visible, Control-click the thumbnail and choose Save to Clipboard.
By default, screenshot files go to the desktop and use a name that starts with “Screen Shot” followed by the date and time. If you changed the destination, press Shift-Command-5 and check Options > Save to. You can also drag the floating thumbnail straight into a Finder window, document, email, or note.
Click the thumbnail to open the screenshot’s editing and sharing controls. If it disappears before you use it, take another capture and click it promptly, or change the floating-thumbnail setting in Options.
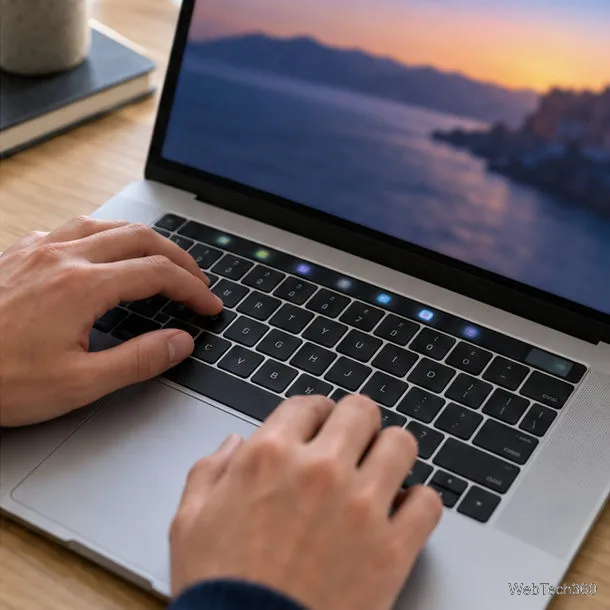
If your MacBook Pro has a Touch Bar, press Shift-Command-6 to capture its currently displayed controls. Mac models without a Touch Bar do not use this shortcut.
For the latest supported shortcuts and options, see Apple’s Mac screenshot instructions and its guide to screenshots and screen recordings. Apple’s screenshot page is dated March 27, 2026.
Learn how to screenshot on Mac with shortcuts for the full screen, an area, or a window, plus the Screenshot app, clipboard, editing, and save-location tips.
Combine multiple images into a single PDF on macOS using Finder or Preview. Control page order, avoid cropping, and fix missing pages without extra software.
Learn how to show FPS on a Mac with Steam’s performance overlay or Apple’s Metal Performance HUD, plus fixes when the counter does not appear.
Use Option–Command–Esc to force quit an unresponsive Mac app, or close it from the Apple menu, Dock, Activity Monitor, or Terminal.
Set up Split View, resize or replace a pane, use Mission Control, and learn when desktop window tiling is a better fit on your Mac.
Learn how to remove EXIF data from photos on macOS, hide location in Photos, clean exported JPEG copies with ExifTool, and verify the result.
Sync two folders on a Mac with SyncTwoFolders, choose a one-way or two-way update, and preview changes before files are replaced or removed.
Back up a Tumblr blog on your Mac with Tumblr’s web export. Download and unpack the ZIP, keep its posts and media safe, and know what the archive leaves out.
Use Google Maps on your Mac in Safari or Chrome, find places and routes, switch map layers, and add a Safari web app to your Dock on macOS Sonoma 14 or later.
Compare five free WAV-to-MP3 converters for Windows and macOS, including online file limits, local batch tools, and practical export settings.