Home
» WEB
»
How to Clear Your Google Search History in 3 Easy Steps
How to Clear Your Google Search History in 3 Easy Steps
To clear the searches saved to your Google Account, open Search history, choose a single search, a custom date range, or Delete all time, and confirm. On a phone, use the Google app; on a computer, open Google Search history in My Activity. This removes account activity. It does not necessarily clear the history saved by Chrome, Safari, or another browser.
Before you delete: account history and browser history are separate
Google Search history is activity saved to a Google Account. Browser history is the list of pages saved on a device by a browser. Deleting one does not always delete the other, so first decide whether you want to remove searches from your account, visited web addresses from a browser, or both.
Google is rolling out updated controls called Search Services History. Depending on your account, the setting may still appear as Web & App Activity. Google says the newer Search Services History control can cover activity across Search services such as Search, Maps, Shopping, Translate, and News. If you only want to delete Google Search items from the broader My Activity page, filter by product and choose Search before you delete anything. The screen labels may vary while this rollout continues.
Step 1: Open Search history for the right Google Account
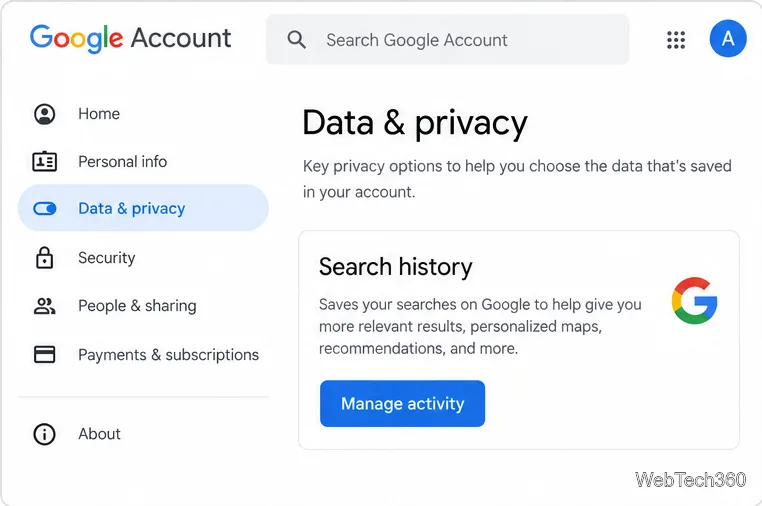
On Android or iPhone, open the Google app, tap your profile picture or initial in the upper-right corner, and choose Search history. Check that the profile belongs to the account whose activity you want to erase. If you use a browser, visit myactivity.google.com/product/search and sign in if prompted.
Open Search history from Google Account controls
If you land on the main My Activity page instead, use its search or product filter to select Search. Avoid choosing a broad “all activity” option unless you intend to delete more than Search history. Google’s official Search history instructions explain the current routes for desktop and mobile.
Step 2: Choose which searches to remove
You can delete one item, activity from a particular day, a custom period, or all saved Search history. Select the scope that matches your goal:
One search: Find the entry and use its delete or activity-item control.
A day: Use the option beside that day to delete its activity.
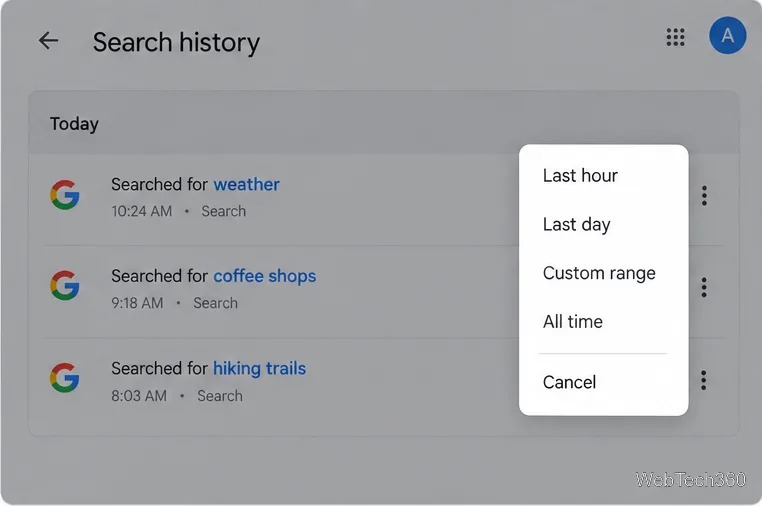
A date range: Open Delete and choose Delete custom range, then enter the dates.
Everything in Search history: Open Delete and choose Delete all time.
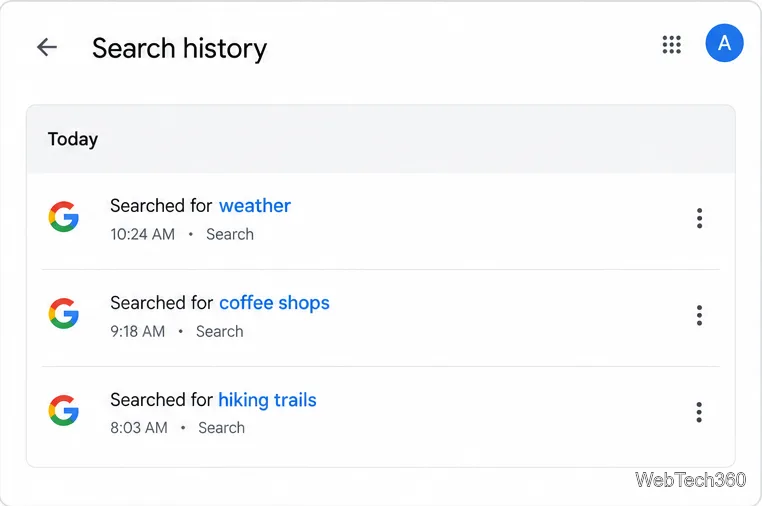
Find individual searches in Search history
On the Google app, the menu may use a down arrow next to Delete. On the computer, the controls appear above the Search history list. If you are using the broader My Activity page, filter by Search and date first, then choose the option to delete the filtered results. This helps prevent removing activity from other Google products by mistake.
Choose the date range to remove
Step 3: Review the choice and confirm
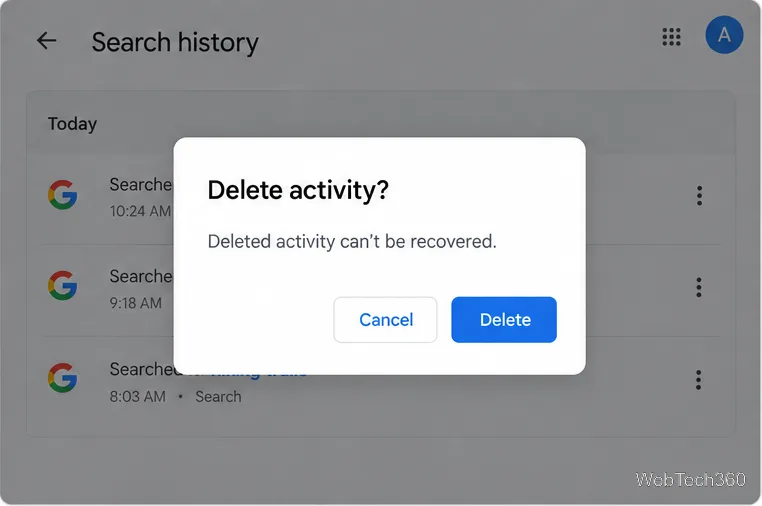
Read the confirmation carefully, especially when deleting all time or a custom range. Deletion cannot be undone through the Search history controls. Tap or click Delete to proceed. Google says the removal process starts across its products and systems; for limited business or legal reasons, certain data may be retained longer. If another device is offline, deleted activity may remain visible there until it reconnects and syncs.
Confirm the selected activity deletion
Keep future activity under control
To stop future Search activity from being saved to your account, open the Google app’s Search history and go to Controls, or open the activity controls in My Activity. Turn off Search Services History or, on accounts that still show the older setting, Web & App Activity. Choose Turn off and delete activity only if you also want to remove past activity; simply turning the setting off does not erase history already saved.
You can also set Auto-delete for activity older than 3, 18, or 36 months. The setting is available from Search history controls or the relevant history setting in your Google Account. See Google’s Search Services History guide for current controls and notes about what the setting includes.
Clear Chrome or other browser history separately
If you also want to remove visited websites from Chrome, open Chrome’s menu, choose Delete browsing data, select a time range, check Browsing history, and choose Delete data. Review the other boxes before confirming: cookies, saved passwords, and site data are separate categories and may affect sign-ins or saved preferences. Use the browser’s own instructions for Safari, Firefox, or another browser.
Google notes that searches made in its app while signed out can be stored on the device, and browser history can keep visited pages even after you clear account activity. If searches still appear, check the Google app’s local history and the browser history as well. For Chrome’s exact options, use Google Chrome Help.