Home
» WEB
»
How to Record Audio From a Tab in Chrome
How to Record Audio From a Tab in Chrome
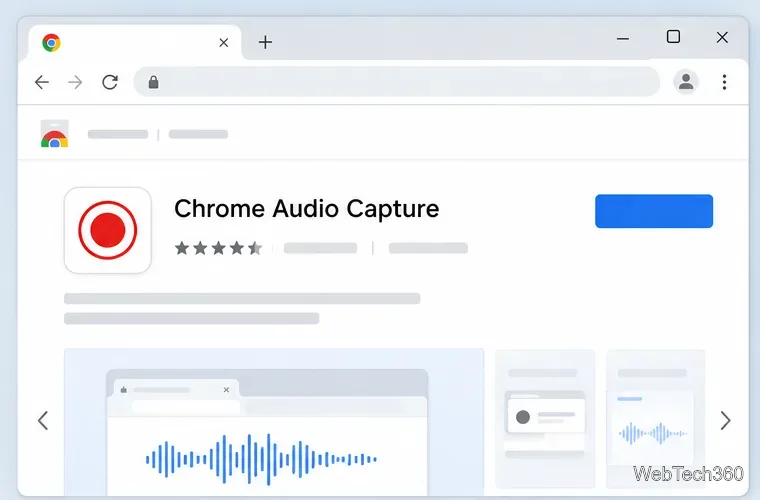
Chrome does not have a built-in command that saves only the sound from a browser tab as an audio file. To do that without recording your whole desktop, use a tab-audio extension from the Chrome Web Store. The current Chrome Audio Capture listing describes capturing the active tab and exporting MP3 or WAV. It is a third-party extension, not a Google product.
Older how-tos may use a different extension ID. Before installing, check the live page’s publisher, privacy disclosure, and permissions. Chrome’s permissions guide explains what extensions can access. The listing says recordings stay local; that is the developer’s disclosure. Record only audio you are allowed to capture, and get consent for conversations or meetings.
The current Web Store listing is the starting point; verify its publisher and permissions before installing.
Install and pin the extension
Open the live Chrome Web Store page linked above. Confirm the listing title and publisher, review its current privacy information, then choose the install button and accept Chrome’s prompt if you want to proceed.
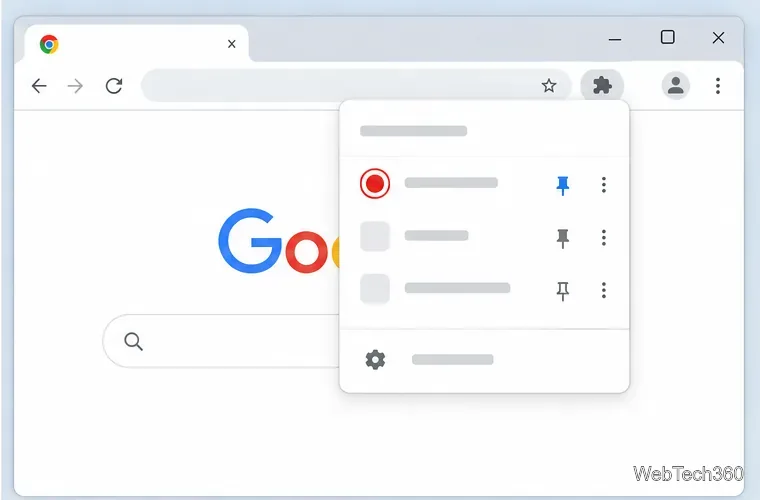
After installation, open Chrome’s Extensions menu using the puzzle-piece icon. Use the pin control beside the recorder so its icon stays visible on the toolbar. The menu and pin behavior are covered in Chrome’s toolbar help.
Pinning the extension makes its toolbar button easier to reach while the audio tab is open.
Choose an output format
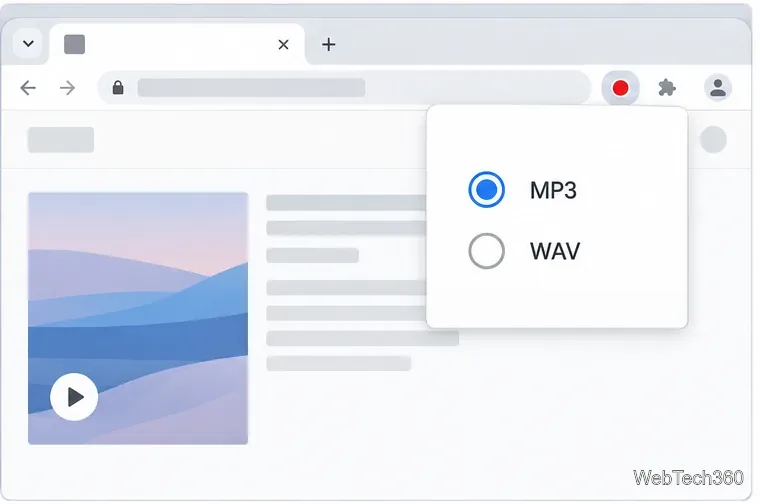
Choose a format before recording if the extension offers the setting. MP3 is compressed and creates smaller files for sharing. WAV is uncompressed, useful for editing, and larger. The current listing describes both formats; controls can change with updates.
Choose MP3 for a smaller file or WAV when you want uncompressed audio for editing.
Record audio from a Chrome tab
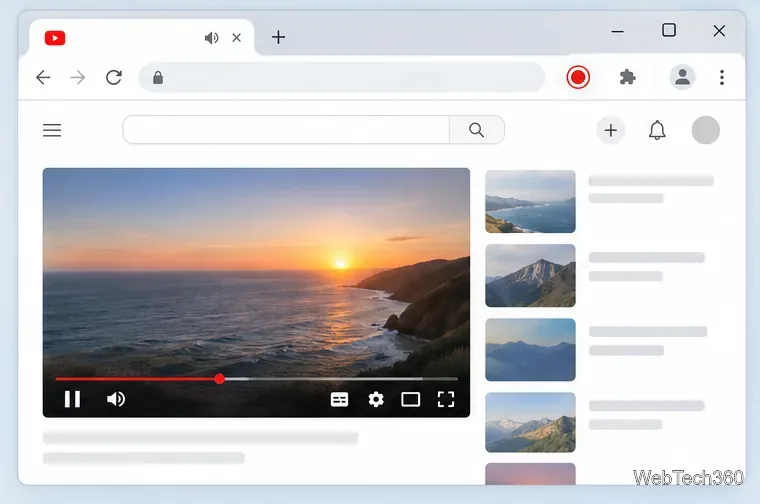
Open the source tab. Navigate to the page with the audio and make sure it is the active tab. If you need the beginning, leave playback paused at the start. A tab-capture extension records the selected tab’s audio stream, not sound from other desktop apps or your microphone. Chrome’s tabCapture documentation describes this as access to the current tab’s media stream.
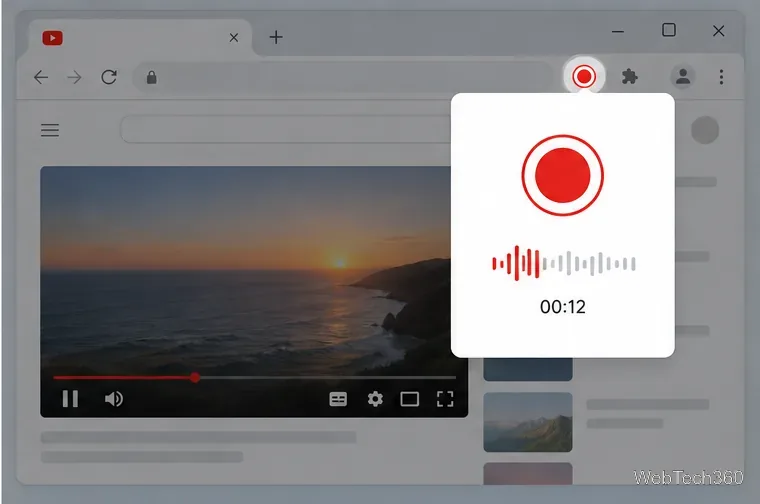
Start capture before playback. Click the recorder’s toolbar icon and choose its record or start control. The extension may open a small panel or another capture view. Start first, then play the source so you do not miss its opening seconds. A microphone permission is not needed for tab audio alone; do not enable microphone capture unless you intend to include your own voice.
Open and select the tab that contains the sound you want to capture.Start the recording before pressing play to capture the beginning of the audio.
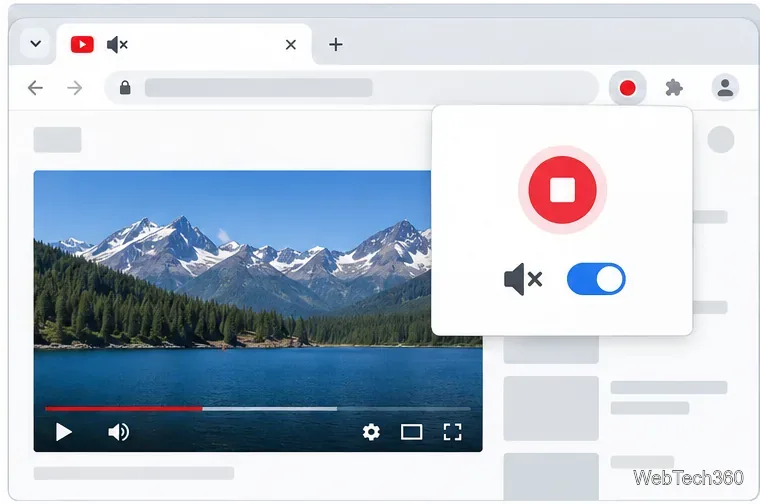
Check for a recording indicator or timer. Keep the source tab open until you stop. If you want to listen privately, use the extension’s tab-mute control if available. Test it first and confirm the saved audio is not silent.
The optional tab-mute control can silence playback while capture continues; test it with a short clip first.
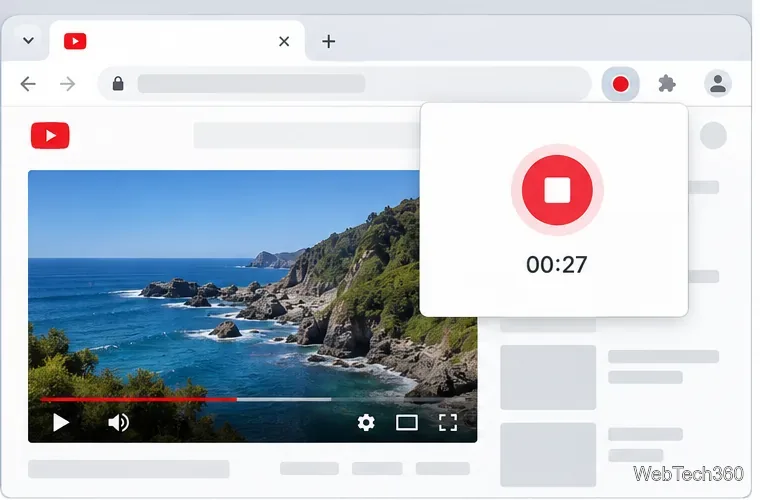
Stop at the right point. Click the extension’s stop control when you have the segment you need. Do not close the tab or Chrome while the extension is processing the recording. Some versions may show a preview, history item, or export prompt after capture.
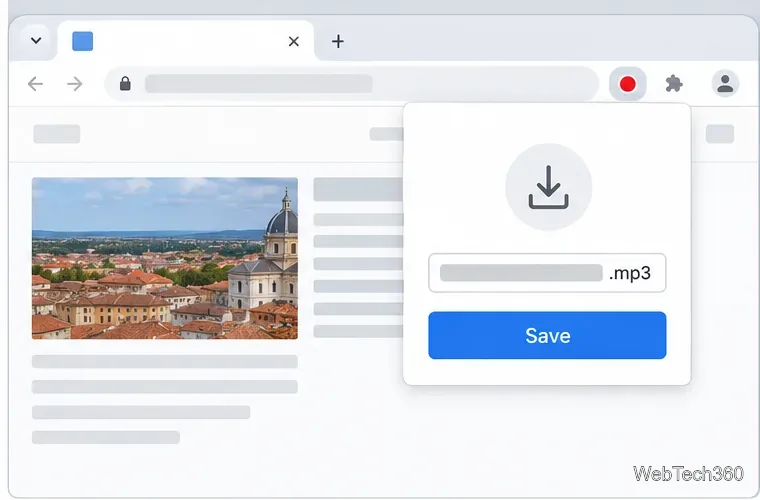
Save and verify the file. Follow the extension’s Save, Download, or Export prompt if one appears. The current listing describes local, timestamped recordings, but the exact save flow can change. Check Chrome’s download indicator or open More > Downloads, then play the file for a few seconds to confirm it has sound and the expected length.
Stop the capture after the desired segment; wait for processing to finish.Complete the extension’s save or download step, then verify the file in Chrome Downloads.
Chrome normally puts downloads in its Downloads folder. To choose another location or confirm each destination, open More > Settings > Downloads. See Chrome’s download help.
The interface illustrations are representative. Button names and layout can differ by extension version.
Fix a silent or missing recording
No extension button: Open the puzzle-piece Extensions menu and pin the recorder. If you cannot install or enable it, Chrome may be managed by a work or school administrator.
The file is silent: Confirm the correct tab was active when you started, that playback was actually running, and that the extension showed a recording state. Make a short test before recording a long session. Some websites may restrict capture or playback; do not use an extension to bypass a site’s technical protections or terms.
The recording did not save: Reopen the extension and check its recent recordings or history, if available. Complete any export prompt, then check Chrome Downloads and the folder shown under Settings > Downloads.
Capture ends early: Check the extension’s duration limit. Split long material into shorter files and verify each one.