How to Watch Emby on ChromeOS in Chrome
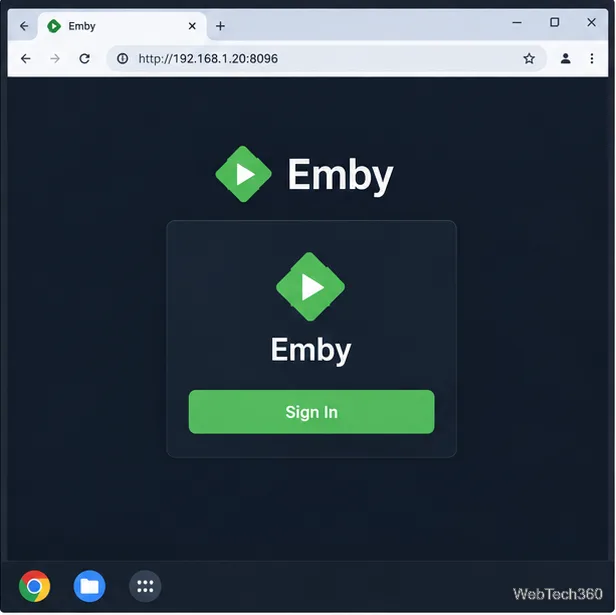
Open the Emby Web App on your Chromebook, sign in to your server, and play movies, shows, music, and photos without installing Linux.
To set up Kodi on a Chromebook, turn on ChromeOS’s Linux development environment, install Kodi in its Debian container, and share a media folder with Linux. Then add that folder as a video source in Kodi. This guide follows the current ChromeOS setup path and includes a key limitation: Linux on ChromeOS currently does not support GPU or video-decode hardware acceleration, so playback performance varies by Chromebook and file.
Check that Settings offers Linux development environment; older or managed school and work Chromebooks may not support it or an administrator may block it. Leave storage for the container and Kodi packages. Kodi runs as a Linux app, not a built-in ChromeOS player.
Kodi is free and open-source, but it does not supply media. Add files or services you are authorized to use. Read Kodi’s software overview.
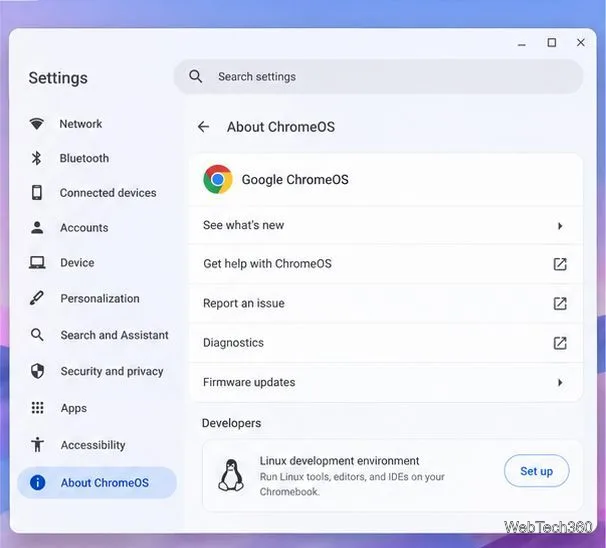
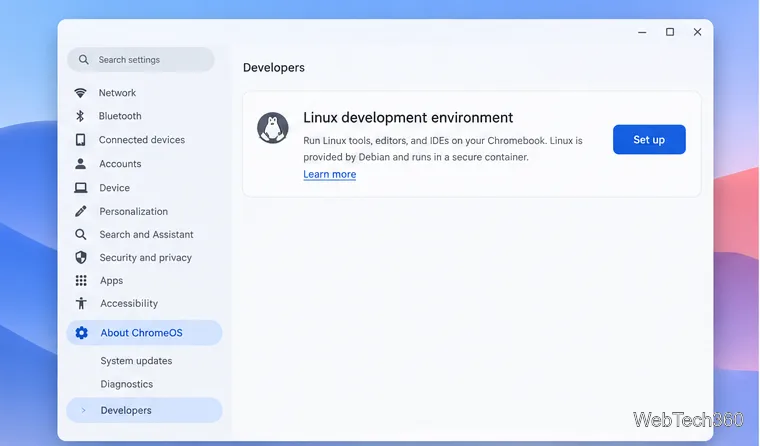
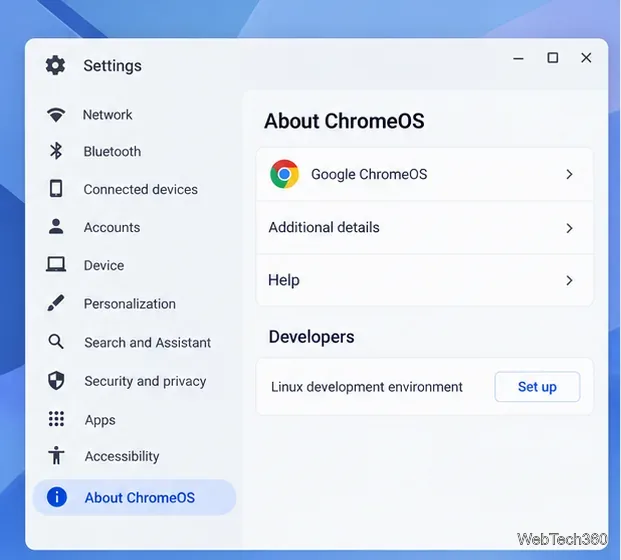
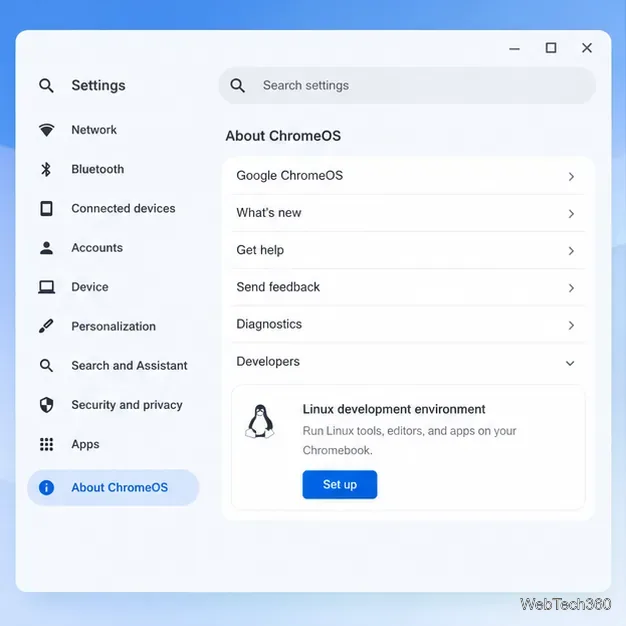
On your Chromebook, open Settings, choose About ChromeOS, open Developers, and find Linux development environment. Select Set up and follow the prompts. Setup downloads a Debian environment and may take 10 minutes or longer. A Terminal window opens when setup finishes. If you need help, follow Google’s Chromebook instructions for setting up Linux.
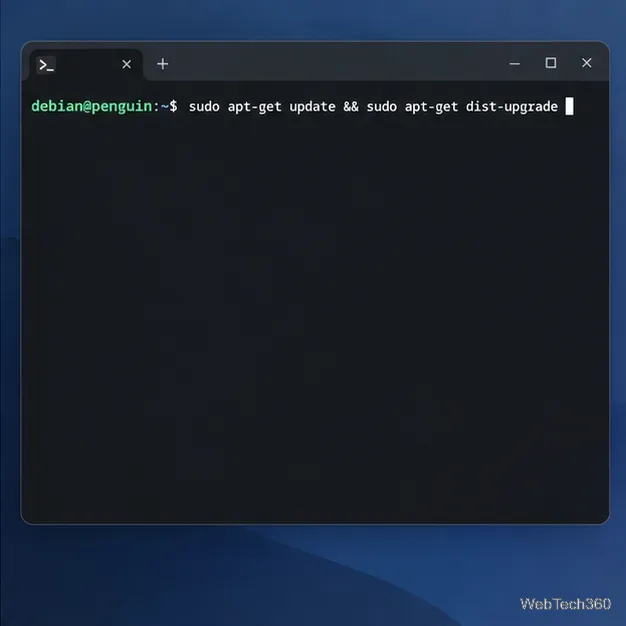
In Terminal, refresh the package list and apply available Debian updates with the command Google documents for Linux troubleshooting:
sudo apt-get update && sudo apt-get dist-upgradeRead the package changes and confirm if Terminal asks. When the update finishes, install Kodi from the Debian package repository:
sudo apt install kodiPress Y if prompted. APT installs the version available in the Chromebook’s Debian repositories, which may differ from Kodi’s latest release. Use Debian package instructions for this container; Kodi’s Team PPA section is for Ubuntu. See its Linux installation guide.
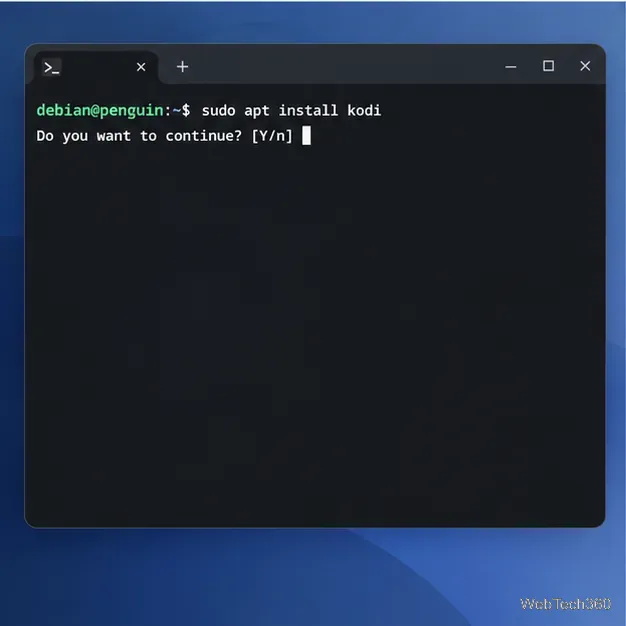
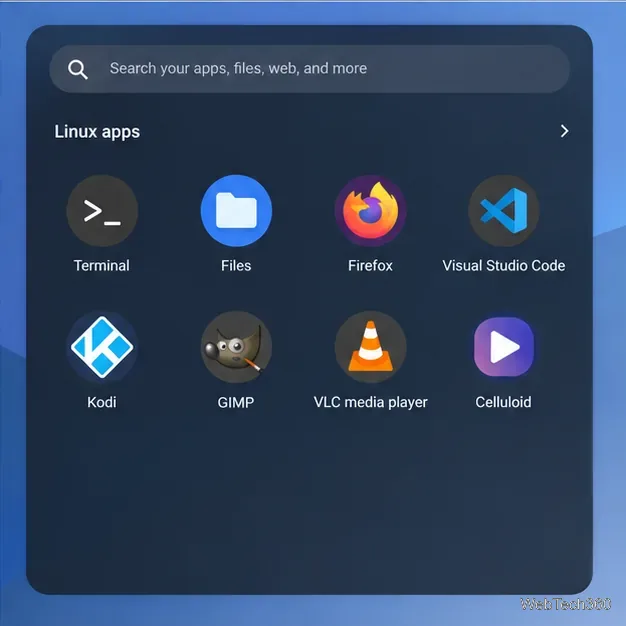
After installation, open the Chromebook Launcher and look in Linux apps for Kodi. The first launch can take a moment while the Linux container starts.
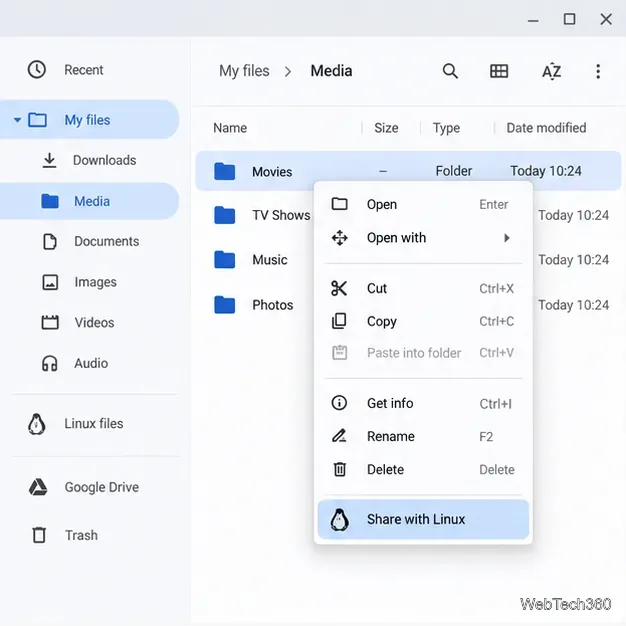
In the ChromeOS Files app, right-click your media folder and choose Share with Linux. You can keep movies and shows in a dedicated “Media” folder; sharing avoids creating a second copy.
ChromeOS mounts shared folders under /mnt/chromeos. The rest of the path varies, so browse there in Kodi instead of guessing. See Google’s ChromeOS Linux setup guide. You can also copy files into Linux files, which uses container storage.
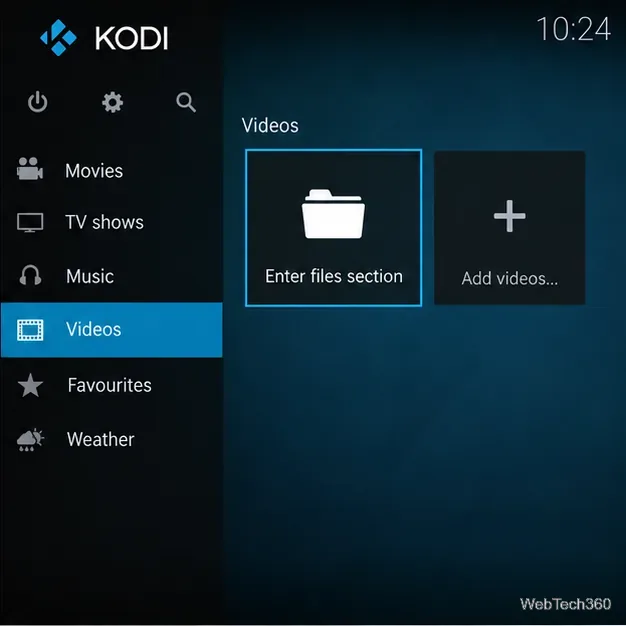
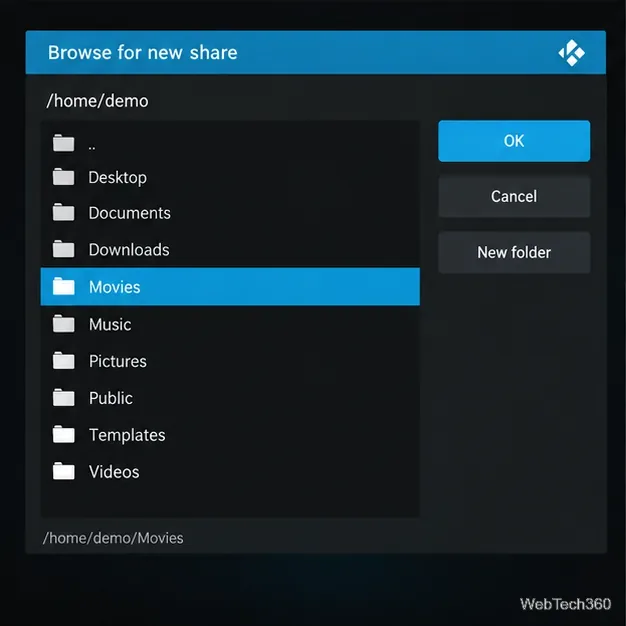
In Kodi, choose Videos > Enter files section > Add videos… > Browse. Navigate under /mnt/chromeos, open the folder containing your titles, select OK, and confirm the source name. See Kodi’s video source guide.
In Set content, choose Movies or TV shows. Keep the default information provider unless you need another one; enable recursive scanning for nested folders when available. Select OK and confirm the scan. Kodi matches artwork and metadata using filenames and folder names, so use clear titles and keep movies and shows in separate sources.
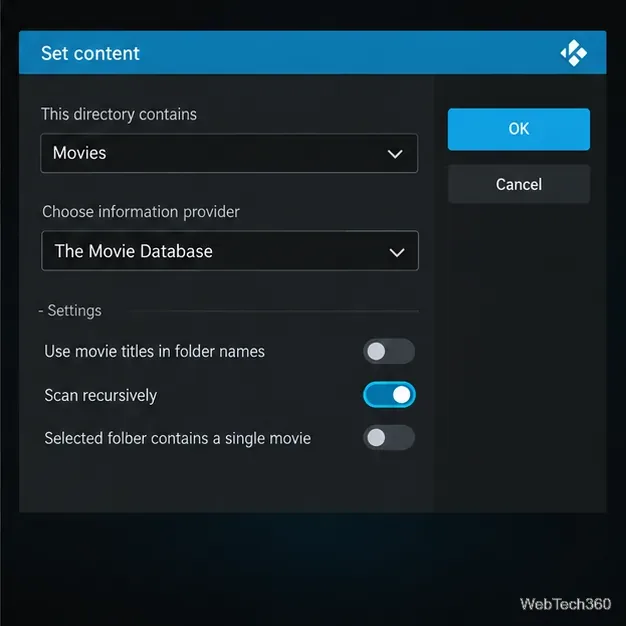
A library scan can take time, especially for a large collection or when Kodi needs to retrieve metadata online. Kodi indexes the source; it does not move or copy your video files.
If a folder is missing, confirm Share with Linux is enabled for that folder and browse again under /mnt/chromeos. If Kodi will not launch, restart the Chromebook and check for Linux package updates in Terminal.
For choppy playback, remember that Google lists GPU and video-decode hardware acceleration as unsupported for Linux on ChromeOS. Some high-resolution or high-bitrate files may stutter; test with a smaller local file. For a network library, Kodi recommends SMB rather than UPnP, and the server must be reachable from Linux.
Once Kodi can see the folder and the scan completes, your Chromebook is ready to browse and play the media available to it.
Open the Emby Web App on your Chromebook, sign in to your server, and play movies, shows, music, and photos without installing Linux.
Install Syncthing on a Chromebook, share a ChromeOS folder with Linux, connect another device, and keep the web interface private.
Enable Linux on your Chromebook, install Tor Browser with the Tor Project’s Flatpak launcher, connect to Tor, and understand what the setup protects.
Install Bitwarden on a Chromebook, save your first login, autofill websites, and learn when the optional Linux desktop app makes sense.
Install Firefox, Brave, Edge, or Opera on a Chromebook with Linux. Learn how to enable the Debian environment, choose a compatible package, and understand the limits.
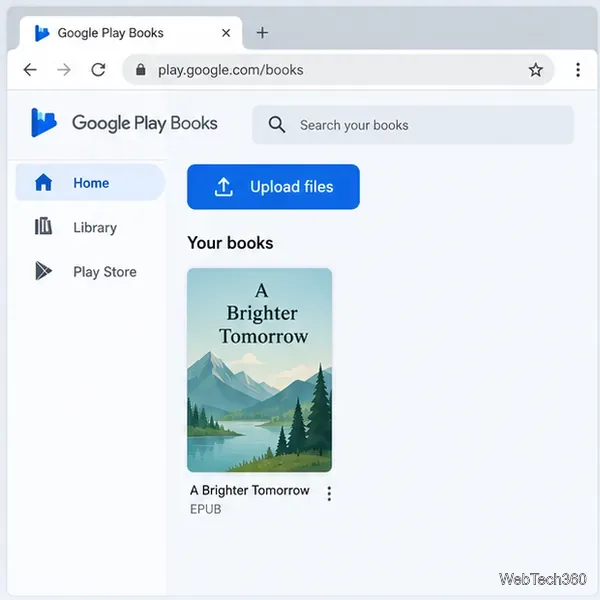
Read EPUBs and PDFs in Google Play Books on your Chromebook, or install Foliate through Linux for a local reader that supports more formats.
Install VLC on a Chromebook from Google Play, play local files and network media, or set up the Linux desktop version when you need it.
Install Krita on a Chromebook with ChromeOS Linux and Flatpak, then launch the app, open shared artwork, and troubleshoot common setup limits.
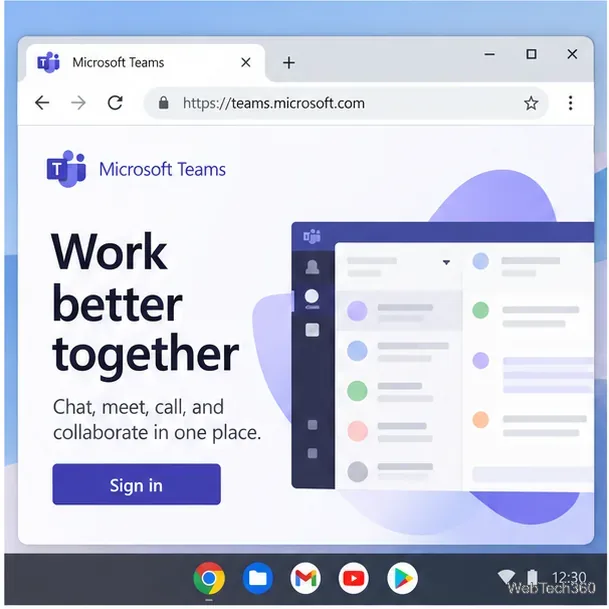
Use Teams on a Chromebook through Chrome, sign in with a work or school account, install the optional web app, and resolve camera or microphone issues.
Set up ChromeOS Linux, choose the right VS Code Debian package for your Chromebook, and install the desktop editor with APT.