How to Watch Emby on ChromeOS in Chrome
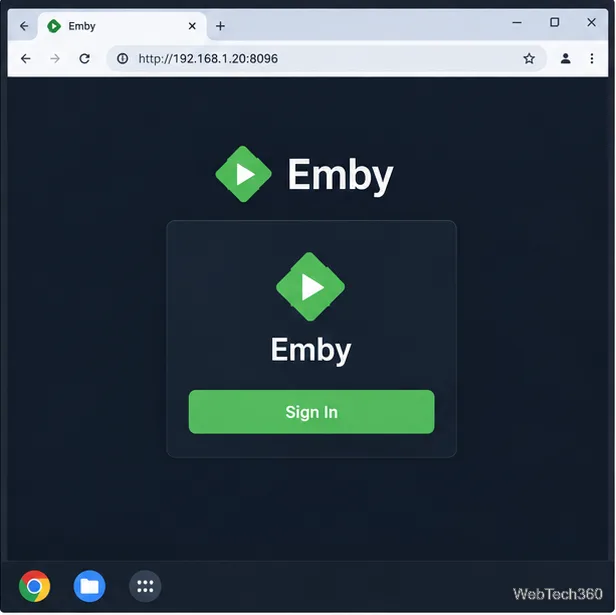
Open the Emby Web App on your Chromebook, sign in to your server, and play movies, shows, music, and photos without installing Linux.
Yes. KeePassXC can run on a Chromebook through ChromeOS’s Linux development environment. It stores your logins in an encrypted .kdbx database file that you unlock with a master password. The setup below uses Flatpak and Flathub, then shows how to add entries and copy credentials into a browser form.
The interface illustrations are schematic; ChromeOS and KeePassXC labels can vary slightly by version.
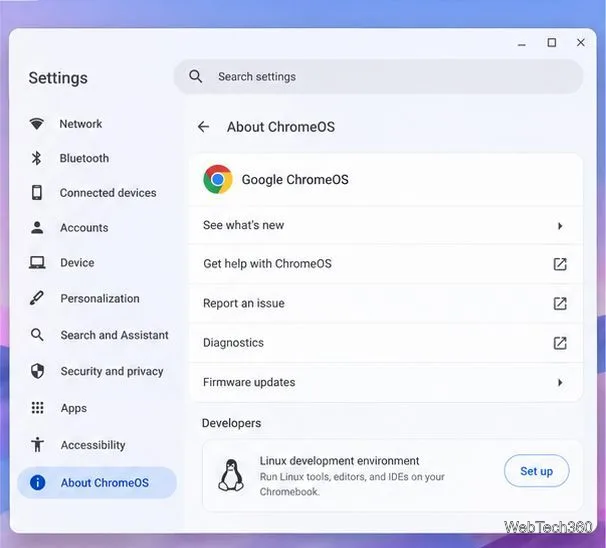
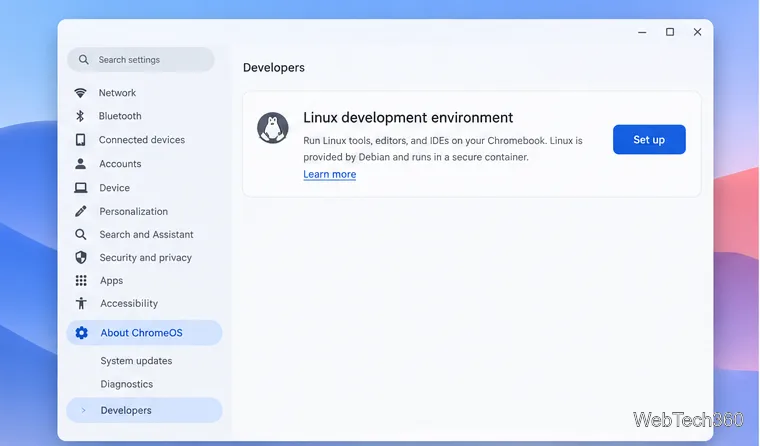
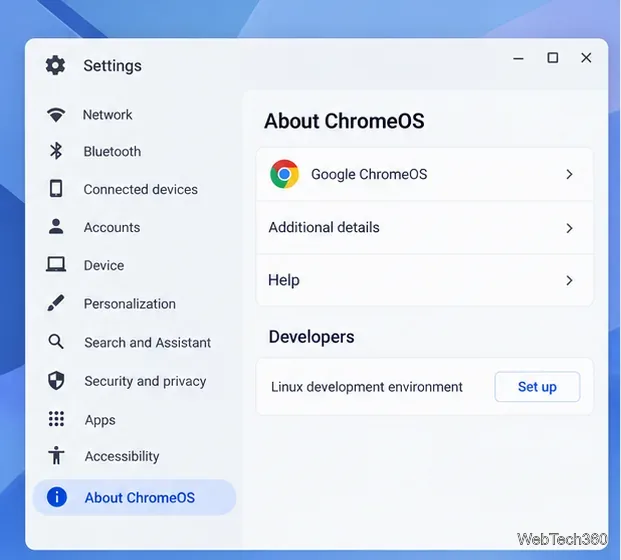
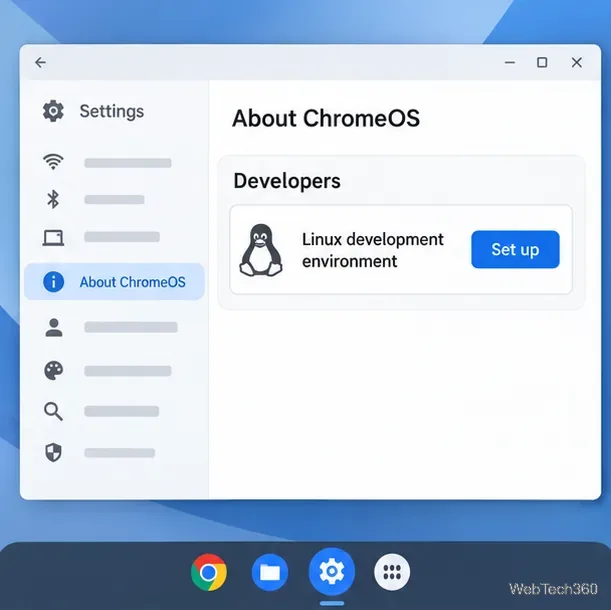
Open the Chromebook’s quick settings by selecting the time, then choose Settings > About ChromeOS > Developers. Next to Linux development environment, select Set up and complete the prompts. ChromeOS creates a Debian environment and opens Terminal; setup may take several minutes. Linux and Flatpak support are not available on every ChromeOS device. On a work or school Chromebook, an administrator may disable Linux.
ChromeOS’s Linux environment uses Debian, so first install Flatpak. The KeePassXC project recommends its Flatpak package for Linux desktops. This also avoids assuming that Debian’s packaged version is current: as of October 24, 2026, KeePassXC 2.8.0 is the latest stable release, and the project recommends updating from 2.7.x or earlier because 2.8.0 includes several security fixes.
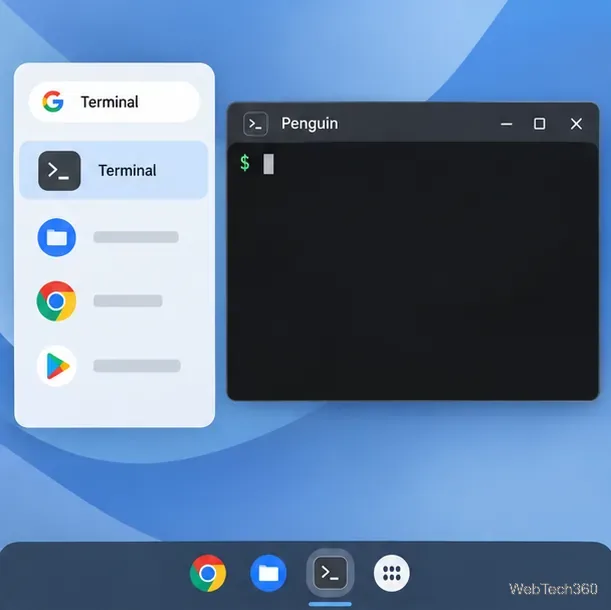
Open the Terminal app, select the Penguin container if prompted, and install Flatpak:
sudo apt update
sudo apt install flatpak
Add Flathub for your Linux user:
flatpak --user remote-add --if-not-exists flathub https://dl.flathub.org/repo/flathub.flatpakrepoRight-click the Terminal app and choose Shut down Linux, then reopen Terminal. This restarts the Linux environment so it can use the new Flathub source. Install KeePassXC:
flatpak install --user flathub org.keepassxc.KeePassXC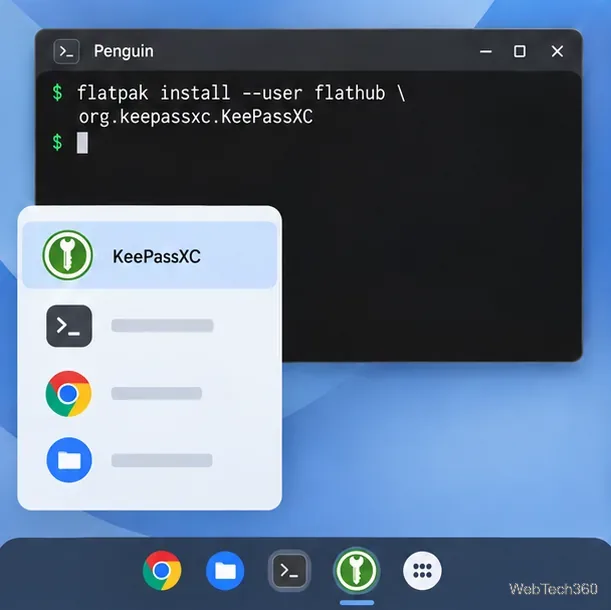
Confirm the prompts in Terminal. To open the app, run:
flatpak run org.keepassxc.KeePassXCThese commands follow Flathub’s ChromeOS setup guide and the official KeePassXC Linux download instructions. The application may also appear in the Chromebook launcher under Linux apps.
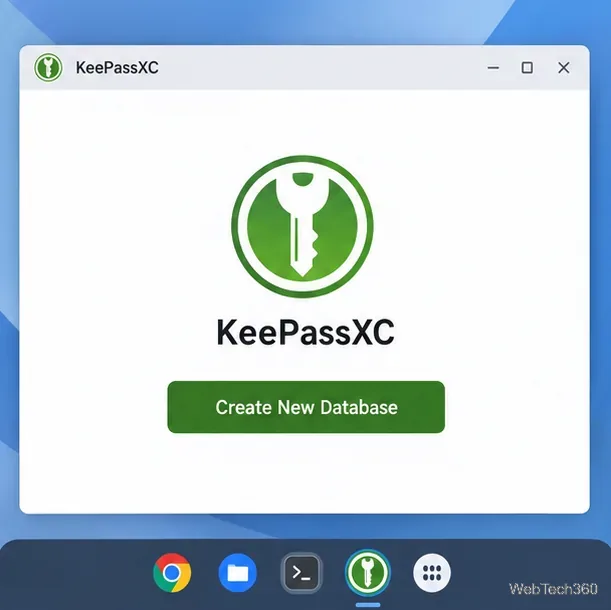
When KeePassXC opens for the first time, choose Create New Database. Enter a name, such as “Personal,” and add a description only if it helps you identify the vault.
.kdbx file.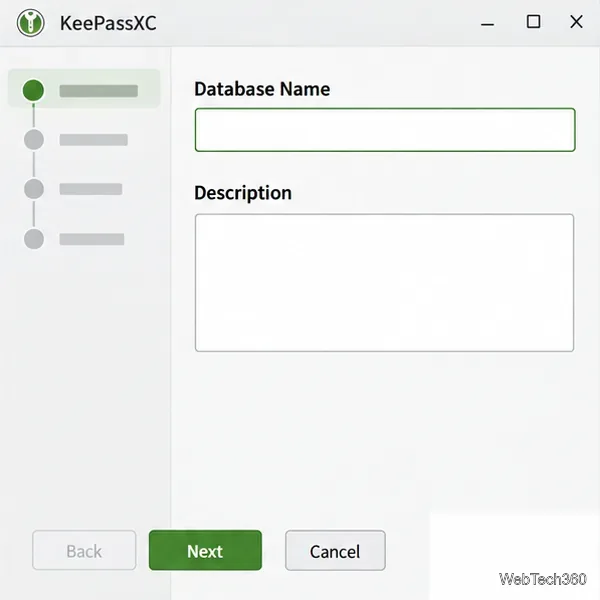
Continue to the encryption settings. For most people, the defaults are a sensible place to start. If you adjust the decryption time, choose a value that adds protection while still unlocking comfortably on your Chromebook; do not change the algorithm or key-derivation options just to make the screen look more secure.
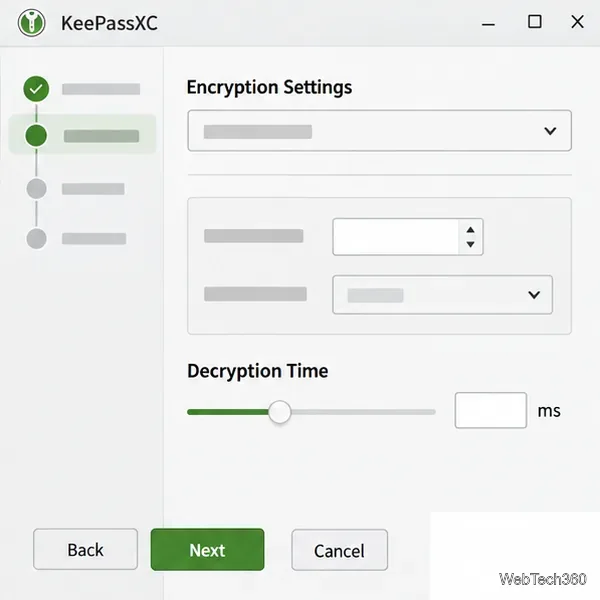
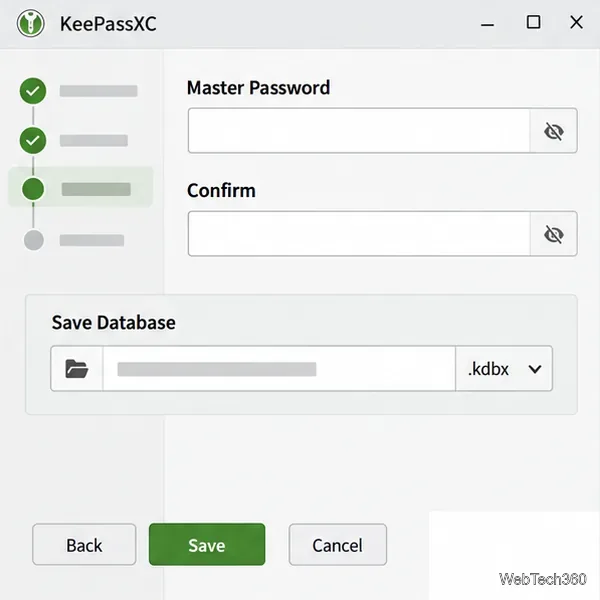
Set a long, unique master password and enter it again to confirm. KeePassXC cannot reset a forgotten master password, so store it somewhere safe or choose a memorable passphrase. A key file is optional; only add one if you can keep a separate backup of it, because you will need both factors to unlock the database.
Save the database with the .kdbx extension in Linux files. That keeps the working copy in the Linux environment. Do not save it in a temporary folder that you routinely clear.
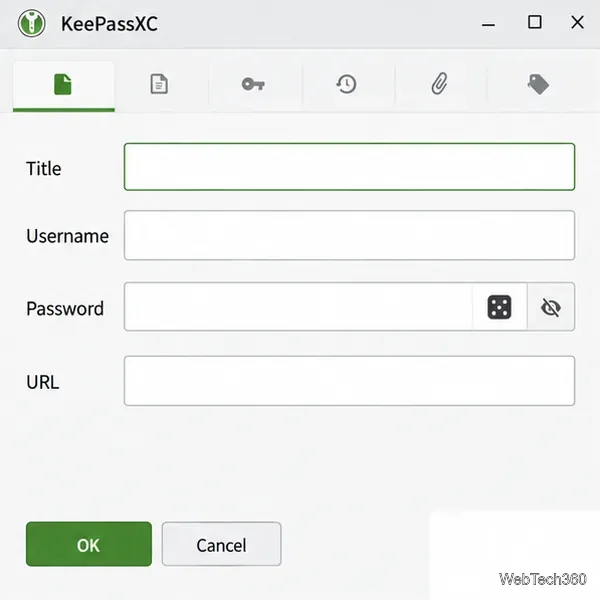
Unlock the database, then choose Entries > New Entry or press Ctrl+N. Add a clear title, such as the service name, and enter the username, password, and sign-in page URL. Use the dice button beside the password field to generate a new password when creating or changing an account. Select OK to save the entry.
To sign in, open the website in Chrome and the matching entry in KeePassXC. Select Copy Username or Copy Password from the entry’s toolbar or context menu, then paste into the corresponding website field. Double-click copying is disabled by default in current KeePassXC versions, so use the explicit copy action. Treat the clipboard as sensitive, and lock the vault with Ctrl+L when you finish.
A strong password protects the database, but it cannot restore a deleted or damaged file. In KeePassXC, use Database > Save Database Backup to create a second copy and store it somewhere separate from the Chromebook. You can also use ChromeOS’s Linux backup tool at Settings > Advanced > Developers > Linux > Back up and restore; Google saves the container backup as a .tini file. Keep the master password and any key file separate from the database backup. Google documents the container process in its Linux backup and restore guide.
If Linux setup is missing, check whether your Chromebook supports the Linux development environment or ask your administrator. If KeePassXC does not appear in the launcher after installation, reopen Terminal and run flatpak run org.keepassxc.KeePassXC.
For current setup details, see Google’s Chromebook Linux setup guide, the KeePassXC User Guide, and the KeePassXC 2.8.0 release notes.
Open the Emby Web App on your Chromebook, sign in to your server, and play movies, shows, music, and photos without installing Linux.
Install Syncthing on a Chromebook, share a ChromeOS folder with Linux, connect another device, and keep the web interface private.
Enable Linux on your Chromebook, install Tor Browser with the Tor Project’s Flatpak launcher, connect to Tor, and understand what the setup protects.
Install Bitwarden on a Chromebook, save your first login, autofill websites, and learn when the optional Linux desktop app makes sense.
Install Firefox, Brave, Edge, or Opera on a Chromebook with Linux. Learn how to enable the Debian environment, choose a compatible package, and understand the limits.
Read EPUBs and PDFs in Google Play Books on your Chromebook, or install Foliate through Linux for a local reader that supports more formats.
Install VLC on a Chromebook from Google Play, play local files and network media, or set up the Linux desktop version when you need it.
Install Krita on a Chromebook with ChromeOS Linux and Flatpak, then launch the app, open shared artwork, and troubleshoot common setup limits.
Use Teams on a Chromebook through Chrome, sign in with a work or school account, install the optional web app, and resolve camera or microphone issues.
Set up ChromeOS Linux, choose the right VS Code Debian package for your Chromebook, and install the desktop editor with APT.