iMessage Is Signed Out on iPhone: How to Fix It
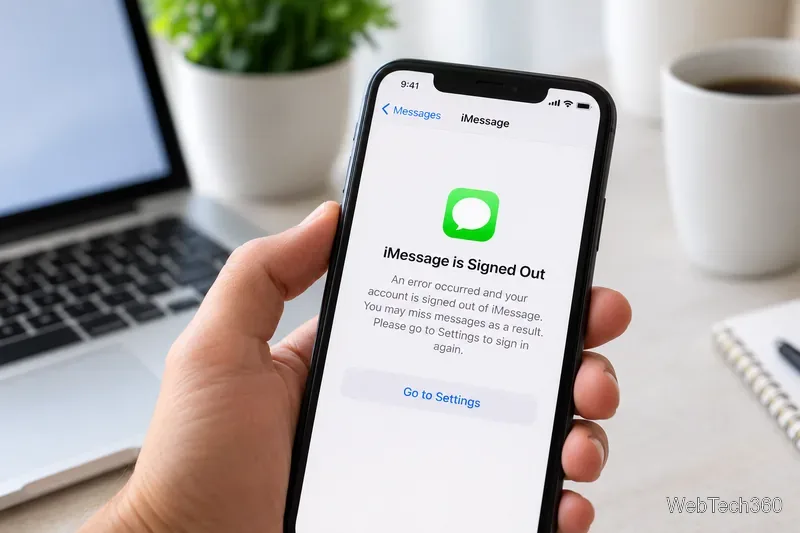
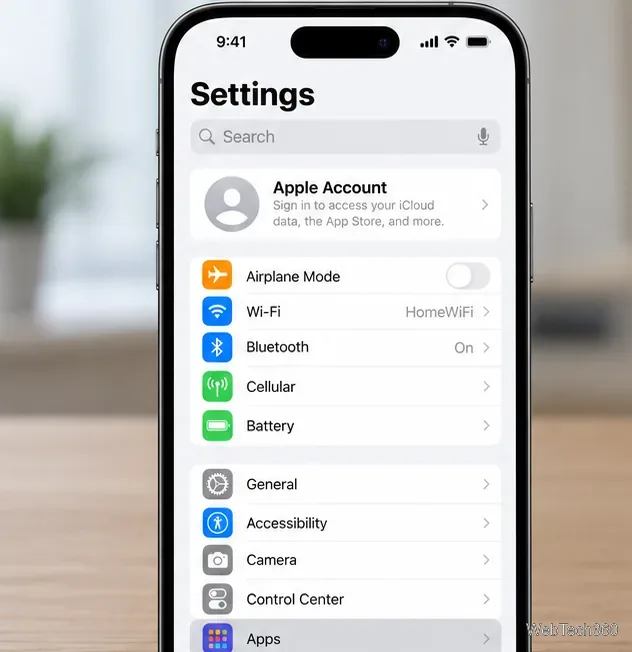
Fix the iMessage Is Signed Out error on iPhone by checking Apple Account sign-in, activation, connectivity, and settings—without erasing your messages.
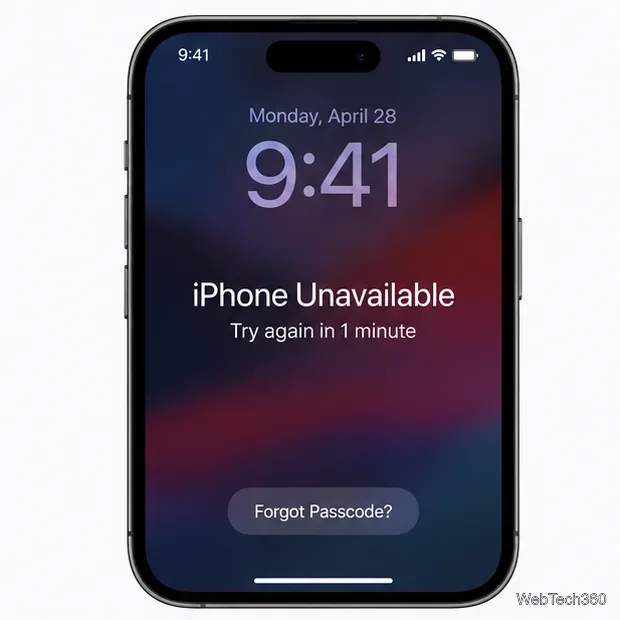
If you forgot your iPhone passcode, first check whether you changed it within the last 72 hours: on iOS 17 or later, you may be able to unlock the phone with your previous passcode and set a new one without erasing anything. If that window has passed, or you never changed the code recently, Apple’s supported recovery options erase the iPhone. You can then restore a backup or recover items that were already synced to iCloud.
There isn’t a supported way to reveal or bypass a forgotten passcode. Before you erase the device, make sure you know the Apple Account password used with it. Find My can leave Activation Lock on after an erase, so that account may be needed during setup.
If you changed the passcode in the last 72 hours and haven’t expired the old one, Passcode Reset can unlock the phone without erasing it. It requires iOS 17 or later.
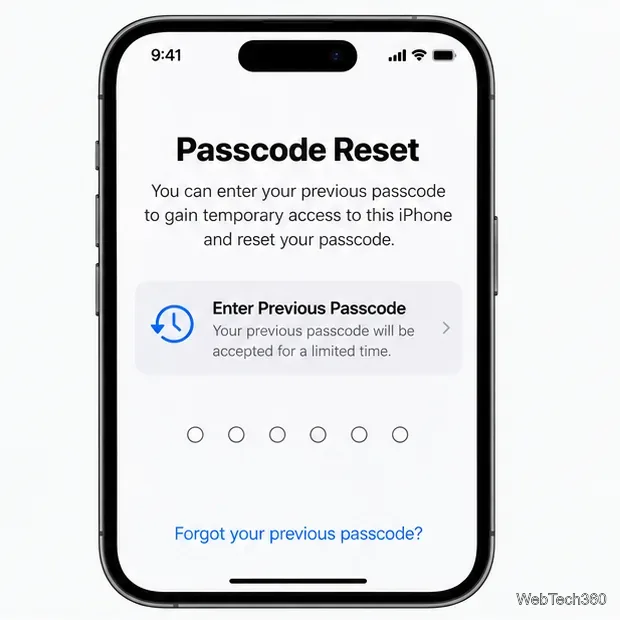
See Apple’s Passcode Reset instructions for the current requirements. If the option is missing, use one of the erase-and-restore methods below.
This is usually the simplest reset if you have iOS 15.2 or later, Find My was turned on before you were locked out, the iPhone has Wi-Fi or cellular service, and you know your Apple Account password. In iOS 17 or later, the option is called Forgot Passcode?; iOS 15.2 and iOS 16 may show Erase iPhone.
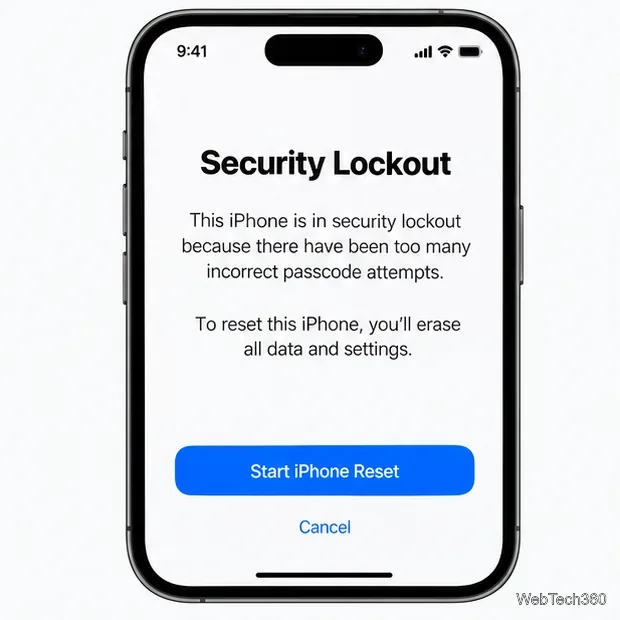
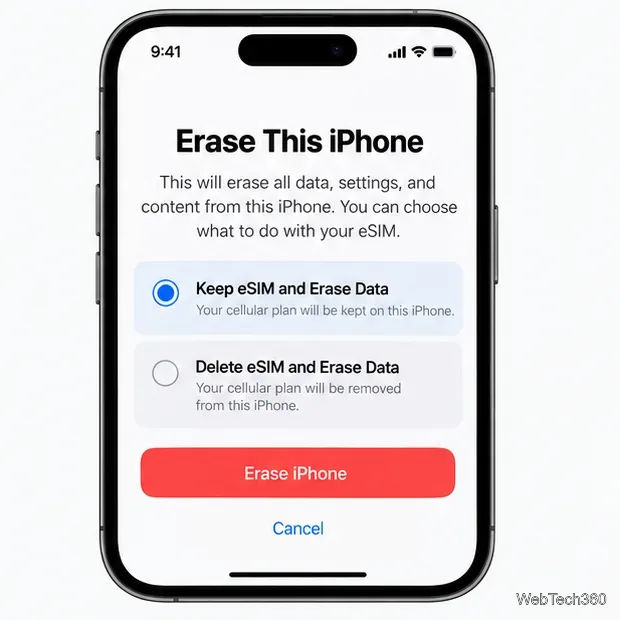
Apple lists the requirements in its forgotten-passcode reset guide. If the on-device option is unavailable, sign in to iCloud Find Devices, select the iPhone, and choose Erase This Device. If it’s offline, erasure starts when it reconnects. Activation Lock remains, so the Apple Account password is needed to reactivate it.
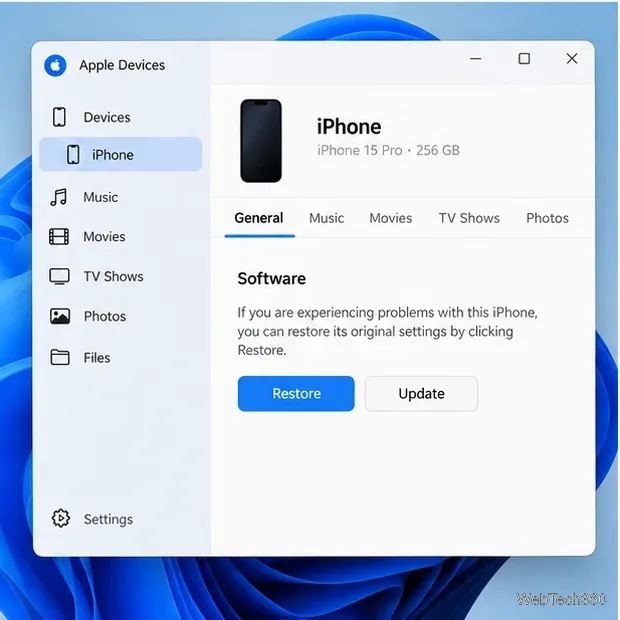
Use a computer if the Lock Screen reset is unavailable. You’ll need a Mac or Windows PC, a cable, and an internet connection. The restore process erases the phone. On a Mac, open Finder; on Windows, install and open Apple Devices. Apple’s computer reset guide includes model-specific directions.
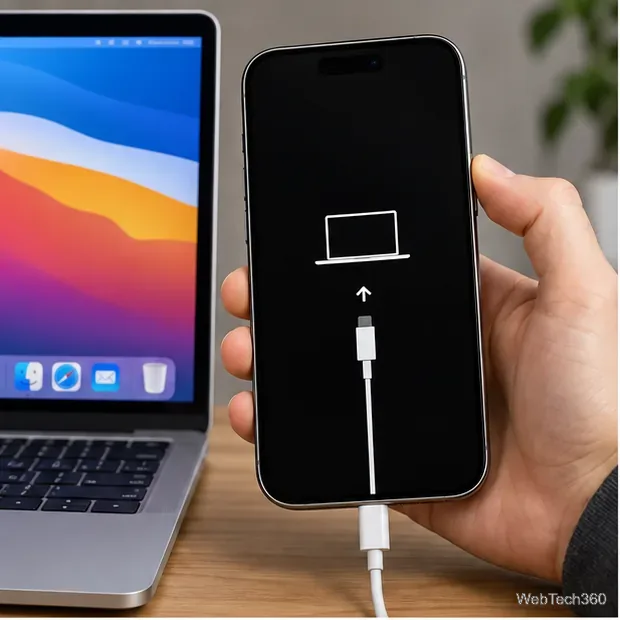
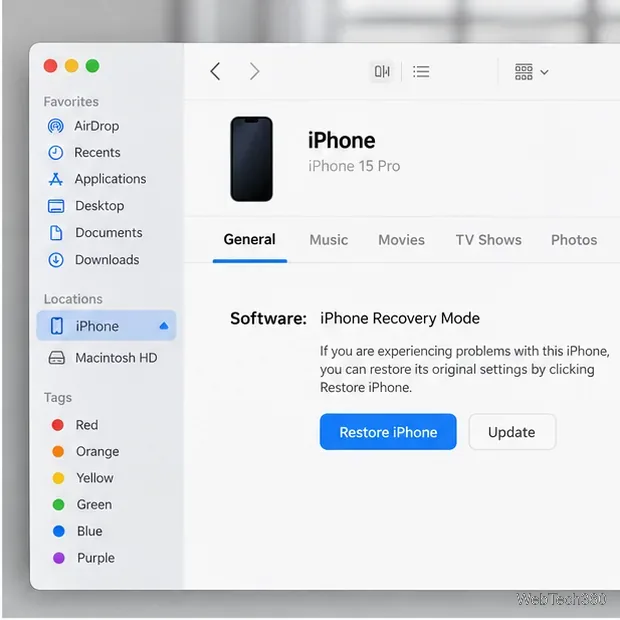
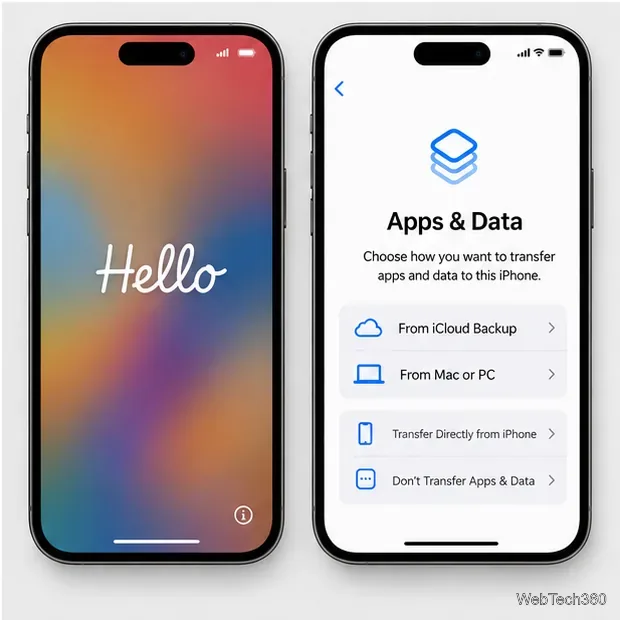
At the Hello screen, continue setup to Transfer Your Apps & Data. Choose From iCloud Backup or From Mac or PC, sign in, and select a backup by date and size. Keep the phone on Wi-Fi and power; iCloud may continue downloading content after setup.
A backup restores only data it captured. Items already synced through iCloud Photos or iCloud Drive can sync back after you sign in; unsynced data created after the last backup may be lost. Read Apple’s iCloud backup explanation and restore instructions. With no backup, set up the iPhone as new to recover content that was already synced. Choose a passcode you can remember.
Fix the iMessage Is Signed Out error on iPhone by checking Apple Account sign-in, activation, connectivity, and settings—without erasing your messages.
Turn off your iPhone VPN in the app or Settings, confirm it disconnected, and stop automatic reconnections without deleting your account.
Learn how to encrypt your iPhone with a strong passcode, protect iCloud and computer backups, and secure your data if your phone is lost or stolen.
Learn how to clear Safari and Chrome cache on iPhone, manage app storage safely, and understand when clearing cached data actually helps.
Learn how to fight Gym Battles in Pokémon GO, pick effective attackers, use Charged Attacks and dodges, and claim a Gym after defeating its defenders.
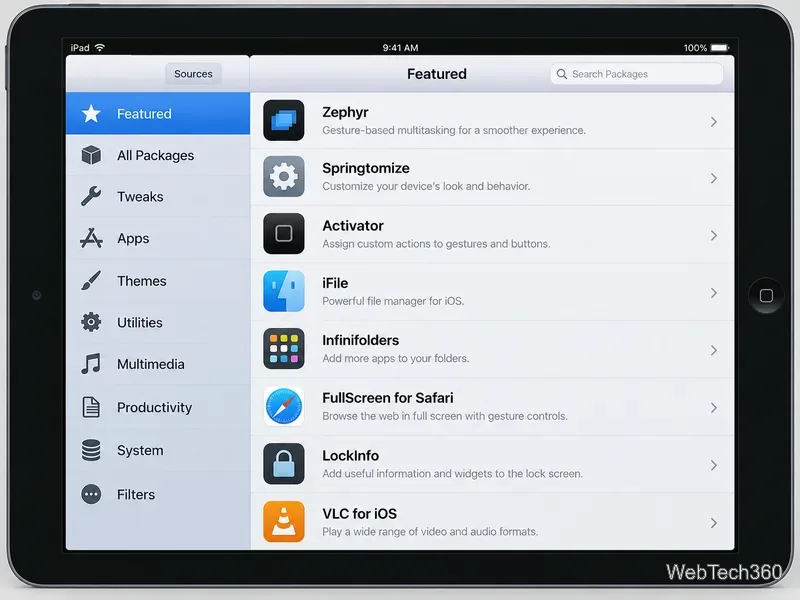
Explore classic Cydia tweaks for jailbroken iPads, from SwipeSelection to Quasar, with compatibility warnings and modern alternatives.
Stop Apple Music signup prompts in the Music app. Learn where to find Show Apple Music on iOS and what turning it off does—and does not—change.
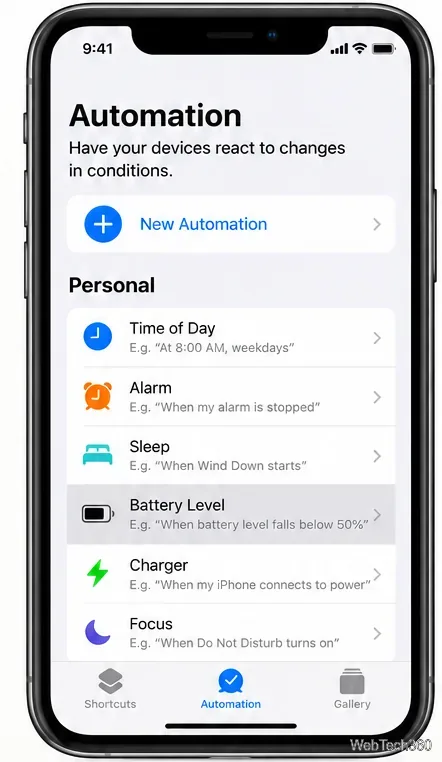
Set up a Shortcuts automation to text Mom when your iPhone battery gets low. Follow four steps, plus delivery checks and privacy tips.
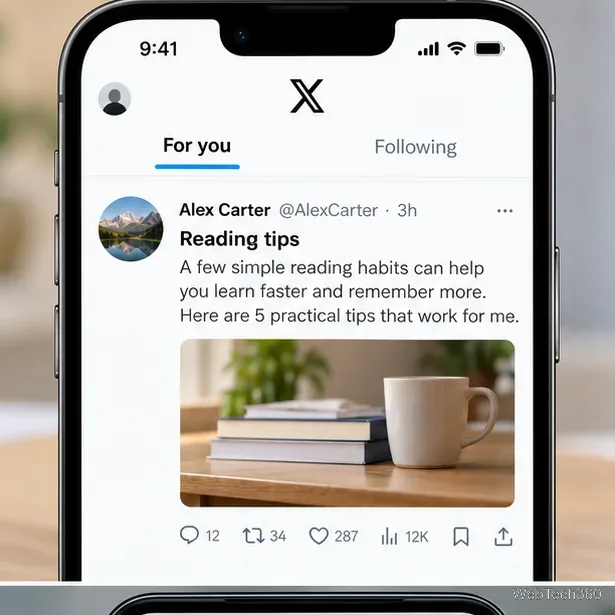
Save posts on X in a few taps. Learn where to find the Bookmark button on iPhone, Android, and desktop, plus how to view, remove, and organize saved tweets.
Turn on AR mode in Pokémon GO during a wild encounter, find AR settings, and fix camera or device compatibility issues.