iMessage Is Signed Out on iPhone: How to Fix It
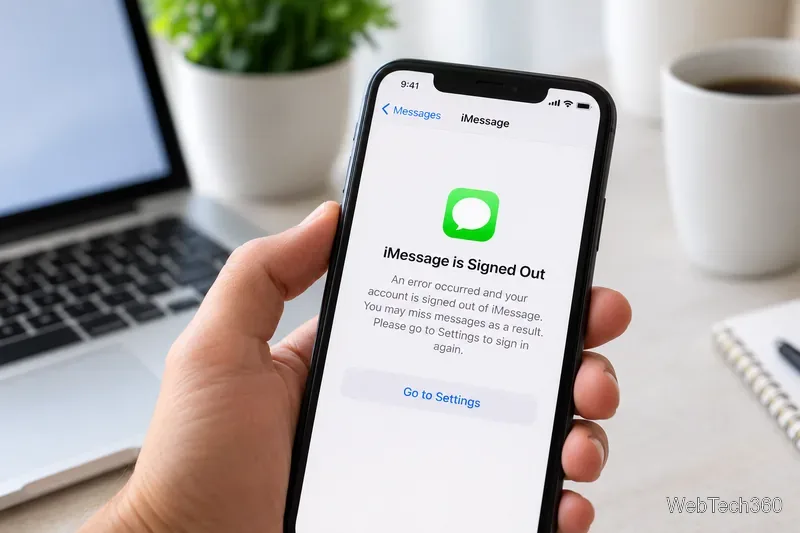
Fix the iMessage Is Signed Out error on iPhone by checking Apple Account sign-in, activation, connectivity, and settings—without erasing your messages.
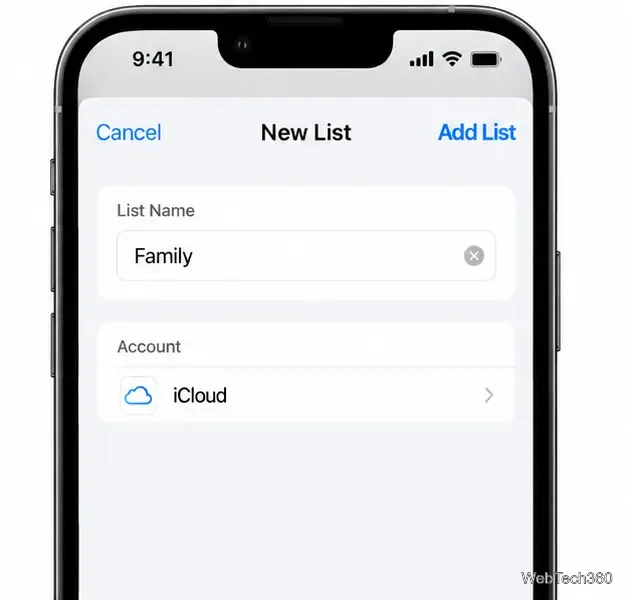
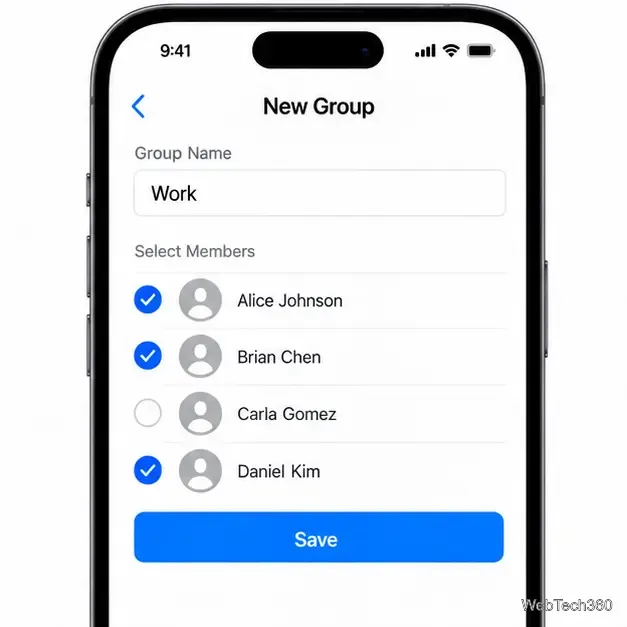
The quickest way to make a contact group on iPhone is to create a list in the Contacts app: open Lists, tap Add List, name it, and select the people to include. Apple calls these groups “lists.” You can also create one on iCloud.com or a Mac, or use a third-party app if you want extra group-text or email tools.
A contact list organizes names; it is not a Messages conversation. You’ll still start a group text separately.
Use this method when you want a reusable group stored with your contacts. Open the standalone Contacts app, or open Phone and tap Contacts. If you see a contact directory, tap Lists at the upper left. Depending on the screen layout, the control may be called Show Sidebar.
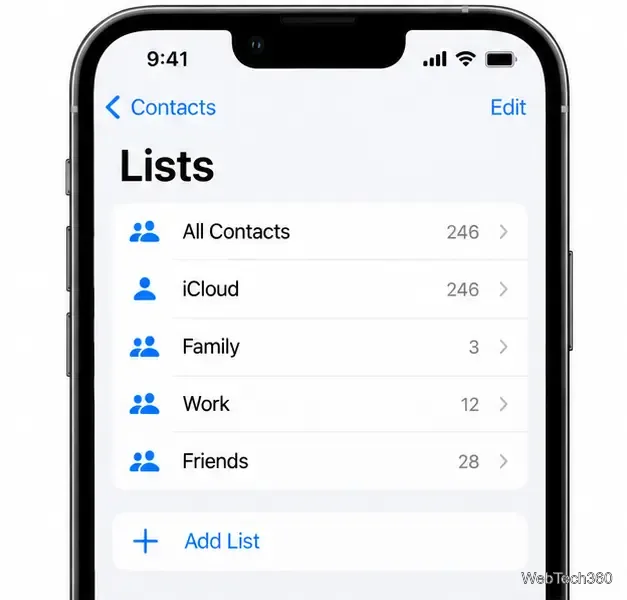
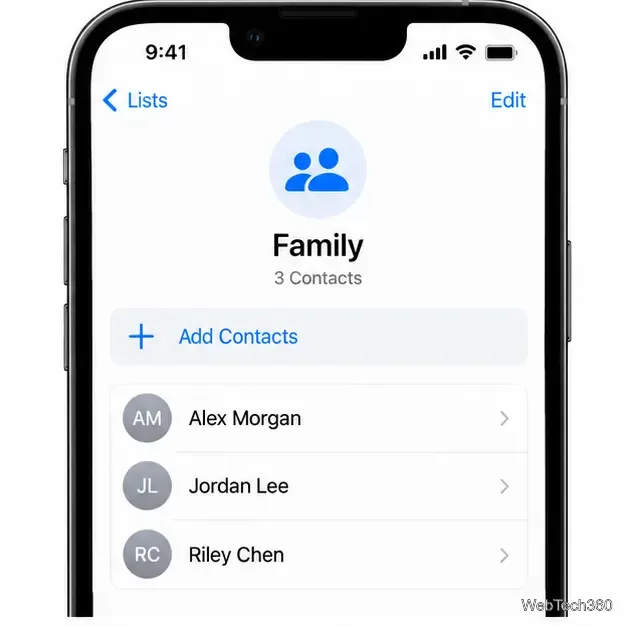
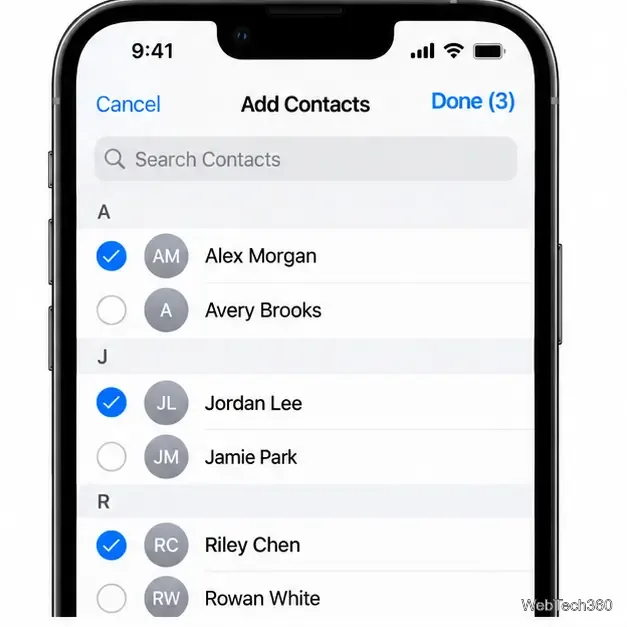
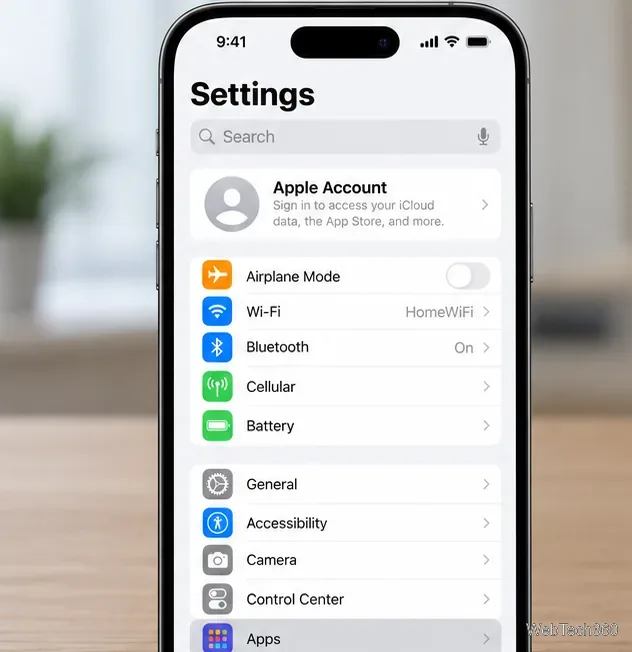
If you want the list to appear on your other Apple devices, check that Contacts sync is enabled: open Settings > [your name] > iCloud, tap See All beside Saved to iCloud, and turn on Contacts. The account provider and its support for lists can affect what syncs.
Use this method to organize many names. Apple says Contacts on iCloud.com requires a tablet or computer, not an iPhone browser.
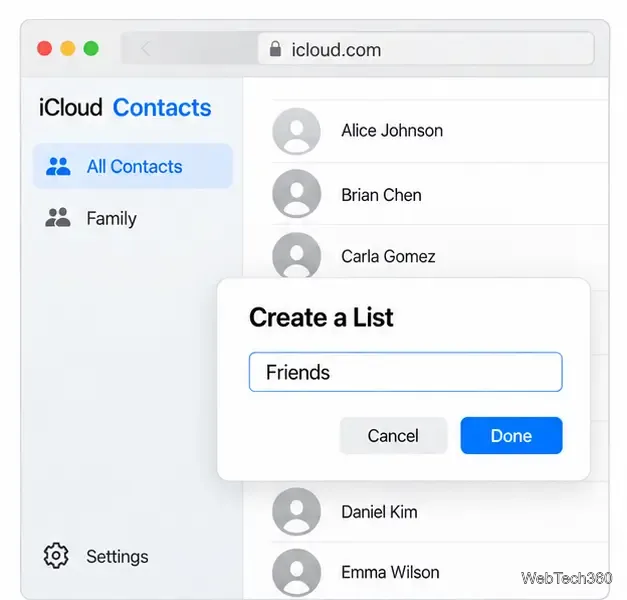
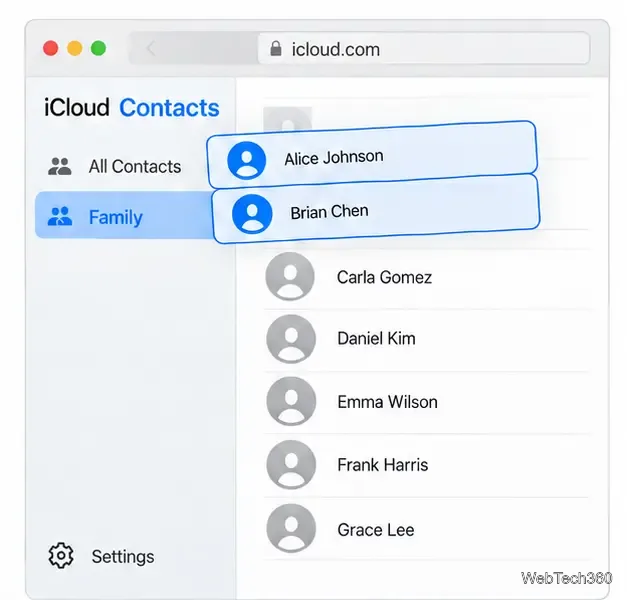
A contact can appear in multiple lists. Removing it from a list keeps it in All Contacts; deleting it from All Contacts removes it from synced devices. See Apple’s iCloud Contacts list instructions before deleting.
On a Mac, open Contacts and click the add button at the top of the window, then choose New List. Enter a name and add people. To fill it quickly, select contacts in the sidebar and drag them onto the list.
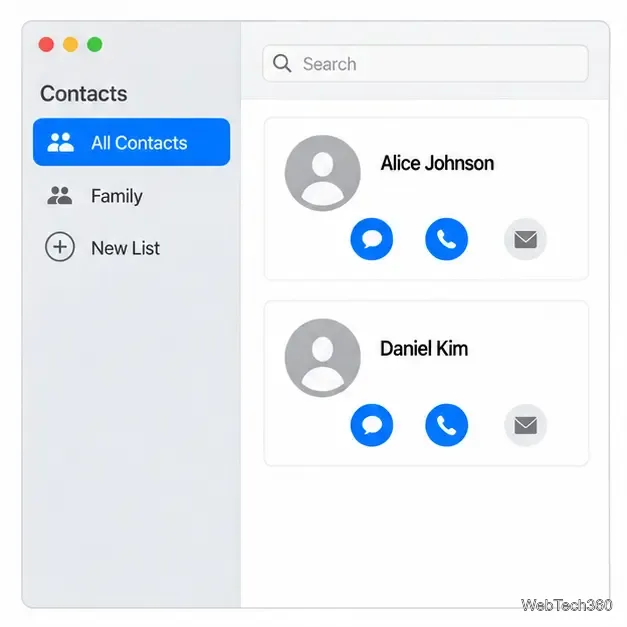
If Contacts has multiple accounts, check which one is selected before creating the list. When All Contacts is selected, macOS saves a new list to the default account in Contacts settings. For the list to show up on your iPhone, use the same iCloud account and keep Contacts sync on. Apple’s Mac Contacts guide explains list creation and account behavior.
An app can be useful if you want saved groups plus shortcuts for group email or texting. For example, the App Store listing for Contact Groups – Text & Email currently advertises contact groups, group texts, and group emails. The listing is free to download with in-app purchases; availability and pricing can vary by storefront.
You can adjust contact access under Settings > Privacy & Security > Contacts, and choose limited access when available. See Apple’s contact privacy guide. The App Store privacy summary comes from the developer and is not verified by Apple.
To begin a group conversation, open Messages, tap the compose button, enter the recipients’ names or use the Add button to choose them from Contacts, then send a message. Apple’s group-text instructions note that the conversation type and available features depend on the recipients, iOS settings, and carrier support. A Contacts list helps you organize people, but it does not automatically create a chat thread.
Use Contacts for a straightforward list, a larger screen to select many names, or an app only if its messaging tools are worth the permissions and terms.
Interface illustrations use sample names; button labels and layouts can vary by iOS version and contact account.
Fix the iMessage Is Signed Out error on iPhone by checking Apple Account sign-in, activation, connectivity, and settings—without erasing your messages.
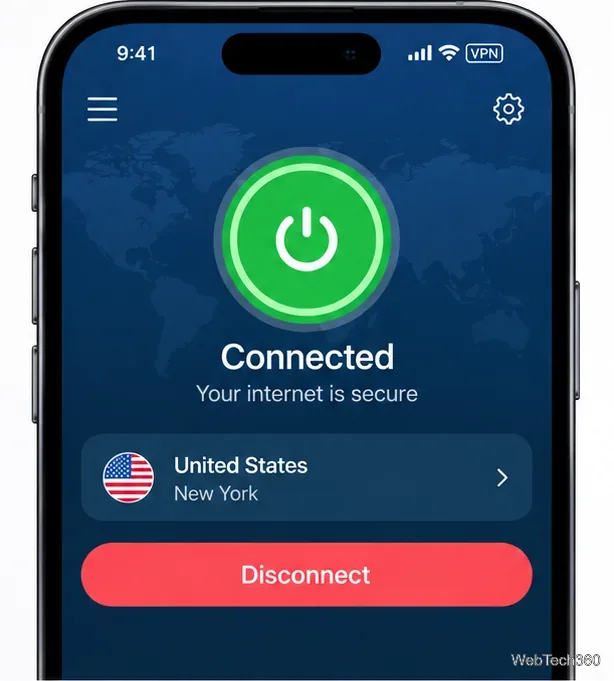
Turn off your iPhone VPN in the app or Settings, confirm it disconnected, and stop automatic reconnections without deleting your account.
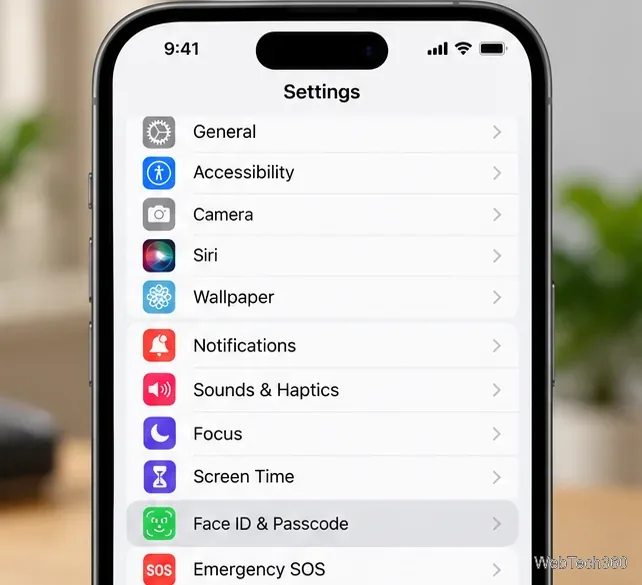
Learn how to encrypt your iPhone with a strong passcode, protect iCloud and computer backups, and secure your data if your phone is lost or stolen.
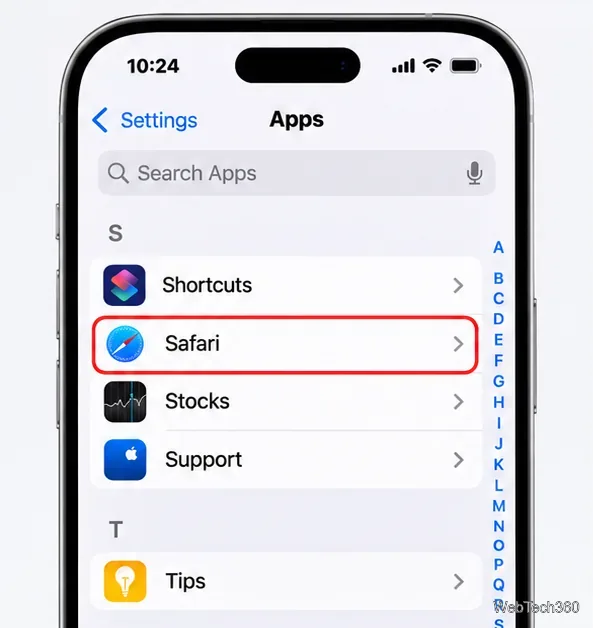
Learn how to clear Safari and Chrome cache on iPhone, manage app storage safely, and understand when clearing cached data actually helps.
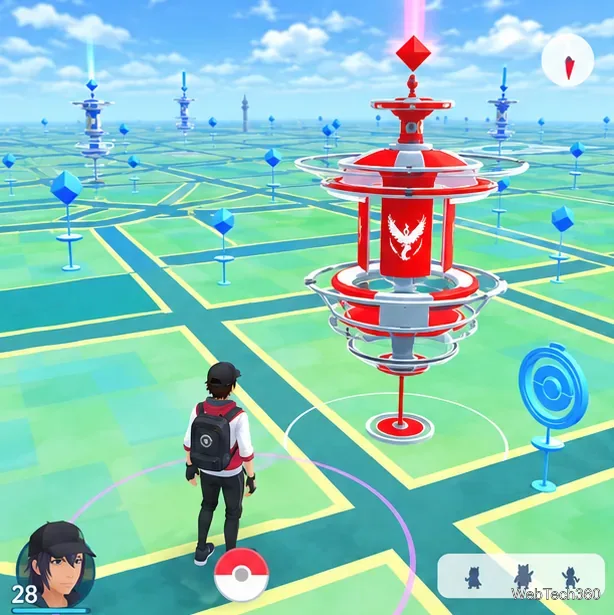
Learn how to fight Gym Battles in Pokémon GO, pick effective attackers, use Charged Attacks and dodges, and claim a Gym after defeating its defenders.
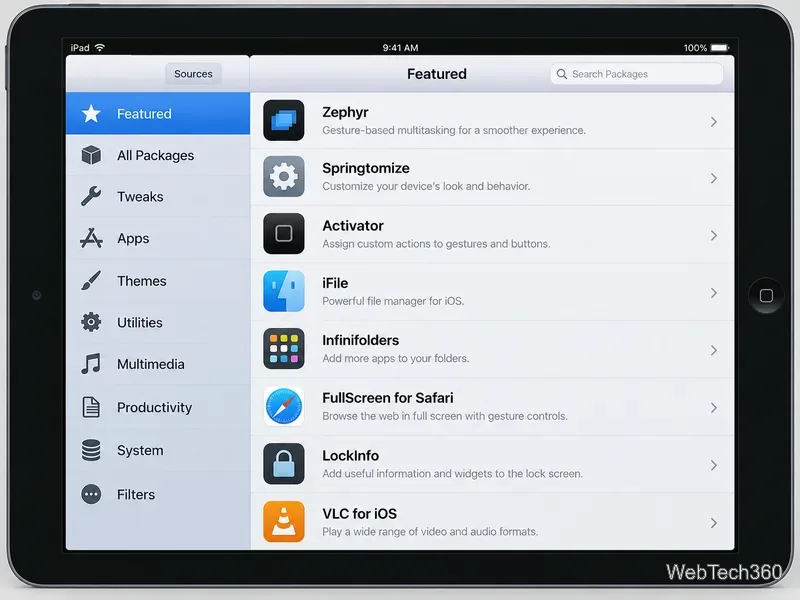
Explore classic Cydia tweaks for jailbroken iPads, from SwipeSelection to Quasar, with compatibility warnings and modern alternatives.
Stop Apple Music signup prompts in the Music app. Learn where to find Show Apple Music on iOS and what turning it off does—and does not—change.
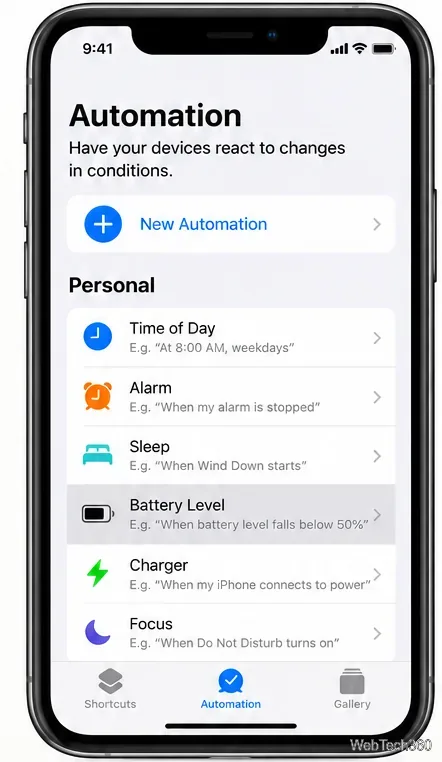
Set up a Shortcuts automation to text Mom when your iPhone battery gets low. Follow four steps, plus delivery checks and privacy tips.
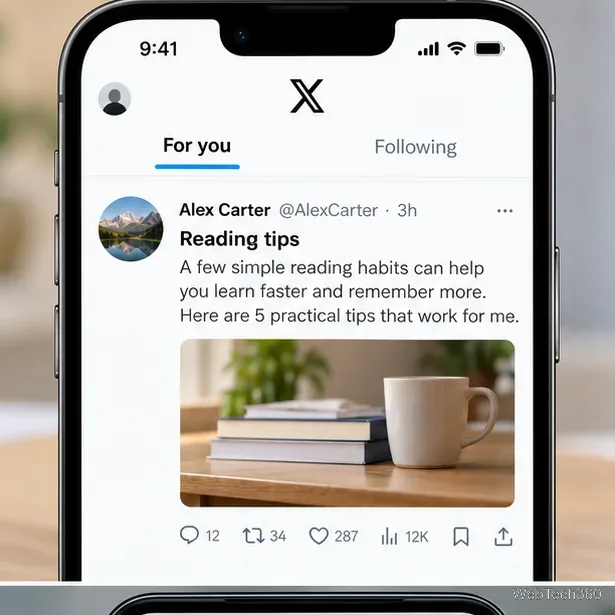
Save posts on X in a few taps. Learn where to find the Bookmark button on iPhone, Android, and desktop, plus how to view, remove, and organize saved tweets.
Turn on AR mode in Pokémon GO during a wild encounter, find AR settings, and fix camera or device compatibility issues.